1. Introduction
This manual provides essential information for the safe and efficient operation of your Radioddity FS-T3 FRS Two-Way Radios. Please read it thoroughly before use and retain it for future reference. The FS-T3 radios are designed for clear communication over short to medium distances, ideal for family activities, camping, hiking, and other outdoor adventures.

Image 1: Radioddity FS-T3 FRS Two-Way Radios (4-pack)
2. Safety Information
- Do not disassemble or modify the radio.
- Avoid exposing the radio to extreme temperatures or direct sunlight for prolonged periods.
- Use only approved chargers and batteries.
- Keep the radio away from medical devices that may be affected by radio frequency energy.
- Do not use the radio in explosive atmospheres.
3. Package Contents
Your Radioddity FS-T3 package includes the following items:
- 4 x FS-T3 Radios
- 4 x Earpieces with Mic
- 4 x Charging Cables and Adapters
- 4 x Lanyards
- 4 x Belt Clips
- 1 x User Manual

Image 2: Radioddity FS-T3 Package Contents
4. Product Overview
Familiarize yourself with the various parts and controls of your FS-T3 radio:

Image 3: Radioddity FS-T3 Parts Diagram
- Power and Volume Knob: Rotate to turn the radio ON/OFF and adjust volume.
- PTT (Push-to-Talk) Button: Press and hold to transmit your voice.
- Menu Button: Accesses radio settings.
- Up/Down Buttons: Navigate menus and change channels/settings.
- Call Button: Sends a call tone to other radios on the same channel.
- Monitor Button: Temporarily disables squelch to listen for weak signals.
- Flashlight Button (Side Key 1): Activates the built-in flashlight.
- USB Charging Port: For recharging the internal battery.
- Earphone/Mic Jack: Connects external earpieces or microphones.
5. Setup
5.1 Battery Installation and Charging
The FS-T3 radios come with 1500mAh Lithium Ion rechargeable batteries. Ensure batteries are fully charged before first use.
- Connect the provided USB charging cable to the radio's USB charging port.
- Plug the other end of the USB cable into a compatible USB power source (e.g., wall adapter, power bank, computer USB port).
- The LED indicator will show charging status (e.g., red for charging, green for fully charged).
- A full charge typically takes 2-3 hours and provides up to 3-4 days of standby time.

Image 4: Micro-USB Charging Options

Image 5: Long-lasting Battery
5.2 Attaching Belt Clip and Lanyard
The radios come with a durable metal belt clip and lanyards for convenient carrying.
- To attach the belt clip, align it with the designated slots on the back of the radio and secure it with the provided screws (if applicable, or snap into place).
- Thread the lanyard through the loop at the top of the radio for hands-free carrying around your neck or wrist.
6. Operating Instructions
6.1 Power On/Off and Volume
- To turn ON: Rotate the Power/Volume knob clockwise until you hear a click and the display lights up.
- To turn OFF: Rotate the Power/Volume knob counter-clockwise until you hear a click.
- To adjust volume: Rotate the Power/Volume knob while the radio is on.
6.2 Channel Selection
The FS-T3 radios operate on 22 FRS (Family Radio Service) channels.
- Press the MENU button to enter channel selection mode. The channel number will flash.
- Use the UP/DOWN buttons to select your desired channel (1-22).
- Press the MENU button again or wait a few seconds to confirm your selection.
- Ensure all radios intended for communication are set to the same channel.
6.3 Privacy Codes (CTCSS/DCS)
The radios support 204 CTCSS/DCS privacy codes to minimize interference from other users on the same channel.
- With the channel selected, press the MENU button twice to enter privacy code selection mode. The code number will flash.
- Use the UP/DOWN buttons to select your desired privacy code.
- Press the MENU button again or wait to confirm.
- For private communication, all radios must be on the same channel AND the same privacy code.
6.4 Transmitting and Receiving
- To Transmit: Press and hold the PTT button. Speak clearly into the microphone. Release the PTT button when finished speaking.
- To Receive: The radio will automatically receive signals when the PTT button is not pressed and you are on the correct channel/privacy code.
6.5 VOX Function (Hands-Free)
VOX allows you to transmit without pressing the PTT button by detecting your voice.
- To activate/deactivate VOX: Press the MENU button until 'VOX' appears on the display. Use UP/DOWN buttons to select VOX sensitivity level (1-3) or 'OFF'.
- Press MENU to confirm.
6.6 Flashlight Function
The radio includes a built-in flashlight for convenience.
- Press Side Key 1 (usually the top side button) to turn the flashlight ON/OFF.

Image 6: Flashlight in use
6.7 Keypad Lock
To prevent accidental changes to settings, you can lock the keypad.
- Press and hold the MENU button until a key icon appears on the display, indicating the keypad is locked.
- To unlock, press and hold the MENU button again until the key icon disappears.
6.8 Call Tone
Send an audible alert to other radios on the same channel.
- Press the CALL button to send a call tone.
6.9 Scan Function
The scan function allows you to search for active channels.
- Press the SCAN button to begin scanning. The radio will cycle through channels until it detects activity.
- Press SCAN again to stop scanning.
7. Range and Performance
The Radioddity FS-T3 offers reliable communication range under various conditions:
- Up to 3 miles in open, unobstructed areas.
- Approximately 1.5 miles in residential areas with some obstructions.
- Range may vary significantly based on terrain, weather conditions, electromagnetic interference, and obstructions.
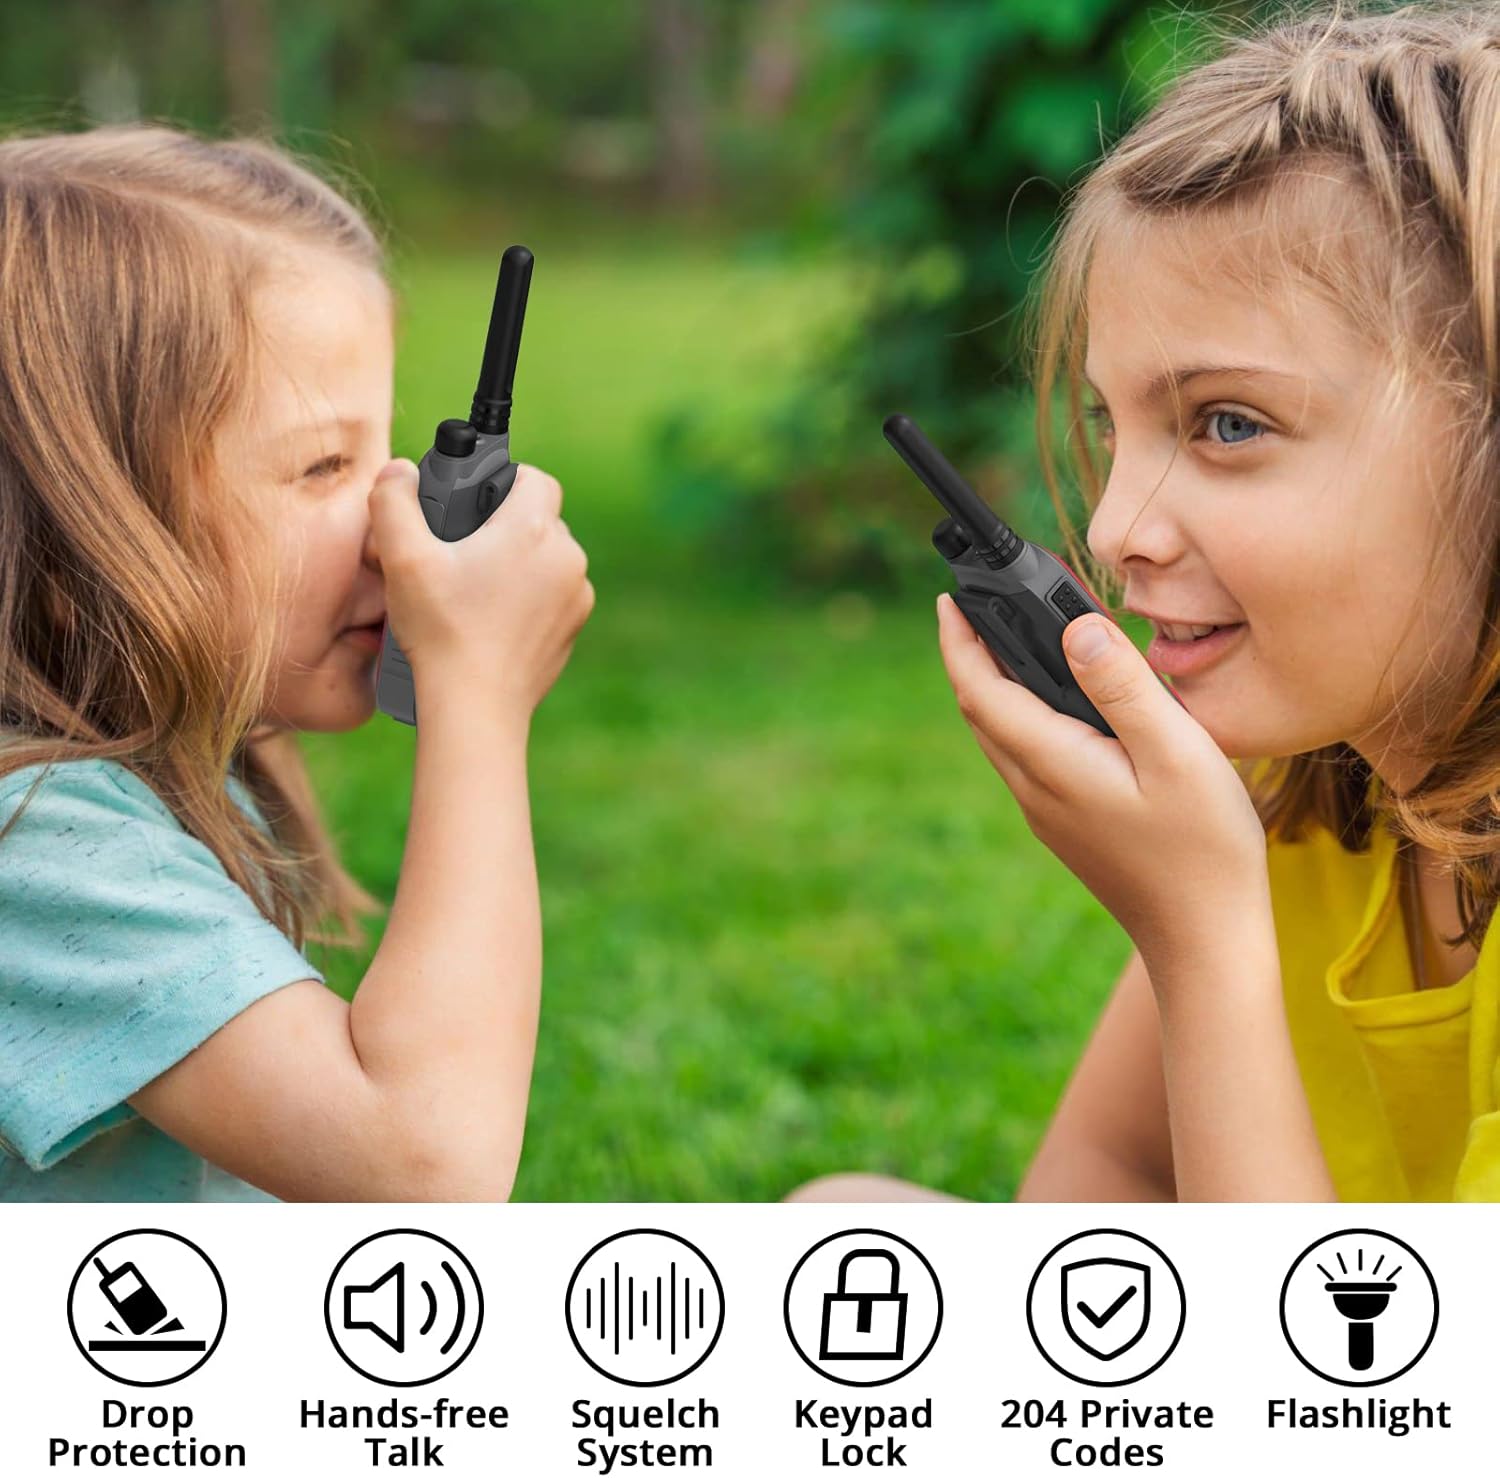
Image 7: Communication Range Illustration
8. Maintenance
- Clean the radio with a soft, damp cloth. Do not use harsh chemicals or abrasive cleaners.
- Keep the charging port and earpiece jack covers securely closed when not in use to protect against dust and moisture.
- Store the radio in a cool, dry place when not in use.
9. Troubleshooting
| Problem | Possible Cause | Solution |
|---|---|---|
| No power | Battery low or depleted | Recharge the battery. |
| Cannot transmit or receive | Incorrect channel/privacy code; Out of range | Verify channel and privacy code settings; Move closer to other radios. |
| Static or unclear audio | Weak signal; Interference | Move to a location with fewer obstructions; Change channel/privacy code. |
| Keypad unresponsive | Keypad is locked | Unlock the keypad (see section 6.7). |
10. Specifications
| Feature | Specification |
|---|---|
| Brand | Radioddity |
| Model Number | FS-T3 |
| Item Weight | 4.2 ounces |
| Product Dimensions | 1 x 1.97 x 5.12 inches |
| Batteries | 4 Lithium Ion batteries required (included) |
| Number of Channels | 22 FRS Channels |
| Frequency Range | FRS |
| Talking Range Maximum | 3 Miles (open land) |
| Voltage | 3.7 Volts |
| Water Resistance Level | Water Resistant |
| Special Features | Integrated Flashlight, Keypad Lock, Lightweight, Rechargeable, VOX (Hands-free) |
11. Warranty and Support
Radioddity provides the following for your FS-T3 radios:
- Warranty: 18 months Warranty, Free Replacement.
- Support: Lifetime Supports.
For any inquiries or assistance, please refer to the contact information provided with your product packaging or visit the official Radioddity website.


