
1. Introduction and Overview
Thank you for choosing the Commercial CHEF Mini Spiralizer. This manual provides essential information for the safe and efficient use of your new kitchen tool. The spiralizer is designed to transform vegetables into various noodle shapes, offering a healthy and creative alternative for your meals. It is ideal for preparing low-carb, gluten-free, vegan, and vegetarian dishes.

Image: A family enjoying a healthy meal, showcasing the versatility of spiralized vegetables in various dishes.
2. Product Features
- Food Spiralizer: A top kitchen gadget for healthy food recipes, ideal for low-carb meals.
- 4 Blades: Includes four stainless steel blades for diverse noodle shapes.
- Veggie Spaghetti: Creates carrot noodles, spaghetti squash, zucchini pasta noodles, and more.
- Healthy Recipes: Perfect for gluten-free, heart-healthy, low-carb, vegan, or vegetarian diets.
- Easy Cleanup: Detachable parts for hassle-free hand washing.
- Compact Design: Unit dimensions of 5.89" x 4.21" x 6.97" for seamless kitchen storage.
- Lightweight: Weighs only 1.17 lbs for easy handling.
- BPA-Certified: Made with food-grade, BPA-free materials.
3. What's in the Box
- Commercial CHEF Mini Spiralizer Unit
- 4 Stainless Steel Blades
- Blade Carrying Caddy
- Funnel (for certain models or uses)
4. Setup
- Unpack: Carefully remove all components from the packaging.
- Assemble Vegetable Holder: Insert the vegetable holder into the main unit. Ensure it is securely in place.
- Attach Handle: Tighten the handle clockwise onto the vegetable holder.
- Secure the Base: Place the spiralizer on a clean, flat, non-porous surface. Push down the lever on the base to engage the strong suction cup, securing the unit firmly to the countertop.
- Insert Blade: Select the desired blade from the blade caddy. Slide the chosen blade into the designated slot on the spiralizer. Ensure it clicks into place.
- Position Container: Place the collection container under the blade to catch the spiralized vegetables.
Video: Official product video demonstrating the assembly and use of the Mini Food Spiralizer with 4 blades. Shows how to attach the handle, secure the base, and insert blades.
Video: Maxceysen 4-IN-1 Vegetable Spiralizer demonstration, showing assembly, blade insertion, and spiraling various vegetables.
5. Operating Instructions
- Prepare Vegetables: Wash and trim both ends of your chosen vegetable (e.g., zucchini, cucumber, carrot, potato). For best results, ensure the vegetable is firm and cut to a length of less than 4 inches to fit properly.
- Load Vegetable: Center the vegetable onto the prongs of the vegetable holder. Push it firmly against the blade.
- Spiralize: While applying gentle pressure to the vegetable holder, turn the crank handle clockwise. The vegetable will be pushed through the blade, creating spirals that fall into the collection container.
- Continue until complete: Continue turning until the entire vegetable is spiralized or until only a small core remains.

Image: A potato being spiralized, demonstrating the process of turning the crank to create spirals.

Image: A zucchini being spiralized into long, curly noodles, ready for cooking or salads.
6. Blade Types and Usage
The Commercial CHEF Mini Spiralizer comes with 4 interchangeable stainless steel blades, allowing you to create a variety of vegetable noodle shapes and thicknesses:
- Thin Spaghetti Blade: Ideal for delicate pasta dishes, salads, or garnishes.
- Thick Spaghetti Blade: Perfect for heartier pasta alternatives or stir-fries.
- Ribbon Blade: Creates wide, flat ribbons, great for lasagna, wraps, or decorative elements.
- Curly Fry Blade: Produces curly, spiral-cut fries from potatoes or other root vegetables.

Image: A close-up view of the four interchangeable stainless steel blades, stored in their protective caddy.
7. Maintenance and Cleaning
Proper maintenance ensures the longevity and hygiene of your spiralizer.
- Disassembly: Unlock the base suction cup. Remove the vegetable holder and the inserted blade. Detach the collection container.
- Washing: All parts are designed for easy disassembly and should be hand washed with warm, soapy water. Use a small brush (often included) to clean any food particles from the blades.
- Rinsing: Rinse all components thoroughly under running water.
- Drying: Allow all parts to air dry completely before reassembly or storage.
- Storage: Store the blades safely in the provided blade carrying caddy. The compact design of the spiralizer allows for seamless kitchen storage.

Image: The spiralizer disassembled, with its components laid out for easy cleaning.
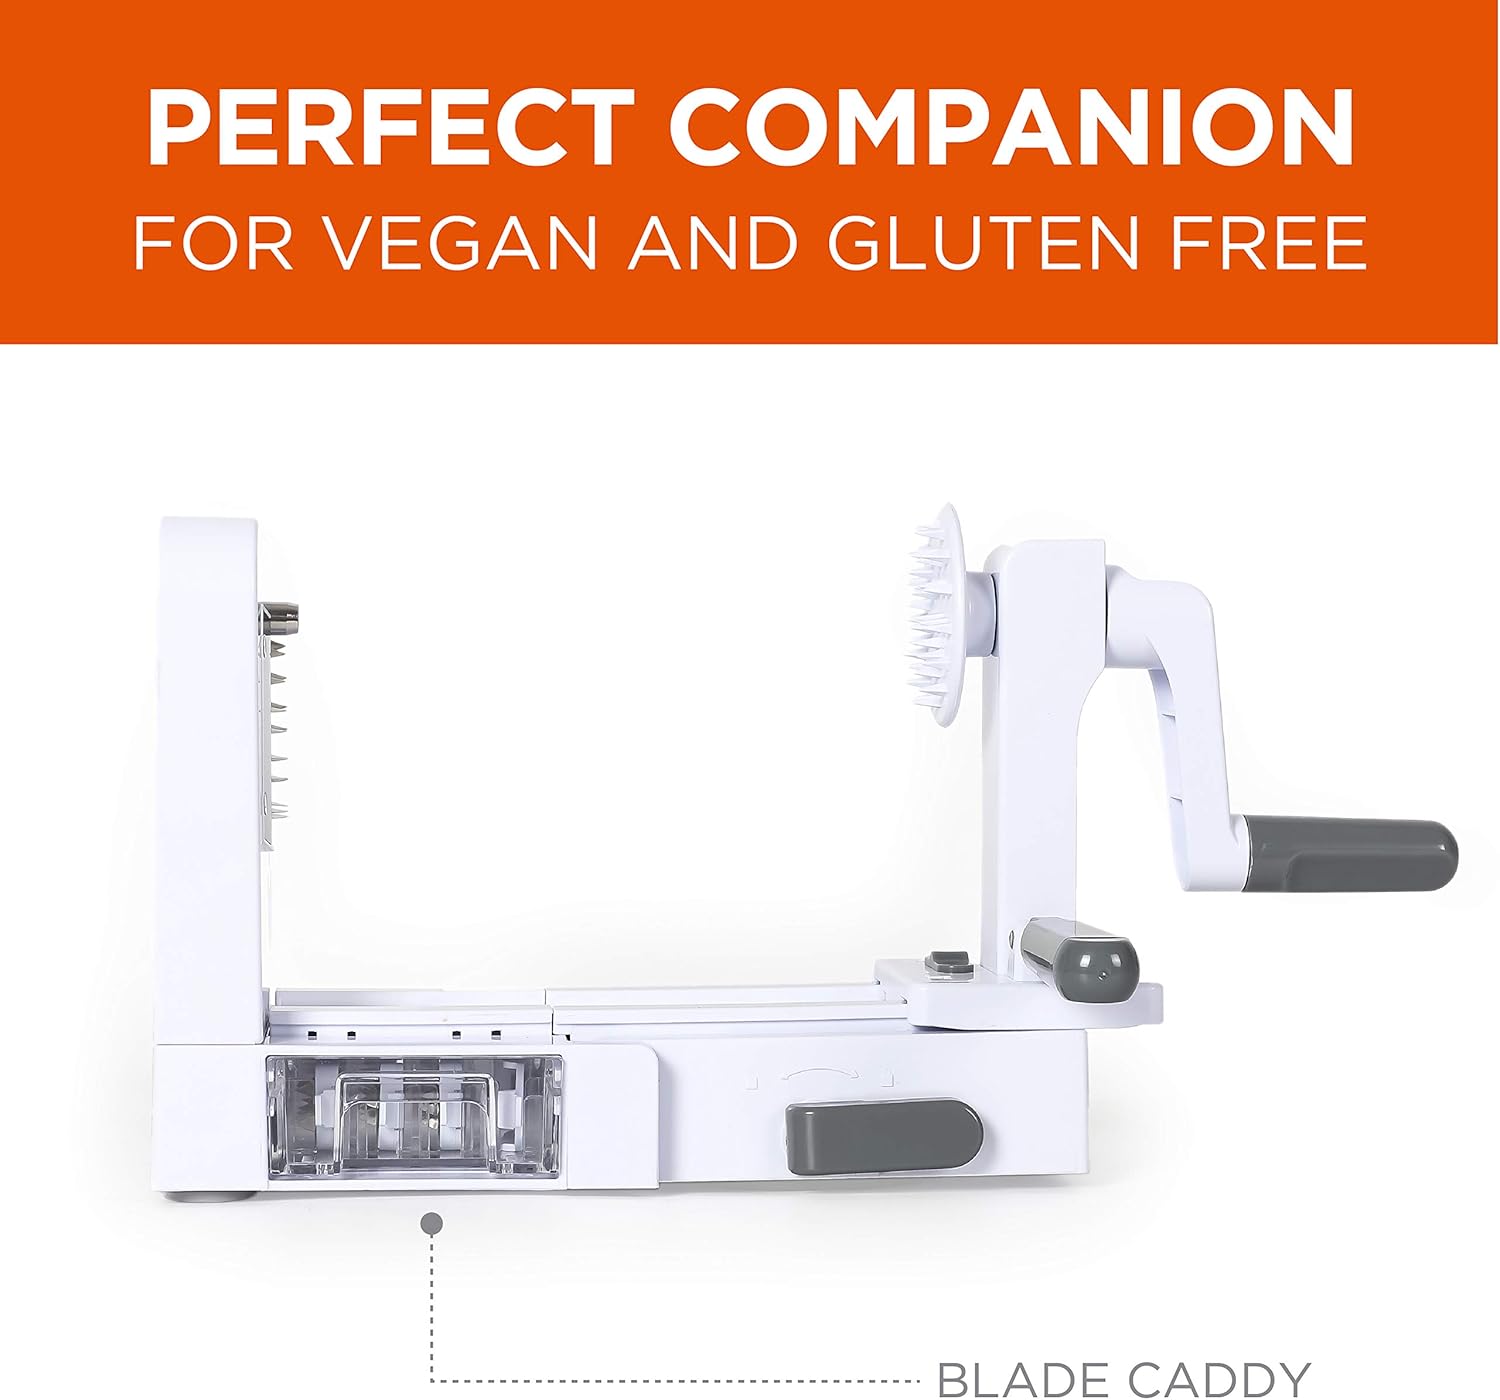
Image: The spiralizer folded into its compact storage configuration, with the blade caddy integrated.
8. Troubleshooting
- Vegetable Not Spiraling: Ensure the vegetable is firm and properly centered on the prongs. Apply consistent, gentle pressure while turning the crank. Make sure the blade is correctly inserted and not dull.
- Unit Sliding on Countertop: Verify that the suction cup lever is fully engaged and the countertop surface is clean, dry, and non-porous.
- Blades Not Cutting Effectively: Check if the blade is clean and free of debris. If blades become dull over time, consider replacing them.
- Difficulty Turning Crank: Ensure the vegetable is not too large or hard for the chosen blade. Apply steady, even pressure.
9. Specifications
| Brand | Commercial CHEF |
| Model Number | CH1532 |
| Material | Stainless Steel (Blades), BPA-Free Plastic (Body) |
| Color | White |
| Special Feature | Blade Caddy |
| Recommended Uses | Vegetable Spiralizing |
| Product Care Instructions | Hand Wash Only |
| Item Weight | 1.2 Pounds |
| Product Dimensions | 6 x 4 x 7 inches |
| Operation Mode | Manual |

Image: Visual representation of the spiralizer's dimensions: 6 inches long, 4 inches wide, and 7 inches high.
10. Warranty and Support
For warranty information and customer support, please refer to the product packaging or contact Commercial CHEF customer service directly. Keep your purchase receipt for any warranty claims.


