1. Introduction
This manual provides essential instructions for the safe operation, setup, maintenance, and troubleshooting of your CROWN CT31015 Spray Gun with Separate Motor. Please read this manual thoroughly before using the product to ensure proper function and to prevent injury or damage. Keep this manual for future reference.

Image 1.1: The CROWN CT31015 Spray Gun with its separate motor unit, hose, and spray gun assembly.
2. Safety Instructions
Always observe the following safety precautions to reduce the risk of electric shock, fire, or serious injury.
- Work Area Safety: Keep the work area clean and well-lit. Cluttered or dark areas invite accidents. Do not operate power tools in explosive atmospheres, such as in the presence of flammable liquids, gases, or dust.
- Electrical Safety: Power tool plugs must match the outlet. Never modify the plug in any way. Do not abuse the cord. Never use the cord for carrying, pulling, or unplugging the power tool. Keep cord away from heat, oil, sharp edges, or moving parts.
- Personal Safety: Always wear appropriate personal protective equipment, including safety glasses, a respirator mask, and gloves. Avoid wearing loose clothing or jewelry. Secure long hair.
- Chemical Safety: Always refer to the paint or material manufacturer's safety data sheet (SDS) for specific handling, ventilation, and disposal instructions. Ensure adequate ventilation to prevent inhalation of fumes.
- Tool Use and Care: Do not force the power tool. Use the correct power tool for your application. Disconnect the plug from the power source before making any adjustments, changing accessories, or storing power tools.
- Maintenance: Have your power tool serviced by a qualified repair person using only identical replacement parts. This will ensure that the safety of the power tool is maintained.
3. Package Contents
Verify that all items listed below are present and undamaged upon opening the package.
- Spray gun
- User manual (this document)
- Air hose
- Measuring funnel
- Cleaning rod
- Cleaning brush
- Nozzle: 2 pieces (sizes 2/2.5/3 mm, specific sizes may vary)
- Seal ring: 2 Pieces
- Special wrench for spray tip
- Hose holder: 2 pieces

Image 3.1: View of the CROWN CT31015 spray gun and motor unit, showing the main components.
4. Technical Specifications
| Feature | Specification |
|---|---|
| Model | CT31015 |
| Rated Power | 1200 W |
| Amperage (at 220-230 V) | 4.5 A |
| Flow Rate | 1100 ml/min |
| Maximum Spraying Pressure | 0.1 - 0.3 bar |
| Maximum Viscosity | 150 DIN-s |
| Nozzle Diameter | 2 / 2.5 / 3 mm |
| Reservoir Capacity | 900 ml |
| Weight | 5.1 kg |
| Product Dimensions | 31 x 39.2 x 52.2 cm |
| Power Source | Corded Electric |
5. Setup and Preparation
5.1. Assembly
- Connect Air Hose: Attach one end of the air hose securely to the air outlet on the motor unit and the other end to the air inlet on the spray gun handle. Ensure connections are tight to prevent air leaks.
- Attach Spray Gun to Holder: Place the spray gun into the designated hose holder on the motor unit when not in use or during preparation.
- Select Nozzle: Choose the appropriate nozzle (2mm, 2.5mm, or 3mm) based on the viscosity of the material to be sprayed. Use the special wrench to securely attach the selected nozzle to the spray gun.
- Attach Reservoir: Screw the paint reservoir firmly onto the bottom of the spray gun assembly.

Image 5.1: The CROWN CT31015 spray gun fully assembled with the motor unit, hose, and paint reservoir.
5.2. Material Preparation
- Dilution: Most paints and coatings require dilution before spraying. Use the measuring funnel to determine the correct viscosity. Refer to the paint manufacturer's instructions for recommended dilution ratios.
- Filtering: Always filter the paint or material through a fine mesh strainer or paint filter to remove any lumps or debris that could clog the nozzle.
- Filling Reservoir: Carefully pour the prepared material into the 900 ml reservoir. Do not overfill.
6. Operating Instructions
6.1. Powering On
- Ensure the spray gun is properly assembled and the reservoir is filled.
- Plug the power cord into a suitable electrical outlet (220-230 V).
- Turn on the motor unit using the power switch. The motor will start, providing air pressure to the spray gun.
6.2. Spraying Technique
- Test Spray: Before applying to your project, always perform a test spray on a piece of scrap material to check the spray pattern and material flow. Adjust as necessary.
- Distance: Hold the spray gun approximately 6-10 inches (15-25 cm) from the surface.
- Movement: Move the spray gun in smooth, even strokes, keeping it perpendicular to the surface. Overlap each pass by about 50% to ensure even coverage.
- Trigger Control: Press the trigger fully to start spraying and release it at the end of each stroke.
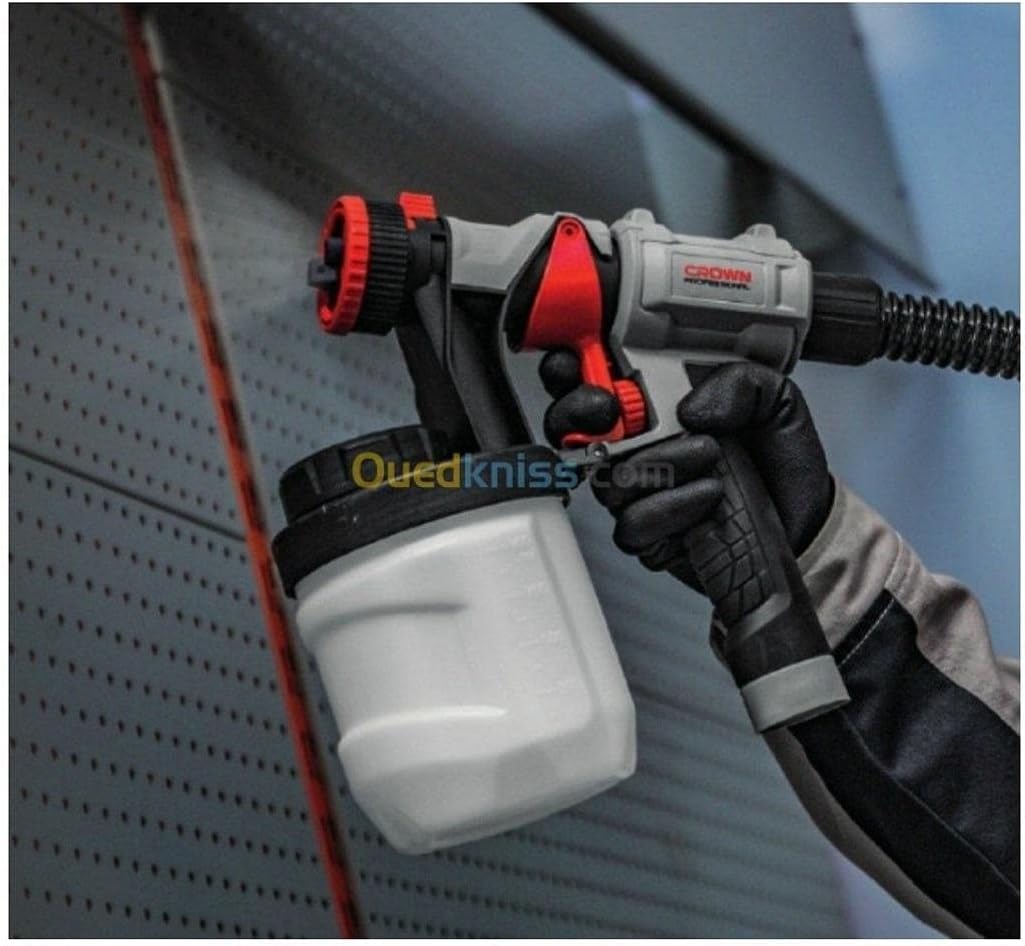
Image 6.1: An individual demonstrating the use of the CROWN CT31015 spray gun for applying paint to a surface.

Image 6.2: A detailed view of the CROWN CT31015 spray gun, highlighting the nozzle and trigger mechanism.
7. Maintenance and Cleaning
Proper cleaning after each use is crucial for maintaining the performance and longevity of your spray gun.
- Empty Reservoir: Disconnect the power and empty any remaining material from the reservoir. Dispose of paint responsibly according to local regulations.
- Initial Rinse: Fill the reservoir with an appropriate cleaning solution (water for latex paints, mineral spirits for oil-based paints). Spray the cleaning solution through the gun until it runs clear.
- Disassemble: Carefully disassemble the spray gun components: reservoir, nozzle, air cap, and fluid needle.
- Thorough Cleaning: Use the provided cleaning brush and cleaning rod to remove all paint residue from the disassembled parts. Pay close attention to the nozzle and air cap.
- Rinse and Dry: Rinse all parts with clean water or appropriate solvent and allow them to dry completely before reassembly.
- Storage: Store the clean, dry spray gun and motor unit in a safe, dry place, away from extreme temperatures.
8. Troubleshooting
Refer to this section for solutions to common operational issues.
| Problem | Possible Cause | Solution |
|---|---|---|
| No Spray or Weak Spray | Clogged nozzle or air cap Insufficient material in reservoir Air leaks in hose connections Material too thick | Clean nozzle and air cap Refill reservoir Tighten all hose connections Dilute material to recommended viscosity |
| Uneven Spray Pattern | Partially clogged nozzle Incorrect spray gun distance Inconsistent movement | Clean nozzle thoroughly Maintain consistent distance (6-10 inches) Practice smooth, even strokes |
| Motor Not Starting | No power supply Faulty power cord/switch | Check power outlet and connections Contact qualified service personnel |
| Excessive Overspray | Spray gun too far from surface Material too thin | Reduce distance to surface Adjust dilution or use a smaller nozzle |
9. Warranty and Support
For warranty information, technical support, or to inquire about replacement parts, please contact Crown customer service or refer to the warranty card included with your product. Keep your purchase receipt as proof of purchase for warranty claims.
You may also visit the official Crown website for additional resources and contact details: www.crown-tools.com


