
Introduction
This instruction manual provides essential information for the safe and correct installation, operation, and maintenance of your NORDRIVE N15086 Silence Aluminum Roof Bars. Please read this manual thoroughly before installation and keep it for future reference. Proper installation and use are crucial for your safety and the longevity of the product.
Safety Information
Always adhere to the following safety guidelines:
- Do not exceed the maximum load capacity specified for your vehicle's roof or the roof bars. Refer to your vehicle's owner's manual for specific load limits.
- Ensure all components are securely fastened before driving. Periodically check the tightness of all bolts and fasteners, especially after the first few kilometers of driving and after long journeys.
- Distribute the load evenly on the roof bars. Secure items properly to prevent shifting during transit.
- Be aware of increased vehicle height and width when carrying items on the roof. Exercise caution when entering garages, car washes, or low-clearance areas.
- Adjust driving speed according to road conditions and load. Crosswinds and sudden braking can affect vehicle stability.
- Remove roof bars when not in use to reduce wind noise and improve fuel efficiency.
Package Contents
Verify that all components are present before beginning installation:
- 2 x NORDRIVE Silence Aluminum Roof Bars (L - 128 cm)
- 4 x Foot attachments (specific to vehicle model, sold separately or included in a complete kit)
- Mounting hardware (bolts, washers, tools if applicable)
- Instruction Manual
Note: Foot attachments are vehicle-specific and must be purchased separately or as part of a complete system. This manual focuses on the roof bar features.
Setup and Installation
The NORDRIVE N15086 Silence roof bars are designed for easy installation with compatible foot attachments. Follow these general steps:
1. Prepare the Roof Bars
The robust anodized aluminum alloy profile features a top T-slot for quick connectors and a lower groove for foot attachment insertion. The front rubber profile is designed to reduce wind noise and improve aerodynamics.
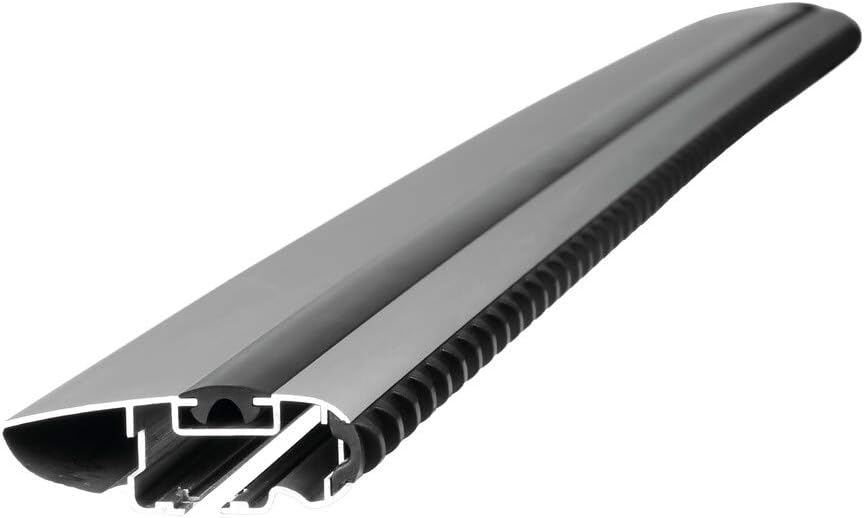
Image: Close-up of the NORDRIVE Silence roof bar profile, highlighting the T-slot and aerodynamic shape.
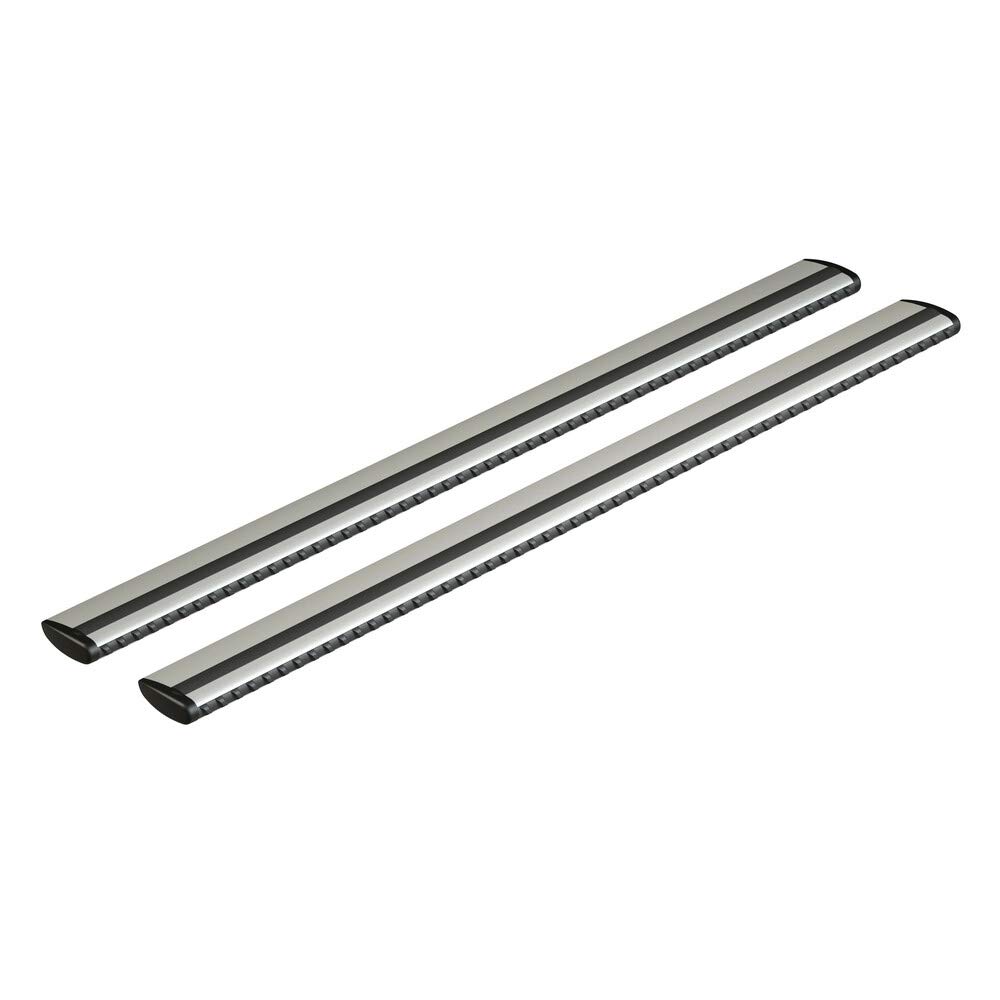
Image: Detailed view of the roof bar end cap and a T-slot connector, demonstrating the "press-to-open" system.
- T-Slot Access: The patented PTO "press-to-open" system allows for quick insertion of T-slot connectors without removing the end terminal.
- Lower Groove: The lower groove is for inserting and sliding the foot attachments. A graduated positioning scale assists with quick and simple assembly.

Image: Side view of the roof bar with a graduated scale for accurate foot attachment positioning.
2. Attach Foot Mounts
Slide the foot attachments into the lower groove of each roof bar. Use the graduated scale to ensure symmetrical positioning. Refer to the specific instructions provided with your foot attachment kit for detailed steps on securing them to the roof bars and your vehicle.
3. Mount to Vehicle
Carefully place the assembled roof bars onto your vehicle's roof. Follow the instructions provided with your vehicle-specific foot attachments to secure the entire system to your car. Ensure all clamps and bolts are tightened to the manufacturer's specifications. The rubber profile seals the groove after mounting.

Image: NORDRIVE Silence roof bars correctly installed on a vehicle.
4. Final Check
Before driving, gently pull and push on each roof bar to confirm it is securely attached and does not move. Re-check all fasteners after the first short drive (approx. 50 km) and regularly thereafter.
Operating Instructions
Once installed, your NORDRIVE Silence roof bars are ready to transport various items. Always consider the following:
- Load Capacity: Never exceed the maximum load capacity of the roof bars (typically 75 kg, but always check specific product and vehicle limits).
- Load Distribution: Distribute the weight evenly across both roof bars. Place heavier items in the center and secure them firmly.
- Securing Loads: Use appropriate straps, nets, or specialized carriers (e.g., bike racks, ski carriers, roof boxes) to secure your load. Ensure no part of the load obstructs your view or interferes with vehicle operation.
- Aerodynamics: Large or irregularly shaped loads can significantly affect vehicle aerodynamics and fuel consumption. Drive cautiously.
- Wind Noise: While the Silence bars are designed to minimize wind noise, certain loads or driving conditions may still generate noise.
Maintenance
Regular maintenance ensures the longevity and safe operation of your roof bars:
- Cleaning: Clean the aluminum profiles and rubber components with mild soap and water. Avoid abrasive cleaners or solvents that could damage the finish or rubber.
- Inspection: Periodically inspect all components for signs of wear, damage, or corrosion. Check the rubber seals and profiles for cracks or deterioration.
- Fastener Check: Regularly check the tightness of all mounting bolts and fasteners. Vibrations during driving can cause them to loosen over time.
- Storage: If not in use for extended periods, it is recommended to remove the roof bars and store them in a dry, protected area to prevent unnecessary wear and exposure to elements.
Troubleshooting
Here are solutions to common issues you might encounter:
| Problem | Possible Cause | Solution |
|---|---|---|
| Roof bars feel loose after installation. | Fasteners not tightened sufficiently. | Re-tighten all mounting bolts and clamps according to the foot attachment instructions. Ensure proper torque. |
| Excessive wind noise. | Incorrect positioning; rubber strip not fully seated; load not aerodynamic. | Ensure roof bars are positioned correctly. Check that the rubber profile in the top groove is fully seated. Adjust load for better aerodynamics. Consider removing bars when not in use. |
| Difficulty inserting T-slot connectors. | Rubber profile not pressed down correctly; debris in T-slot. | Ensure the "press-to-open" rubber profile is fully depressed. Clear any debris from the T-slot. |
| Scratches on vehicle roof. | Improper installation of foot pads; dirt trapped under pads. | Ensure foot pads are correctly installed and clean the vehicle's roof surface before mounting. Do not overtighten. |
Specifications
| Feature | Detail |
|---|---|
| Brand | NORDRIVE |
| Model Number | N15086 |
| Length | 128 cm (L size) |
| Material | Anodized Aluminum Alloy, Rubber |
| Item Weight | 6 Kilograms (for the pair) |
| Package Dimensions | 130 x 15 x 15 cm |
| Aerodynamic Profile | Yes, with front rubber profile to eliminate resonance and improve efficiency. |
| T-Slot System | Yes, with patented PTO "press-to-open" for quick connector insertion. |
| Foot Attachment Groove | Lower groove for retractable foot attachment insertion with graduated positioning scale. |
| Vehicle Service Type | Car |
| Fit Type | Universal fit (with appropriate vehicle-specific foot attachments) |

Image: Technical drawing illustrating the cross-section dimensions of the roof bar (83 mm width, 28 mm height).
Warranty Information
NORDRIVE products are manufactured to high-quality standards. For specific warranty terms and conditions, please refer to the documentation included with your purchase or visit the official NORDRIVE website. Typically, warranties cover manufacturing defects under normal use. Damage resulting from improper installation, misuse, or exceeding load limits is generally not covered.
Customer Support
If you have any questions regarding the installation, operation, or maintenance of your NORDRIVE N15086 Silence Aluminum Roof Bars, please contact your retailer or visit the official NORDRIVE website for support resources and contact information.
For further assistance, you may also refer to the manufacturer's website: www.nordrive.com (Note: This is a placeholder URL, please verify the actual manufacturer's support website.)


