1. Introduction
This manual provides detailed instructions for the installation, operation, and maintenance of your ASUS TUF Gaming B550-PLUS ATX Gaming Motherboard. Designed for AMD 3rd Gen Ryzen CPUs, this motherboard offers robust performance and stability with features like PCIe 4.0, 2.5Gb LAN, and comprehensive cooling solutions.
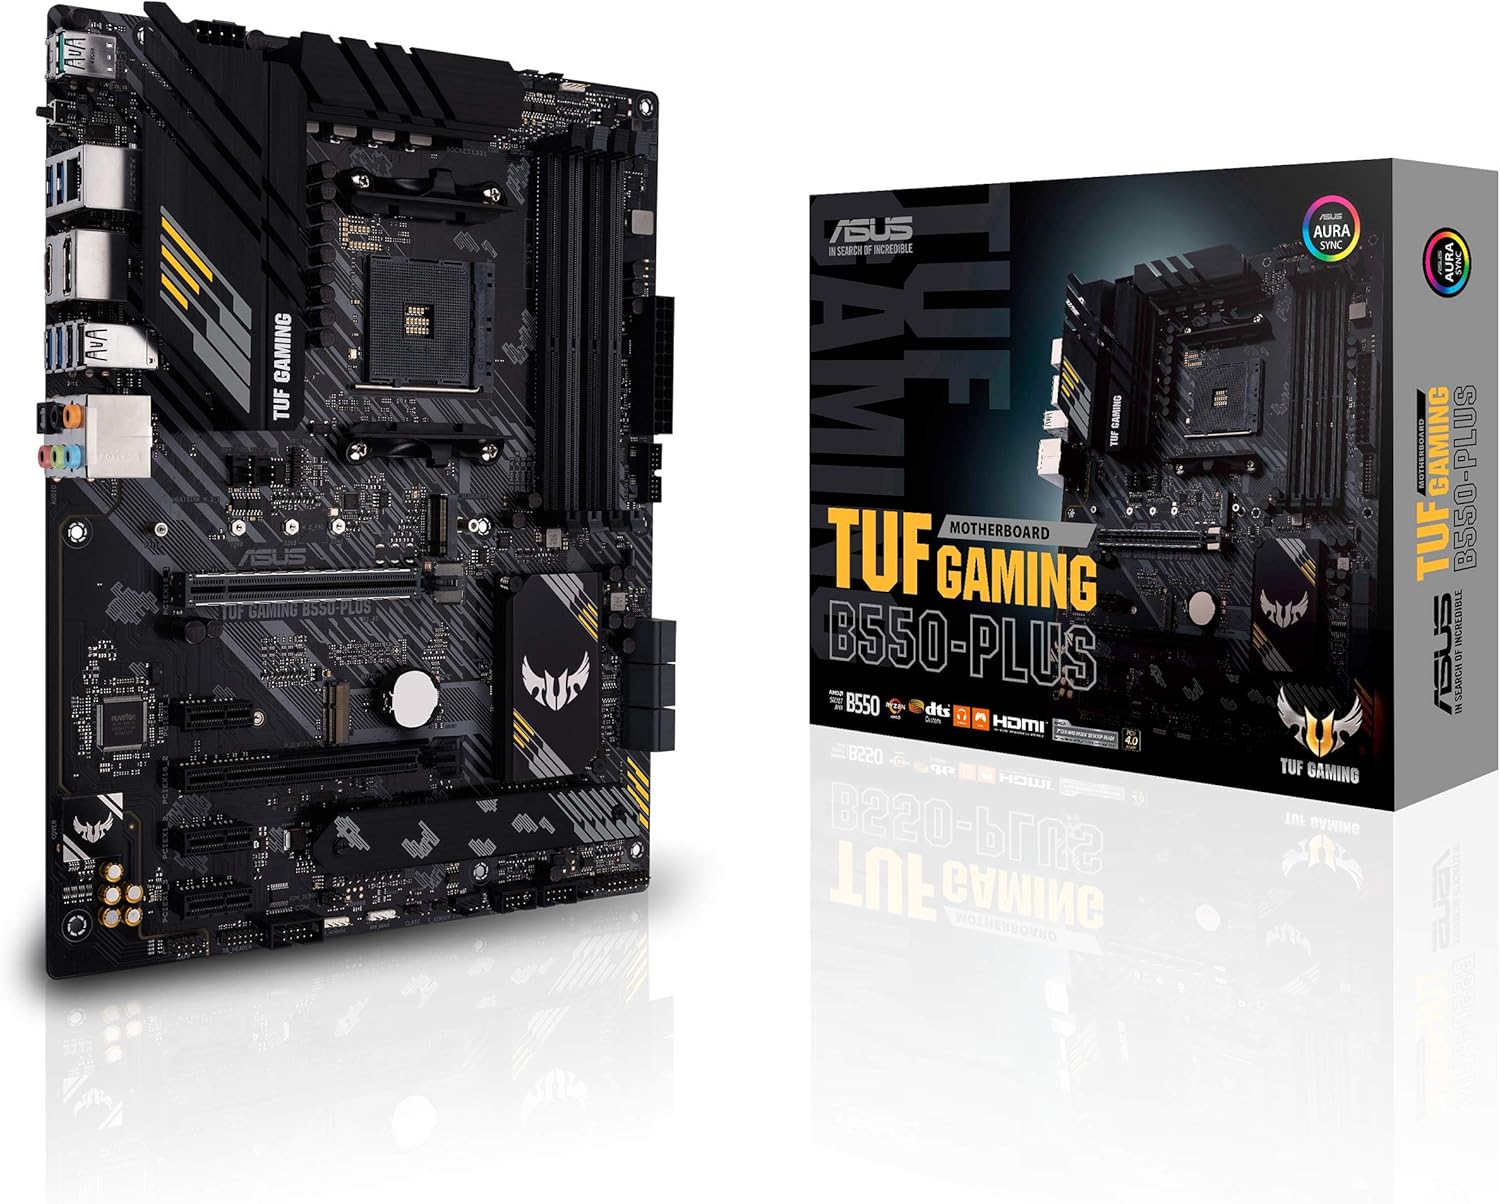
Figure 1.1: The ASUS TUF Gaming B550-PLUS Motherboard and its retail packaging.
2. Setup and Installation
Follow these steps to properly install your motherboard and its components.
2.1 Unpacking and Inspection
Carefully remove all components from the box. Verify that all items listed in the "What's in the Box" section are present and undamaged.

Figure 2.1: Contents typically found in the ASUS TUF Gaming B550-PLUS retail box, including the motherboard, I/O shield, user guide, support DVD, SATA cables, M.2 screws, and M.2 rubber.
2.2 Component Overview
Familiarize yourself with the key areas of the motherboard before installation.

Figure 2.2: Key features for gaming immersion, including 4-pin RGB headers, Realtek 2.5 Gb LAN, Realtek S1200A 7.1-channel HD audio codec, 3-pin addressable Gen 2 RGB header, and Aura Sync RGB lighting.

Figure 2.3: Features related to power and performance, such as ProCool Socket with solid pins, military-grade TUF chokes & caps, 64Gb/s M.2 support (PCIe 4.0 x4 & SATA mode), and 32Gb/s M.2 support (PCIe 3.0 x4 & SATA mode).

Figure 2.4: Comprehensive cooling and protection features, including TUF LANGuard & ESD Guards, VRM heatsinks & thermal pads, ASUS SafeSlot, M.2 heatsink, 4-pin PWM/DC fan headers, multi-temperature sources, and AIO water-cooling set support.

Figure 2.5: The rear I/O panel, featuring USB 3.2 Gen 2 (Type-A & Type-C), BIOS Flashback button, HDMI 2.1, DisplayPort 1.2, Realtek 2.5 Gb LAN, 2x USB 3.2 Gen 1, 2x USB 2.0, 1x Optical S/PDIF Out, and audio jacks.
2.3 Processor Installation
- Ensure the CPU socket lever is in the open position.
- Align the triangular mark on the CPU with the mark on the socket.
- Gently place the CPU into the socket. Do not force it.
- Close the socket lever to secure the CPU.
2.4 Memory (RAM) Installation
- Open the clips at both ends of the DIMM slot.
- Align the notch on the memory module with the key in the DIMM slot.
- Insert the memory module firmly into the slot until the clips snap into place.
2.5 Storage Device Installation (M.2 SSDs)
- Locate the M.2 slots on the motherboard. One slot supports PCIe 4.0 x4, and the other supports PCIe 3.0 x4.
- Remove the M.2 heatsink if present (for the primary M.2 slot).
- Insert the M.2 SSD into the slot at a 30-degree angle.
- Push down the SSD and secure it with the provided M.2 screw.
- Reinstall the M.2 heatsink if applicable.
2.6 Graphics Card (PCIe) Installation
- Open the retention clip on the PCIe x16 slot.
- Align the graphics card with the slot and press firmly until it clicks into place.
- Secure the card to the chassis with a screw.
2.7 Power Supply Connections
- Connect the 24-pin ATX power connector.
- Connect the 8-pin (or 4+4 pin) CPU power connector.
- Connect SATA power cables to storage drives as needed.
2.8 Front Panel Connections
Connect the power button, reset button, HDD LED, power LED, and USB/audio headers from your chassis to the corresponding pins on the motherboard. Refer to the motherboard's user guide for exact pin layouts.
2.9 BIOS Update (for Ryzen 5000 series CPUs)
If installing a Ryzen 5000 series CPU, ensure your BIOS is up to date. This motherboard supports BIOS Flashback, allowing you to update the BIOS without a CPU installed.
- Download the latest BIOS file from the ASUS support website for your specific motherboard model.
- Rename the downloaded BIOS file according to ASUS instructions (usually to "TUF GAMING B550-PLUS.CAP").
- Copy the renamed file to the root directory of a FAT16/FAT32 formatted USB flash drive.
- With the system powered off but connected to power, insert the USB drive into the designated BIOS Flashback USB port on the rear I/O panel (refer to Figure 2.5).
- Press and hold the BIOS Flashback button for approximately three seconds until the LED starts flashing.
- Wait for the LED to stop flashing, indicating the update is complete. This may take several minutes.
- Remove the USB drive and power on the system.
3. Operating the Motherboard
Once assembled, you can configure your system through the UEFI BIOS and install the operating system.
3.1 UEFI BIOS Overview
The UEFI BIOS (Unified Extensible Firmware Interface Basic Input/Output System) allows you to configure hardware settings, boot order, and system performance. To enter BIOS setup, press the DEL key or F2 key during system startup.
- EZ Mode: Provides a quick overview of system information, fan profiles, and boot priority.
- Advanced Mode: Offers detailed configuration options for CPU, memory, storage, and peripherals.
3.2 Fan Xpert 4 and Q-Fan Control
The motherboard features comprehensive fan control through Fan Xpert 4 software or the UEFI Q-Fan Control utility. This allows for precise tuning of fan speeds based on temperature sensors, ensuring optimal cooling and noise levels.
3.3 Aura Sync RGB Lighting
Customize the RGB lighting effects on your motherboard and connected Aura Sync compatible devices using the ASUS Aura Sync software. The motherboard includes both 4-pin RGB headers and a 3-pin addressable Gen 2 RGB header for extensive customization.
3.4 Audio Configuration
The integrated Realtek S1200A 7.1-channel HD audio codec, combined with DTS Sound Unbound and Sonic Studio III, provides high-fidelity audio. Ensure proper driver installation for optimal sound performance.
4. Maintenance
Proper maintenance ensures the longevity and stable operation of your motherboard.
- Dust Removal: Regularly clean dust from the motherboard and components using compressed air. Ensure the system is powered off and unplugged before cleaning.
- BIOS Updates: Periodically check the ASUS support website for new BIOS versions. Updates can improve stability, compatibility, and performance.
- Driver Updates: Keep all device drivers (chipset, LAN, audio, etc.) updated to ensure optimal performance and compatibility with your operating system.
- Cable Management: Ensure internal cables are neatly routed to improve airflow and prevent interference.
5. Troubleshooting
This section addresses common issues you might encounter.
5.1 No Power / No POST (Power-On Self-Test)
- Check Power Connections: Ensure the 24-pin ATX and 8-pin CPU power connectors are securely seated.
- Verify Components: Reseat the CPU, RAM modules, and graphics card. Try booting with only essential components (CPU, one RAM stick, graphics card if no integrated graphics).
- Clear CMOS: Power off the system, unplug the power cord, and remove the CMOS battery for 5-10 minutes, or use the Clear CMOS jumper if available.
- BIOS Flashback: If using a new CPU generation (e.g., Ryzen 5000 series), ensure the BIOS is updated using the BIOS Flashback feature as described in Section 2.9.
5.2 System Instability / Crashes
- Memory Issues: Run a memory diagnostic tool (e.g., Windows Memory Diagnostic, MemTest86). Try different RAM slots or modules.
- Overheating: Monitor CPU and GPU temperatures. Ensure all fans are functioning correctly and heatsinks are properly seated.
- Driver Conflicts: Update all drivers to their latest versions. Perform a clean installation of graphics drivers.
- Power Supply: Ensure your power supply unit (PSU) has sufficient wattage for all components.
5.3 Network Connectivity Issues (2.5Gb LAN)
- Driver Installation: Ensure the Realtek 2.5Gb LAN driver is correctly installed.
- Cable Check: Verify the Ethernet cable is securely connected to both the motherboard and the router/modem.
- Router/Modem: Restart your network equipment.
6. Technical Specifications
| Feature | Specification |
|---|---|
| Brand | ASUS |
| Model Name | TUF GAMING B550-PLUS |
| CPU Socket | Socket AM4 |
| Compatible Processors | AMD 3rd Generation Ryzen, Ryzen 5000 Series (with BIOS update) |
| Chipset Type | AMD B550 |
| RAM Memory Technology | DDR4 |
| Memory Clock Speed | 4400 MHz (OC) |
| Max Memory Storage Capacity | 128 GB |
| PCIe Support | PCIe 4.0 |
| LAN | 2.5Gb Ethernet (Realtek) |
| Video Output | HDMI 2.1 (4K@60Hz), DisplayPort 1.2 |
| USB Ports | USB 3.2 Gen 2 Type-C & Type-A, USB 3.2 Gen 1, USB 2.0 |
| M.2 Slots | 2 (one PCIe 4.0 x4, one PCIe 3.0 x4) |
| Form Factor | ATX |
| Item Weight | 2 pounds |
| Product Dimensions | 13.3 x 10.7 x 2.7 inches |
7. Warranty and Support
7.1 Warranty Information
ASUS products come with a limited warranty. Please refer to the warranty card included in your product packaging or visit the official ASUS website for detailed warranty terms and conditions specific to your region.
7.2 Technical Support
For technical assistance, driver downloads, BIOS updates, or further inquiries, please visit the official ASUS support website:
You can also find helpful resources, FAQs, and community forums on the ASUS website.


