
1. Product Overview
The Linkind StarRay Solar Spot Lights are designed to provide efficient and versatile outdoor illumination. Featuring a durable, waterproof design and advanced solar technology, these lights offer customizable brightness modes and flexible installation options for various landscape lighting needs.
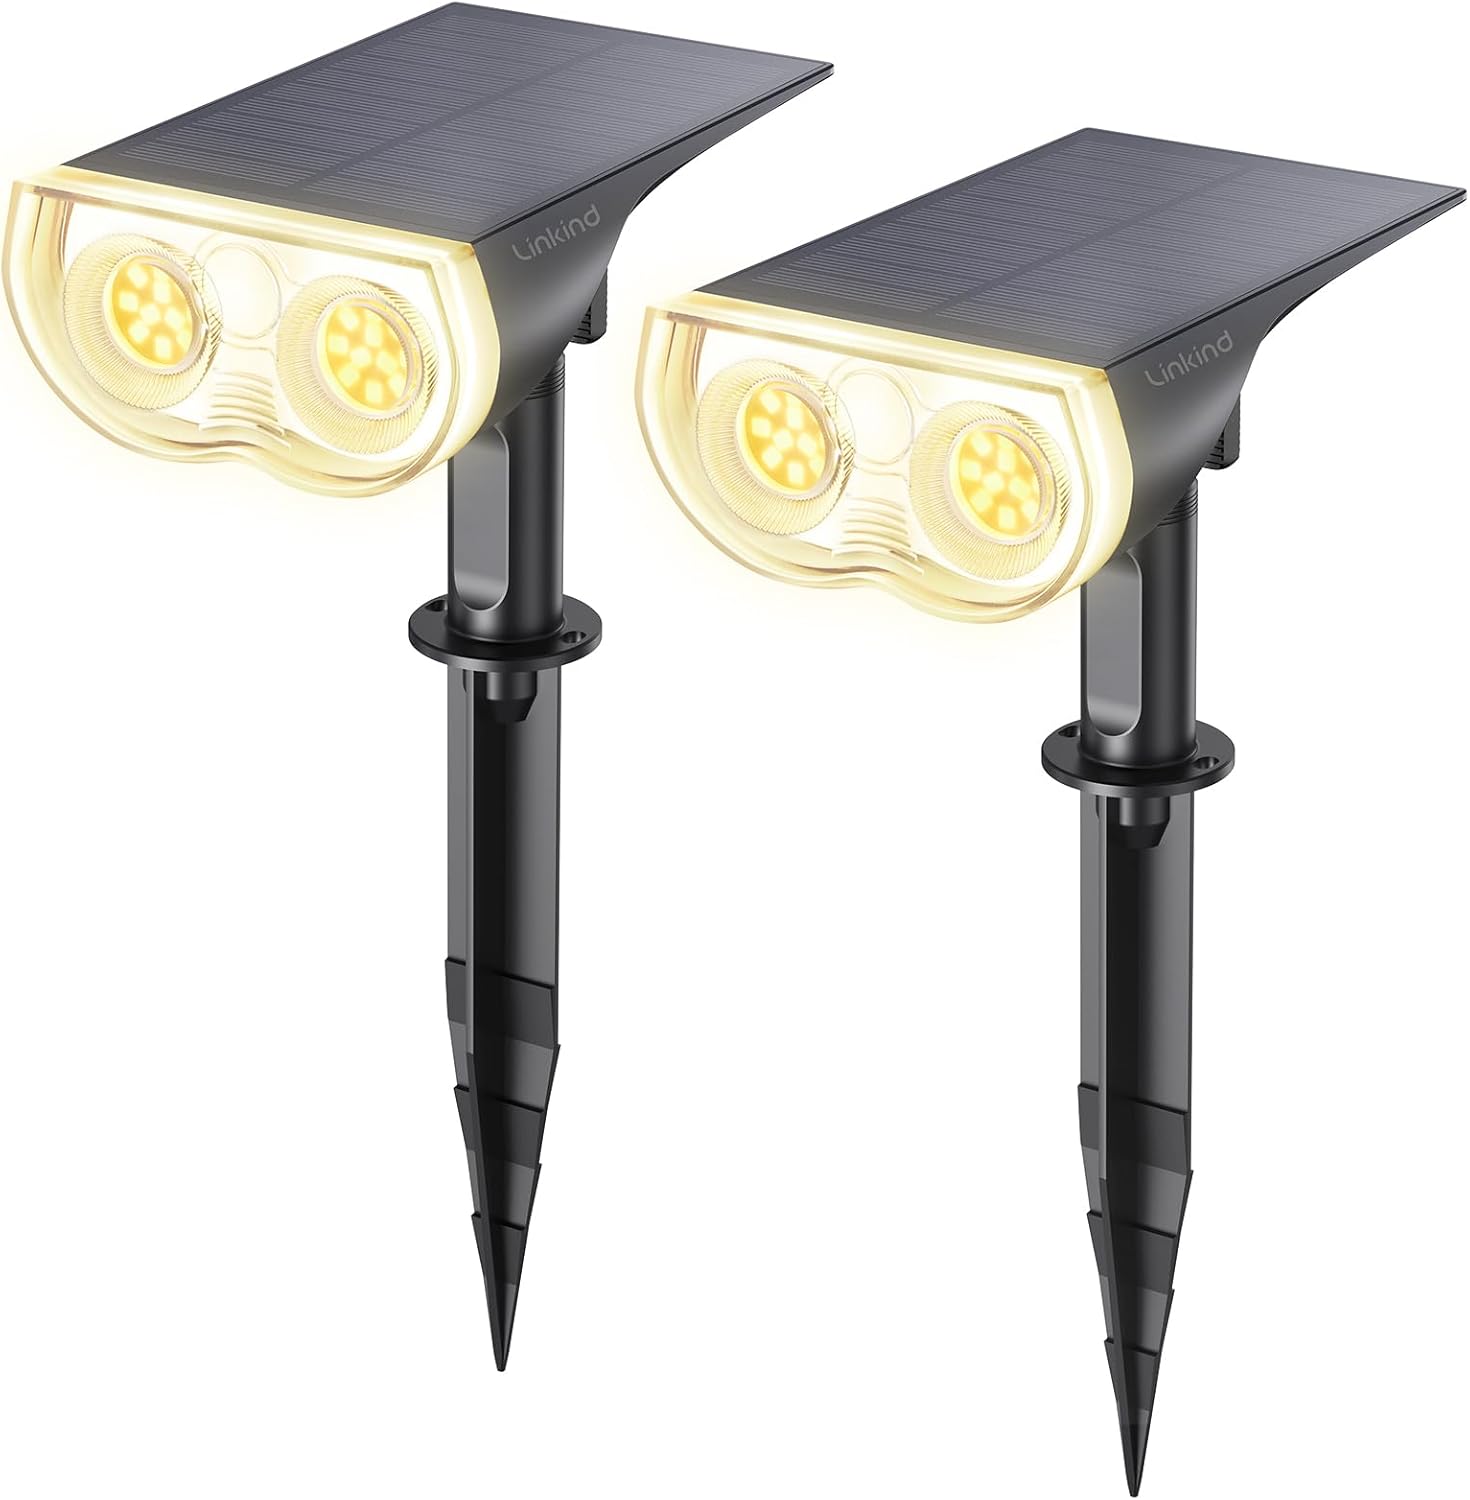
Image: Two Linkind StarRay solar spot lights, showcasing their design and warm white light output.
2. Product Features
- Three Brightness Modes & Dusk-to-Dawn Sensor: Offers High (6 hours), Medium (12 hours), and Low (24 hours) brightness settings. The built-in sensor automatically activates the lights at dusk and deactivates them at dawn.
- Enhanced Solar Panels with 360° Adjustability: Larger solar panels provide a 30% higher photoelectric conversion rate for faster charging. Panels can be adjusted 180° vertically and 360° horizontally to optimize sunlight exposure.
- Powerful 650 Lumen Warm White Light: Equipped with 22 high-quality LEDs, delivering up to 650 lumens of 3000K warm white light with a focused 90° beam angle.
- All-Weather Durability with IP67 Waterproofing: Constructed from durable anti-UV ABS material with an IP67 waterproof rating, ensuring reliable performance in various weather conditions including rain, snow, and heat.
- 2-in-1 Installation for Versatile Use: Can be easily installed by staking into the ground or mounting on a wall using the included hardware.

Image: Illustration of the solar panel's 360-degree horizontal and 180-degree vertical adjustability, highlighting enhanced photoelectric conversion.

Image: Depiction of the light's IP67 waterproof rating and resistance to extreme temperatures, showing it functioning in rainy conditions.
3. Package Contents
Please verify that all components are present in your package:
- Solar Spotlight x 2
- Plastic Rod x 2 (for ground installation)
- Plastic Anchor x 2 (for wall mounting)
- Turn Knob x 2
- Instruction Manual x 1
4. Technical Specifications
| Specification | Detail |
|---|---|
| Brand | Linkind |
| Model Name | Spotlights |
| Model Number | LL18009-WW-SP001A-US-2-A |
| Color | Warm White |
| Material | Acrylonitrile Butadiene Styrene (ABS) |
| Light Source Type | LED |
| Number of LEDs | 22 |
| Brightness | 650 Lumens |
| Color Temperature | 3000K (Warm White) |
| Beam Angle | 90° |
| Voltage | 3 Volts (DC) |
| Power Source | Solar Powered |
| Water Resistance Level | IP67 Waterproof |
| Product Dimensions | 1.97"L x 3.15"W x 5.91"H |
| Item Weight | 1.3 Pounds |
| Battery Type | Lithium Ion (included) |
| Installation Type | In-ground, Wall-mounted |

Image: Visual representation of the light's specifications including LED count, lumen output, and color temperature, shown in a garden setting.
5. Installation Guide
The Linkind Solar Spot Lights offer two primary installation methods: ground insertion and wall mounting.

Image: Overview of the two installation methods: ground stake and wall mount.
5.1 Ground Installation
- Select the Mode: Before assembly, choose your desired brightness mode (High, Medium, or Low) by pressing the power button on the back of the light head.
- Assemble the Holder: Attach the light head to the top of the plastic rod using the turn knob. Ensure it is securely fastened.
- Connect Spikes: Connect the pointed spike end of the plastic rod to the main body.
- Insert into Ground: Firmly insert the assembled light into soft ground in a location that receives ample direct sunlight throughout the day.

Image: Step-by-step guide for ground installation of the solar light.
5.2 Wall Mounting
- Select the Mode: Before assembly, choose your desired brightness mode (High, Medium, or Low) by pressing the power button on the back of the light head.
- Fix the Holder: Use the included plastic anchors and screws to securely mount the wall bracket to your desired wall surface.
- Connect the Two Parts: Attach the light head to the wall bracket using the turn knob.
- Adjust the Angle: Adjust the light head and solar panel to the desired angle for optimal illumination and sunlight exposure.

Image: Step-by-step guide for wall mounting the solar light.
6. Operating Instructions
The Linkind Solar Spot Lights are equipped with a single button for mode selection and an automatic dusk-to-dawn sensor.
- Initial Charge: For optimal performance, allow the solar lights to charge for at least 8-10 hours in direct sunlight before first use.
- Power On/Mode Selection: Locate the power button on the back of the light head.
- Press once (x1) for High Light Mode (approx. 6 hours illumination).
- Press twice (x2) for Medium Light Mode (approx. 12 hours illumination).
- Press three times (x3) for Low Light Mode (approx. 24 hours illumination).
- Press four times (x4) to Turn Off the light.
- Automatic Operation: Once a mode is selected, the light will automatically turn on at dusk and turn off at dawn, based on the ambient light conditions.

Image: Illustration of the three brightness modes and their respective illumination durations.
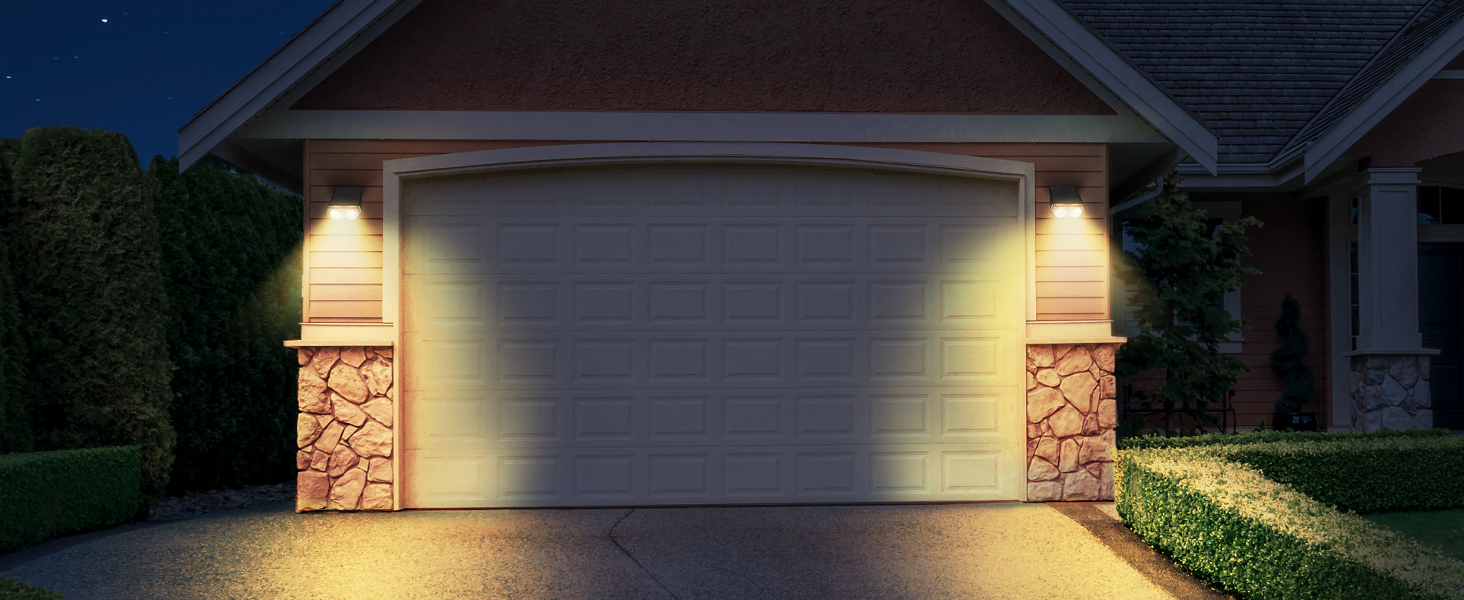
Image: Visual comparison of the light output for High, Medium, and Low brightness settings, and the off state.
7. Care and Maintenance
To ensure the longevity and optimal performance of your Linkind Solar Spot Lights, follow these maintenance guidelines:
- Clean Solar Panel: Regularly wipe the solar panel with a soft, damp cloth to remove dust, dirt, leaves, or snow. A clean panel ensures maximum sunlight absorption and charging efficiency.
- Clear Obstructions: Ensure that no trees, bushes, or structures are blocking direct sunlight from reaching the solar panel, especially during peak charging hours.
- Battery Care: While the battery is included and designed for long life, extreme temperatures can affect its performance. If storing the lights for an extended period, ensure they are fully charged and stored in a cool, dry place.
- Inspect Connections: Periodically check all connections and ensure the light head is securely attached to the stake or wall mount.
- Winter Care: In areas with heavy snowfall, clear snow from the solar panel to allow for charging.
8. Troubleshooting
If your Linkind Solar Spot Light is not functioning as expected, please refer to the following common issues and solutions:
| Problem | Possible Cause | Solution |
|---|---|---|
| Light does not turn on at night. | Insufficient sunlight exposure for charging. | Relocate the light to an area that receives 8-10 hours of direct sunlight daily. Ensure the solar panel is clean. |
| Light duration is shorter than expected. | Partial charging due to cloudy weather or obstructions. | Ensure the solar panel is clean and free from debris. Verify the light is in a location with maximum sun exposure. Consider a lower brightness mode for longer illumination. |
| Light flickers or is dim. | Low battery charge or dirty solar panel. | Allow the light to charge for a full day in direct sunlight. Clean the solar panel. |
| Light turns on during the day. | Dusk-to-dawn sensor is obstructed or faulty. | Ensure no external light sources (e.g., streetlights, porch lights) are directly shining on the solar panel, which can trick the sensor into thinking it's daytime. |
9. Warranty Information
Linkind provides a 1-year warranty for this product. This warranty covers defects in materials and workmanship under normal use. Please retain your proof of purchase for warranty claims.
For warranty service or technical support, please contact Linkind customer service through their official channels. Refer to the product packaging or the Linkind brand store on Amazon for contact details.


