
1. Introduction
This manual provides detailed instructions for the installation, operation, and maintenance of your LEONLITE 8-Pack 7 Inch LED Hardscape Lights. These low-voltage LED lights are designed to enhance outdoor spaces such as retaining walls, steps, decks, and other masonry structures with soft, warm illumination. Please read this manual thoroughly before installation and retain it for future reference.
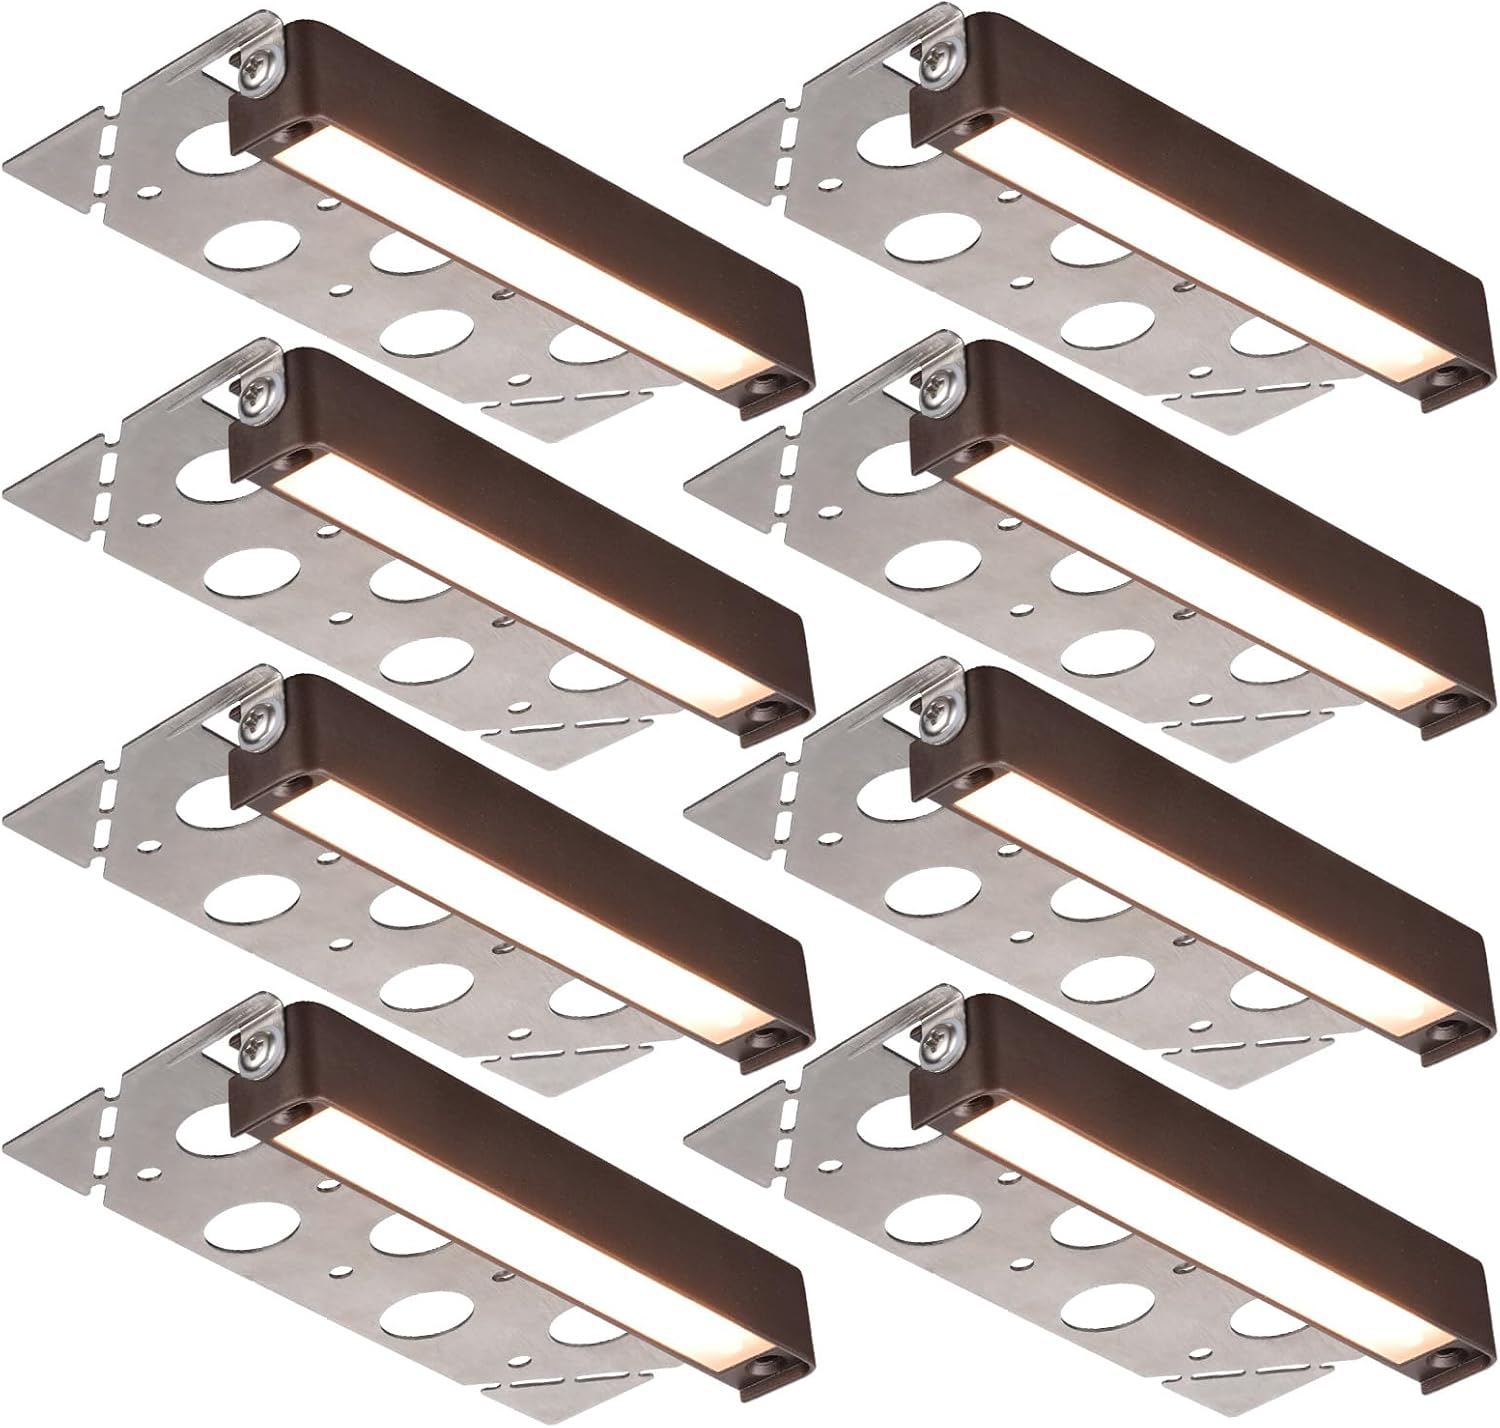
Image: Eight LEONLITE 7-inch LED hardscape lights, showcasing their design and quantity in the pack.

Image: Outdoor steps illuminated by LEONLITE hardscape lights, demonstrating their application in landscape design.
2. Safety Information
- Always disconnect power before installation or servicing.
- This product is designed for 12-24V AC/DC low voltage systems. Do not connect directly to 120V AC power.
- Ensure all wiring connections are secure and waterproof, especially for outdoor use.
- Consult a qualified electrician if you are unsure about any part of the installation process.
- ETL listed for safety and quality assurance.
3. Package Contents
- 8 x 7 Inch LED Hardscape Lights
- 8 x Detachable Stainless Steel Mounting Plates
- 16 x Screws
- 16 x Wall Anchors
- 16 x Waterproof Wire Nuts (gel-filled)
Note: A low voltage transformer is required but not included in this package.

Image: Detailed diagram illustrating the dimensions of the hardscape light and the various accessories included in the package.

Image: The product packaging for the LEONLITE hardscape lights, displaying the lights and accessories within the box.
4. Specifications
| Feature | Specification |
|---|---|
| Brand | LEONLITE |
| Model Numbers | 28598, 70578 |
| Color Temperature | 2700K Soft White |
| Material | Stainless Steel, Aluminum |
| Product Dimensions | 6.85"L x 2.87"W x 0.9"H |
| Voltage | 12-24V AC/DC |
| Wattage (Selectable) | 3W, 4W, 5W |
| Max Brightness | 260 Lumens |
| Color Rendering Index (CRI) | 90 |
| Water Resistance Level | IP65 Waterproof |
| Operating Temperature | -4°F to 104°F (-20°C to 40°C) |
| Lifespan | 30,000 Hours |
| Certifications | ETL Listed, UL Listed Cord |

Image: Key features of the LEONLITE hardscape light, including its IP65 waterproof rating, wide working temperature range, and high CRI 90 for true color rendering.
5. Setup and Installation
Before beginning, ensure you have a compatible 12-24V AC/DC low voltage landscape transformer (not included) and appropriate wiring tools.
5.1 Wiring Connections
- Strip approximately 1/2 inch of insulation from the ends of the light's wire leads and your main low voltage cable.
- Connect the light's wires to the low voltage cable using the provided waterproof (gel-filled) wire nuts. Ensure connections are tight to prevent moisture ingress.
- Repeat for all lights, ensuring proper polarity if applicable to your system (though these lights are AC/DC compatible).
Video: This video demonstrates the features and installation process for the LEONLITE 7 Inch 3W/4W/5W Dimmable LED Hardscape Light, including wiring and mounting options.
5.2 Mounting Options
These lights offer two primary installation methods:
A. Recessed Mounting (Between Blocks)
Ideal for new construction or when blocks can be easily lifted. The stainless steel mounting plate is designed to be placed between retaining wall blocks or pavers.
- Position the light with its mounting plate between two courses of blocks, ensuring the light faces downwards or outwards as desired.
- Secure the blocks above and below the light, ensuring the plate is firmly held in place.
- Route the low voltage wire to your transformer.
B. Surface Mounting (On Existing Structures)
Suitable for existing walls, decks, or other hardscape surfaces. The light unit can be detached from its mounting plate for direct surface attachment.
- Remove the two screws securing the light unit to the stainless steel mounting plate.
- Position the light unit on the desired surface.
- Secure the light unit using the provided screws and anchors, or with landscape-grade adhesive/silicone caulk for a cleaner finish.
- Route the low voltage wire discreetly along the surface or through pre-drilled holes to your transformer.

Image: This image demonstrates the two primary installation methods: surface mounting for wooden steps or existing hardscapes, and recessed mounting for integration beneath capstones during construction.

Image: An exploded view of the hardscape light, detailing how to effortlessly replace the clamp for different installation methods, including a surface mount clamp and a detachable mounting plate.

Image: This diagram highlights the surface mount clamp, emphasizing its convenience for easy installation on various outdoor surfaces without needing to lift stone slabs.
5.3 Wattage Selection
Each light features a selectable wattage setting (3W, 4W, 5W) to adjust brightness. This can be done during installation to match your desired illumination level and energy consumption.

Image: An outdoor scene demonstrating the 3-wattage selectable feature of the hardscape lights, showing different brightness levels (3W 156LM, 4W 208LM, 5W 260LM) on various landscape elements.
5.4 Rotatable Feature
For non-surface mounting applications, the light can be rotated 180 degrees to direct illumination precisely where needed, providing glare-free lighting.

Image: A close-up view of the hardscape light highlighting its rotatable and glare-free design, featuring a thickened stainless steel plate for durability.
5.5 System Design
Lights can be connected in various configurations (Daisy Chain, T-Method, Hub Method) depending on your landscape layout. Ensure your transformer's wattage capacity is sufficient for the total wattage of all connected lights (at least 80% of the transformer's capacity for the load).

Image: This diagram illustrates various wiring configurations for landscape lights, including Daisy Chain (series), T-Method (transformer connects to a fixture in the middle), and Hub Method (each fixture connects to a central hub).

Image: An example of hardscape lights illuminating a wall, accompanied by a note explaining that each fixture has a maximum wattage of 7W and advising on transformer capacity for multiple lights.
6. Operating Instructions
Once properly installed and connected to a compatible low voltage transformer, your LEONLITE hardscape lights will operate according to the settings of your transformer (e.g., timer, photocell). No direct controls are present on the individual light fixtures.
- Power On/Off: Controlled by your low voltage transformer.
- Brightness Adjustment: Adjust the wattage setting (3W/4W/5W) on each light unit as needed during installation or maintenance.
- Light Direction: For non-surface mounted lights, the unit can be rotated 180 degrees to adjust the beam angle.
7. Maintenance
- Cleaning: Periodically clean the light fixtures with a soft, damp cloth to remove dirt and debris that may obstruct light output. Do not use abrasive cleaners.
- Inspection: Regularly inspect the wiring and connections for any signs of damage, wear, or corrosion. Ensure waterproof connections remain sealed.
- Drainage: Ensure that the area around the lights has proper drainage to prevent water accumulation, which could affect performance and lifespan.
8. Troubleshooting
- Lights Not Turning On:
- Check the power supply to your low voltage transformer.
- Verify all wiring connections are secure and correctly made.
- Ensure the transformer is functioning correctly and its timer/photocell settings are appropriate.
- Lights Are Dim or Flickering:
- Confirm the wattage setting on the light unit is at the desired level (3W, 4W, or 5W).
- Check for loose or corroded wiring connections.
- Ensure your transformer has sufficient wattage capacity for all connected lights. Overloading the transformer can cause dimming.
- Water Inside Fixture:
- Although rated IP65 waterproof, ensure all connections are properly sealed with the provided waterproof wire nuts.
- Inspect the fixture for any physical damage that might compromise its seal.
9. Warranty and Support
LEONLITE hardscape lights come with a 3-year warranty from the date of purchase, covering defects in materials and workmanship. For warranty claims, technical support, or any questions regarding your product, please contact LEONLITE customer service through your retailer or the official LEONLITE website.