1. Introduction
Thank you for purchasing the HOMPOW Mini Projector. This projector is designed to provide a high-quality viewing experience with its 1080P Full HD support and 6500 lumens brightness. It includes a 100-inch projection screen for immediate use. This manual will guide you through the setup, operation, and maintenance of your new projector.
Package Contents
- HOMPOW Mini Projector
- 100-inch Projection Screen
- Remote Control
- HDMI Cable
- Power Adapter
- User Manual
2. Safety Instructions
Please read all safety instructions carefully before using the projector. Failure to follow these instructions may result in fire, electric shock, or other injuries.
- Do not look directly into the projector lens when the lamp is on. The bright light can cause eye damage.
- Do not block the ventilation openings. Proper airflow is essential to prevent overheating.
- Keep the projector away from water or other liquids. Do not operate in wet environments.
- Place the projector on a stable, flat surface to prevent it from falling.
- Use only the power adapter provided with the projector.
- Unplug the projector during lightning storms or when unused for long periods.
- Do not attempt to repair the projector yourself. Refer all servicing to qualified personnel.
3. Product Overview
Projector Components
Familiarize yourself with the main parts of your HOMPOW Mini Projector.


Input/Output Ports
- HDMI Port: Connect to devices like laptops, gaming consoles (PS3/PS4), Fire TV Stick, and TV boxes.
- USB Port: Connect USB drives for media playback or power for streaming devices.
- SD Card Slot: Insert SD cards for direct media playback.
- AV Port: Connect to older devices using an AV cable.
- VGA Port: Connect to computers with VGA output.
- Audio Out (3.5mm Jack): Connect external speakers or headphones.
- DC In: Power input for the projector.
4. Setup
Initial Placement
Place the projector on a stable surface. For optimal viewing, ensure the projector is positioned directly in front of the projection surface (wall or screen). The recommended projection distance is approximately 3 meters for a clear image.
Power Connection
- Connect the power adapter to the DC In port on the projector.
- Plug the power adapter into a power outlet.
- Press the power button on the projector or remote control to turn it on.
Connecting Devices
The projector supports various input sources. Below are common connection methods:
HDMI Connection (e.g., Fire TV Stick, Laptop, Gaming Console)
- Connect the HDMI output cable from your device (e.g., Fire TV Stick) to the HDMI input port on the projector.
- If using a streaming stick like Fire TV Stick, connect its USB power cable to the projector's USB port for power.
- On the projector's main menu, select the "HDMI" input source.
Smartphone/Tablet Connection
To connect a smartphone or tablet, an HDMI conversion adapter (not included) is required. Connect your device to the adapter, then connect the adapter to the projector's HDMI port.

USB Drive/SD Card Playback
Insert a USB drive into the USB port or an SD card into the SD card slot. Select the corresponding input source from the main menu to browse and play media files.
5. Operating Instructions
Focus Adjustment
Rotate the focus ring on the projector lens until the image appears clear and sharp on the screen.
Keystone Correction
The projector features a ±15-degree keystone correction function. Adjust the keystone dial to correct distorted images (trapezoidal shape) if the projector is not perfectly perpendicular to the screen.
Source Selection
Use the remote control or the buttons on the projector to navigate the main menu and select your desired input source (HDMI, USB, SD, AV, VGA).
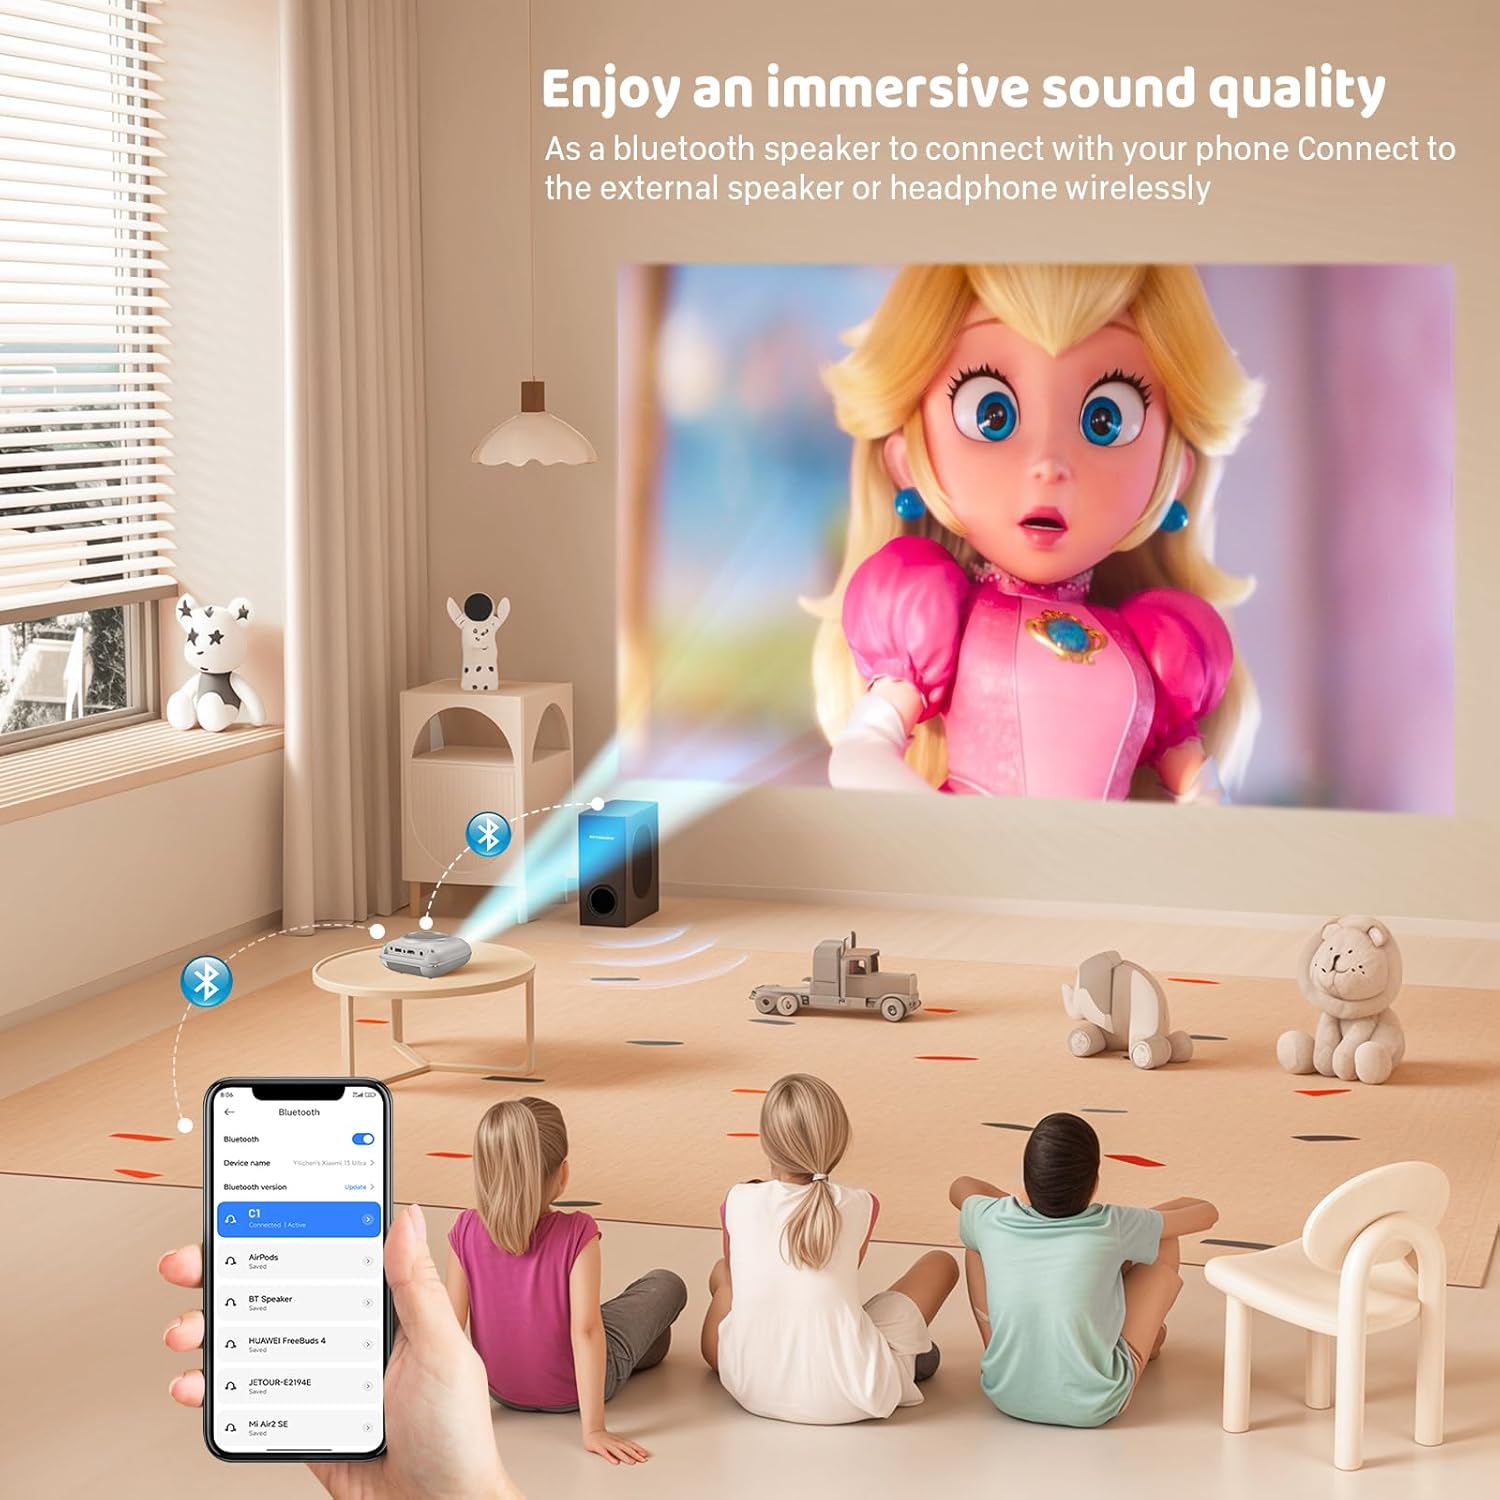
Audio Output
The projector has two built-in speakers for immersive sound. For a different audio experience, you can connect external speakers or headphones via the 3.5mm audio jack.
Screen Mirroring
The projector supports screen mirroring for compatible devices. Refer to the on-screen instructions or the projector's menu for specific steps to enable screen mirroring from your smartphone or tablet.
6. Maintenance
Cleaning the Lens
Use a soft, lint-free cloth specifically designed for optical lenses to gently wipe the projector lens. Avoid using abrasive cleaners or cloths that could scratch the lens.
Cleaning the Projector Body
Wipe the exterior of the projector with a soft, dry cloth. Do not use liquid cleaners or solvents.
Ventilation
Ensure the ventilation openings are clear of dust and debris. The projector features a dual-fan cooling system to maintain optimal operating temperature and extend lamp life. Do not obstruct these vents.
Lamp Life
The LED lamp in your HOMPOW projector has a lifespan of approximately 60,000 hours, providing long-term use without frequent lamp replacement.
7. Troubleshooting
| Problem | Possible Cause | Solution |
|---|---|---|
| No image or blurry image | Focus not adjusted; incorrect input source; cable not connected properly. | Adjust the focus ring; select the correct input source; check all cable connections. |
| No sound | Volume too low; audio cable not connected; device audio settings. | Increase projector volume; ensure audio cables are connected; check audio output settings on the connected device. |
| Image is trapezoidal | Projector not perpendicular to screen. | Adjust the keystone correction dial or reposition the projector. |
| Remote control not working | Batteries low or dead; obstruction between remote and projector. | Replace batteries; ensure clear line of sight to the projector's IR receiver. |
| Projector overheats | Ventilation ports blocked. | Ensure all ventilation ports are clear and unobstructed. |
8. Specifications
- Display Technology: LCD
- Native Resolution: 1280 x 720 pixels
- Supported Resolution: Up to 1080P Full HD
- Brightness: 6500 Lumens
- Contrast Ratio: 3000:1
- Lamp Life: 60,000 hours
- Projection Size: 32-176 inches (Recommended: 100 inches)
- Projection Distance: 1m - 5.2m (Recommended: 3m)
- Keystone Correction: ±15 degrees manual
- Connectivity: HDMI, USB, SD, AV, VGA
- Audio: Built-in dual speakers, 3.5mm audio out
- Power Consumption: 48W
- Product Dimensions: 19 x 15 x 8 cm
- Product Weight: 1.71 kg
9. Warranty and Support
The HOMPOW Mini Projector comes with a manufacturer's warranty. Please refer to the warranty card included in your package for specific terms and conditions. For any product inquiries, technical support, or warranty claims, please contact HOMPOW customer service through the contact page on their official website or the platform where you purchased the product. Our customer support team aims to respond promptly during business hours.

