
1. Introduction
This manual provides essential information for the safe and efficient operation, installation, and maintenance of your DAB JET INOX 82 M Water Pump. Please read this manual thoroughly before installation and use to ensure proper function and to prevent damage or injury.
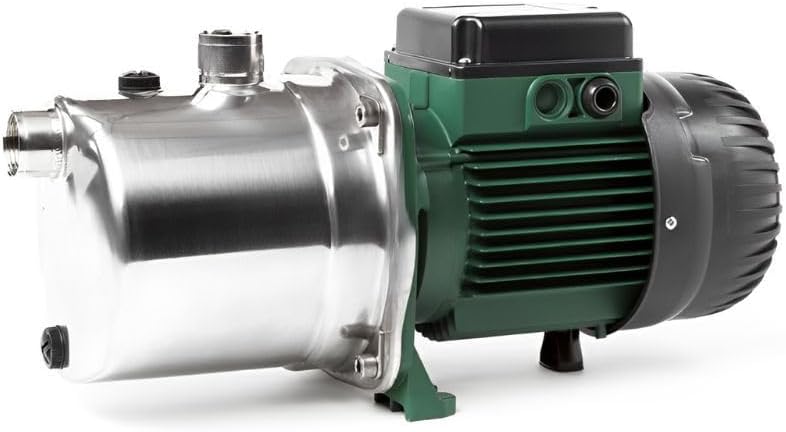
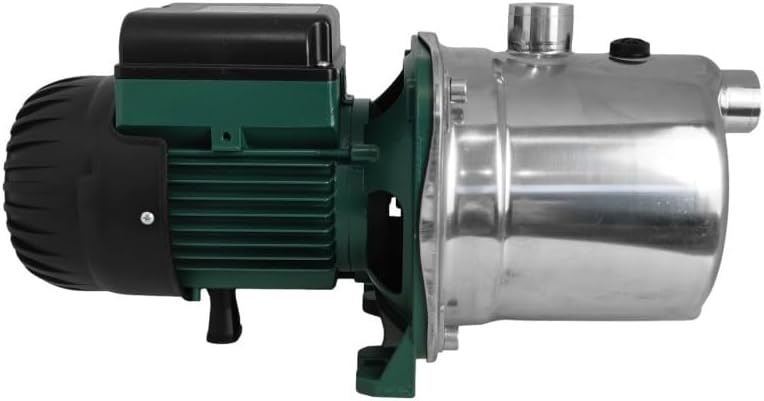
The DAB JET INOX 82 M is a high-quality, single-cell self-priming surface water pump, ideal for domestic water supply, small-scale agricultural irrigation, and gardening applications. Its robust stainless steel construction ensures durability and reliable performance.
2. Safety Instructions
Always observe the following safety precautions to reduce the risk of injury, electric shock, fire, or damage to the pump.
- Electrical Safety: Ensure the power supply matches the pump's specifications (220V single-phase). Always disconnect power before performing any maintenance or installation. Use a ground fault circuit interrupter (GFCI) for outdoor or wet locations.
- Installation: Install the pump in a dry, well-ventilated area, protected from direct sunlight and freezing temperatures. The ambient temperature must not exceed 40°C.
- Liquid Temperature: The pump is designed for clean water with a temperature between 0°C and +35°C. Do not pump flammable, corrosive, or explosive liquids.
- Children and Pets: Keep children and pets away from the pump during operation.
- Maintenance: Only qualified personnel should perform repairs. Use only genuine DAB replacement parts.
3. Product Overview
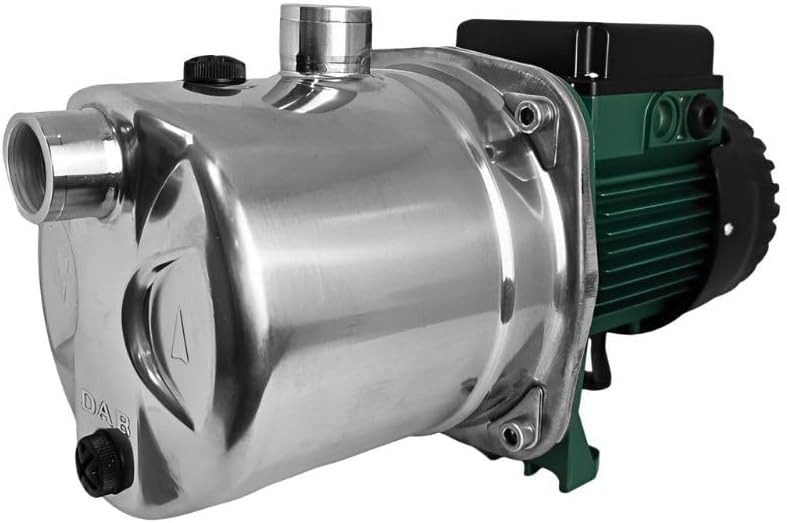
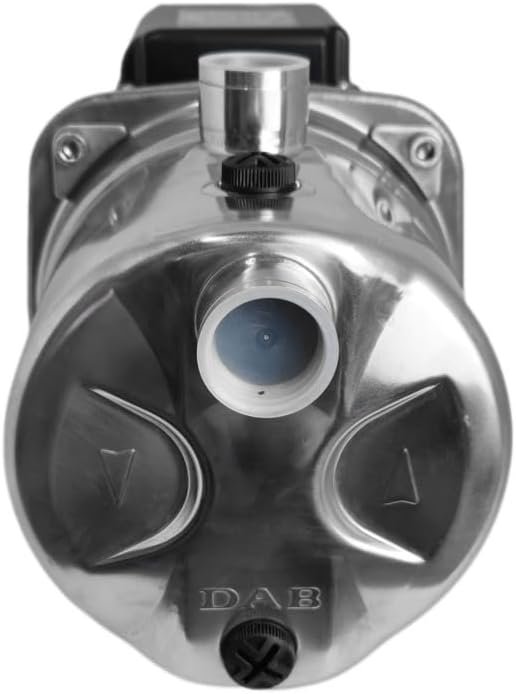
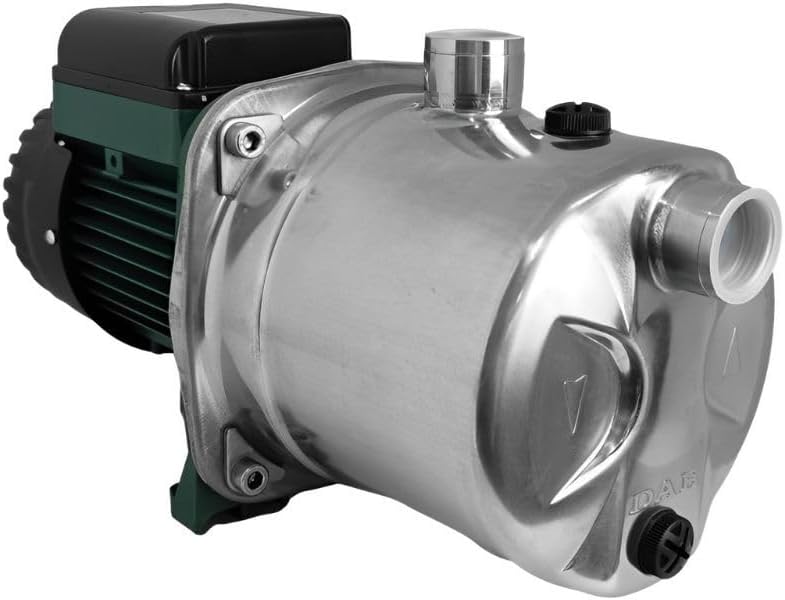
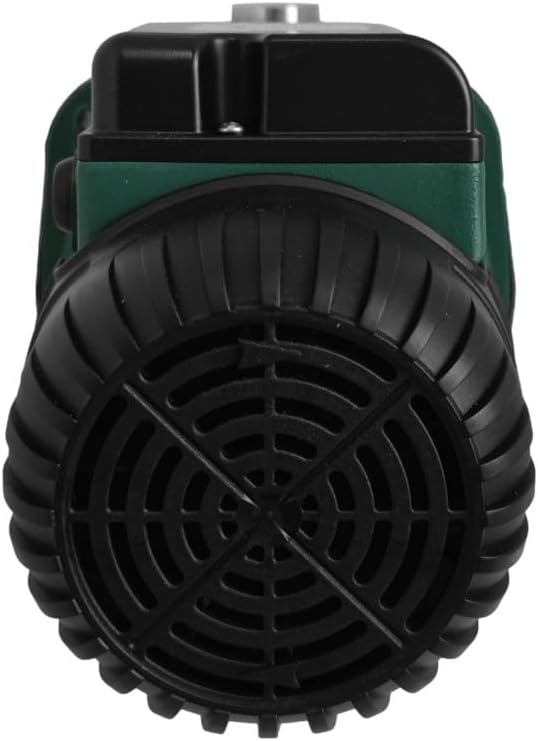
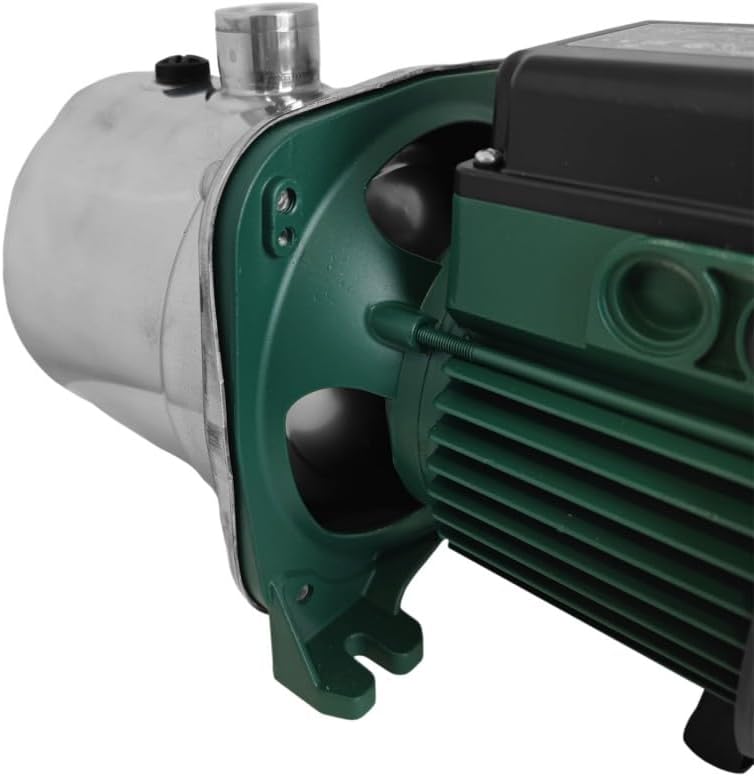
The DAB JET INOX 82 M pump features a durable design for reliable water transfer.


4. Technical Specifications
| Specification | Value |
|---|---|
| Brand | DAB |
| Model Identifier | JETINOX82M |
| Power (kW) | 0.6 kW |
| Voltage | 220 Volts |
| Frequency | 50 Hz (implied by 220V single-phase in Europe) |
| Max Flow Rate | 3.6 Cubic meters per hour (3600 L/h) |
| Max Suction Height | 8 Meters |
| Liquid Temperature Range | 0°C to +35°C |
| Ambient Temperature Max | 40°C |
| Protection Rating | IP44 |
| Material | Stainless Steel (Pump Body), Aluminum (Motor Support) |
| Product Weight | 7.8 kg |
5. Setup and Installation
Proper installation is crucial for the pump's performance and longevity.
5.1. Location Selection
- Choose a stable, level, and dry surface for installation.
- Ensure the location is well-ventilated and protected from direct weather exposure (rain, snow, direct sunlight).
- Maintain an ambient temperature below 40°C and above 0°C to prevent freezing.
- Position the pump as close as possible to the water source to minimize suction lift and pipe friction.
5.2. Electrical Connection
- Verify that the electrical supply voltage and frequency match the pump's requirements (220V, 50Hz).
- Connect the pump to a properly grounded electrical outlet.
- It is highly recommended to install a residual current device (RCD) or ground fault circuit interrupter (GFCI) for added safety, especially in damp environments.
- Ensure all electrical connections are secure and protected from moisture.
5.3. Piping Connections
- Use pipes of adequate diameter to minimize pressure loss.
- Install a foot valve with a strainer at the end of the suction pipe to prevent debris from entering the pump and to maintain prime.
- Ensure all pipe connections are airtight, especially on the suction side, to prevent air leaks that can cause the pump to lose prime.
- Install a shut-off valve on both the suction and discharge sides for easier maintenance.
- Use flexible connectors to absorb vibrations and reduce noise.
5.4. Priming the Pump
As a self-priming pump, the JET INOX 82 M requires initial priming:
- Remove the priming plug located on the top of the pump body.
- Fill the pump casing completely with clean water until it overflows.
- Replace the priming plug securely.
- Open the discharge valve fully before starting the pump.
6. Operating Instructions
6.1. Starting the Pump
- Ensure the pump has been properly primed (see Section 5.4).
- Verify all valves are in the correct position (suction valve open, discharge valve open).
- Connect the pump to the power supply. The pump will start automatically.
- Allow the pump to run for a few minutes to ensure stable operation and that water is flowing smoothly.
6.2. Monitoring Operation
- Listen for unusual noises or vibrations, which may indicate a problem.
- Check for any leaks around the pump or connections.
- Monitor the water flow rate to ensure it meets your requirements.
6.3. Shutting Down
- Close the discharge valve.
- Disconnect the pump from the power supply.
7. Maintenance
Regular maintenance ensures optimal performance and extends the pump's lifespan.
7.1. Regular Checks
- Check for Leaks: Periodically inspect all connections and the pump body for any signs of water leaks. Tighten connections as needed.
- Inspect Foot Valve/Strainer: Regularly check the foot valve and strainer at the end of the suction pipe for blockages or damage. Clean if necessary.
- Motor Ventilation: Ensure the motor's cooling fins and fan cover are free from dust and debris to prevent overheating.
7.2. Cleaning
- Clean the exterior of the pump with a damp cloth. Do not use harsh chemicals or abrasive cleaners.
- If the pump has been used with dirty water (not recommended for continuous use), flush it with clean water to prevent internal buildup.
7.3. Winterization (for cold climates)
- If the pump is installed in an area where temperatures drop below freezing, it must be drained to prevent damage from ice expansion.
- Disconnect power.
- Open the drain plug (usually at the bottom of the pump casing) and remove the priming plug to allow all water to drain out.
- Store the pump in a warm, dry place if possible, or ensure it is completely drained and protected from freezing.
8. Troubleshooting
This section provides solutions to common issues you might encounter.
| Problem | Possible Cause | Solution |
|---|---|---|
| Pump does not start | No power supply Thermal overload tripped Motor fault | Check power connection and circuit breaker Allow pump to cool down; check for blockages Consult a qualified technician |
| Pump runs but no water flows | Pump not primed Air leak in suction line Foot valve clogged or stuck Suction lift too high | Re-prime the pump Check all suction connections for leaks and tighten Clean or replace foot valve Relocate pump closer to water source |
| Low flow or pressure | Partial blockage in suction/discharge Air in the system Worn impeller/diffuser | Check and clear pipes/strainer Re-prime the pump; check for air leaks Consult a qualified technician |
| Pump is noisy or vibrates excessively | Air in the pump Cavitation (insufficient water) Loose mounting Bearing wear | Re-prime the pump Ensure adequate water supply; reduce suction lift Tighten mounting bolts Consult a qualified technician |
| Pump leaks | Loose connections Damaged seals | Tighten pipe fittings Contact customer support for seal replacement |
If the problem persists after attempting these solutions, please contact qualified service personnel or DAB customer support.
9. Warranty and Support
DAB products are manufactured to high standards and are covered by a manufacturer's warranty against defects in materials and workmanship. The specific warranty period and terms may vary by region and purchase date. Please refer to your purchase documentation or contact your local DAB distributor for detailed warranty information.
For technical support, spare parts, or service inquiries, please contact the authorized DAB service center or your point of purchase. When contacting support, please have your pump's model number (JETINOX82M) and serial number (if available) ready.


