1. Introduction
Thank you for choosing the ANRAN Wireless Security Camera System. This comprehensive system is designed to provide reliable and high-definition surveillance for your home or business. Featuring a 13-inch LCD monitor NVR with a pre-installed 1TB hard drive and four 5MP+ outdoor IP cameras, it offers a complete solution for monitoring your property with ease. This manual will guide you through the installation, operation, and maintenance of your new security system.
2. Package Contents
Please verify that all components listed below are included in your package:
- 1x 4CH 1920P WiFi NVR with 13-inch LCD Monitor
- 4x 1920P WiFi Bullet Cameras
- 1x 1TB Hard Drive (pre-installed inside the NVR)
- 5x DC12V Power Adapters (one for NVR, four for cameras)
- 4x Mounting Screws sets
- 1x 3ft Ethernet Cable
- 1x USB Mouse
- 1x User Manual

Figure 2.1: All components included in the ANRAN Wireless Security Camera System package.
3. System Setup
3.1 Initial Power-Up and Camera Connection
The ANRAN system is designed for true plug-and-play operation. The cameras are pre-paired with the NVR at the factory, simplifying the initial setup process.
- Connect the included DC12V power adapter to the NVR and plug it into a power outlet.
- Connect each camera to its respective DC12V power adapter and plug them into power outlets.
- The cameras will automatically connect to the NVR within a few minutes. You should see the live feeds appear on the NVR's 13-inch LCD monitor.

Figure 3.1: Simple power connection for the NVR and cameras, enabling automatic pairing.
3.2 Network Connection for Remote Access
To enable remote viewing and receive alerts on your mobile device, connect the NVR to your home network.
- Connect one end of the provided Ethernet cable to the LAN port on the NVR.
- Connect the other end of the Ethernet cable to an available LAN port on your router.
- Ensure your router has an active internet connection. The NVR will automatically obtain an IP address via DHCP.
3.3 Mobile App Setup (ARCCCTV)
The ARCCCTV app allows you to view live feeds, playback recordings, and manage your system from anywhere.
- Download the free ARCCCTV app from the App Store (iOS) or Google Play Store (Android).
- Open the app and create an account if you are a new user.
- On the NVR monitor, right-click the mouse, select "System Setup", then "Network Setup". Locate the Cloud ID (P2P) and QR code.
- In the ARCCCTV app, select "Add Device" and choose to scan the QR code displayed on the NVR monitor. Alternatively, you can manually input the Cloud ID.
- Follow the on-screen prompts in the app to complete the device addition. Once added, you can access live video feeds from your cameras.

Figure 3.2: Steps for setting up mobile access to your security system.

Figure 3.3: Access your live video feeds from multiple devices.
4. Operating the System
4.1 Live View and Recording
The NVR's integrated monitor provides a direct live view of all connected cameras. The system supports 24/7 continuous recording to the pre-installed 1TB hard drive.
4.2 Motion Detection and Alerts
The cameras are equipped with motion detection capabilities. When motion is detected, the system can trigger recordings and send alerts to your mobile device or email, depending on your configuration in the NVR settings.

Figure 4.1: Motion detection triggers alerts and recordings.
4.3 Night Vision
The outdoor IP cameras feature advanced night vision technology, providing clear surveillance even in low-light or complete darkness. The system automatically switches between day and night modes based on ambient light conditions.
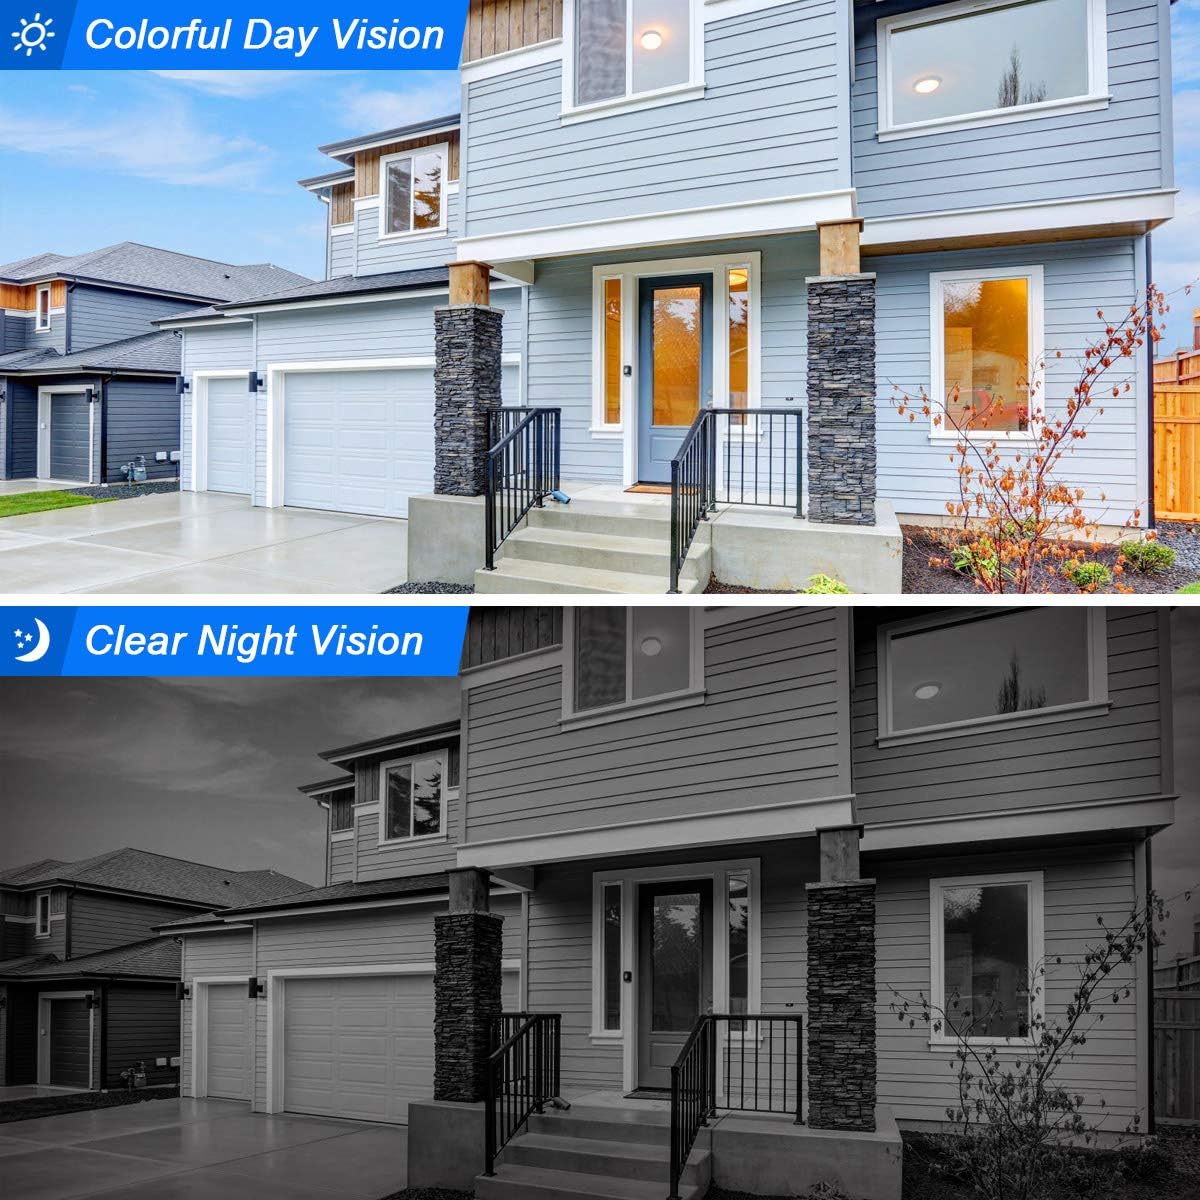
Figure 4.2: Comparison of colorful day vision and clear night vision.
4.4 Camera Installation Guidelines
The cameras are designed for versatile installation, supporting both wall and ceiling mounting. Ensure the camera is positioned to cover the desired area and is within range of the NVR's wireless signal.
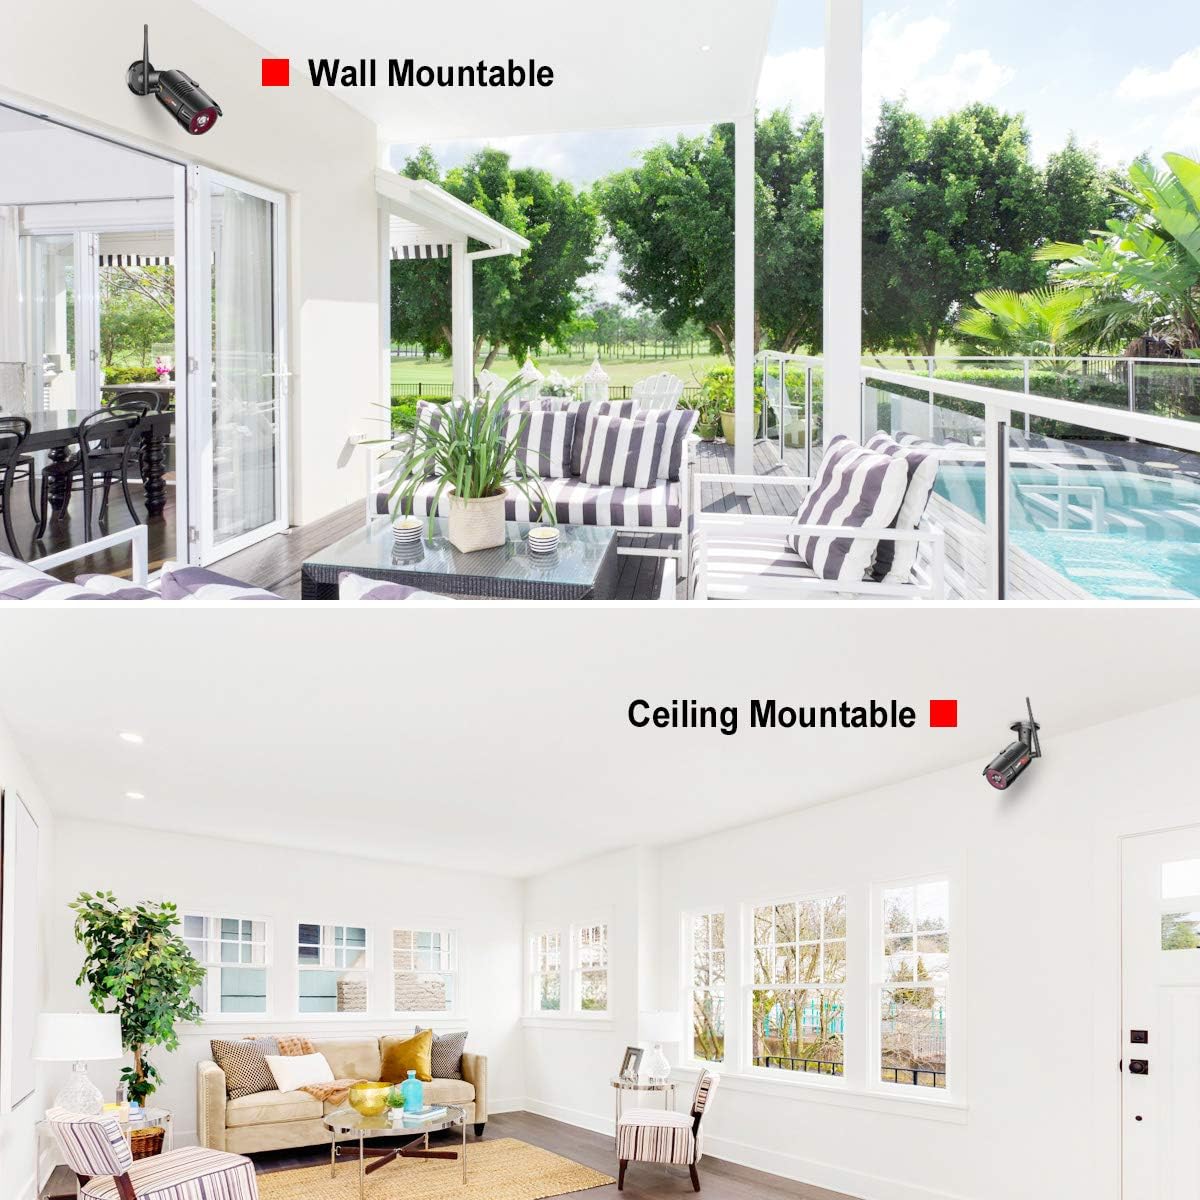
Figure 4.3: Cameras can be mounted on walls or ceilings for optimal coverage.

Figure 4.4: The cameras are IP66 waterproof, suitable for outdoor use in various weather conditions.
5. Maintenance
5.1 General Care
To ensure optimal performance and longevity of your ANRAN security system, follow these maintenance guidelines:
- Cleaning: Regularly wipe the camera lenses with a soft, damp cloth to remove dust and smudges. Do not use harsh chemicals.
- Cable Management: Ensure all cables are securely connected and protected from environmental damage or tampering.
- Firmware Updates: Check the ANRAN official website periodically for firmware updates for your NVR and cameras. Keeping firmware updated can improve performance and add new features.
5.2 Hard Drive Management
The NVR comes with a 1TB hard drive for video storage. The system is configured to overwrite the oldest recordings when the hard drive is full, ensuring continuous recording. You can adjust recording settings (e.g., motion-only recording) via the NVR's menu to optimize storage usage.
6. Troubleshooting
If you encounter issues with your ANRAN Wireless Security Camera System, please refer to the following common problems and solutions:
- No Video Display: Ensure the NVR and all cameras are properly powered on and connected. Check all power adapters and cables. Verify that cameras are within wireless range of the NVR.
- No Remote Access: Confirm the NVR is connected to your router via Ethernet and has an active internet connection. Check network settings on the NVR and ensure the Cloud ID is correctly entered in the ARCCCTV app.
- Motion Detection Not Working/Too Sensitive: Adjust the motion detection sensitivity and detection zones in the NVR's settings. Environmental factors like moving branches or strong light changes can trigger false alarms.
- Poor Night Vision: Ensure the camera lens is clean and free from obstructions. Check for strong light sources near the camera that might interfere with IR illumination.
- Hard Drive Not Recording: Verify the 1TB hard drive is properly installed and recognized by the NVR. Check recording schedules and ensure there is sufficient storage space.
For more detailed troubleshooting steps or issues not covered here, please consult the full User Manual (PDF) available for download or contact ANRAN customer support.
7. Specifications
| Feature | Detail |
|---|---|
| Brand | ANRAN |
| Connectivity Technology | Wireless |
| Video Capture Resolution | 1920p (5MP+) |
| Number of Channels | 4 |
| Memory Storage Capacity | 1 TB (Hard Drive) |
| Power Source | Corded Electric |
| Compatible Devices | Cameras |
| Signal Format | Digital |
| Low Light Technology | Night Color |
| Frame Rate | 30 fps |
| Recording Mode | Motion Detection, Schedule |
| Optical Sensor Technology | CMOS |
| Hardware Interface | 802.11 ac/b/g/n |
| Lens Type | Fixed |
| Video Input | RJ45 |
| Item Weight | 9.84 pounds |
| Package Dimensions | 13.9 x 10.94 x 7.4 inches |
8. Warranty and Support
ANRAN is committed to providing high-quality products and excellent customer service. Your ANRAN Wireless Security Camera System is covered by a manufacturer's warranty. For specific warranty terms and conditions, please refer to the warranty card included in your package or visit the official ANRAN website.
For technical support, product inquiries, or assistance with any issues, please contact ANRAN customer service through the channels provided in your user manual or on the official ANRAN website. Our support team is available to assist you with installation, troubleshooting, and general product information.