Introduction
This manual provides detailed instructions for the safe operation, assembly, maintenance, and troubleshooting of your new Vacmaster Blue Edition 8-Gallon* 4 Peak HP Wet/Dry Vacuum. Please read this manual thoroughly before using the product and retain it for future reference.

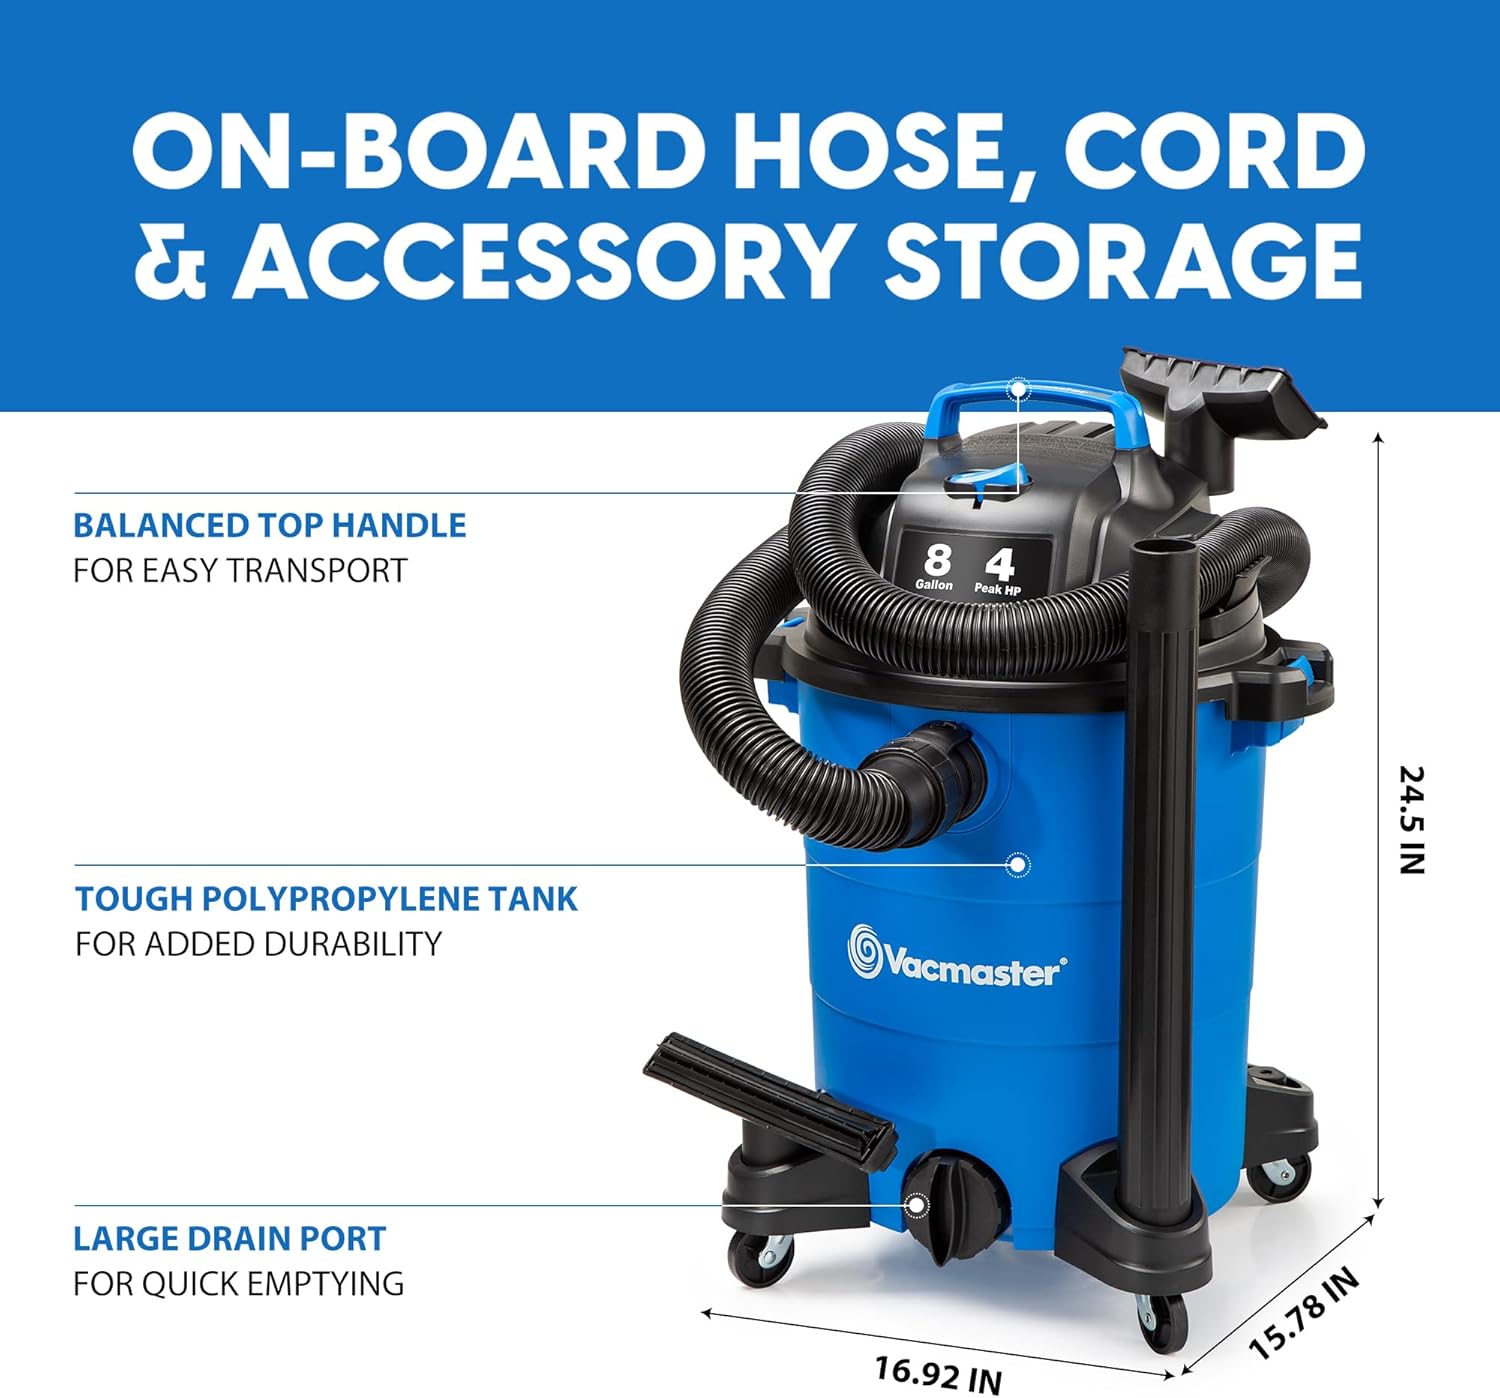
The Vacmaster Blue Edition 8-Gallon Wet/Dry Vacuum, model VOC809PF, featuring a durable blue tank, black hose, and accessories. It includes on-board storage for convenience.
Important Safety Instructions
When using an electrical appliance, basic precautions should always be followed, including the following:
- Read all instructions before using this wet/dry vacuum.
- Do not leave appliance when plugged in. Unplug from outlet when not in use and before servicing.
- Do not use outdoors or on wet surfaces.
- Do not allow to be used as a toy. Close attention is necessary when used by or near children.
- Use only as described in this manual. Use only manufacturer’s recommended attachments.
- Do not use with damaged cord or plug. If appliance is not working as it should, has been dropped, damaged, left outdoors, or dropped into water, return it to a service center.
- Do not pull or carry by cord, use cord as a handle, close a door on cord, or pull cord around sharp edges or corners. Do not run appliance over cord. Keep cord away from heated surfaces.
- Do not unplug by pulling on cord. To unplug, grasp the plug, not the cord.
- Do not handle plug or appliance with wet hands.
- Do not put any object into openings. Do not use with any opening blocked; keep free of dust, lint, hair, and anything that may reduce air flow.
- Keep hair, loose clothing, fingers, and all parts of body away from openings and moving parts.
- Do not pick up anything that is burning or smoking, such as cigarettes, matches, or hot ashes.
- Do not use to pick up flammable or combustible liquids, such as gasoline, or use in areas where they may be present.
- Do not use without filters in place.
- Turn off all controls before unplugging.
- Use extra care when cleaning on stairs.
- Do not use to pick up toxic, carcinogenic, combustible or other hazardous materials like asbestos, arsenic, barium, beryllium, lead, pesticides or other health endangering materials.
- Do not pick up soot, cement, plaster or drywall dust without a cartridge filter and filter bag in place. These are very fine particles that may affect the performance of the motor or be exhausted back into the air.
- Do not leave the vacuum cleaner unattended when it is running.
- Store the vacuum cleaner indoors.
- Keep the area clean and well lit.
- Do not use this vacuum cleaner as a sprayer.
- To reduce the risk of electrical shock, this appliance has a polarized plug (one blade is wider than the other). This plug will fit in a polarized outlet only one way. If the plug does not fit fully in the outlet, reverse the plug. If it still does not fit, contact a qualified electrician to install the proper outlet. Do not change the plug in any way.
Product Overview & What's in the Box
Your Vacmaster Wet/Dry Vacuum comes with an accessory kit designed for various cleaning tasks. The main components include the vacuum unit, hose, and several attachments.

This image displays the various accessories included with the Vacmaster wet/dry vacuum, such as different nozzles for varied cleaning tasks, and both wet and dry filters.
Included Components:
- Vacuum Unit (8-Gallon Tank with 4 Peak HP Motor)
- Hose (2.1 Meters / 7 Feet)
- Utility Nozzle
- Floor Nozzle
- Foam Wet Filter
- Cartridge Filter
- Extension Wands (2 included)
Setup
Before operating your wet/dry vacuum, ensure all components are correctly assembled.
- Attach the Casters: Insert the four casters into the designated slots on the base of the vacuum tank. Ensure they click securely into place for easy mobility.
- Attach the Hose: Connect the large end of the hose to the intake port on the front of the vacuum tank. Twist to secure.
- Install Filters: For dry vacuuming, ensure the cartridge filter is securely installed over the filter cage. For wet vacuuming, remove the cartridge filter and install the foam wet filter. Refer to the Maintenance section for detailed filter installation.
- Attach Accessories: Connect the desired cleaning accessory (e.g., floor nozzle, utility nozzle) to the end of the hose or to the extension wands for extended reach.

The Vacmaster Wet/Dry Vacuum components are shown, ready for assembly, including the main unit, hose, and various attachments.
Operating Instructions
Dry Vacuuming
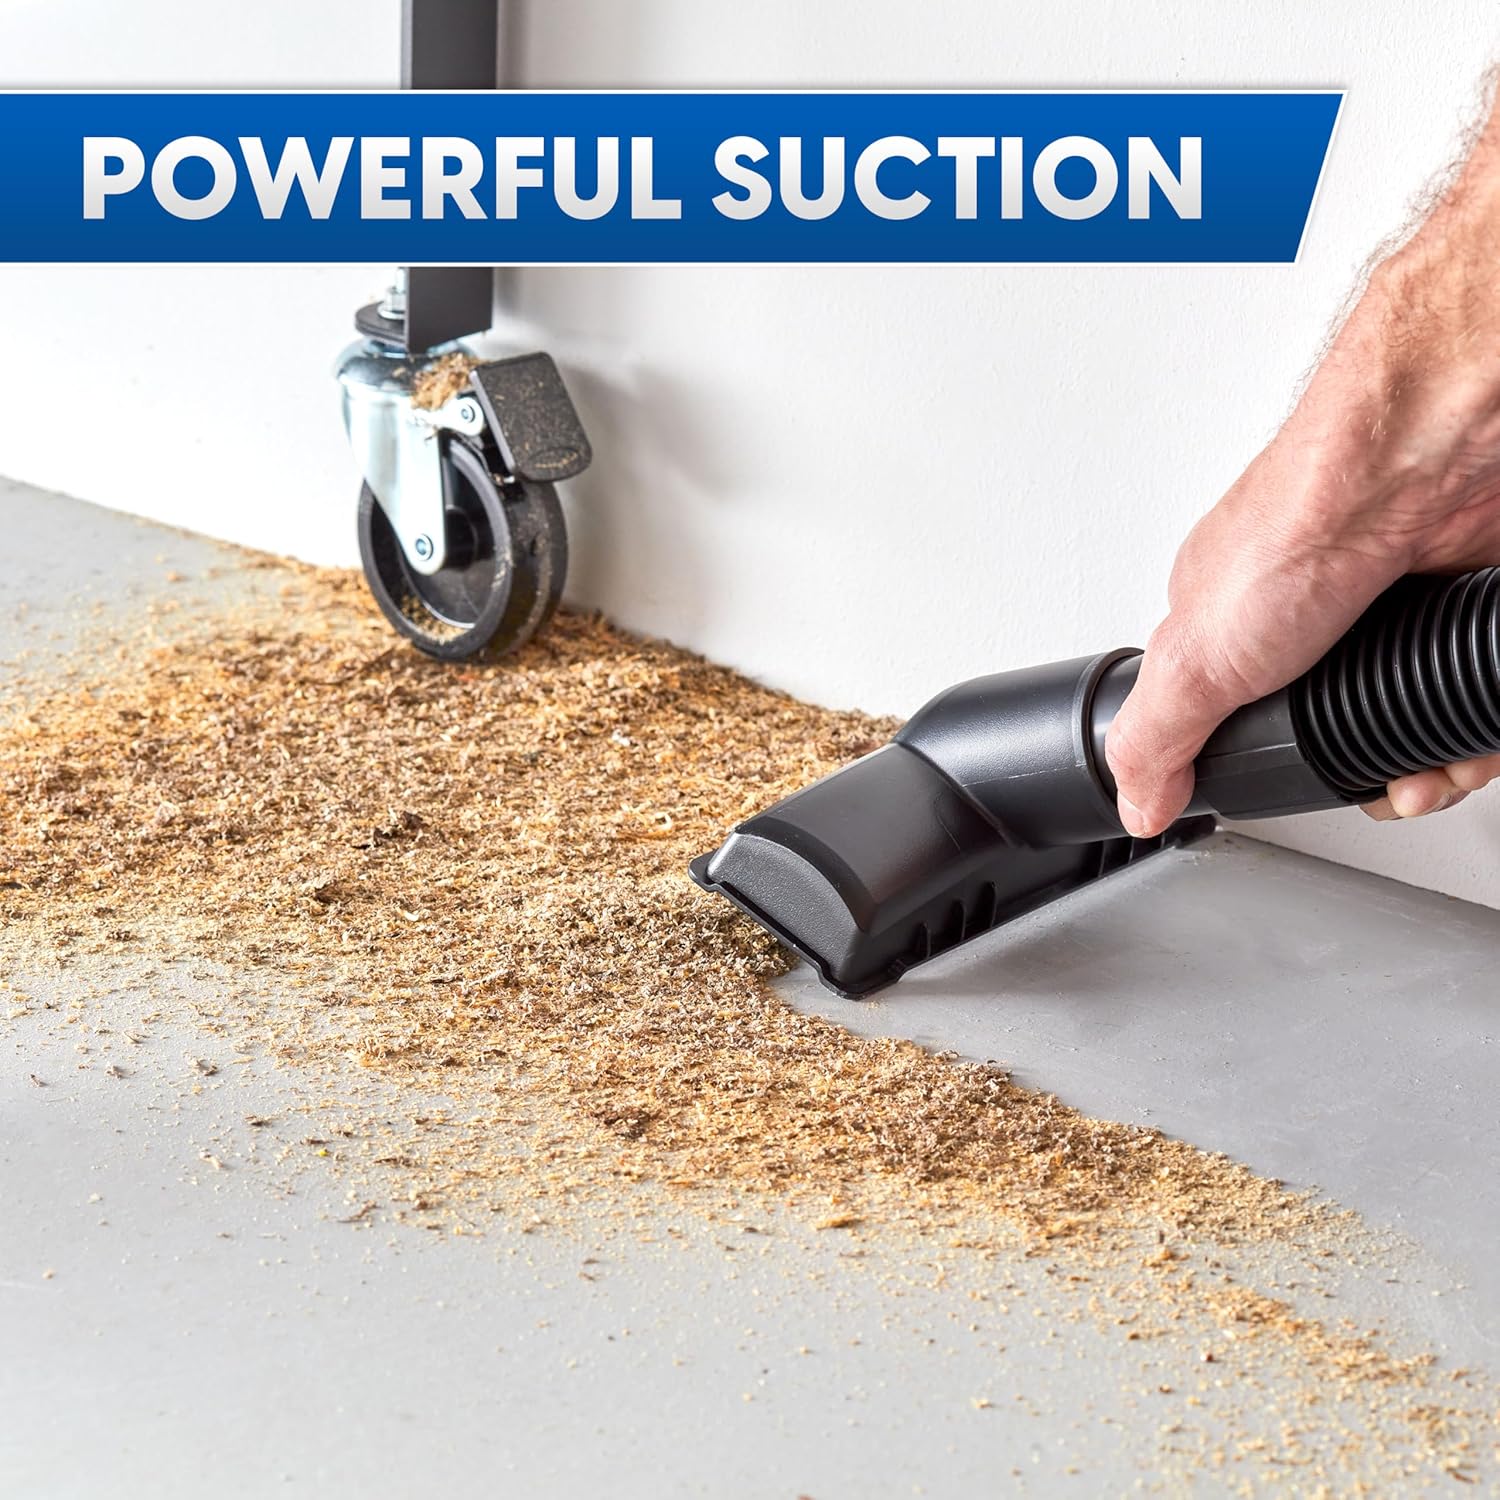
For dry pickup, ensure the cartridge filter is installed. Plug the power cord into a suitable electrical outlet. Turn the large dust-sealed on/off switch to the 'ON' position. Guide the nozzle over the area to be cleaned. The powerful 75 CFM airflow will effectively pick up debris.

The vacuum demonstrates its powerful suction by efficiently cleaning up sawdust and other debris from a garage floor, making it ideal for workshop cleanup.
Wet Vacuuming
Before wet pickup, remove the cartridge filter and install the foam wet filter. Ensure the tank is empty. Plug in the vacuum and turn it on. Guide the nozzle over liquid spills. The large drain port allows for quick emptying of collected liquids.
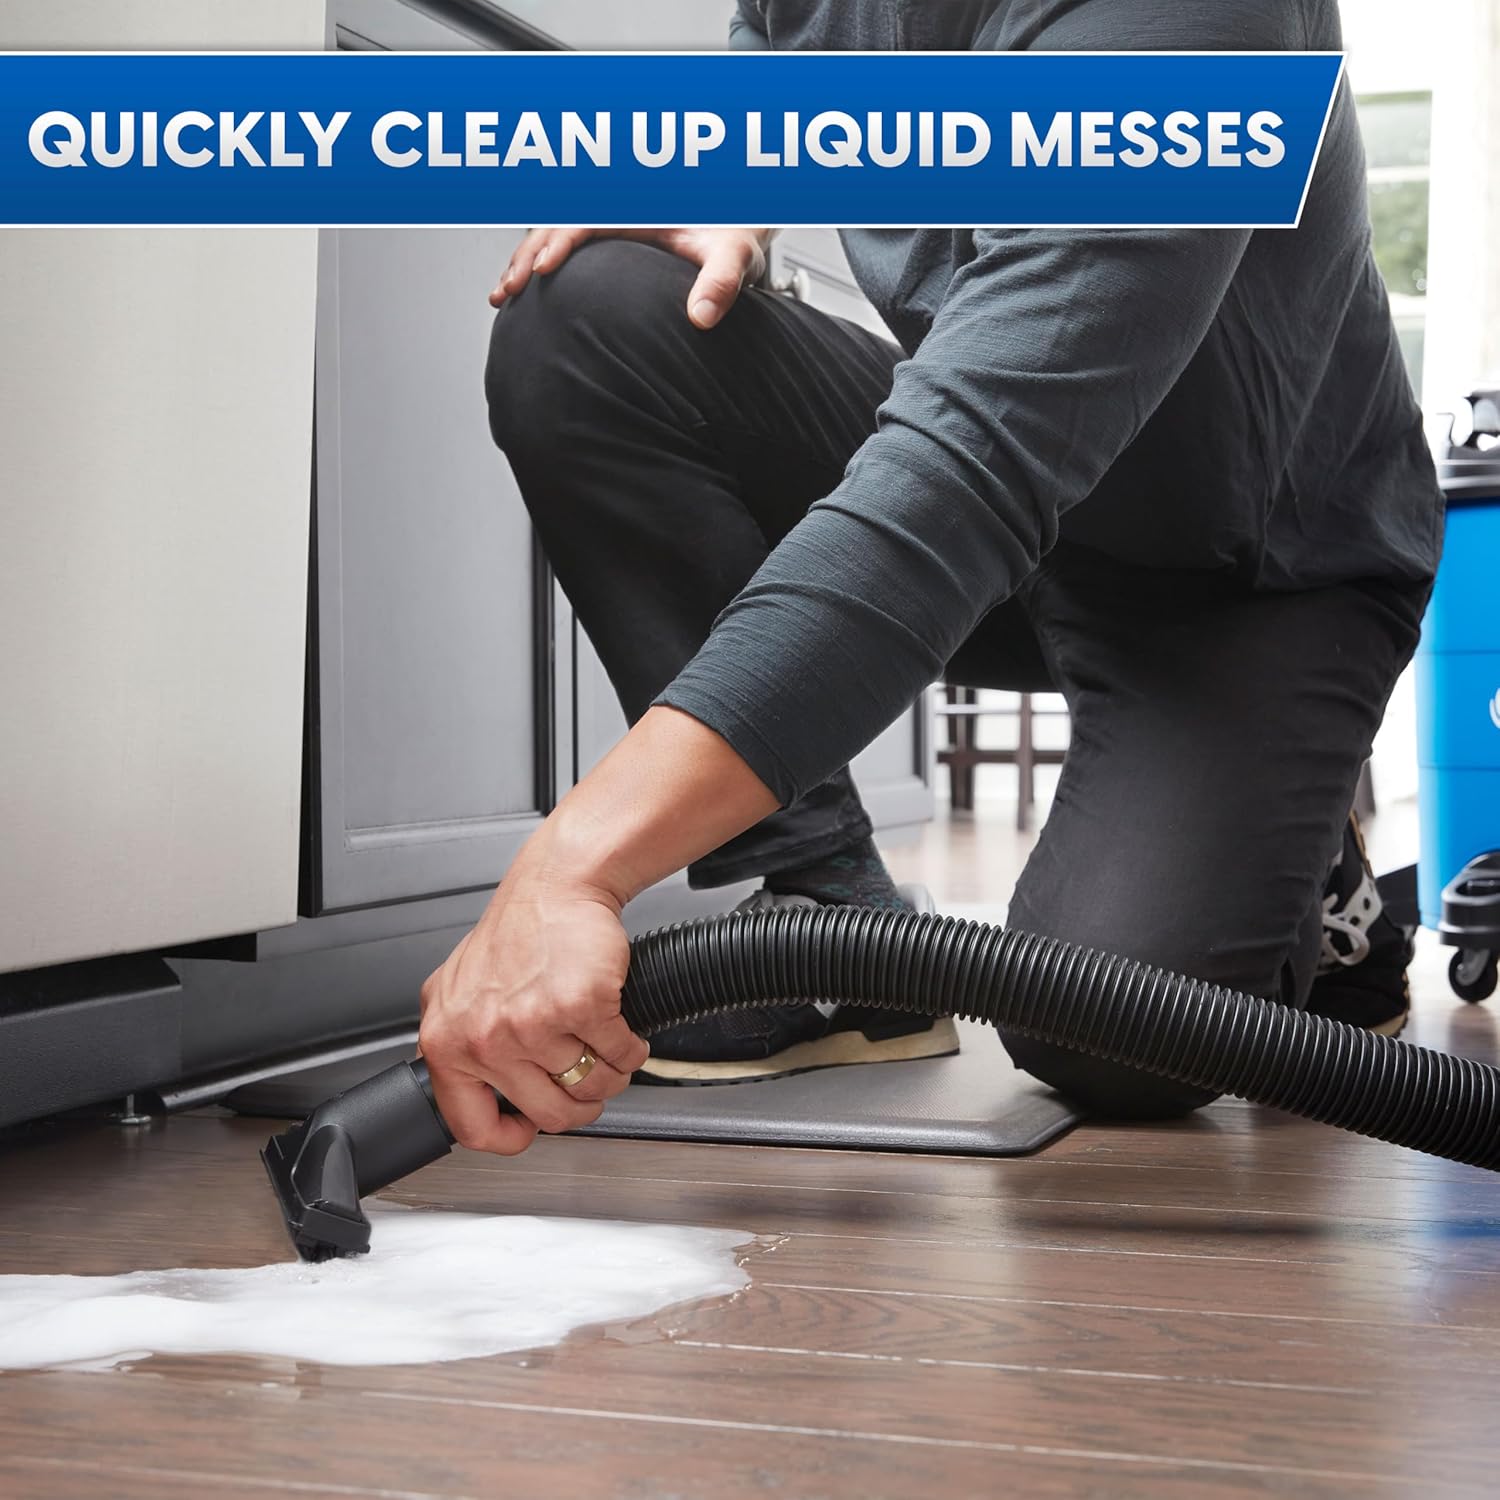
The Vacmaster wet/dry vacuum effectively cleans up liquid messes, demonstrating its versatility for both wet and dry applications.
Blower Function
The Vacmaster wet/dry vacuum can easily convert to a powerful blower. To use this feature, detach the hose from the intake port and connect it to the exhaust port located on the rear of the motor head. Turn on the vacuum to use it as a blower for clearing leaves or debris.
The Vacmaster wet/dry vacuum easily converts into a powerful blower, useful for clearing debris from outdoor surfaces like patios and driveways.
Maintenance
Filter Maintenance
Regularly clean or replace your filters to maintain optimal suction and prolong the life of your vacuum. The vacuum includes both a cartridge filter for dry use and a foam filter for wet use.
The Vacmaster wet/dry vacuum comes with both a cartridge filter for dry pickup and a foam filter for wet pickup, ensuring optimal performance and motor protection.
- Cartridge Filter: For dry pickup, ensure the cartridge filter is clean and properly seated. Tap off loose debris or rinse with water if heavily soiled (allow to dry completely before re-installation).
- Foam Wet Filter: For wet pickup, remove the cartridge filter and install the foam filter. After wet use, rinse the foam filter with water and allow it to air dry.
Tank Emptying
To empty the tank after wet or dry use, unlatch the motor head and lift it off. For liquids, utilize the large drain port at the bottom of the tank for quick and easy emptying.
Storage
The vacuum features convenient on-board hose, cord, and accessory storage, allowing for compact and organized storage when not in use.
Troubleshooting
| Problem | Possible Cause | Solution |
|---|---|---|
| Vacuum will not operate | No power supply; Faulty power cord/plug; On/Off switch is off. | Check power outlet; Inspect cord/plug for damage; Turn On/Off switch to 'ON'. |
| Reduced suction power | Clogged hose/nozzle; Full tank; Dirty/clogged filter; Air leak. | Clear obstructions; Empty tank; Clean/replace filter; Check all connections for tightness. |
| Motor overheats | Clogged filter; Restricted airflow. | Clean/replace filter; Ensure hose and attachments are clear of blockages. |
| Water/dust escaping exhaust | Improper filter for application; Damaged filter. | Ensure correct filter is installed (cartridge for dry, foam for wet); Replace damaged filter. |
Specifications
| Feature | Specification |
|---|---|
| Brand | Vacmaster |
| Model Name | VOC809PF |
| Capacity | 8 Gallons |
| Motor Horsepower | 4 Peak HP |
| Airflow | 75 CFM |
| Water Lift | 60 inches |
| Air Watts | 165 |
| Hose Length | 2.1 Meters (7 Feet) |
| Cord Length | 10 Feet |
| Wattage | 1080 watts |
| Amperage | 9 Amps |
| Noise Level | 72 dB |
| Product Dimensions | 16.91"L x 15.77"W x 24.5"H |
| Item Weight | 16.1 pounds |
| Filter Type | Cartridge, Foam |
| Special Feature | Lightweight, Blower Function, On-board Storage |
Warranty and Support
For warranty information and customer support, please refer to the official Vacmaster website or the documentation included with your product. You may also find additional resources and a downloadable PDF user manual at the following link:
Protection plans are available for purchase to extend coverage beyond the standard manufacturer's warranty. Please check product listings for details on available protection plans.


