
1. Introduction
This manual provides detailed instructions for the installation, setup, operation, and maintenance of your Loosafe Wireless Outdoor 4G LTE Cellular Security Camera. Please read this manual thoroughly before using the product to ensure proper function and safety.
2. Package Contents
Upon opening the package, verify that all the following items are included:
- Loosafe Wireless Outdoor 4G LTE Cellular Security Camera
- Solar Panel
- Mounting Bracket and Screw Kit (screws, wall anchors)
- Charging Cable
- Screwdriver
- L Wrench
- Nano-SIM Card (pre-installed or included separately)
- Quick Start Guide
- Mounting Template

Image 2.1: Loosafe Wireless Outdoor 4G LTE Cellular Security Camera with integrated solar panel.

Image 2.2: Visual representation of the camera and its included accessories.
3. Product Features
- 1080P HD Video: Captures clear, high-definition footage.
- 4G LTE Cellular Connectivity: Operates in remote areas without Wi-Fi.
- Solar Powered: Integrated solar panel for continuous power, reducing the need for manual charging.
- Pan & Tilt Functionality: Offers a wide viewing angle (350° pan, 90° tilt).
- Color Night Vision: Spotlight feature enables full-color video even in low-light conditions.
- Motion Detection: Advanced PIR and radar sensors trigger instant alerts.
- Two-Way Audio: Built-in microphone and 4W speaker for communication.
- IP65 Weatherproof: Designed to withstand various outdoor weather conditions.
- Local & Cloud Storage: Supports Micro SD card (up to 128GB) and cloud storage options.
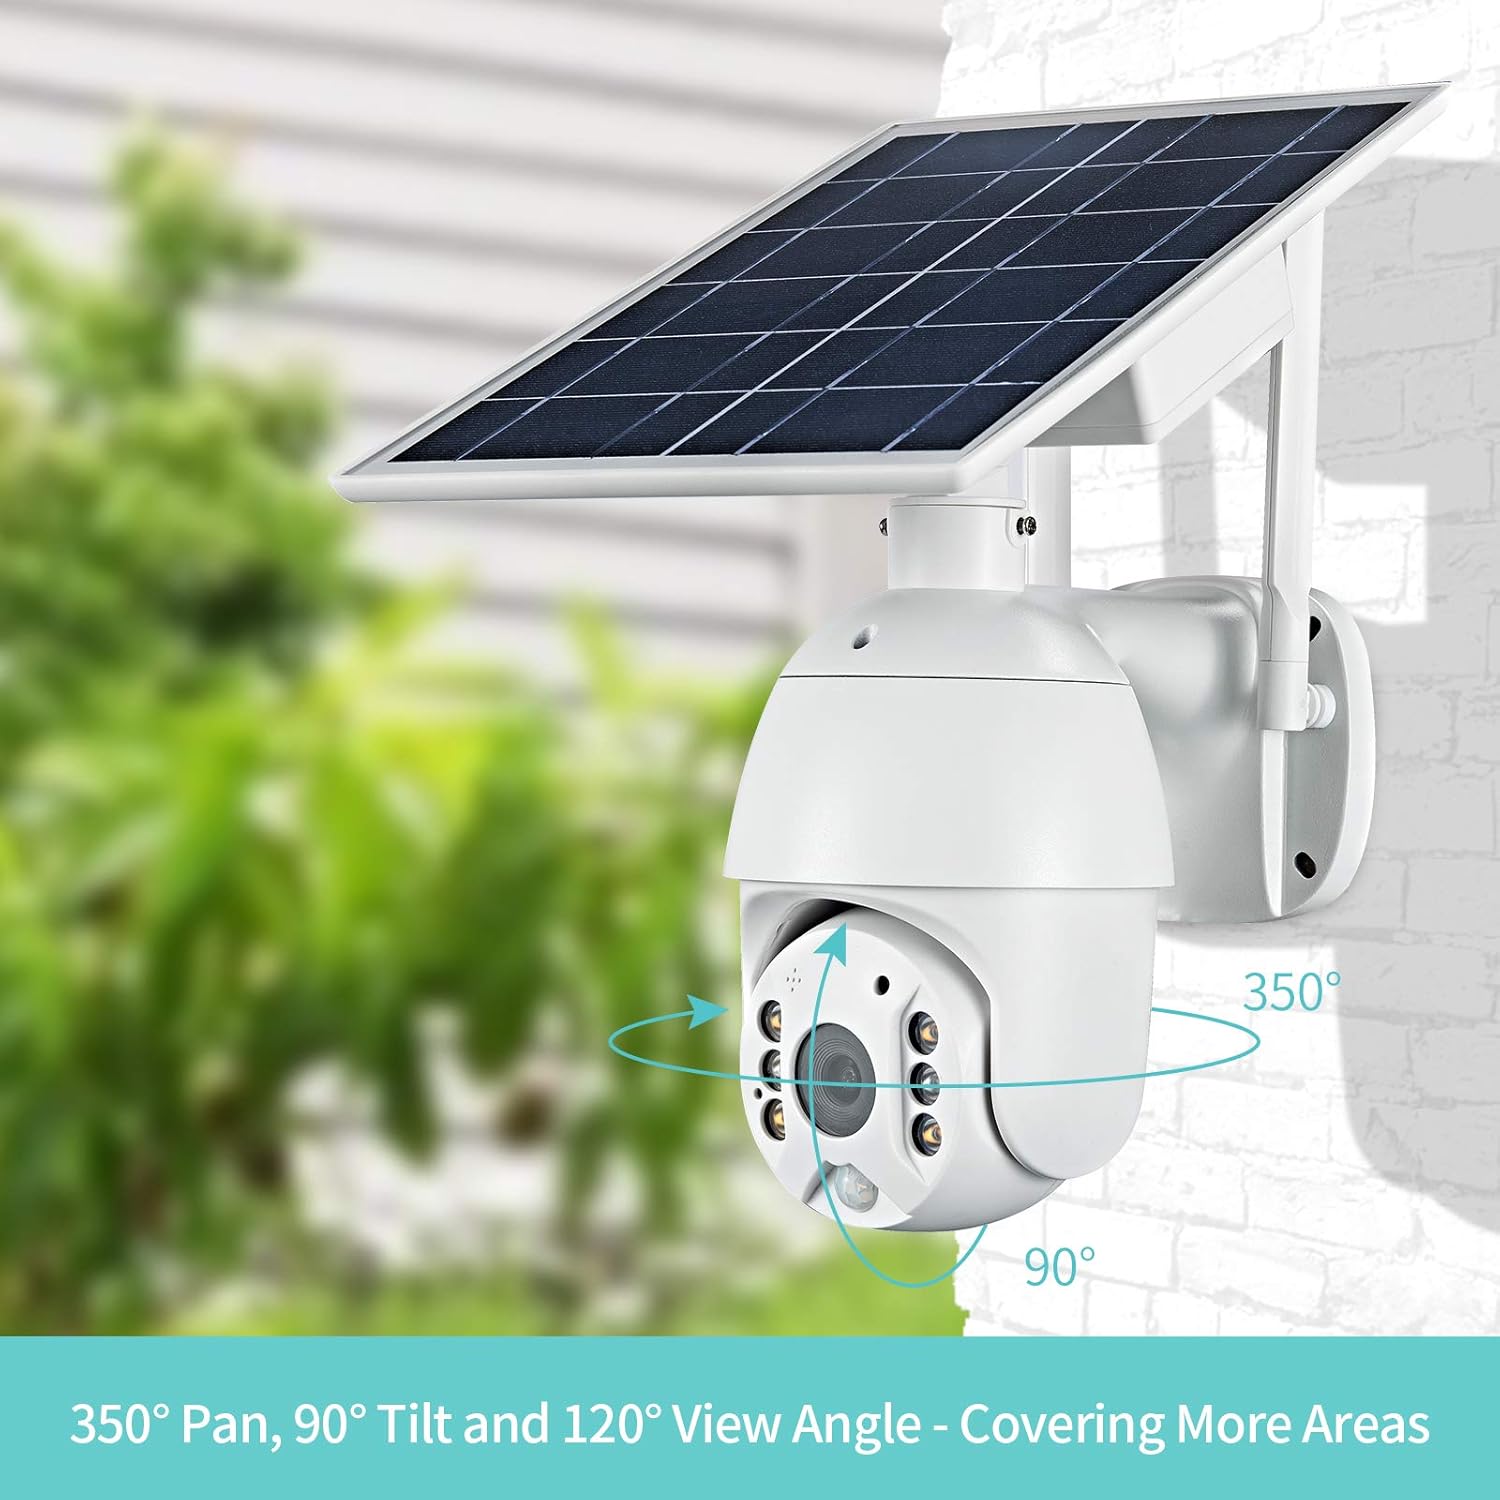
Image 3.1: The camera offers 350° pan and 90° tilt for comprehensive area coverage.

Image 3.2: The camera provides 1080P HD colorful and clear day/night vision, utilizing 4 spotlight LEDs for activation in darkness.
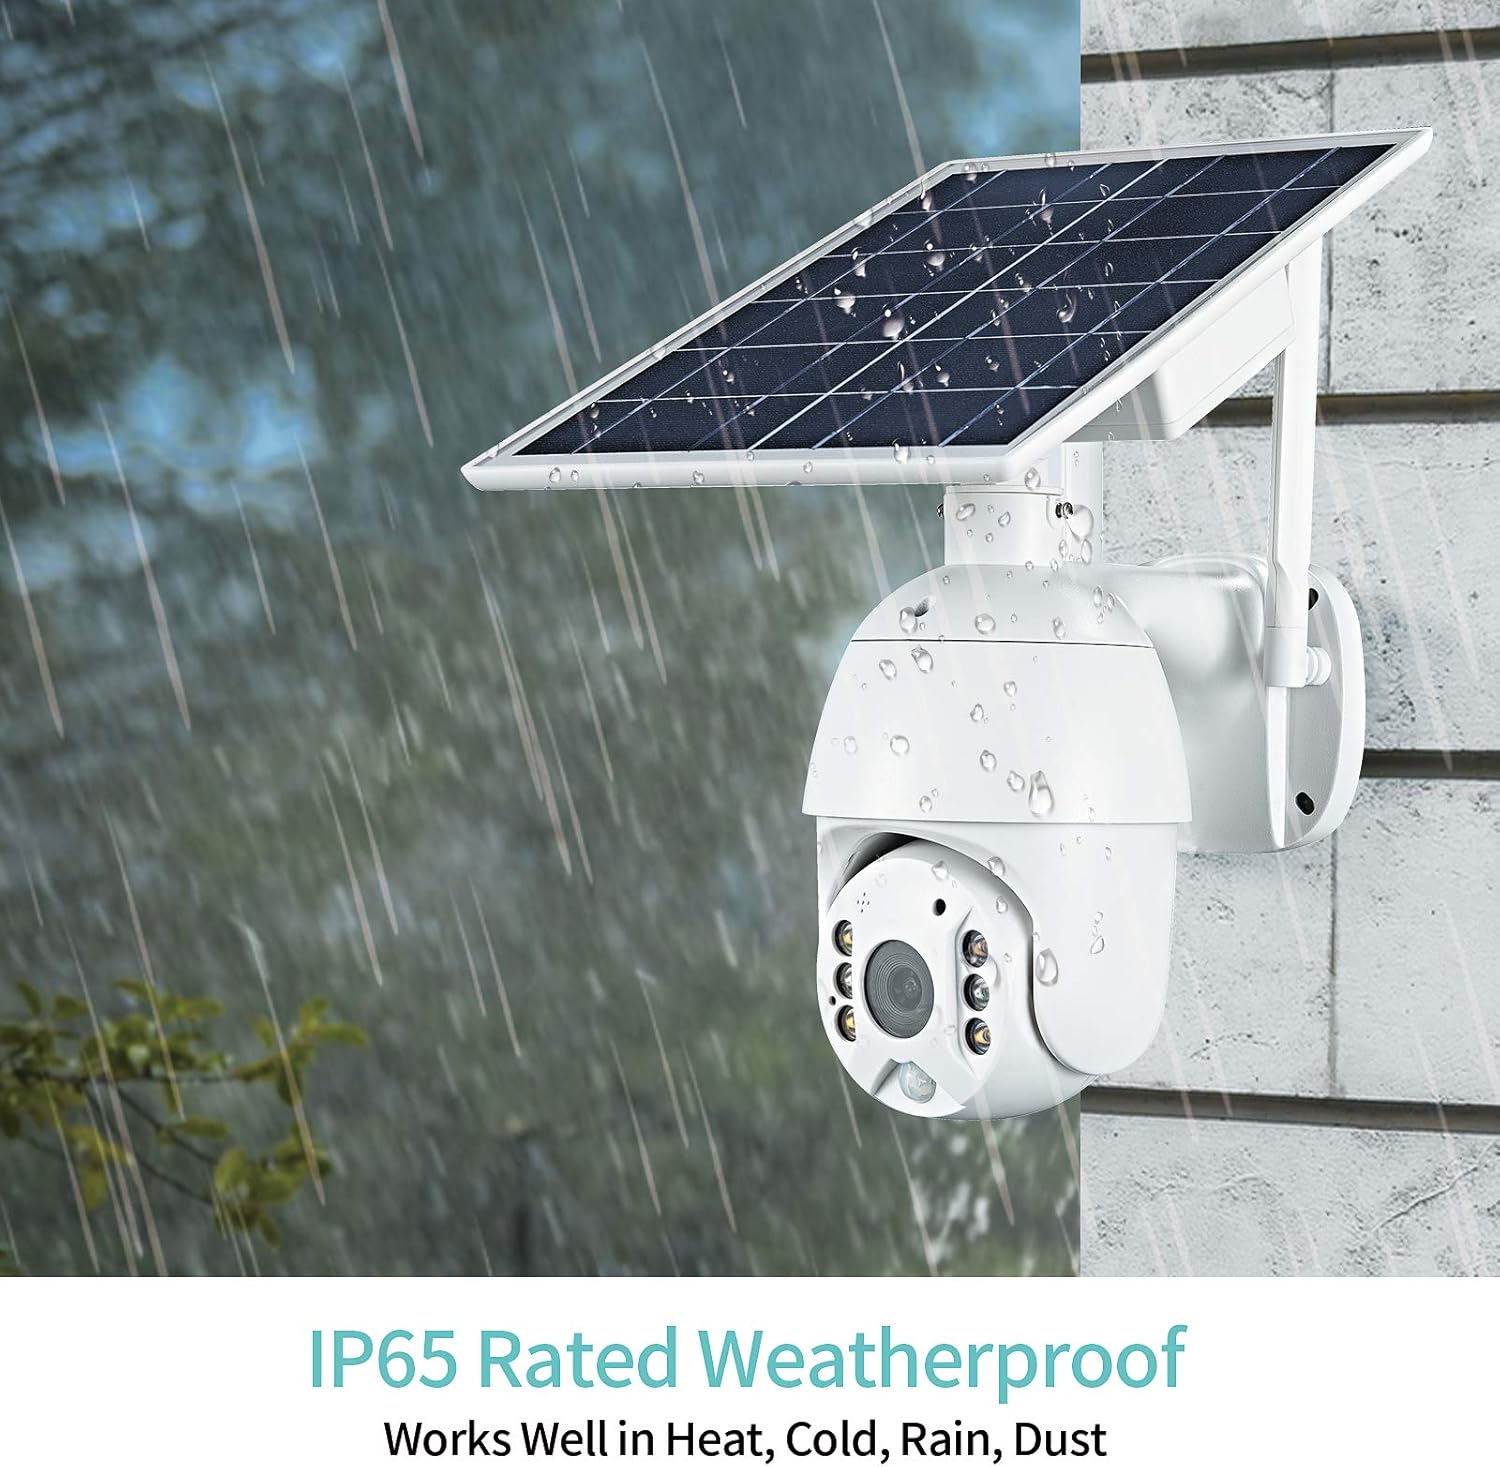
Image 3.3: The camera is IP65 rated weatherproof, ensuring reliable operation in heat, cold, rain, and dust.
4. Setup Guide
4.1. Initial Preparation
- Insert SIM Card and SD Card: Locate the compartment on the camera. Carefully insert a Nano-SIM card (ensure it has an active data plan, 1GB/month recommended) and a Micro SD card (for local storage).
- Charge Battery: Although solar-powered, it is recommended to fully charge the camera's internal 15000 mAh battery using the provided charging cable before initial use.
- Download the App: Search for the companion application (e.g., 'UBox' or similar as indicated in the Quick Start Guide) in your smartphone's app store (iOS or Android). Install and open the app.
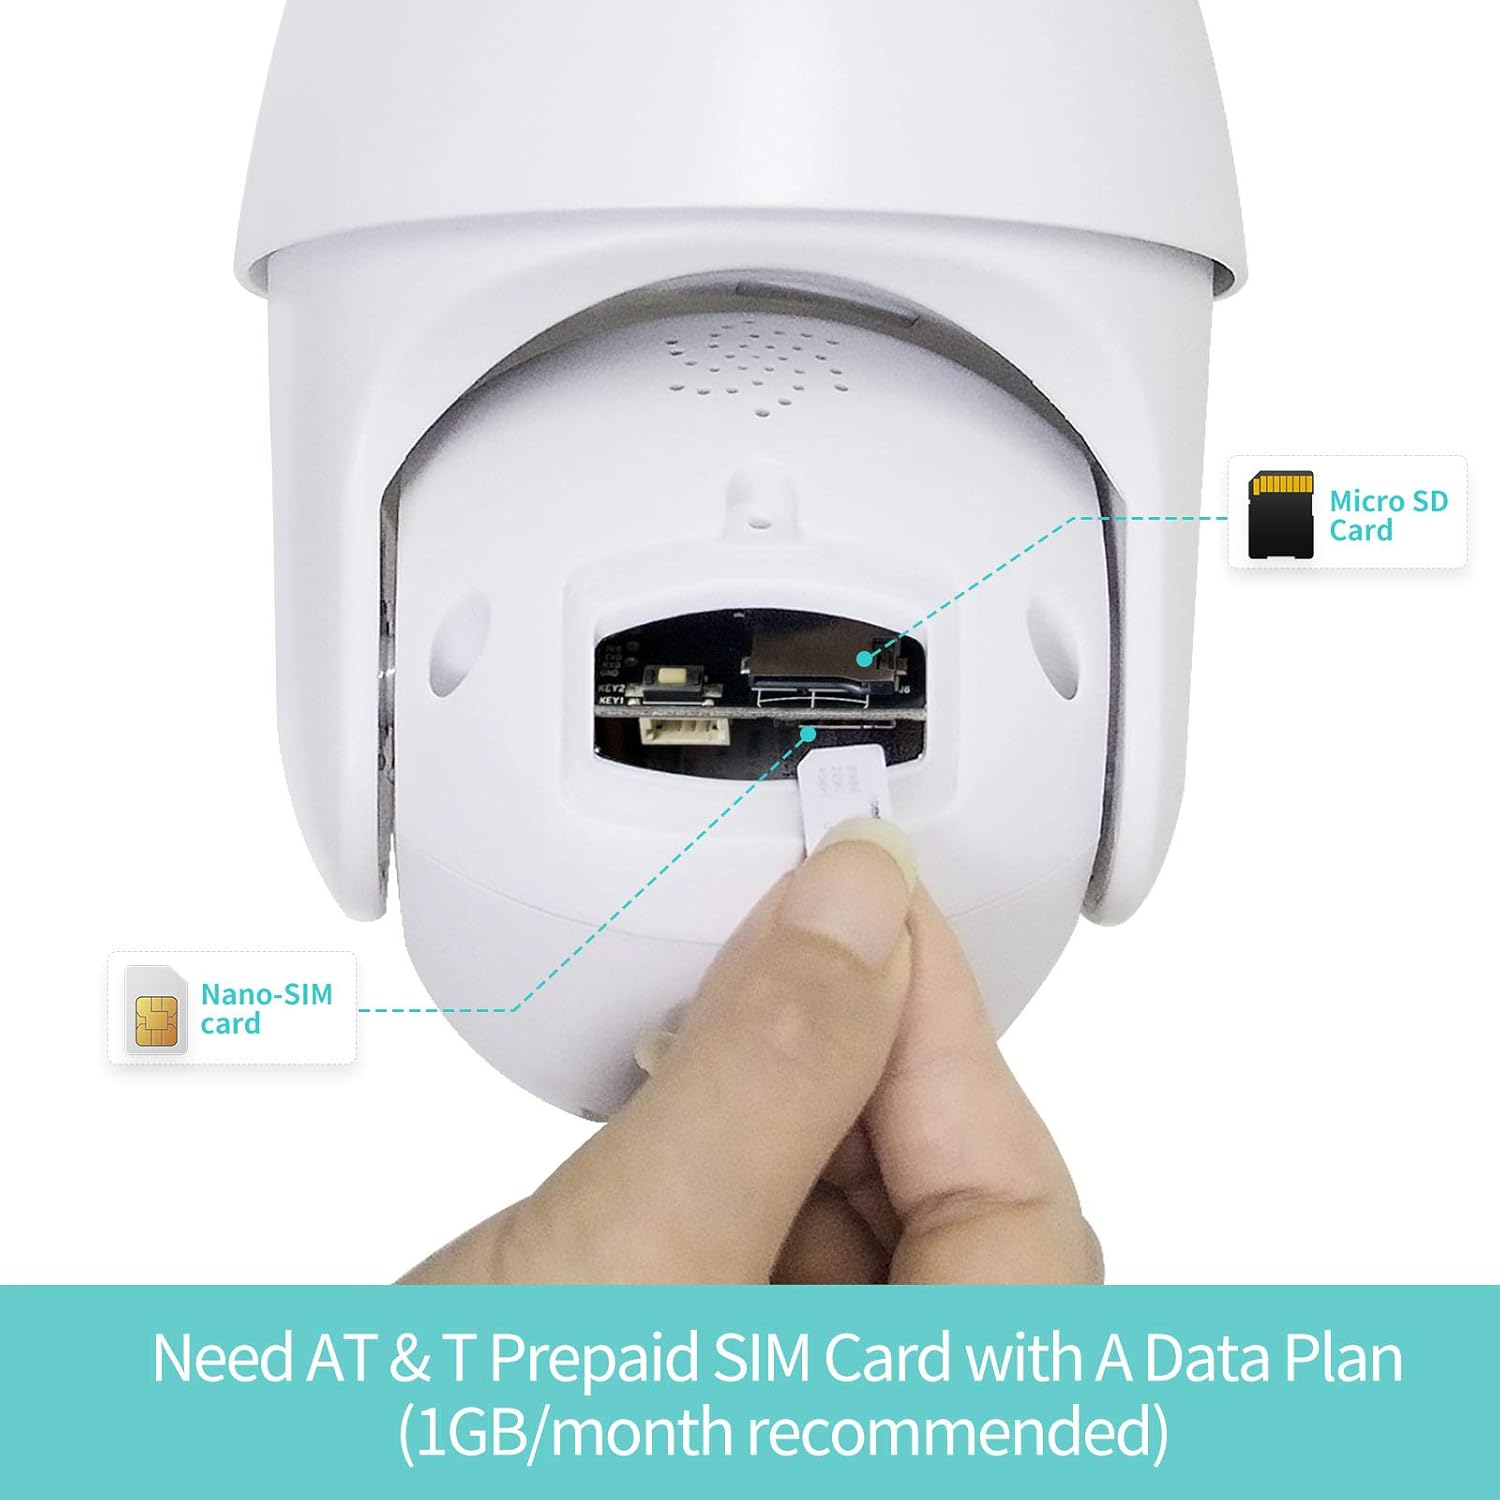
Image 4.1: Proper insertion of Nano-SIM and Micro SD cards into the camera.
4.2. Pairing with Your Smartphone
- Power On: Ensure the camera is powered on. The blue indicator LED should be blinking, or you should hear a voice prompt indicating it's ready for pairing.
- Add Device in App: In the app, select the option to add a new device. Choose the '4G Device' option.
- Scan QR Code: The app will display a QR code. Hold your smartphone approximately 4 inches in front of the camera lens so the camera can scan the QR code. You will hear a confirmation sound once connected.
- Name Device: Follow the on-screen prompts to name your camera and complete the setup.
4.3. Mounting the Camera
The camera can be mounted to a wall or a sturdy post. Use the provided mounting template to mark drill holes accurately.
- Choose Location: Select an outdoor location that provides optimal sunlight for the solar panel and a clear view of the area you wish to monitor.
- Use Template: Stick the provided paper template on the wall or surface where you intend to install the camera.
- Drill Holes: Drill holes at the marked positions on the template. Insert the wall anchors if mounting into masonry.
- Attach Bracket: Secure the mounting bracket to the surface using the provided screws.
- Attach Camera: Mount the camera onto the bracket. The solar panel can be positioned up to 7 feet away from the camera using the extension cable to ensure maximum sun exposure.

Image 4.2: Product dimensions for mounting reference.
5. Operating Instructions
Once the camera is set up and connected to the app, you can access its features:
- Live View: Open the app to view live footage from your camera.
- Pan & Tilt Control: Use the directional controls within the app to remotely adjust the camera's viewing angle (up, down, left, right).
- Two-Way Audio: Activate the microphone icon to listen to the camera's surroundings and the speaker icon to speak through the camera.
- Recording & Playback: Record video manually or set up motion-triggered recordings. Access recorded footage from the SD card or cloud storage via the app.
- Image Quality: Toggle between Standard Definition (SD) and High Definition (HD) video quality as needed.
- Spotlight Control: Manually turn on the camera's spotlight for enhanced visibility or color night vision.
- Motion Alerts: Receive instant notifications on your smartphone when motion is detected.
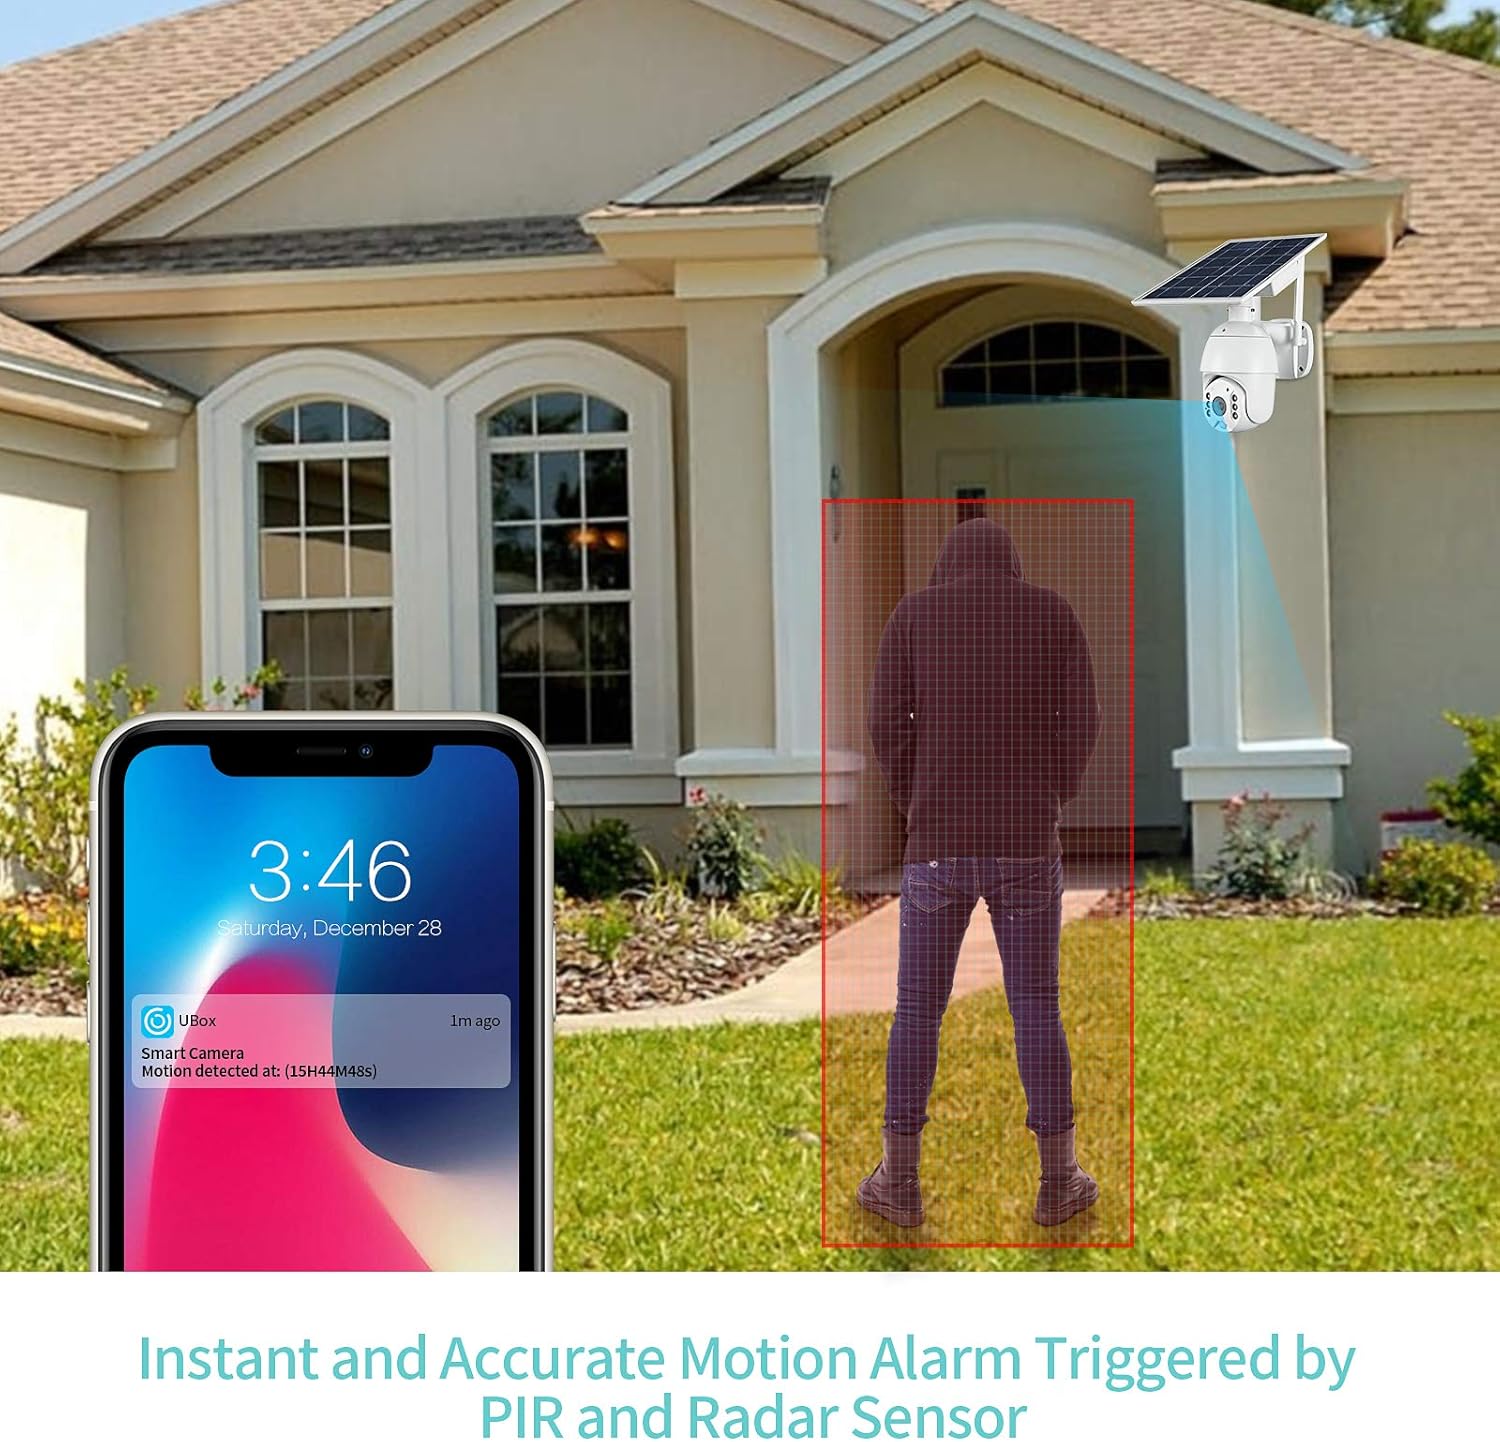
Image 5.1: Instant and accurate motion alarm triggered by PIR and Radar Sensor, displayed on a smartphone.

Image 5.2: The camera features a built-in microphone and 4W speaker for two-way audio communication.
6. Maintenance
- Solar Panel Cleaning: Periodically clean the solar panel surface to ensure maximum sunlight absorption and efficient charging. Dust, dirt, or debris can reduce its effectiveness.
- Battery Health: The camera is designed for continuous operation with its 15000 mAh lithium battery and solar panel. In prolonged periods of low sunlight, the battery may require manual charging via the USB port.
- Firmware Updates: Regularly check the app for available firmware updates to ensure optimal performance and security.
- Lens Cleaning: Gently clean the camera lens with a soft, dry cloth to maintain clear image quality. Avoid abrasive materials.
7. Troubleshooting
- Camera Not Connecting/Pairing:
- Ensure the SIM card has an active data plan and is correctly inserted.
- Press and hold the reset button (located near the SIM card slot) for a few seconds until you hear a reset sound or see indicator lights change. Then attempt to re-pair.
- Verify your phone is connected to a 2.4GHz Wi-Fi network during initial setup, as the device may not support 5GHz Wi-Fi.
- SIM Card Activation Issues (e.g., Verizon Network):
- Some carriers (like Verizon) may require a valid IMEI code for SIM card activation. This code is typically found on the camera's motherboard, which may require removing screws to access. Contact your carrier for specific requirements.
- If experiencing persistent issues with one carrier, consider trying a SIM card from another compatible carrier (e.g., AT&T or T-Mobile, if available in your area).
- Cloudy Night Vision:
- Check for condensation or debris on the camera lens. Clean gently with a soft cloth.
- Ensure the camera's internal components are not affected by moisture or extreme temperature changes.
- Battery Not Charging:
- Ensure the solar panel is clean and receiving direct sunlight.
- Check the connection between the solar panel and the camera.
- If solar charging is insufficient, manually charge the camera using the provided USB cable.
8. Specifications
| Feature | Detail |
|---|---|
| Model Number | LS-DC-S104G |
| Video Capture Resolution | 1080p (2 MP Maximum Webcam Image Resolution) |
| Connectivity Technology | Wireless (4G LTE Cellular) |
| Power Source | Battery Powered, Solar (15000 mAh Battery, 8 watts Solar Panel) |
| Indoor/Outdoor Usage | Outdoor |
| Special Features | HD Resolution, Motion Sensor, Night Vision (Color Night Vision, Infrared) |
| Pan & Tilt | 350° Pan, 90° Tilt |
| Water Resistance Level | IP65 (International Protection Rating) |
| Operating Temperature | Up to 60 Degrees Celsius (140°F) |
| Item Dimensions (L x W x H) | 5 x 5 x 10 inches |
| Item Weight | 4.65 pounds |
| UPC | 706898000343 |
9. Warranty and Support
9.1. Warranty Information
Your Loosafe camera comes with a manufacturer's warranty. Please refer to the warranty card included in your package for specific terms, conditions, and registration details. Retain your proof of purchase for warranty claims.
9.2. Customer Support
For technical assistance, troubleshooting, or any product-related inquiries, please contact Loosafe customer support:
- Email: support@loosafesecurity.com
- Online: Visit the official Loosafe website for FAQs and additional resources.
