
Introduction
The Fosmon C-10707US Outdoor Mechanical Light Timer is designed to automate the control of outdoor lights and decorations, as well as heavy-duty devices such as pool pumps, fountains, aerators, and engine block heaters. This timer offers customizable 24-hour control with precise 30-minute segments, providing convenience and energy efficiency. Its rugged, rainproof construction ensures reliable operation in various weather conditions.

Figure 1: Fosmon C-10707US Outdoor Mechanical Light Timer (2-Pack)
Safety Information
Please read and understand all safety instructions before using this product. Failure to follow these instructions may result in electric shock, fire, or serious injury.
- This timer is ETL Listed, ensuring compliance with safety standards for electrical products.
- The unit features a rainproof and rugged lid and casing, designed for outdoor use. However, it is recommended to hang it above ground level to prevent water accumulation.
- Do not immerse the timer in water.
- Ensure the timer is properly grounded using its 3-prong plug.
- Do not exceed the maximum load capacity: 125V 60Hz, 15A, 1875W resistance or general purpose, 10A tungsten lamp, 3/4HP, TV-5.
- The ETL certified plug provides protection from fire and electrical hazards.
- Keep children away from the timer and connected devices.
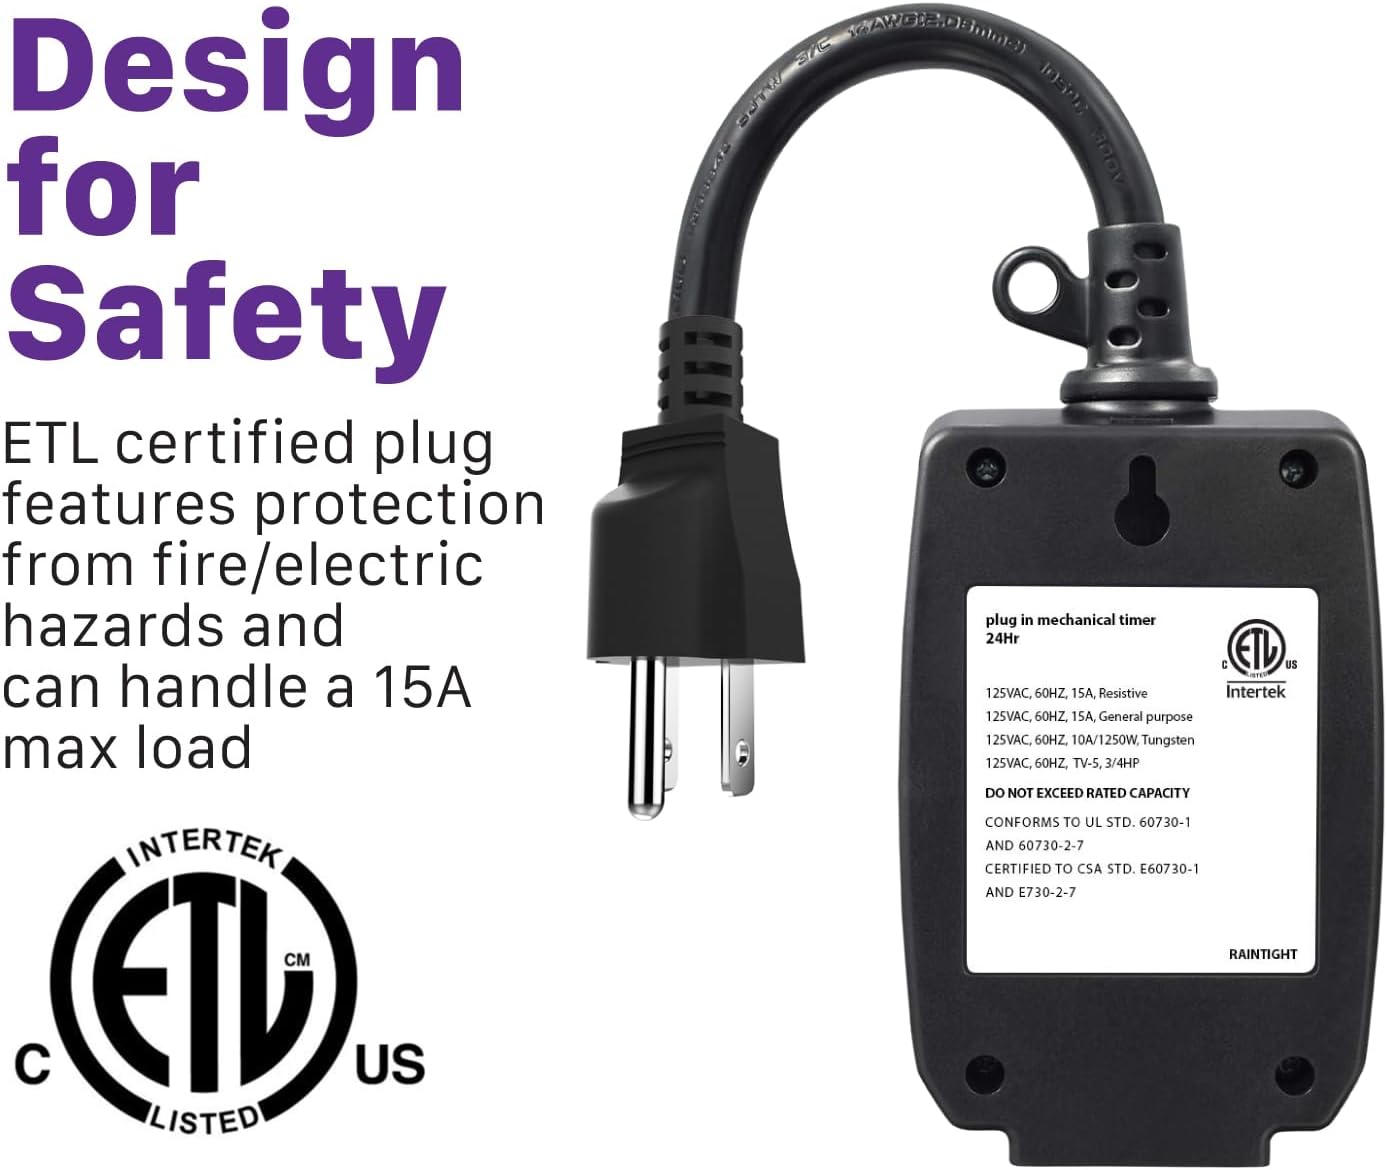
Figure 2: ETL Certification and Electrical Ratings for Safety
Product Features
- 24-Hour Mechanical Timer: Provides continuous daily programming.
- 30-Minute Increments: Allows for precise control of ON/OFF cycles.
- Heavy-Duty Capacity: Suitable for high-power devices up to 3/4 HP.
- Weather Resistant: Designed to withstand rain, wind, and snow.
- 3-Prong Grounded Outlet: Ensures safe electrical connection.
- Durable Construction: Features a robust PC + V-2 Flame Rating shell material and SJTW 14AWG & FT1 Flame Rating cable.
- Flexible Power Cord: 7-inch cord for convenient placement, especially with recessed outlets.
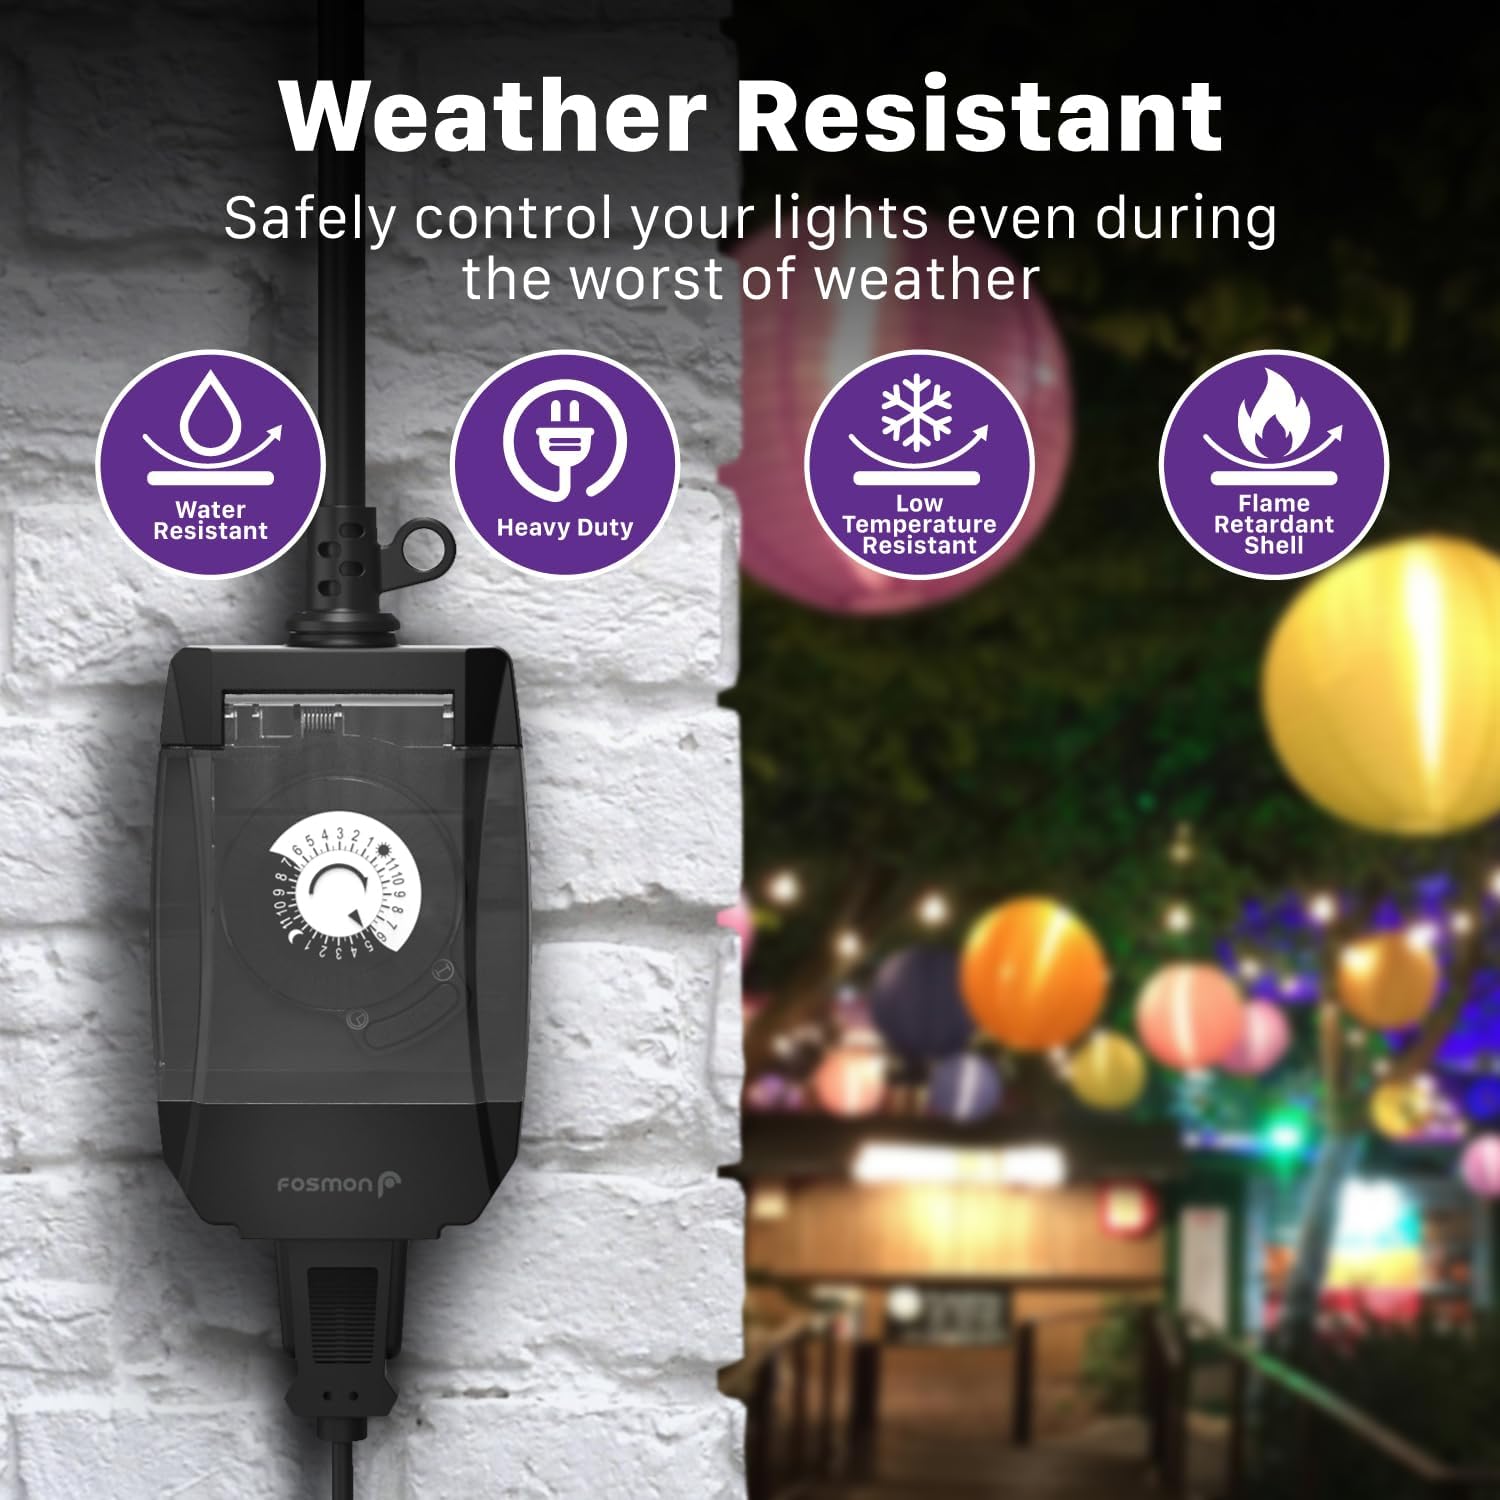
Figure 3: Weather Resistance and Durability Features

Figure 4: Cable and Shell Material Specifications
Setup and Installation
Follow these steps to set up your Fosmon outdoor mechanical timer:
- Determine ON/OFF Times: Identify the specific times you want your connected device to turn ON and OFF. Each pin on the dial represents a 30-minute interval.
- Set Pins:
- Push pins DOWN for the periods you want the device to be ON.
- Leave pins UP for the periods you want the device to be OFF.
- Set Current Time: Rotate the dial clockwise until the current time aligns with the arrow indicator. The dial is marked with 24 hours (0-24), where the dark section indicates night (PM) and the light section indicates day (AM).
- Select Mode: Use the switch on the side of the timer to select either "TIMER ON" for automatic operation or "MANUAL ON" for continuous power.
- Plug In: Plug the timer into a grounded outdoor electrical outlet. Ensure the outlet is protected from direct water exposure.
- Connect Device: Plug your outdoor light or device into the timer's 3-prong outlet.

Figure 5: Understanding the Programmable Dial

Figure 6: Step-by-Step Setup Guide
Operating Instructions
Once set up, the timer will automatically turn your connected devices ON and OFF according to your programmed schedule. The mechanical dial continuously rotates, activating the pins as they align with the internal mechanism.
- Automatic Operation: Ensure the side switch is set to "TIMER ON". The timer will follow the schedule set by the pushed-down pins.
- Manual Override: If you need to turn the device ON or OFF outside of the programmed schedule, you can switch to "MANUAL ON" for continuous power, or "MANUAL OFF" (if available, or simply unplug the device). Remember to switch back to "TIMER ON" for automatic operation.
- Time Adjustment: If the current time drifts, simply rotate the dial clockwise to align the current time with the arrow indicator. Do not rotate counter-clockwise.

Figure 7: Example Applications of the Timer
Maintenance
To ensure the longevity and optimal performance of your Fosmon outdoor mechanical timer, follow these maintenance guidelines:
- Regular Cleaning: Periodically wipe down the exterior of the timer with a damp cloth to remove dirt, dust, and pollen. Ensure the clear cover is clean for visibility of the dial.
- Inspect for Damage: Before each use, inspect the power cord, plug, and timer casing for any signs of damage, fraying, or cracks. Do not use if damaged.
- Proper Placement: Always ensure the timer is hung or placed in a position that allows water to drain away from it, preventing accumulation.
- Storage: If storing the timer for an extended period, clean it thoroughly and store it in a dry, protected area away from extreme temperatures.
Troubleshooting
If you encounter issues with your Fosmon outdoor mechanical timer, refer to the following common problems and solutions:
| Problem | Possible Cause | Solution |
|---|---|---|
| Device does not turn ON/OFF at programmed times. |
|
|
| Timer dial is stuck or difficult to rotate. |
|
|
| Timer is not receiving power. |
|
|
Specifications
| Attribute | Detail |
|---|---|
| Model Number | C-10707US-2PACK |
| Voltage | 125V AC |
| Frequency | 60Hz |
| Max Load (Resistive/General) | 15A, 1875W |
| Max Load (Tungsten Lamp) | 10A |
| Motor Rating | 3/4 HP |
| TV Rating | TV-5 |
| Product Dimensions | 4"D x 7.2"W x 1.9"H (10.8 cm x 18.3 cm x 4.8 cm) |
| Item Weight | 15.5 ounces (approx. 439g) |
| Cord Length | 7 inches (approx. 17.8 cm) |
| Material | PC + V-2 Flame Rating Shell |
| Cable Type | SJTW 14AWG & FT1 Flame Rating |
| Certifications | ETL Listed |
| Color | Black |

Figure 8: Product Dimensions
Warranty and Support
Fosmon stands behind the quality of its products.
- Limited Lifetime Warranty: This product is covered by a limited lifetime warranty. Please refer to the official Fosmon website or contact customer service for full warranty details.
- USA-Based Customer Service: For any questions, support, or warranty claims, please contact our experienced and dedicated USA-based customer service team.
For further assistance, visit the official Fosmon Store: Fosmon Store on Amazon