
1. Introduction
This manual provides essential information for the safe and efficient operation, maintenance, and troubleshooting of your Kärcher K 2 Compact Car Pressure Washer. Please read this manual thoroughly before using the appliance for the first time and keep it for future reference.
The Kärcher K 2 Compact is designed for occasional use around the home, specifically for cleaning vehicles, garden tools, and patios. Its compact design ensures easy storage and portability.
2. Safety Instructions
General Safety:
- Always wear appropriate personal protective equipment (PPE) such as safety glasses and hearing protection.
- Never direct the water jet at people, animals, live electrical equipment, or the appliance itself.
- Do not operate the pressure washer if the power cord or other essential parts are damaged.
- Keep children and unauthorized persons away from the appliance during operation.
- Ensure the appliance is placed on a stable, level surface during use.
Electrical Safety:
- Connect the appliance only to a properly earthed power supply.
- Do not use extension cords that are not suitable for outdoor use and rated for the appliance's power requirements.
- Never touch the mains plug or socket with wet hands.
Water Supply Safety:
- Ensure the water supply hose is securely connected and free from leaks.
- Do not connect the appliance directly to the public drinking water supply without a backflow preventer.
3. Package Contents
Before assembly, verify that all components are present and undamaged. The standard package for the Kärcher K 2 Compact Car Pressure Washer (1.673-004.0) typically includes:
- Kärcher K 2 Compact Pressure Washer Unit
- High-pressure gun
- Vario Power spray lance
- Dirt Blaster spray lance
- High-pressure hose
- Detergent suction hose or bottle attachment
- Car wash brush
- Car shampoo (sample or full bottle)
- Integrated water filter
- Garden hose adapter A3/4"
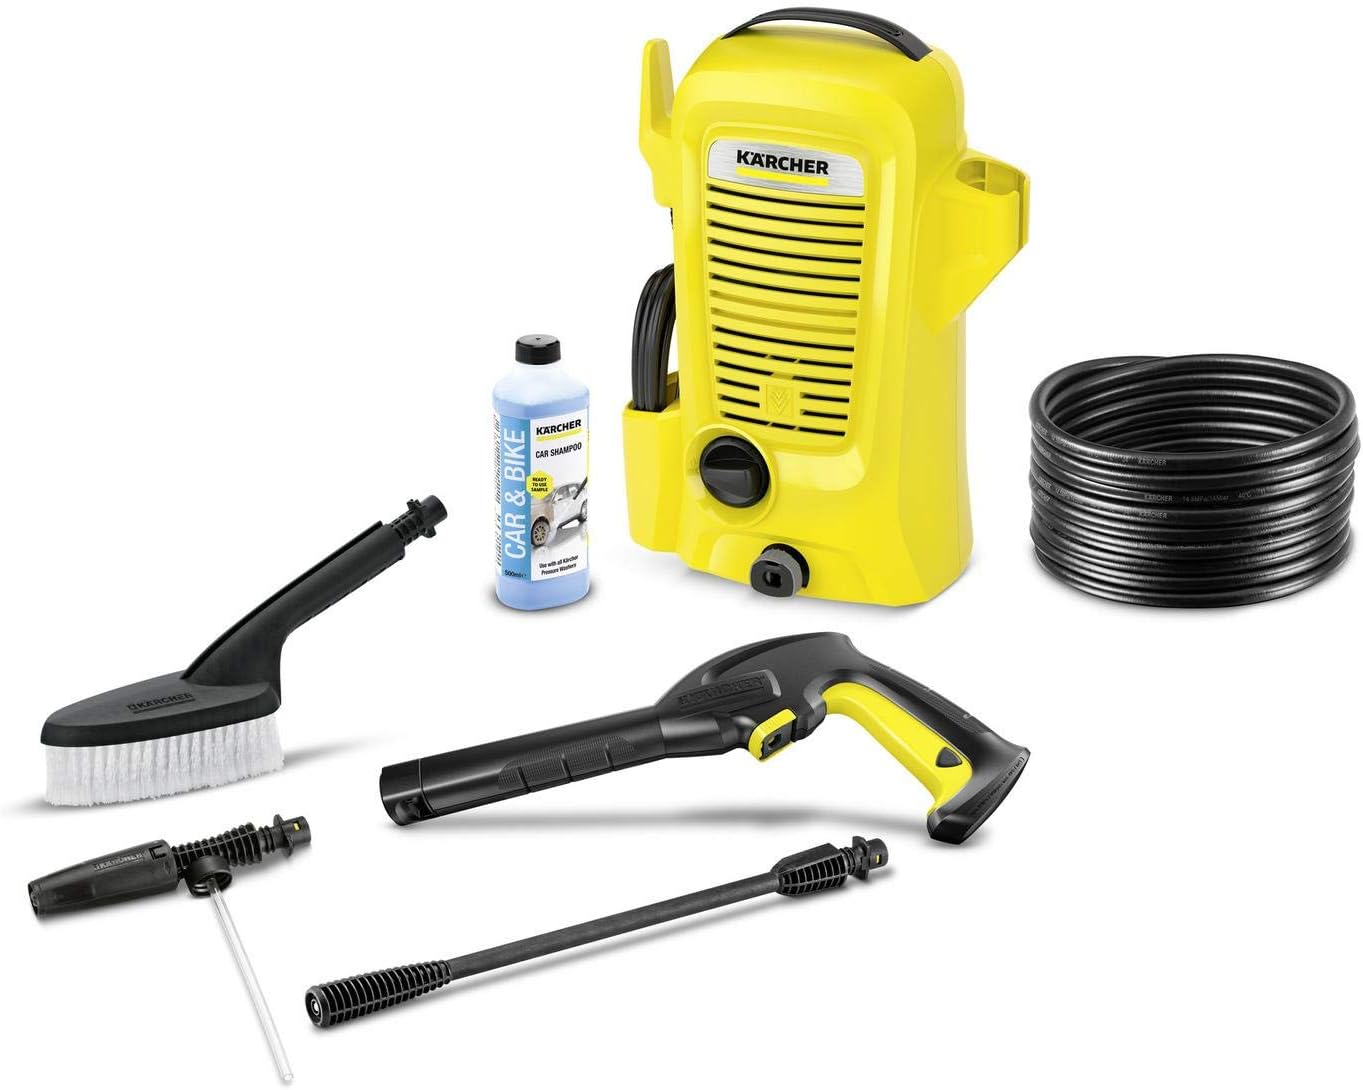
Image 1: Overview of the Kärcher K 2 Compact pressure washer and its included accessories, such as the high-pressure gun, various lances, hose, car brush, and detergent.
4. Setup
Follow these steps to set up your pressure washer for first use:
- Attach Wheels and Handle (if not pre-assembled): Secure any detachable wheels and the transport handle according to the diagrams in the full manual.
- Connect High-Pressure Hose: Connect one end of the high-pressure hose to the high-pressure outlet on the appliance and the other end to the high-pressure gun. Ensure connections are secure.
- Connect Water Supply: Attach a garden hose (not included) to the water inlet connection on the pressure washer. Ensure the garden hose is at least 1/2 inch in diameter and has a stable water supply. Connect the other end of the garden hose to a water tap.
- Connect Power Supply: Plug the power cord into a suitable, earthed electrical outlet.
- Bleed Air from System: Before switching on the motor, turn on the water tap completely. Squeeze the trigger on the high-pressure gun until a steady stream of water flows out, indicating that air has been purged from the system. This prevents damage to the pump.
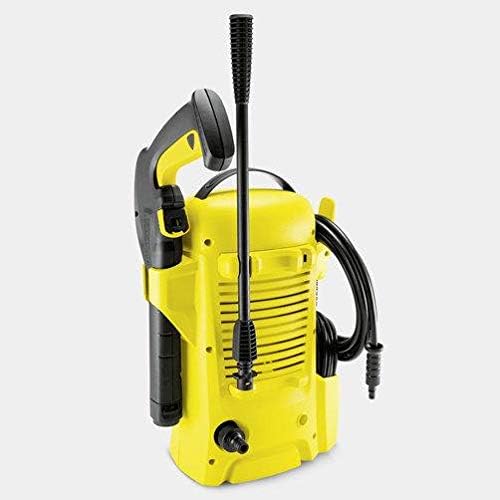
Image 2: The Kärcher K 2 Compact pressure washer shown with its components neatly stored on the unit, highlighting its compact design for storage.
5. Operating Instructions
Starting the Appliance:
- Ensure the water supply is fully open and the system is bled of air.
- Switch the appliance ON using the main power switch.
- Release the safety lock on the high-pressure gun and press the trigger to begin spraying.
Using Spray Lances:
- Vario Power Spray Lance: Twist the lance to adjust the pressure from low to high, suitable for general cleaning tasks.
- Dirt Blaster Spray Lance: Provides a rotating point jet for stubborn dirt and grime. Use with caution on delicate surfaces.
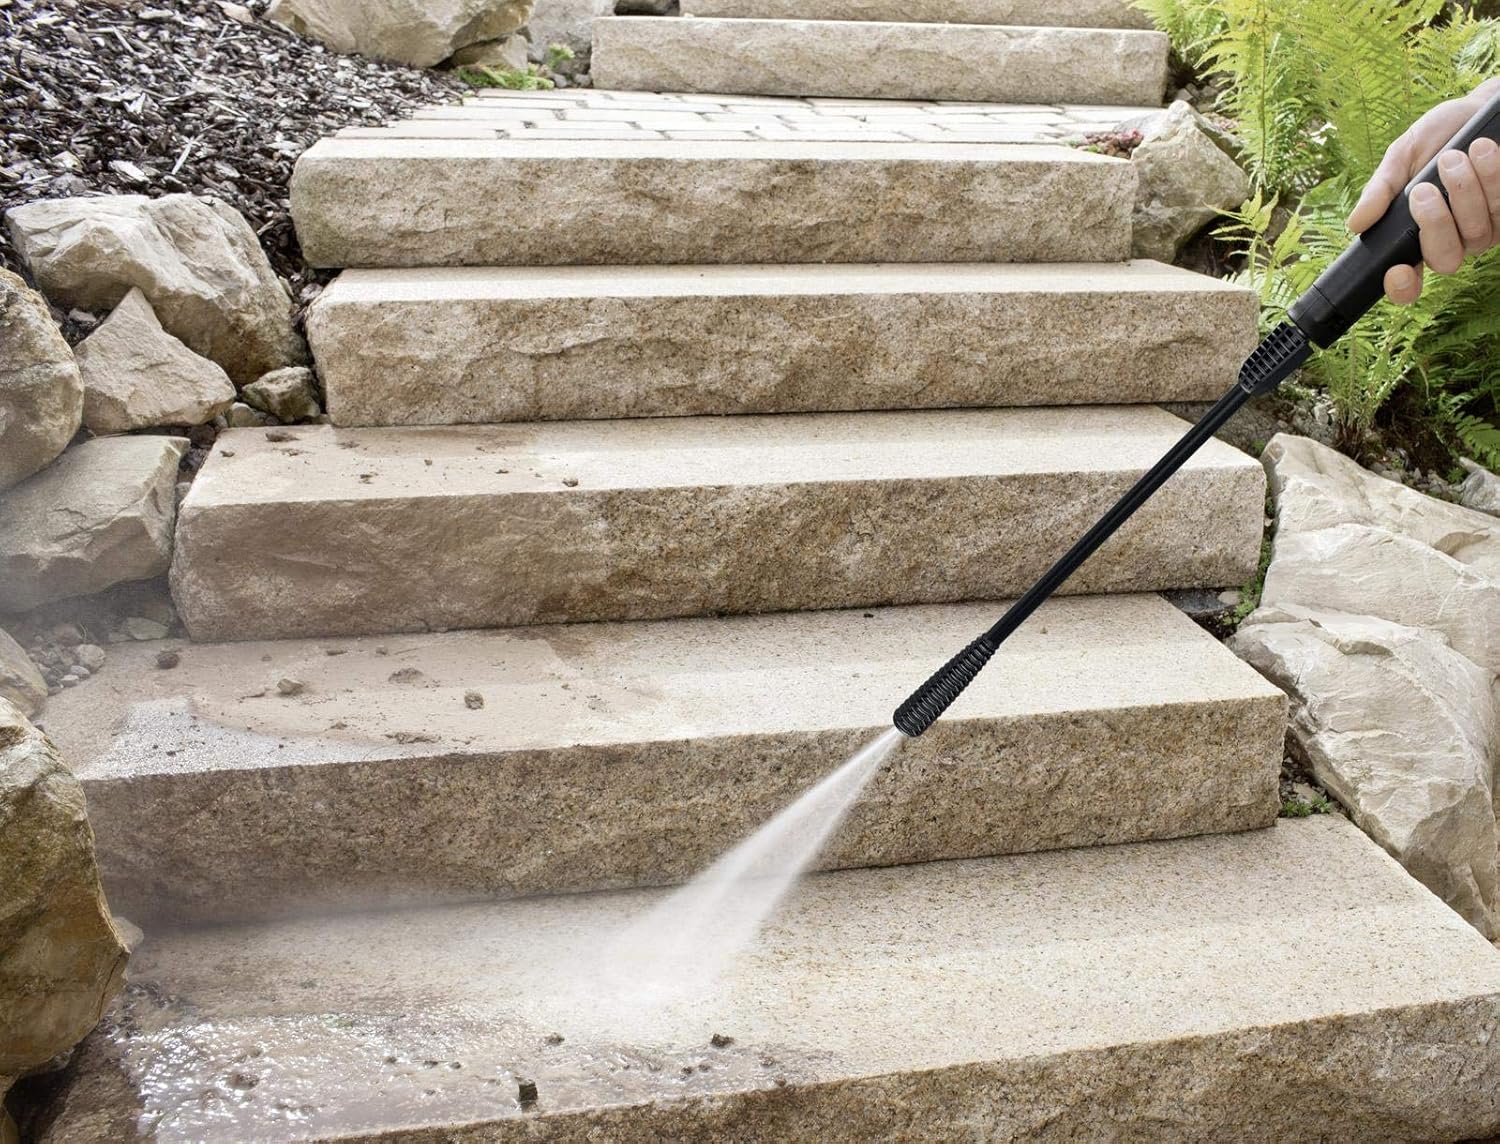
Image 3: A Kärcher pressure washer being used to clean stone stairs, demonstrating the effective removal of dirt and grime from hard surfaces.
Using Detergent:
The K 2 Compact model typically uses a detergent suction hose or a plug-and-play detergent bottle system.
- Ensure you are using Kärcher-approved detergents.
- For suction hose models: Place the detergent suction hose into the detergent container.
- For plug-and-play models: Attach the detergent bottle directly to the designated port on the pressure washer.
- Switch to the low-pressure setting on your Vario Power spray lance (if applicable) or use the dedicated detergent nozzle. Detergent will be mixed with the water at low pressure.
- Apply detergent to the surface, allow it to dwell for a short period (refer to detergent instructions), then rinse with high pressure.

Image 4: A hand connecting a Kärcher detergent bottle to the pressure washer, illustrating the easy integration of cleaning solutions.

Image 5: A car being thoroughly cleaned with foam applied by a Kärcher pressure washer, demonstrating effective detergent application for vehicle washing.
Car Cleaning:
- Pre-rinse the vehicle to remove loose dirt.
- Apply car shampoo using the detergent function.
- Use the car wash brush for gentle scrubbing, if included.
- Rinse thoroughly from top to bottom with the Vario Power lance on a medium to high-pressure setting, maintaining a safe distance from the vehicle's surface.

Image 6: A person using a Kärcher wash brush attachment with the pressure washer to clean a car, ensuring gentle yet effective cleaning of vehicle surfaces.

Image 7: A Kärcher pressure washer being used to clean a bicycle, demonstrating its versatility for various outdoor cleaning tasks.
Stopping the Appliance:
- Release the trigger on the high-pressure gun.
- Engage the safety lock on the high-pressure gun.
- Switch the appliance OFF using the main power switch.
- Turn off the water tap.
- Press the trigger on the high-pressure gun to release any residual pressure in the system.
- Disconnect the water supply hose and power cord.
6. Maintenance
Regular maintenance ensures the longevity and optimal performance of your pressure washer.
- Clean Water Filter: Regularly check and clean the water inlet filter to prevent debris from entering the pump.
- Clean Nozzles: If the spray pattern becomes irregular, clean the nozzle opening using the supplied needle or a thin wire.
- Winter Storage: In areas where temperatures drop below freezing, drain all water from the pump, hose, and accessories to prevent damage from freezing. Store the unit in a frost-free environment.
- General Cleaning: Wipe down the exterior of the appliance with a damp cloth. Do not use harsh cleaning agents.
7. Troubleshooting
Refer to this section for common issues and their solutions.
| Problem | Possible Cause | Solution |
|---|---|---|
| Appliance does not start | No power supply; Power switch OFF | Check power connection; Turn power switch ON |
| No pressure or fluctuating pressure | Air in the system; Water supply interrupted; Water filter dirty; Nozzle blocked | Bleed air (see Setup); Check water supply; Clean water filter; Clean nozzle |
| Detergent not being drawn in | Detergent hose/bottle not connected correctly; Low-pressure setting not selected | Check connections; Select low-pressure setting on lance |
| Water leaks from pump | Loose connections; Damaged seals | Tighten connections; Contact Kärcher service for seal replacement |
8. Specifications
| Feature | Specification |
|---|---|
| Model Number | 1.673-004.0 |
| Product Dimensions (L x W x H) | 11.02 x 15.35 x 7.17 inches |
| Item Weight | 11 pounds (approx. 5 kg) |
| Power Source | Corded Electric |
| Maximum Flow Rate | 360 Liters Per Hour |
| Certifications | CE, CSA |
| Manufacturer | Kärcher |
9. Warranty and Support
Kärcher products are manufactured to the highest quality standards and undergo rigorous testing. This product is covered by a manufacturer's warranty against defects in materials and workmanship. The specific terms and duration of your warranty may vary by region and purchase date. Please retain your proof of purchase for warranty claims.
For warranty service, technical support, or to purchase replacement parts and accessories, please contact Kärcher Customer Service. Contact information can typically be found on the Kärcher official website or on the product packaging.
Online Resources: Visit the official Kärcher website for additional product information, FAQs, and support resources.


