
1. Product Overview
The Road Top Wireless Carplay Android Auto Retrofit Kit Decoder integrates modern smartphone connectivity into your Mercedes Benz E Class W212 E Coupe (2012-2015) equipped with the NTG4.5 or NTG4.7 system. This decoder box is not a replacement screen but an enhancement to your existing car's infotainment system, adding features like wireless/wired Apple CarPlay, Android Auto, and Mirrorlink while retaining the original car's functionality and controls.
Important Compatibility Note:
- This kit is specifically designed for Mercedes Benz E Class W212 E Coupe models from 2012-2015 with NTG4.5 or NTG4.7 systems.
- It is NOT compatible with NTG4.0 or NTG5.0 systems.

2. Package Contents
Verify that all components are present in your package:

- Main Decoder Box
- Power Cable Harness
- LVDS Cable
- AMI Cable / USB Cable
- Wi-Fi Antenna
- Instruction Manual
3. Setup and Installation
Professional installation is highly recommended. If you lack confidence in performing the installation, please seek assistance from a qualified specialist. Ensure all functions are tested before reassembling the vehicle's interior.
The installation process involves disassembling parts of your car's dashboard to access and connect the decoder box to the original CD host device. Refer to the provided wiring diagram in the included manual for specific connections.
3.1 Pre-Installation Checks
- Confirm your car model and year.
- Verify your car's NTG system version (NTG4.5 or NTG4.7).
- Ensure your original car screen has an AUX audio option, as the CarPlay system sound works through AUX.

3.2 Key Installation Steps and Tips
- DIP Switch Settings: Before installation, set the DIP switches on the decoder box according to your car's screen size (5.8" or 7"). Consult the included manual for the correct settings.
- Ground Wire Connection: Connect the two black ground wires together (one from the main harness and one from the USB harness). Failure to do so will result in no audio from the CarPlay system.
- Disassembly: Carefully remove the LCD, center vent trim, radio unit, heater controller, sliding cover/cup holder, and control knob. Numerous online video guides are available for specific vehicle models.
- Temporary Testing: It is highly recommended to temporarily connect all components outside the dashboard to confirm proper functionality before final reassembly. When testing, ensure the center vent trim is in position and switches are plugged in to avoid error messages.
- Fiber Optic Cable: Transfer the fiber optic cable from the original Quadlock connector to the new harness's Quadlock connector. Be gentle, as these plastic fibers can be fragile.
- Cable Routing: Route the Wi-Fi antenna connector and the white connectors from the two harnesses on the left side, past the vent flanges. Route the LVDS cable down the right side. The control box is best placed behind the LCD, ensuring cables can reach.
- USB and Audio Extension: Extend the USB and 3.5mm audio cables down past the heater control area and into the cup holder space, then into the armrest compartment. A short (2 ft) USB 2.0 extension cable is useful for future firmware updates.
- Audio Ground Loop Isolator: To prevent whining noises in the audio, an external ground loop isolator (e.g., item ID B019FC6ZQQ) may be necessary for the 3.5mm audio connection.
- Wi-Fi Antenna Placement: Avoid placing the Wi-Fi antenna inside the center console or near metal materials. A suitable location is a horizontal flat spot behind the heat controls. For optimal wireless CarPlay performance, keep your phone within approximately one foot of the antenna.
- Reassembly: Carefully reinstall all components. When reinserting the main radio, ensure the large wiring harness junction is positioned at the far back right of the radio bay. Do not force components; if they don't fit easily, check for pinched wires.
3.3 Engineering Mode Settings (Post-Installation)
After installation, you may need to adjust settings in the car's engineering menu:
- Access Engineering Mode: Press and hold the 'end call' + '1' + '#' buttons simultaneously for 10 seconds on your head unit.
- Enable AUX Input: Navigate to menu 7.7 (HU Parameter). Scroll to find and enable the AUX input (param 7.7.4). If enabled, disable UCI (MMI) input in TGW Parameter (param 7.5.5).
- Disable Factory Voice Command: Navigate to menu 7.7 (HU Parameter). Scroll to find SDS/TTS and select Disable. This prevents conflicts with Siri/Google Assistant.
- Apply Changes: After making changes, navigate to menu 9 (Reset) and run it. This reboots the unit and applies the new settings.
4. Operating Instructions
4.1 Switching Between Systems
To switch between the original car radio system and the CarPlay/Android Auto system, long-press the special button on your car's center console knob control.

4.2 CarPlay and Android Auto
- Supports both wireless and wired connections for Apple CarPlay and Android Auto.
- Allows access to navigation, music, calls, and other compatible apps directly on your car's screen.
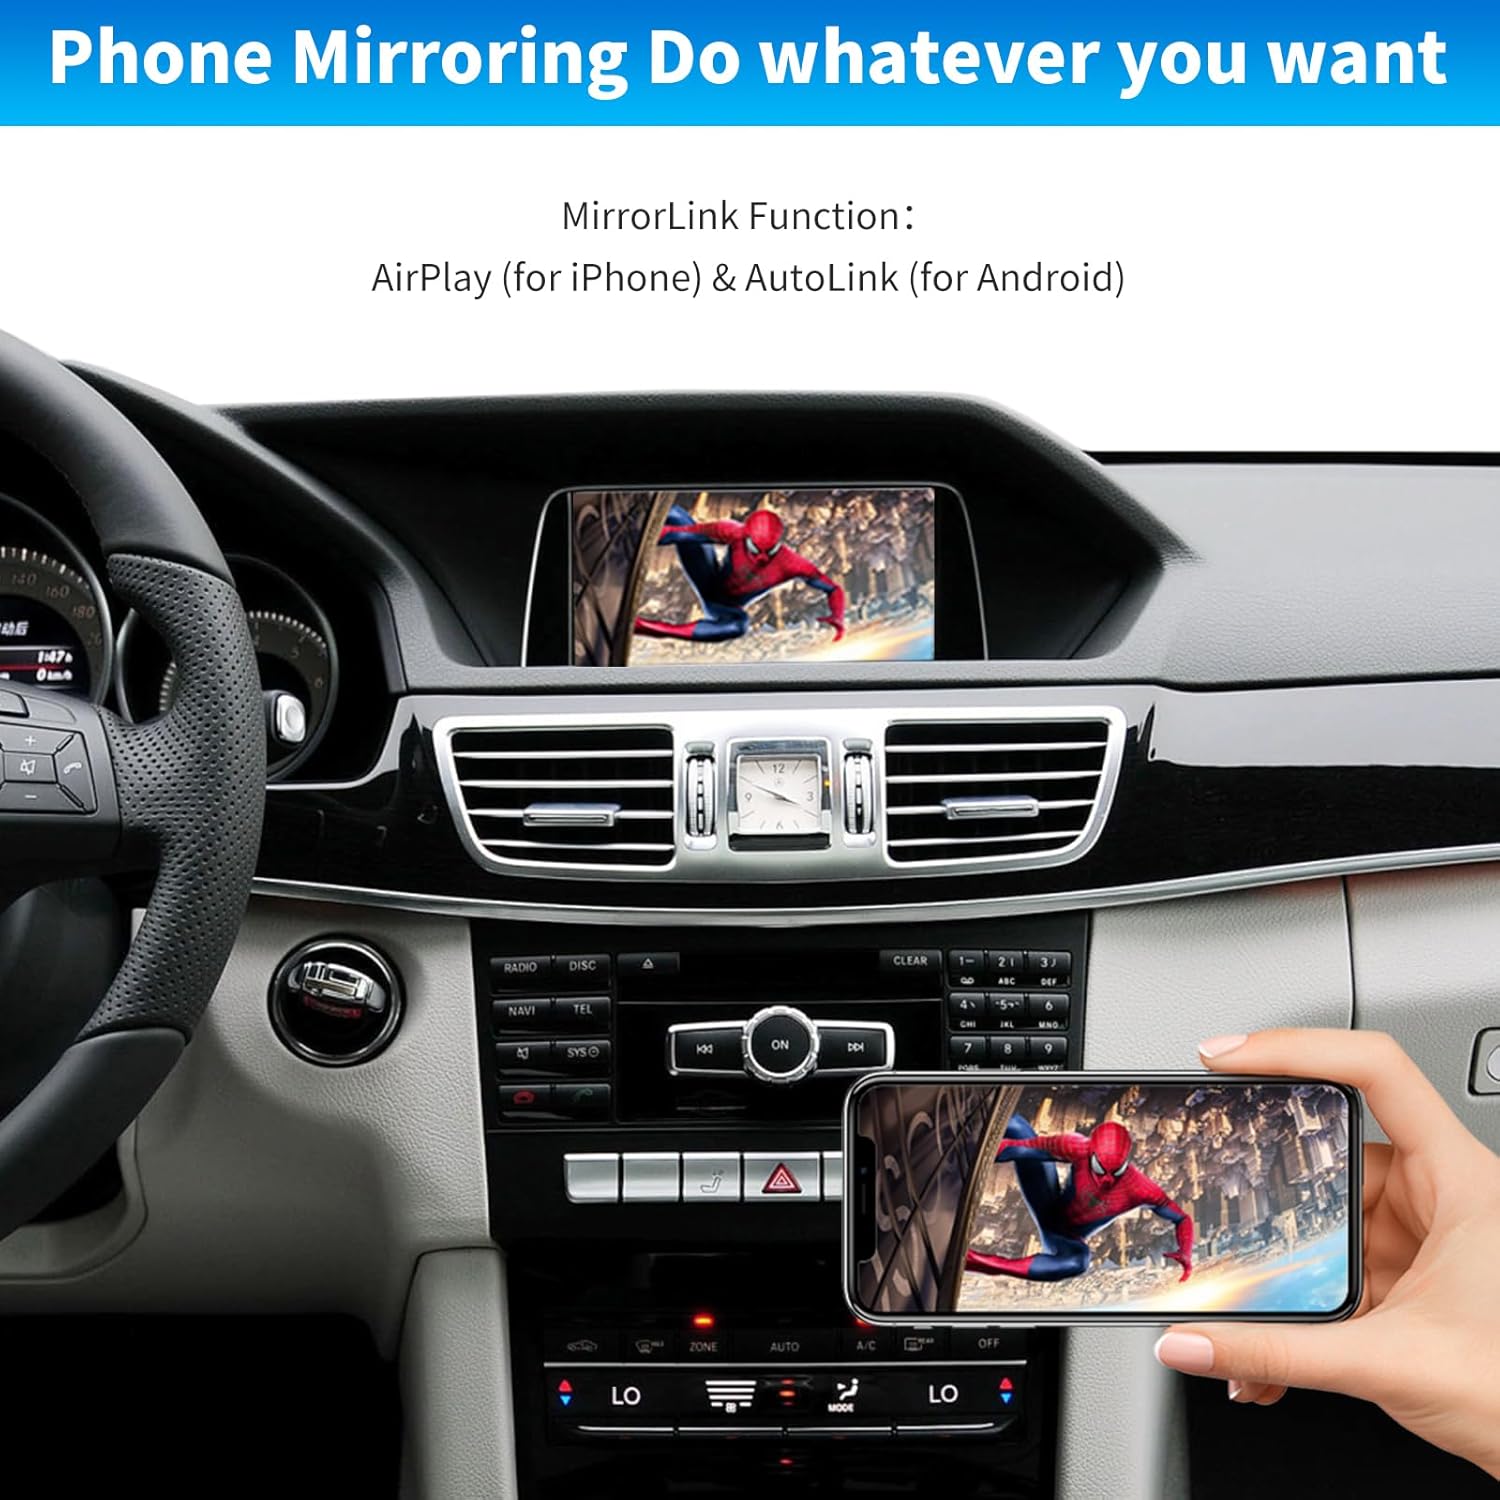
4.3 Mirrorlink Functionality
The Mirrorlink feature allows screen mirroring from your smartphone:
- AirPlay: For iPhone devices.
- Autolink: For Android devices.
4.4 Camera Support
- Supports the factory original reverse camera and parking radar.
- Compatible with aftermarket reverse cameras and 360-degree camera systems.
- Supports front view camera DVR (CVBS input).
4.5 Original Car Knob and Steering Wheel Control
The system integrates with your car's existing controls:
- Knob Control: Use the original car knob for navigation within the CarPlay/Android Auto interface.
- Steering Wheel Buttons: Supports the voice control button, telephone button, and volume “+” and “-” buttons. Other steering wheel buttons are not supported by the retrofit kit.

5. Troubleshooting
Many issues can be resolved by checking connections and settings. If problems persist, contact support.
- No Audio: Ensure the two black ground wires (from the main harness and USB harness) are securely connected together. If humming or whining is present, consider installing a ground loop isolator on the 3.5mm audio connection.
- Black Screen / No CarPlay Display: This can occur due to incorrect settings or connectivity issues. Try the following:
- Access the unit's menu and select the "Reset CarPlay" option.
- Before starting the car, unlock your smartphone to ensure proper pairing with the kit.
- Check all cable connections, especially the LVDS cable.
- Wireless Connectivity Issues: Ensure your phone is within close proximity (approximately one foot) of the Wi-Fi antenna for optimal signal strength. Avoid placing the antenna near metal obstructions.
- Voice Command Conflict: If both Siri/Google Assistant and the factory Mercedes voice command activate simultaneously, disable the factory voice command through the engineering menu as described in Section 3.3.
- General Malfunctions: If the system behaves unexpectedly, try disconnecting and reconnecting the CAN cables or performing a soft reset of the car's head unit via the engineering menu (Menu 9.1).
6. Specifications
| Feature | Specification |
|---|---|
| Model Number | 763684289016 |
| Compatible Vehicles | Mercedes Benz E Class W212 E Coupe (2012-2015) with NTG4.5/4.7 System |
| Connectivity Technology | Bluetooth |
| Controller Type | Android, iOS |
| Special Feature | Built-In Bluetooth |
| Compatible Devices | Smartphone, Speaker |
| Connector Type | Optical |
| Audio Output Mode | Stereo |
| Surround Sound Channel Configuration | 5.1 |
| Video Encoding | MP4 |
| Number of Channels | 5 |
| Package Dimensions | 8.85 x 6.81 x 4.48 inches |
| Item Weight | 2.63 pounds |
7. Support and Warranty
For technical assistance, installation guidance, or troubleshooting not covered in this manual, please contact Road Top Direct, the seller of this product. They are equipped to provide specialized support for installation and settings.
Please refer to your purchase documentation for specific warranty information. Generally, it is recommended to confirm all features work correctly before finalizing the installation and reassembling your vehicle's interior.
You can typically reach the seller by navigating to your order details on Amazon and selecting the option to "Ask a question" or contact the seller directly.