
Blisslights QS-17B
BlissLights Sky Lite Star Projector User Manual
Model: QS-17B
Introduction
Welcome to the world of celestial wonder with your new BlissLights Sky Lite Star Projector. This device is designed to transform any room into a mesmerizing galaxy, projecting a field of floating blue stars against a transforming blue nebula cloud. Its simple operation and stunning visual effects make it perfect for creating a relaxing ambiance, enhancing home entertainment, or simply enjoying a unique visual experience.
Please read this manual thoroughly before using your Sky Lite projector to ensure safe and optimal performance.
Safety Information
- Indoor Use Only: This product is intended for indoor use in dry locations. Do not expose to water or moisture.
- Avoid Direct Eye Exposure: Do not look directly into the projector's light source. The laser light can be harmful to eyes.
- Keep Away from Children: This is not a toy. Keep out of reach of small children.
- Proper Ventilation: Ensure the projector has adequate ventilation. Do not cover ventilation openings.
- Power Source: Use only the provided power adapter. Ensure the voltage matches your local power supply (220 Volts AC).
- Cleaning: Unplug the device before cleaning. Use a soft, dry cloth. Do not use liquid cleaners.
- Disassembly: Do not attempt to disassemble or modify the projector. This will void the warranty and may cause harm.
Package Contents
Please check the box for the following items:
- BlissLights Sky Lite Star Projector (Model: QS-17B)
- Power Adapter
- User Manual (this document)
Setup
- Unpack: Carefully remove the Sky Lite projector and all accessories from the packaging.
- Placement: Place the projector on a stable, flat surface. For best projection results, position it in a dark room, facing a wall or ceiling. The optimal projection distance is typically 3-5 meters (10-16 feet).
- Connect Power: Insert the small end of the power adapter into the DC input port on the back of the Sky Lite projector. Plug the other end of the power adapter into a standard 220V AC power outlet.
- Power On: Press the Power button on the projector to turn it on.
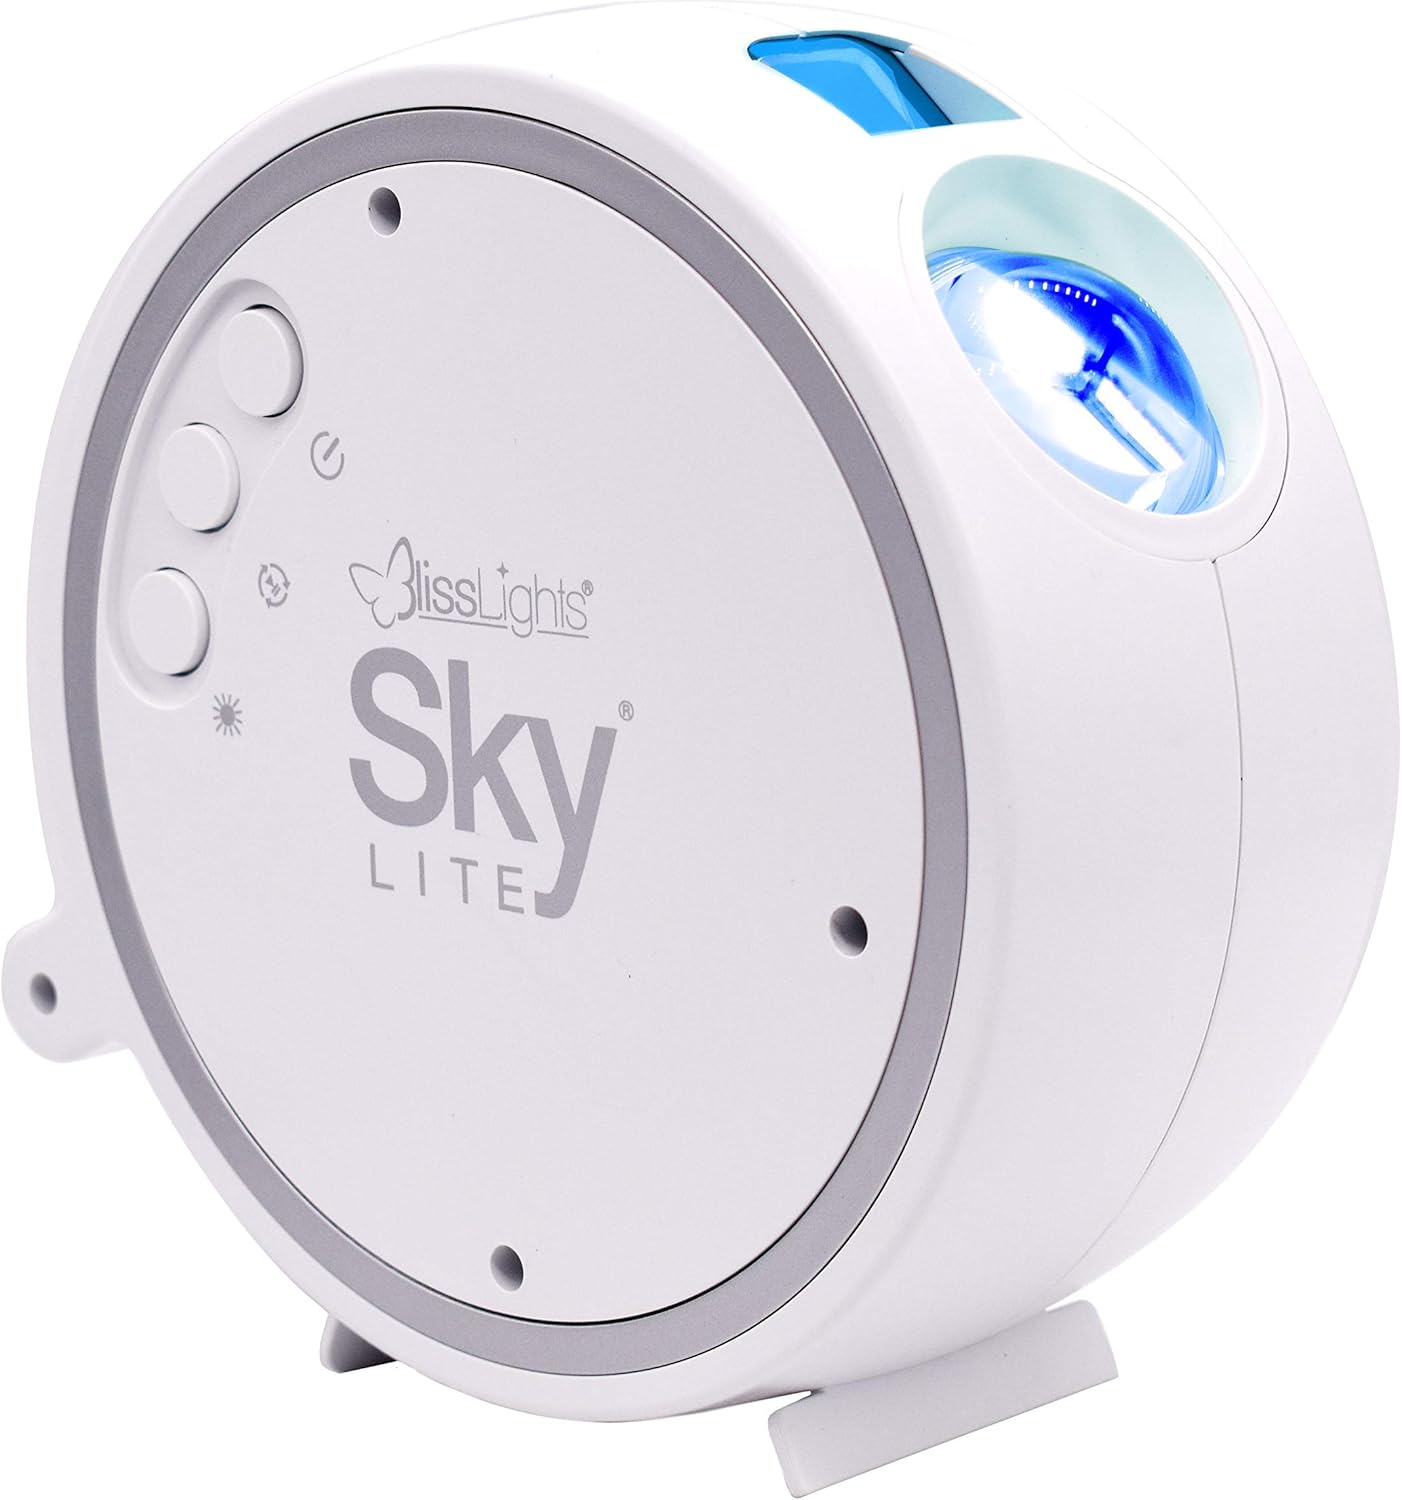
Figure 1: Front view of the BlissLights Sky Lite projector showing the control buttons and light output.
Operating Instructions
The Sky Lite projector features simple button controls for easy operation.
Control Buttons:
- Power Button (
 ): Press to turn the unit ON or OFF.
 - Nebula Button (
 ): Cycles through nebula effects (ON, OFF, or breathing mode).
 - Star Button (
 ): Cycles through star effects (ON, OFF, or breathing mode).
 - Brightness Button (
 ): Adjusts the brightness level of the projection.
 - Rotation Button (
 ): Starts or stops the rotational movement of the nebula and stars.

Figure 2: The Sky Lite projects both a dynamic nebula and distinct stars, which can be controlled independently.
Automatic Shut-off:
The Sky Lite projector is designed with an automatic shut-off feature. It will turn off automatically after approximately 6 hours of continuous operation to conserve energy and ensure product longevity.
Creating Ambiance:
Experiment with different placements and settings to achieve your desired effect. The projector can create a calming night light, a vibrant party atmosphere, or a unique backdrop for relaxation.

Figure 3: Sky Lite transforming a bedroom into a starry night.

Figure 4: Sky Lite creating a unique ambiance in a living room.

Figure 5: Sky Lite adding a relaxing touch to a bathroom setting.
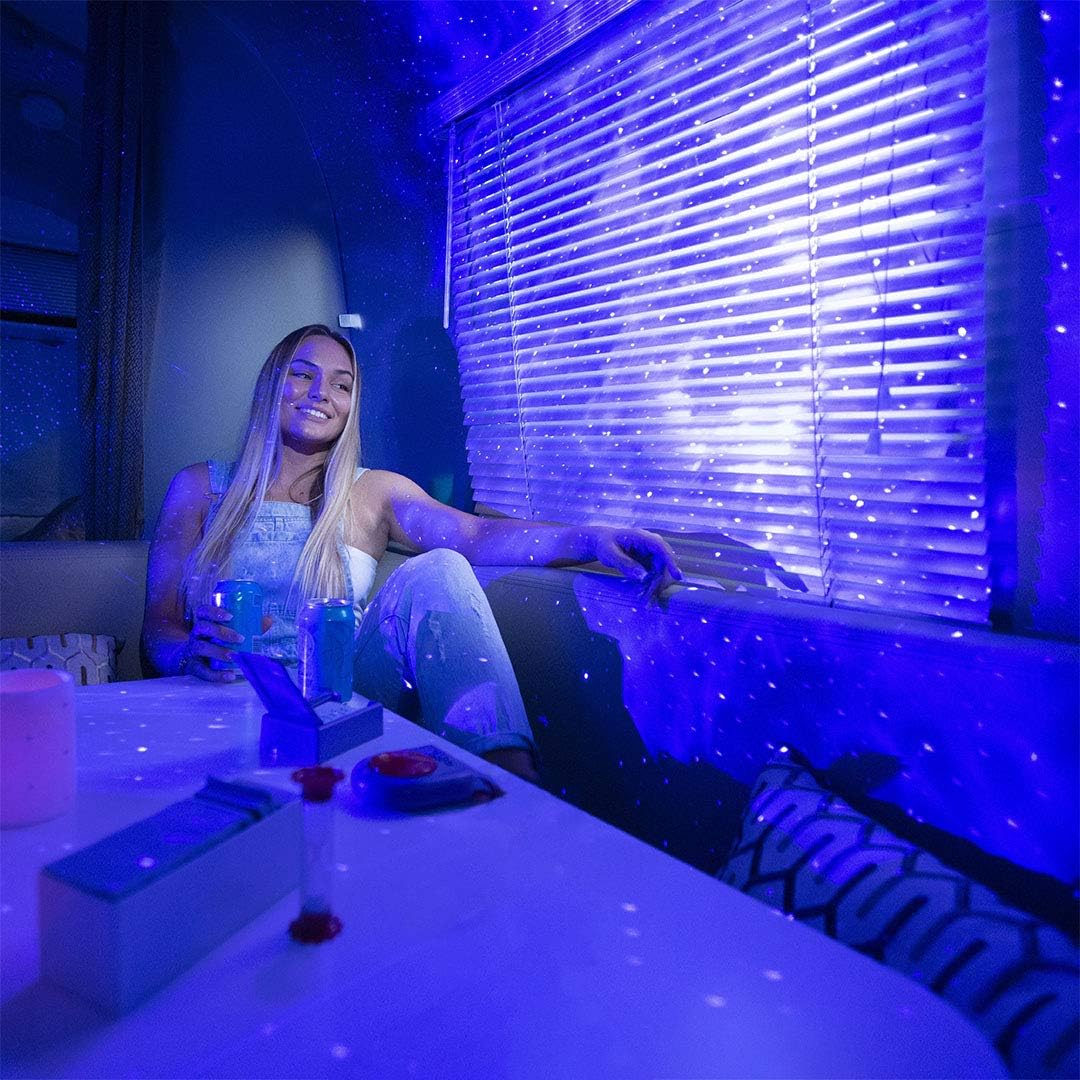
Figure 6: A user relaxing under the captivating projection of the Sky Lite.
Maintenance
- Cleaning: To clean the projector, unplug it from the power source. Use a soft, dry, lint-free cloth to gently wipe the exterior. Do not use abrasive cleaners, solvents, or harsh chemicals, as these may damage the surface.
- Lens Care: If the projection lens requires cleaning, use a lens cleaning cloth specifically designed for optics. Avoid touching the lens directly with your fingers.
- Storage: When not in use for extended periods, store the projector in its original packaging or a protective case in a cool, dry place, away from direct sunlight and extreme temperatures.
Troubleshooting
| Problem | Possible Cause | Solution |
|---|---|---|
| Projector does not turn on. | No power connection. Faulty power adapter. | Ensure the power adapter is securely plugged into both the projector and a working power outlet. Try a different outlet. If the issue persists, contact customer support. |
| Projection is dim or unclear. | Room is too bright. Lens is dirty. Incorrect distance. | Ensure the room is sufficiently dark. Gently clean the projection lens with a soft, lint-free cloth. Adjust the projector's distance from the projection surface (optimal 3-5 meters). |
| Stars or nebula are not moving. | Rotation feature is off. | Press the Rotation button to activate or deactivate the rotation effect. |
| Stars or nebula are not visible. | Specific effect is turned off. | Press the Nebula button or Star button to cycle through the available effects until the desired projection appears. |
Specifications
| Brand | Blisslights |
| Model Number | QS-17B (900-00047_A) |
| Product Dimensions | 15 x 7.5 x 15 cm (L x W x H) |
| Item Weight | 850 grams |
| Color | Blue Stars |
| Material | Glass |
| Voltage | 220 Volts (AC) |
| Light Source Type | LED |
| Special Features | Color Change, Aurora Effects |
| Installation Type | Table Mount |
Warranty and Support
BlissLights products are designed for quality and durability. For information regarding warranty coverage, please refer to the warranty card included with your purchase or visit the official BlissLights website. If you encounter any issues not covered in the troubleshooting section or require further assistance, please contact BlissLights customer support through their official channels.
For the latest support information and FAQs, please visit: www.blisslights.com/support
Related documentsQS-17B


Ask a question about this manual
Ask about setup, troubleshooting, compatibility, parts, safety, or missing instructions. Manuals+ will review the question and use this page’s manual context to help answer it.