1. Introduction
This manual provides detailed instructions for the safe and efficient operation of your TERA TR-500 Dual Band VHF/UHF 16 Channel Commercial Handheld Radio. The TR-500 is a robust, high-performance transceiver designed for commercial use, offering simple operation with up to 5 watts of RF power output. It is suitable for various applications including security patrols, business communications, schools, construction crews, and universities.
Please read this manual thoroughly before using the radio to ensure proper functionality and to prevent damage.
2. Package Contents
Verify that all items listed below are included in your package. If any items are missing or damaged, please contact your dealer.
- TERA TR-500 Dual-band radio
- Lithium-ion battery (1600 mAh)
- Desk charger
- Dual-band antenna
- Belt clip
- User manual (this document)
- Wrist strap

Figure 2.1: Contents of the TERA TR-500 package, including the radio, battery, charger, antenna, belt clip, and wrist strap.
3. Product Overview
The TERA TR-500 is designed for ease of use and durability. Familiarize yourself with the radio's components before operation.
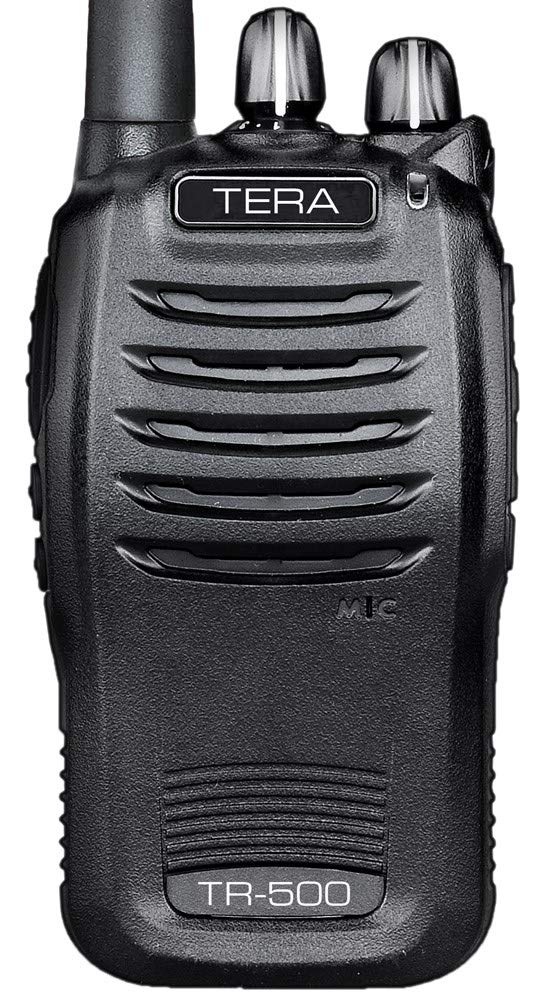
Figure 3.1: Top view of the TERA TR-500 radio, showing the antenna connector, channel selector knob, and power/volume knob.

Figure 3.2: Side view of the TERA TR-500 radio, highlighting the Push-To-Talk (PTT) button and the accessory port for speaker microphones or programming cables.
Key Components:
- Antenna: For transmitting and receiving signals.
- Power/Volume Knob: Turns the radio on/off and adjusts speaker volume.
- Channel Selector Knob: Selects one of the 16 available channels.
- Push-To-Talk (PTT) Button: Press to transmit, release to receive.
- Speaker/Microphone: Integrated for audio output and input.
- Accessory Port: For connecting external speaker microphones or programming cables.
- Battery Pack: Provides power to the radio.
4. Setup
4.1. Attaching the Antenna
- Align the threaded end of the antenna with the antenna connector on top of the radio.
- Turn the antenna clockwise until it is firmly seated. Do not overtighten.
4.2. Installing the Battery Pack
- Ensure the radio is turned off.
- Align the battery pack with the grooves on the back of the radio.
- Slide the battery pack upwards until it clicks into place.
- To remove, press the battery release latch (if present) and slide the battery downwards.
4.3. Charging the Battery
The radio uses a 1600 mAh lithium-ion battery. Charge the battery fully before first use.

Figure 4.1: TERA TR-500 radio placed in its desk charger, with the separate battery and power adapter shown.
- Connect the AC adapter to the desk charger.
- Plug the AC adapter into a standard wall outlet.
- Place the radio with the battery attached (or just the battery) into the charging slot of the desk charger.
- The charger indicator light will typically show red during charging and green when fully charged.
- A full charge may take several hours. Do not leave the battery on the charger indefinitely after it is fully charged.
4.4. Attaching the Belt Clip
- Align the belt clip with the screw holes on the back of the radio.
- Secure it with the provided screws.
5. Operating Instructions
5.1. Powering On/Off and Volume Adjustment
- To turn the radio ON, rotate the Power/Volume knob clockwise until you hear a click and the radio announces its status (e.g., battery level).
- To turn the radio OFF, rotate the Power/Volume knob counter-clockwise until you hear a click.
- To adjust the volume, rotate the Power/Volume knob clockwise to increase and counter-clockwise to decrease.
5.2. Channel Selection
- Rotate the Channel Selector knob to choose one of the 16 pre-programmed channels. The radio will announce the selected channel number.
- The TR-500 is operational out of the box with 16 pre-programmed business channels.
- For custom programming, an optional USB Programming Cable and software are required.
5.3. Transmitting and Receiving
- To receive, simply ensure the radio is on and the volume is adjusted. The radio will automatically receive signals on the selected channel.
- To transmit, press and hold the PTT (Push-To-Talk) button on the side of the radio. Speak clearly into the microphone, holding the radio approximately 2-3 inches from your mouth.
- Release the PTT button to return to receive mode.
- Do not transmit without an antenna attached.
5.4. Power Levels
The TR-500 supports programmable power levels to optimize battery life and range:
- VHF: 5 Watts (High) / 2 Watts (Low)
- UHF: 4 Watts (High) / 1 Watt (Low)
- Power levels are typically set during programming. Consult your dealer or programming software for adjustments.
5.5. CTCSS/DCS Tone Squelch
The radio features CTCSS (Continuous Tone-Coded Squelch System) and DCS (Digital Coded Squelch) tone squelch with split tone capability. These tones help filter out unwanted communications by only opening the squelch when a signal with the matching tone is received. These settings are configured via programming software.
6. Maintenance
6.1. Battery Care
- Avoid overcharging the battery. Remove it from the charger once fully charged.
- Store batteries in a cool, dry place when not in use.
- If the radio will not be used for an extended period, remove the battery.
- Replace the battery when its operating time significantly decreases.
6.2. Cleaning
- Wipe the radio's surface with a soft, damp cloth.
- Do not use harsh chemicals or abrasive cleaners.
- Ensure the accessory port cover is securely closed to prevent dust and moisture ingress.
7. Troubleshooting
| Problem | Possible Cause | Solution |
|---|---|---|
| Radio does not power on. | Battery is dead or not installed correctly. | Charge the battery or re-install it properly. |
| Cannot transmit or receive. | Incorrect channel selected, antenna not attached, low battery, or out of range. | Verify channel, attach antenna, charge battery, move closer to other radios. |
| Poor audio quality or static. | Weak signal, interference, or incorrect CTCSS/DCS settings. | Move to a clearer area, check antenna connection, verify CTCSS/DCS settings with other radios. |
| Battery life is short. | Battery is old or not fully charged. | Replace battery if old, ensure full charge before use. Use low power mode if available. |
8. Specifications
| Model Number | TR-500 |
| Frequency Range | VHF: 136-174 MHz, UHF: 400-470 MHz (RX/TX) |
| Number of Channels | 16 |
| RF Power Output | VHF: 5W/2W (High/Low), UHF: 4W/1W (High/Low) |
| Battery Type | 1600 mAh Lithium-ion |
| Battery Life | Approximately 30+ hours (in power saver mode) |
| Audio Output | 800 mW |
| Tone Squelch | CTCSS/DCS with split tone capability |
| Certifications | FCC Part 90 certified |
| Radio Weight | 1.3 pounds (with battery) |
| Water Resistance | Water Resistant |


