
Victrola VTA-600B-ESP Navigator
Contents
Victrola VTA-600B-ESP Navigator 8-In-1 Classic Bluetooth Record Player
User Manual
1. Introduction
Thank you for purchasing the Victrola VTA-600B-ESP Navigator 8-In-1 Classic Bluetooth Record Player with Wooden Stand. This versatile music center combines vintage aesthetics with modern functionality, allowing you to enjoy your music through various formats including vinyl records, CDs, cassettes, FM radio, USB playback, and Bluetooth streaming. The included wooden stand provides a stable base and convenient record storage.
This manual provides detailed instructions for setting up, operating, and maintaining your new music system. Please read it thoroughly before use to ensure proper operation and to maximize your listening experience.
2. Important Safety Instructions
- Read Instructions: Read all safety and operating instructions before operating the product.
- Retain Instructions: Keep the safety and operating instructions for future reference.
- Heed Warnings: Adhere to all warnings on the product and in the operating instructions.
- Follow Instructions: Follow all operating and use instructions.
- Water and Moisture: Do not use this apparatus near water.
- Cleaning: Clean only with a dry cloth.
- Ventilation: Do not block any ventilation openings. Install in accordance with the manufacturer's instructions.
- Heat: Do not install near any heat sources such as radiators, heat registers, stoves, or other apparatus (including amplifiers) that produce heat.
- Power Cord Protection: Protect the power cord from being walked on or pinched.
- Attachments/Accessories: Use only attachments/accessories specified by the manufacturer.
- Lightning/Unused Periods: Unplug this apparatus during lightning storms or when unused for long periods of time.
- Servicing: Refer all servicing to qualified service personnel. Servicing is required when the apparatus has been damaged in any way.
3. Package Contents
Please ensure all items listed below are present in your package:
- Victrola Navigator 8-In-1 Classic Bluetooth Record Player
- Victrola Wooden Stand with Record Holder Shelf
- USB Cable
- RCA Cable
- Remote Control
- Instruction Manual (this document)
4. Setup
4.1 Unpacking
Carefully remove all components from the packaging. Retain the packaging materials for future transport or storage. Remove any protective films or covers from the unit.
4.2 Stand Assembly
The Victrola wooden stand is designed for easy assembly with no tools required. Follow the included assembly guide for the stand. Ensure all parts are securely connected for stability.

Image: Victrola Navigator 8-in-1 Record Player and Wooden Stand. The image shows the main record player unit on the left and the unassembled wooden stand on the right, highlighting both components of the product.

Image: Victrola Wooden Stand with Records. This image displays the assembled wooden stand, designed to hold vinyl records on its lower shelf, providing a functional and aesthetic storage solution.
4.3 Unit Placement
Place the record player unit on a flat, stable surface, preferably on the assembled wooden stand. Ensure there is adequate ventilation around the unit to prevent overheating. Avoid placing it near heat sources or in direct sunlight.
4.4 Power Connection
Connect the AC power cord to the AC IN jack on the back of the unit, then plug the other end into a wall outlet. The unit is now ready for operation.
5. Operating Instructions
5.1 General Controls
Familiarize yourself with the control panel on the front of the unit:
- POWER Button: Turns the unit on or off.
- VOLUME Knob: Adjusts the master volume level.
- MODE Button: Switches between Turntable, Bluetooth, CD, Cassette, FM Radio, and USB modes.
- TUNING Knob: Used for manual tuning in FM Radio mode.
- EJECT Button: Ejects CD or cassette.
- PLAY/PAUSE, SKIP, PROGRAM Buttons: Control playback for CD, USB, and Cassette modes.

Image: Victrola Navigator 8-in-1 Record Player Front View. This image provides a clear view of the main unit's front panel, showcasing the various controls, display, and media slots for CD and cassette playback.
5.2 Turntable Operation
- Lift the dust cover.
- Place a record on the turntable platter.
- Select the appropriate speed (33 1/3, 45, or 78 RPM) using the speed selector switch.
- Release the tone arm lock.
- Gently lift the tone arm using the cue lever and position it over the desired track on the record.
- Lower the tone arm slowly onto the record using the cue lever. Playback will begin.
- To stop playback, lift the tone arm, return it to the tone arm rest, and engage the lock.
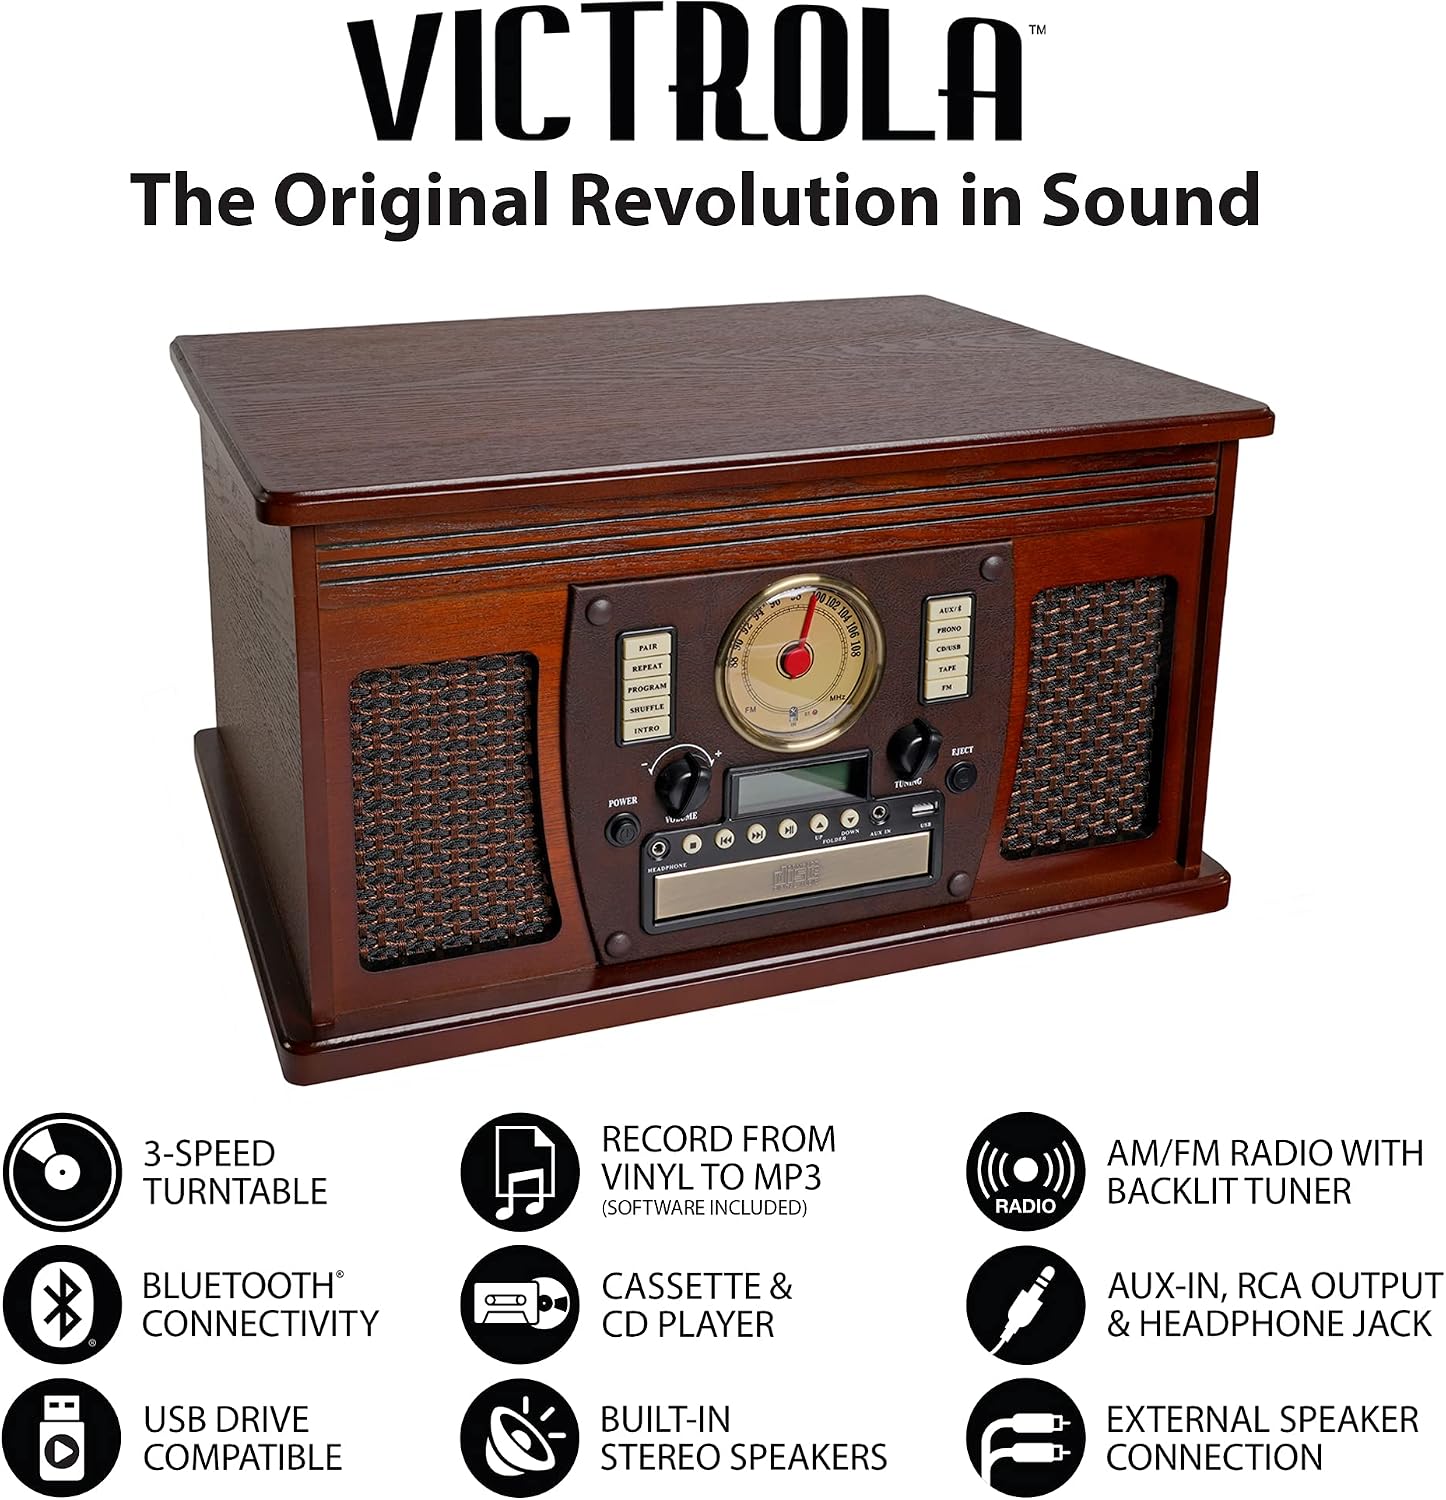
Image: Victrola Navigator 8-in-1 Record Player with Lid Open. The image shows the record player with its top lid open, revealing the turntable platter and tone arm, ready for vinyl record playback.
5.3 Bluetooth Operation
- Press the MODE button to select Bluetooth mode. The display will show "BT".
- On your external Bluetooth device (smartphone, tablet), enable Bluetooth and search for available devices.
- Select "VICTROLA NAVIGATOR" from the list of devices.
- Once paired, you can stream audio from your device to the record player.

Image: Victrola Navigator Bluetooth Connectivity. This image illustrates the Bluetooth streaming capability of the record player, showing a smartphone wirelessly connected to the unit, with Bluetooth logos and app store icons.
5.4 CD Player Operation
- Press the MODE button to select CD mode.
- Insert a CD into the CD slot with the label side facing up. The CD will load automatically.
- Playback will begin automatically. Use the PLAY/PAUSE, SKIP, and PROGRAM buttons to control playback.
- Press the EJECT button to remove the CD.

Image: Victrola Navigator CD Player. The image highlights the CD player functionality of the unit, showing a hand inserting a compact disc into the front-loading slot.
5.5 Cassette Player Operation
- Press the MODE button to select TAPE mode.
- Insert a cassette tape into the cassette slot.
- Use the control buttons (Play, Fast Forward, Rewind, Stop) to operate the cassette player.
- Press the EJECT button to remove the cassette.
5.6 FM Radio Operation
- Press the MODE button to select FM Radio mode.
- Extend the FM antenna fully for optimal reception.
- Rotate the TUNING knob to manually tune to your desired FM station. The analog tuner will indicate the frequency.
5.7 USB Playback
- Press the MODE button to select USB mode.
- Insert a USB flash drive into the USB port.
- The unit will automatically detect and begin playing compatible audio files (e.g., MP3).
- Use the PLAY/PAUSE and SKIP buttons to control playback.
5.8 External Connections (RCA Output, Headphone Jack)
- RCA Output: Use the included RCA cable to connect the RCA output jacks on the back of the unit to an external amplifier or powered speakers for enhanced sound.
- Headphone Jack: Plug standard 3.5mm headphones into the headphone jack on the front of the unit for private listening.

Image: Victrola Navigator RCA Output. This image shows the rear view of the Victrola Navigator, highlighting the RCA output ports for connecting to external audio systems, along with the power input.
6. Maintenance
6.1 Cleaning the Unit
Wipe the exterior of the unit with a soft, dry cloth. Do not use abrasive cleaners, waxes, or solvents as they may damage the finish. Keep the dust cover closed when not in use to prevent dust accumulation on the turntable.
6.2 Cleaning the Stylus (Needle)
The stylus can collect dust and debris, affecting sound quality. Use a soft brush, specifically designed for stylus cleaning, and gently brush from back to front. Do not use excessive force.
6.3 Record Care
Handle records by their edges. Store them vertically in their sleeves to prevent warping. Clean records regularly with a record cleaning brush or solution to remove dust and static.
7. Troubleshooting
| Problem | Possible Cause | Solution |
|---|---|---|
| No power | Power cord not connected; Power outlet not active | Ensure power cord is securely plugged in; Try a different outlet |
| No sound | Volume too low; Incorrect mode selected; External speakers not connected/powered | Increase volume; Press MODE to select correct source; Check external speaker connections and power |
| Turntable not spinning | Drive belt dislodged or broken; Unit not in Turntable mode | Contact customer support for belt issues; Ensure MODE is set to Turntable |
| Bluetooth not connecting | Unit not in Bluetooth mode; Device too far; Device already paired with another unit | Select Bluetooth mode; Move device closer; Disconnect from other devices and try pairing again |
| CD/Cassette not playing | Disc/tape inserted incorrectly; Disc/tape damaged; Incorrect mode selected | Re-insert correctly; Try a different disc/tape; Select correct mode |
8. Specifications
- Model Name: Navigator
- Connectivity Technology: Wired, Wireless (Bluetooth)
- Maximum Rotational Speed: 78 RPM (supports 33 1/3, 45, 78 RPM)
- Included Components: USB cable, RCA cable, Victrola wooden stand with record holder shelf
- Special Feature: Analog tuner
- Material: Plastic, Wood
- Style: Record Player + Stand
- Color: Espresso
- Compatible Devices: Headphone, Speaker, Tablet
- Power Consumption: 20 W
- Built-in Speakers: Yes, Stereo
- Additional Features: CD player, Cassette player, FM radio, USB player, 3.5mm Aux-in
9. Warranty and Support
For warranty information and customer support, please refer to the official Victrola website or the warranty card included with your product. You may also find additional resources and FAQs on the Victrola support page.
For a downloadable PDF version of the user manual, please visit: Victrola Navigator User Manual (PDF)
Documents and downloads
Ask a question about this manual
Ask about setup, troubleshooting, compatibility, parts, safety, or missing instructions. Manuals+ will review the question and use this page’s manual context to help answer it.