1. Introduction
This manual provides essential information for the safe and effective assembly, operation, and maintenance of your Weider XRS 20 Olympic Workout Bench with Independent Squat Rack and Preacher Pad. Please read all instructions carefully before use.

Figure 1: Weider XRS 20 Olympic Workout Bench with Independent Squat Rack and Preacher Pad.
2. Important Safety Information
Before beginning any exercise program, consult your physician. It is especially important for individuals over the age of 35 or those with pre-existing health problems to do so. Read all instructions before using this equipment. Weider assumes no responsibility for personal injury or property damage sustained by or through the use of this product.
- Always ensure all bolts and nuts are securely tightened before each use.
- Use the equipment on a level surface.
- Keep children and pets away from the equipment during use.
- Do not exceed the maximum weight capacity of the bench or squat rack.
- Wear appropriate exercise attire and footwear.
- If you experience pain or dizziness, stop exercising immediately.
3. Package Contents
Verify that all parts are present before assembly. If any parts are missing or damaged, contact customer service.

Figure 2: Overview of components before assembly.
The package includes:
- Main Bench Frame
- Independent Squat Rack (Left and Right Columns, Connecting Frame, Top Holders)
- Backrest Cushion
- Seat Cushion
- Preacher Pad Assembly (Preacher Pad, Hook Bracket, Foam Pad)
- Leg Developer Assembly (Front Bottom Tube, Front Upright, Foam Pads, Barbell Bar, Butterfly Clips)
- Various Screws, Washers, Lock Nuts, and Adjustment Knobs
- Assembly Tools (Spanners, Allen Wrench)
4. Assembly Instructions
Follow these steps carefully for proper assembly. It is recommended to have two people for assembly.
4.1. Squat Rack Assembly
- Install Left Column, Right Column, and Connecting Frame: Attach the left and right columns to the connecting frame using the provided M10x70mm screws, washers, and lock nuts. Ensure all connections are secure.
- Install Top Holders: Insert the top holders into the left and right columns. Secure them with the adjustable knobs.
Video 1: Detailed assembly of the squat rack frame and top holders.
4.2. Bench Frame and Leg Developer Assembly
- Install Front Bottom Tube and Front Upright: Attach the front bottom tube to the front upright using M8x55mm screws, washers, and lock nuts.
- Install Main Bench Frame and Backrest Tube: Connect the main bench frame to the backrest tube using M8x55mm screws, washers, and lock nuts.
- Install Barbell Bar and Foam Pads for Leg Developer: Insert the barbell bar into the leg developer's front upright and secure it with butterfly clips. Attach the foam pads to the leg developer.
Video 2: Assembly of the main bench frame and leg developer components.
4.3. Cushion and Preacher Pad Installation
- Install Backrest Cushion and Backrest Tube: Secure the backrest cushion to the backrest tube using M8x35mm screws.
- Install Seat Cushion and Main Bench Frame: Attach the seat cushion to the main bench frame using M8x35mm screws.
- Install Preacher Pad: Attach the preacher pad to the designated upright using M10x65mm screws, washers, and lock nuts. Secure the foam pad to the preacher curl arm.
Video 3: Installation of cushions and preacher pad.
NOTE: Ensure all screws and bolts are tightened securely after completing assembly.
5. Operating Instructions
5.1. Adjusting the Workout Bench
The workout bench offers multiple incline, flat, and decline positions. To adjust the backrest, lift the backrest and reposition the support bar into the desired notch on the main frame. Ensure the support bar is fully engaged before use.

Figure 3: Bench backrest adjustment for various angles.
5.2. Using the Independent Squat Rack
The independent squat rack can be used for exercises such as squats and bench presses. Adjust the height of the barbell catches by loosening the adjustment knob, sliding the catch to the desired height, and re-tightening the knob. The safety arms can also be adjusted to prevent the barbell from falling too low during exercises.

Figure 4: Proper form for squats using the independent rack.

Figure 5: Bench press setup with the independent squat rack.
5.3. Utilizing the Preacher Pad
Attach the preacher pad to the front upright for bicep curls. Ensure the pad is securely installed. Place your arms over the pad and perform curls with a barbell or dumbbells.
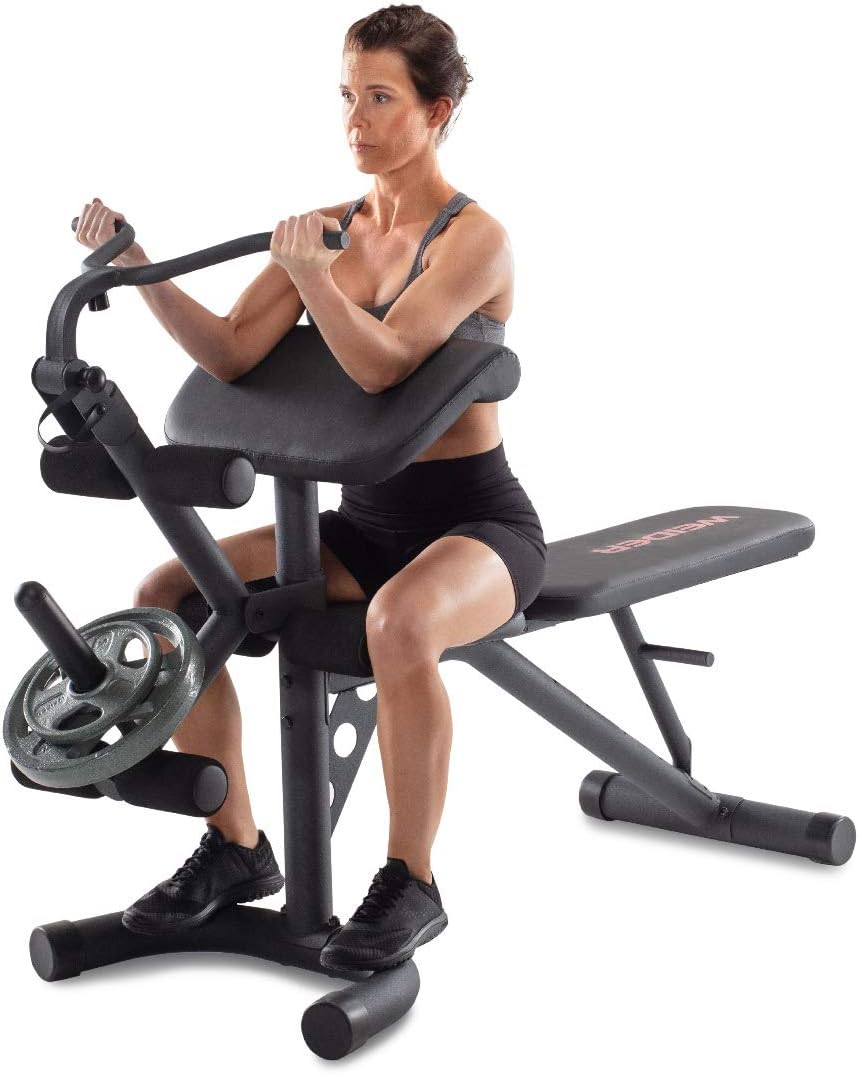
Figure 6: Performing bicep curls with the preacher pad.
5.4. Using the Leg Developer
The leg developer allows for leg extensions and hamstring curls. Load appropriate weight plates onto the barbell bar of the leg developer and secure them with the butterfly clips. Position your legs under or over the foam pads as required for the exercise.

Figure 7: Leg extensions using the leg developer.
Video 4: Demonstration of leg extensions and preacher curls.
5.5. Weight Plate Storage
The independent squat rack features integrated weight plate holders on either side for convenient storage and easy access during workouts.
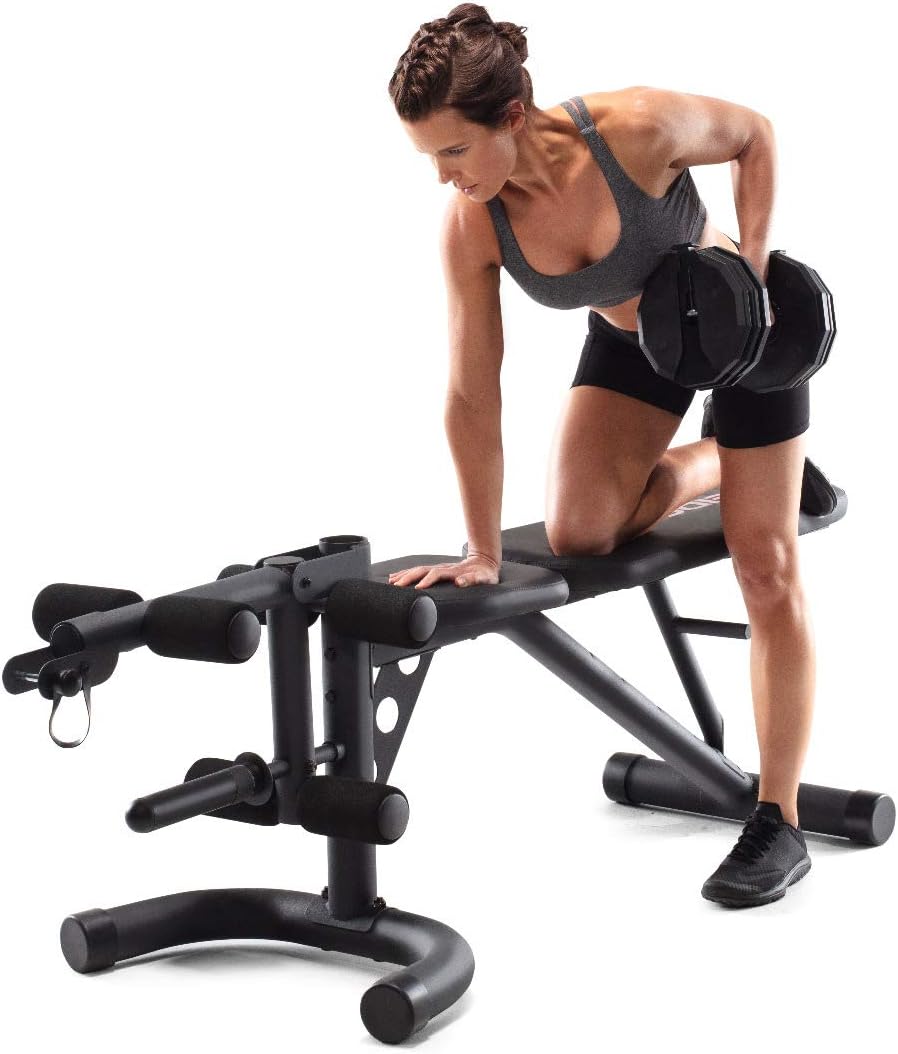
Figure 8: Example of dumbbell exercise on the bench.
6. Maintenance
- Regular Inspection: Periodically inspect the equipment for any signs of wear, damage, or loose components. Pay close attention to welds, bolts, and padding.
- Tighten Fasteners: Regularly check and tighten all nuts and bolts to ensure the stability and safety of the equipment.
- Cleaning: Wipe down the frame and padding with a damp cloth after each use to remove sweat and dirt. Avoid abrasive cleaners that could damage the finish or upholstery.
- Storage: Store the equipment in a dry, clean environment away from extreme temperatures and direct sunlight.
7. Troubleshooting
- Equipment feels unstable: Ensure all bolts and nuts are fully tightened. Verify the equipment is on a flat, level surface.
- Difficulty adjusting bench or rack: Check for any obstructions or debris in the adjustment mechanisms. Ensure adjustment pins are fully disengaged before attempting to move components.
- Squeaking noises: Inspect all connection points for loose bolts. Applying a small amount of lubricant to moving parts may help.
8. Specifications
| Feature | Detail |
|---|---|
| Brand | Weider |
| Model | XRS 20 |
| Item Package Dimensions (L x W x H) | 57 x 19 x 8 inches |
| Package Weight | 52.16 Kilograms |
| Item Weight | 0.01 Ounces (Note: This value may be a placeholder or incorrect. Refer to product packaging for actual weight.) |
| Color | Black |
| Material | Vinyl (padding), Iron (frame) |
| Sport Type | Bodybuilding |
| Grip Type | Padded |
9. Warranty and Support
For warranty information or technical support, please refer to the warranty card included with your product or visit the official Weider website. Keep your proof of purchase for any warranty claims.
For customer support, you may also visit the Weider Store on Amazon.


