1. Introduction
This user manual provides comprehensive instructions for the installation, operation, and maintenance of your new HD Switch Starter Ignition Key Switch. Designed as a direct replacement, this switch offers enhanced durability and protection against environmental elements, ensuring reliable performance for your equipment.
2. Product Features
- Zero Modifications: Designed for quick and easy installation without requiring any modifications to your existing system.
- Ultimate Dual-Layer Protection: Engineered to protect against harmful water and dirt, significantly optimizing durability and lifespan.
- Premium Key Design: Includes a protective soft-grip umbrella key for comfortable and secure handling.
3. Package Contents
Please verify that all items listed below are present in your package:
- 1 x HD Switch Starter Ignition Key Switch
- 3 x Original Keys (including one protective soft-grip umbrella key)
- Mounting Hardware (nut and cap)
- 1 x Carabiner Keychain

Figure 3.1: Complete HD Switch Ignition Protection Kit, showing the ignition switch, three keys (one with a protective grip), a mounting nut, and a protective cap.
4. Compatibility
This HD Switch Starter Ignition Key Switch is designed as a direct replacement for various John Deere models, including but not limited to:
- John Deere WJ36A
- John Deere SH48A
- John Deere WH52A
- John Deere WH61A
- John Deere WHP36A
- John Deere WHP48A
Always verify the part number and specifications against your equipment's requirements before installation.
5. Setup and Installation
The HD Switch is engineered for zero modifications and quick installation. Follow these general steps for replacement:
- Safety First: Before beginning any work, ensure the equipment is turned off and the battery is disconnected to prevent electrical shock or damage.
- Access Old Switch: Locate and access the existing ignition switch on your equipment.
- Disconnect Wiring: Carefully disconnect the wiring from the old ignition switch. Note the position of each wire if necessary, though this switch is designed for direct replacement.
- Remove Old Switch: Unscrew or unclip the old ignition switch from its mounting location.
- Install New Switch: Insert the new HD Switch into the mounting hole. Secure it with the provided mounting nut.
- Connect Wiring: Reconnect the wiring to the terminals of the new HD Switch. Ensure connections are secure and match the original configuration.
- Apply Protection: Install the protective cap and ensure the soft-grip umbrella key is used to engage the dual-layer protection against water and dirt.
- Reconnect Battery: Reconnect the equipment's battery.
- Test Functionality: Test the ignition switch to ensure proper operation before full use of the equipment.

Figure 5.1: The HD Switch ignition switch, ready for installation.
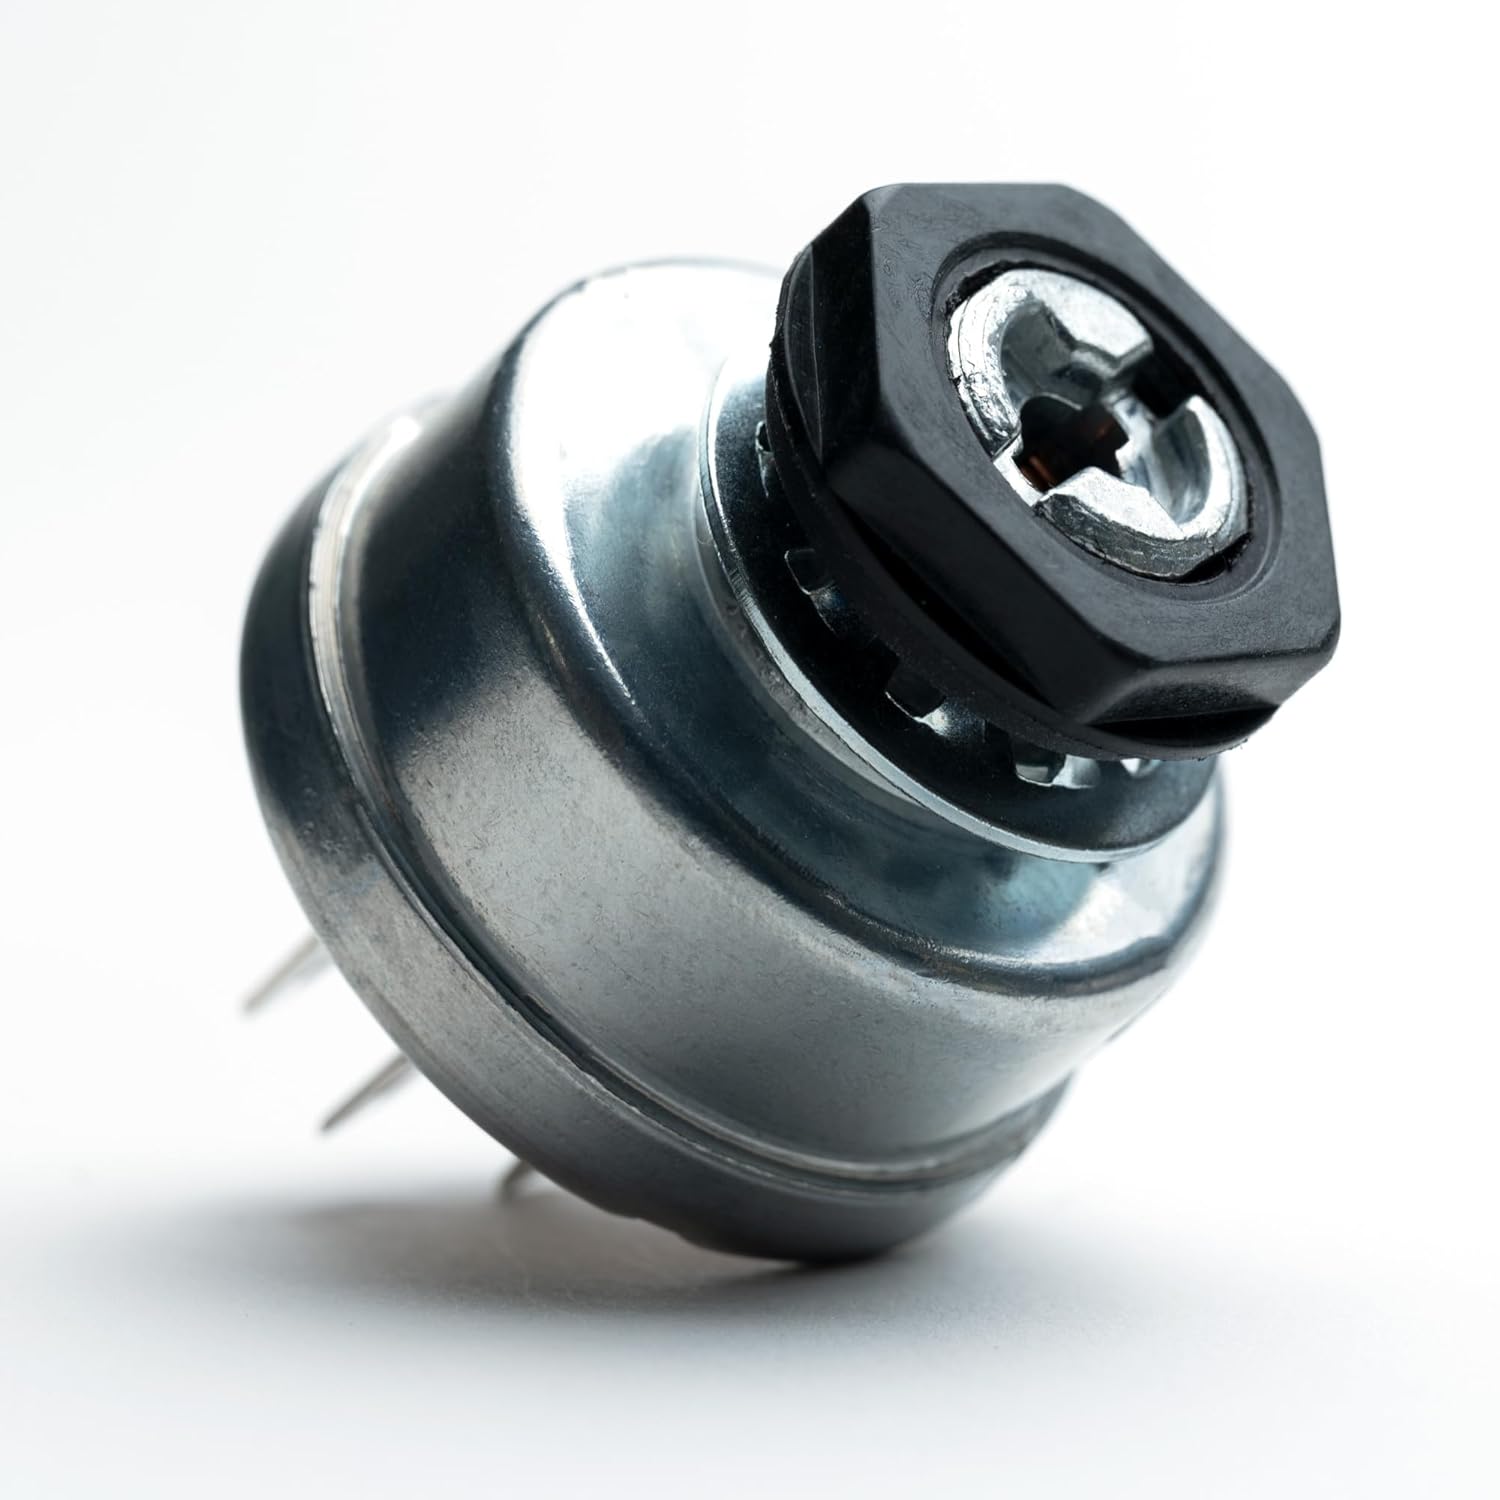
Figure 5.2: The HD Switch with its mounting nut, demonstrating how it secures into place.
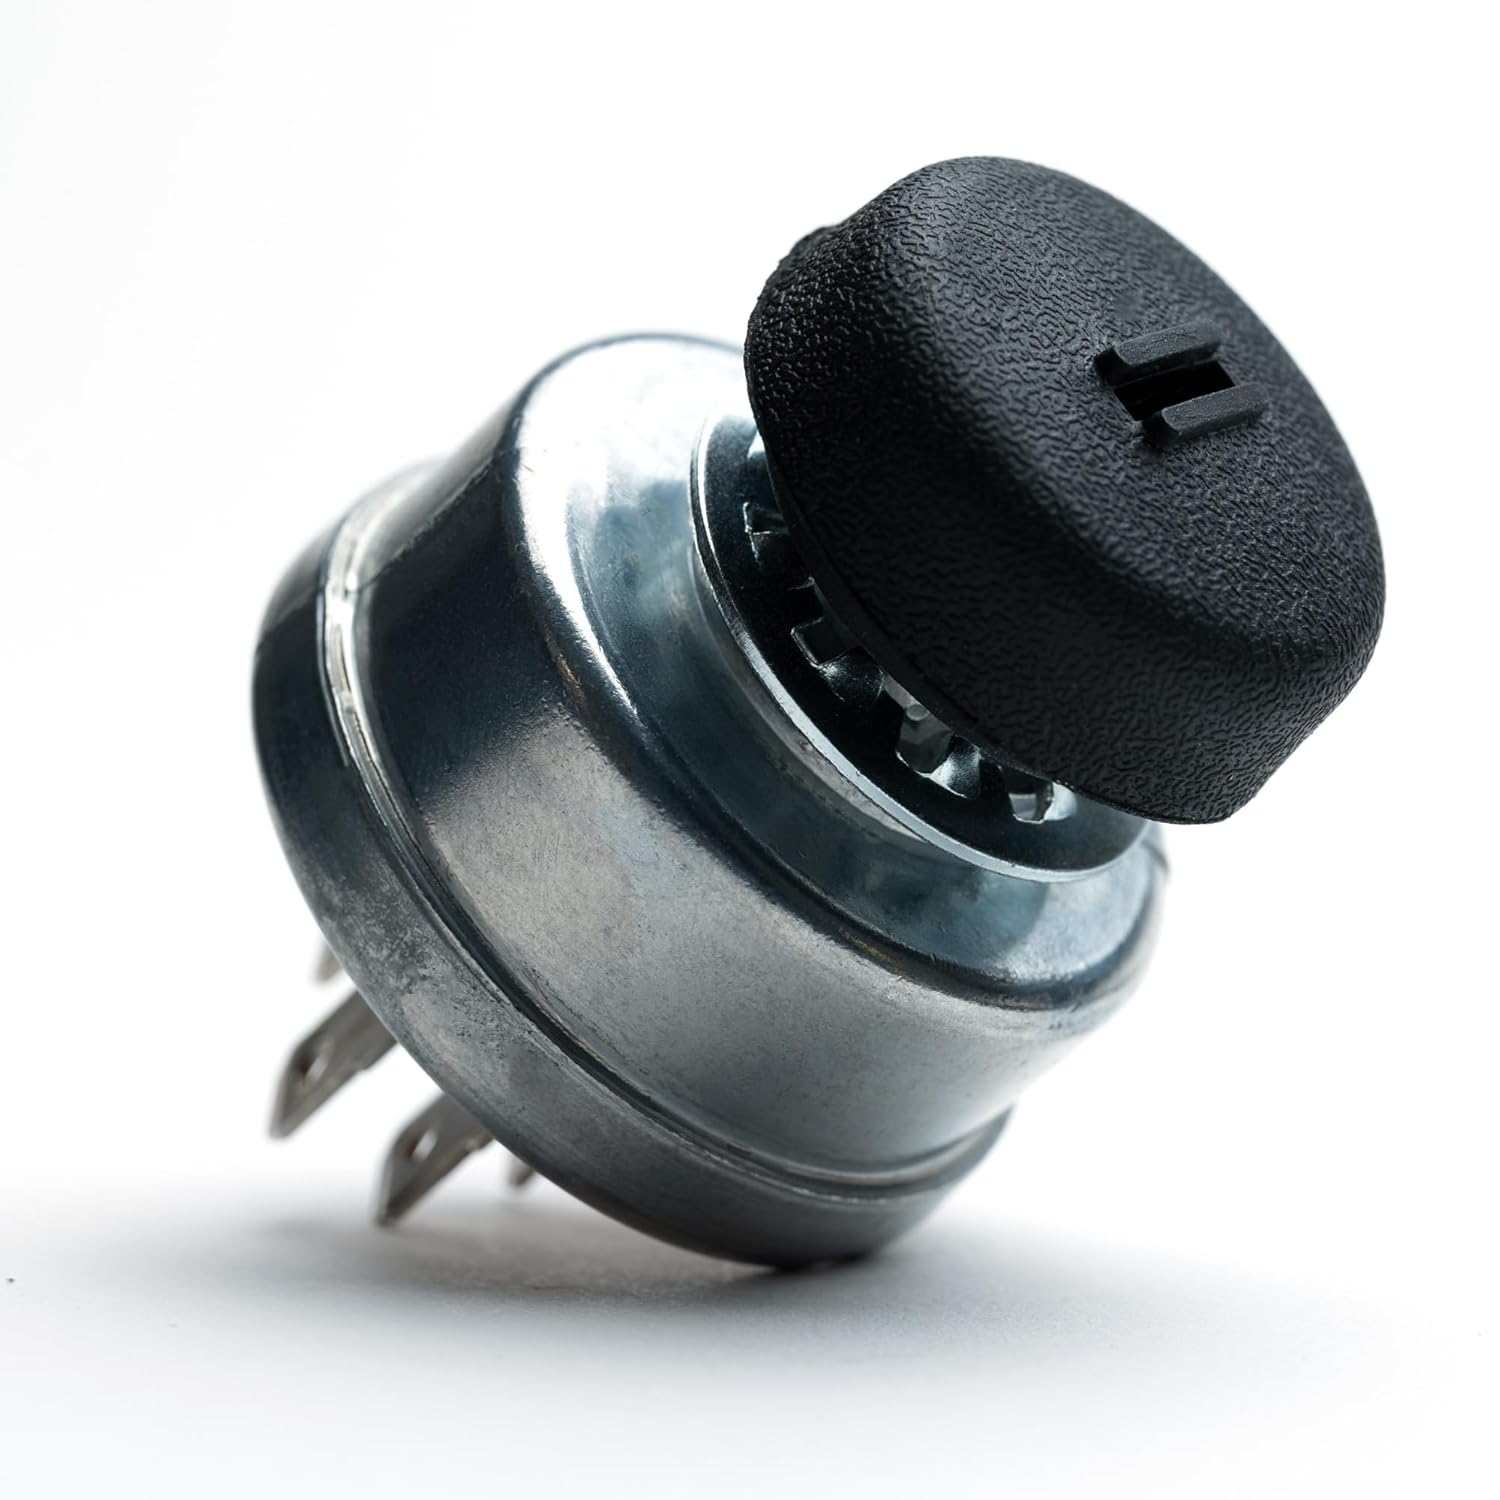
Figure 5.3: The HD Switch with the protective cap installed, providing initial environmental sealing.

Figure 5.4: The protective key and mounting nut, highlighting the water-resistant design elements.

Figure 5.5: The protective key inserted into the switch, demonstrating its ability to keep dust out.

Figure 5.6: Close-up of the protective key, emphasizing its design to prevent water ingress.

Figure 5.7: The protective key, illustrating its function in safeguarding the ignition from both water and dust.

Figure 5.8: All components of the HD Switch kit, including the standard keys, protective key, mounting nut, and protective cap.
6. Operating Instructions
Operating the HD Switch Starter Ignition Key Switch is straightforward and similar to your original equipment's switch:
- Insert one of the provided keys into the ignition switch. For optimal protection against water and dirt, utilize the soft-grip umbrella key.
- Turn the key clockwise to the "ON" or "RUN" position to power the equipment's electrical systems.
- Continue turning the key clockwise to the "START" position to engage the starter motor. Release the key once the engine starts; it will spring back to the "ON" or "RUN" position.
- To turn off the equipment, turn the key counter-clockwise to the "OFF" position and remove the key.
7. Maintenance
To ensure the longevity and optimal performance of your HD Switch, consider the following maintenance tips:
- Keep Clean: Periodically wipe down the exterior of the switch and key with a clean, dry cloth to remove any accumulated dirt or debris.
- Utilize Protection: Always use the soft-grip umbrella key, especially in dusty or wet environments, to maximize the dual-layer protection against contaminants.
- Inspect Connections: Occasionally check the wiring connections to the switch to ensure they remain secure and free from corrosion.
- Avoid Force: Do not force the key if it feels stiff. A small amount of graphite lubricant can be applied to the keyway if necessary, but avoid oil-based lubricants which can attract dirt.
8. Troubleshooting
If you encounter issues with your HD Switch, consider the following common troubleshooting steps:
| Problem | Possible Cause | Solution |
|---|---|---|
| Equipment does not start or turn on. | Loose or corroded wiring connections. | Check all wiring connections to the switch and battery. Clean any corrosion and ensure they are secure. |
| Key is difficult to turn or remove. | Debris in keyway or worn key. | Inspect keyway for debris. Try a different key. Apply a small amount of graphite lubricant if necessary. |
| Intermittent power. | Faulty internal switch contacts. | Ensure the switch is fully engaged in each position. If the problem persists, the switch may need replacement. |
If these steps do not resolve the issue, it is recommended to consult a qualified technician or contact HD Switch customer support.
9. Specifications
| Attribute | Detail |
|---|---|
| Brand | HD Switch |
| Manufacturer | HD Switch |
| Actuator Type | Ignition |
| Unit Count | 1 Count |
| UPC | 695783872144 |
| ASIN | B0866X89L8 |
| Date First Available | March 19, 2020 |
10. Warranty and Support
Return Policy: This product is typically eligible for a 30-day return period from the date of purchase. Please refer to your retailer's specific return policy for detailed terms and conditions.
Manufacturer Support: For technical assistance, installation queries, or warranty claims, please contact HD Switch directly. Contact information can usually be found on the product packaging or the official HD Switch website.


