Introduction
This manual provides detailed instructions for the proper setup, operation, and maintenance of your EOTECH 512 Holographic Weapon Sight. The Model 512 is designed for fast target acquisition, reliability, and durability, making it a popular choice for various applications.
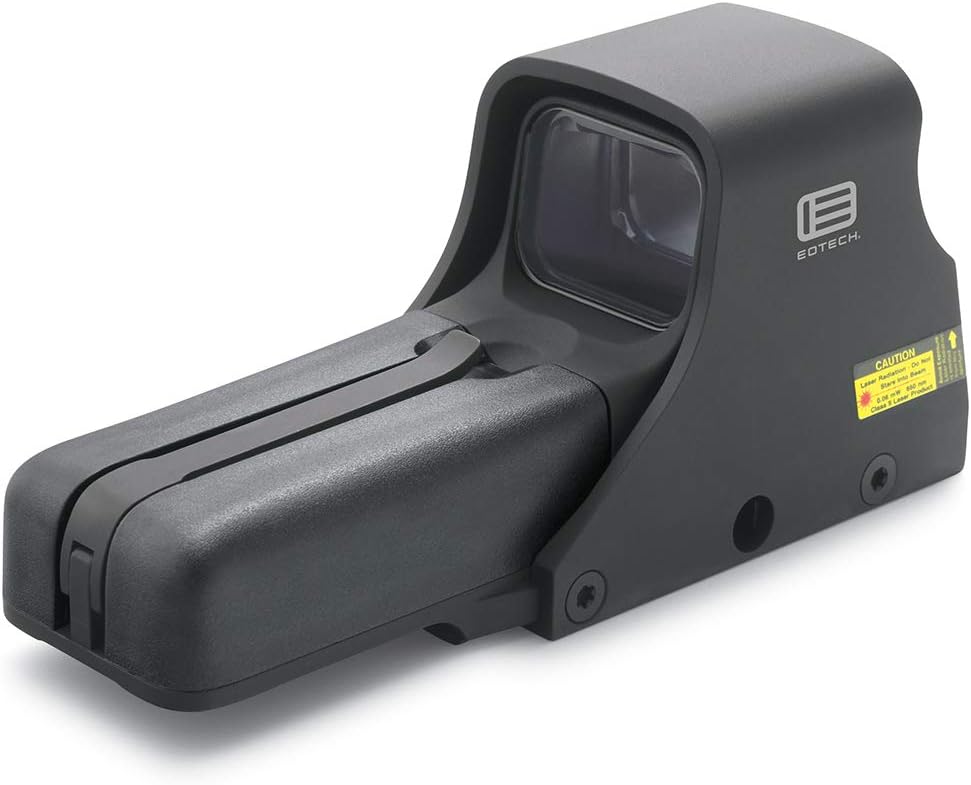
Figure 1: EOTECH 512 Holographic Weapon Sight (Model 512.A65)
The EOTECH 512.A65 Holographic Weapon Sight is a robust optical device featuring a black finish and a distinctive 68 MOA ring with a 1 MOA dot reticle. It is engineered for quick target acquisition and reliable performance in various lighting conditions.
Safety Information
Always handle firearms and optical devices responsibly. Read and understand all safety warnings before using this product. Failure to follow these instructions may result in injury or damage to the device.
- Ensure the firearm is unloaded and safe before mounting or adjusting the sight.
- Do not look directly into the laser aperture. This device contains a Class 1 laser product.
- Keep batteries out of reach of children.
- Dispose of batteries properly according to local regulations.
Package Contents
Verify that all items are present in the package:
- EOTECH 512.A65 Holographic Weapon Sight
- User Manual (this document)
- 2 x AA Batteries (may be included or sold separately)
Setup
Battery Installation
The EOTECH 512.A65 operates on two (2) AA batteries. For optimal performance and battery life, lithium batteries are recommended.
- Locate the removable battery compartment on the front of the sight.
- Lift the battery cap latch to open the compartment.
- Insert two AA batteries according to the polarity indicators inside the compartment.
- Close the battery compartment securely, ensuring the latch clicks into place.

Figure 2: Key components of the EOTECH 512.A65, including the removable battery compartment and the 1" Weaver or MIL-STD-1913 rail mount.
This image highlights the battery cap latch, aluminum hood, removable battery compartment, and the compatible 1" Weaver or MIL-STD-1913 rail for mounting. Proper battery installation is crucial for the sight's functionality.
Mounting the Sight
The EOTECH 512.A65 is designed to fit both 1" Weaver and MIL-STD-1913 (Picatinny) rails.
- Ensure the firearm is unloaded and pointed in a safe direction.
- Loosen the mounting bolt(s) on the sight's base.
- Align the sight's base with the rail on your firearm.
- Slide the sight onto the rail until it is in the desired position.
- Tighten the mounting bolt(s) securely. Do not overtighten.
Operating Instructions
Powering On/Off
- To turn on: Press either the UP or DOWN arrow button located on the rear of the sight.
- To turn off: Press both the UP and DOWN arrow buttons simultaneously. The sight will also automatically shut off after 8 hours if no buttons are pressed.
Brightness Adjustment
The EOTECH 512.A65 features 20 brightness settings to accommodate various lighting conditions.
- To increase brightness: Press the UP arrow button.
- To decrease brightness: Press the DOWN arrow button.

Figure 3: Top-down view of the EOTECH 512.A65, illustrating the location of the UP and DOWN arrow buttons for power and brightness control.
This image provides a clear view of the sight's top, highlighting the control buttons used for powering the unit on/off and adjusting the reticle's brightness. The windage and elevation adjustment knobs are also visible.
Reticle Information
The 512.A65 features a 68 MOA ring with a 1 MOA dot reticle. This design allows for rapid target acquisition while providing a precise aiming point.

Figure 4: EOTECH 68 MOA Ring and 1 MOA Dot Reticle Diagram.
This diagram illustrates the precise dimensions of the 68 MOA outer ring and the central 1 MOA dot, which together form the sight's aiming pattern.

Figure 5: Reticle view through the EOTECH 512.A65 sight.
This image demonstrates how the 68 MOA ring and 1 MOA dot reticle appear when viewed through the holographic sight, providing a clear aiming point against a background.
Zeroing the Sight (Windage and Elevation)
To achieve accuracy, the sight must be zeroed to your firearm. This involves adjusting the reticle's point of impact to match the bullet's point of impact.
- Locate the windage (horizontal) and elevation (vertical) adjustment knobs on the side of the sight (refer to Figure 3).
- Using a small flat-head screwdriver or a coin, turn the adjustment knobs. Each click typically represents a specific change in point of impact at a given distance (e.g., 1/2 MOA per click).
- Elevation Adjustment: Turning the knob clockwise moves the point of impact DOWN. Turning counter-clockwise moves it UP.
- Windage Adjustment: Turning the knob clockwise moves the point of impact RIGHT. Turning counter-clockwise moves it LEFT.
- Perform adjustments incrementally and test fire to confirm changes until the sight is zeroed.
Maintenance
Cleaning
Regular cleaning will ensure optimal performance and longevity of your sight.
- Use a soft, lint-free cloth to wipe the exterior surfaces.
- For lenses, use a lens cleaning pen or a soft brush to remove dust, then gently wipe with a microfiber lens cloth and a small amount of lens cleaning solution if necessary.
- Avoid using abrasive materials or harsh chemicals, as they may damage the coatings.
Battery Replacement
Replace batteries when the reticle begins to dim or flicker, or if the sight fails to power on. Refer to the "Battery Installation" section under Setup for detailed steps.
- Always use fresh, high-quality AA batteries.
- Remove old batteries promptly to prevent corrosion.
Troubleshooting
| Problem | Possible Cause | Solution |
|---|---|---|
| Sight does not power on. | Dead or improperly installed batteries. | Replace batteries with fresh ones, ensuring correct polarity. |
| Reticle is dim or flickers. | Low battery power. | Replace batteries. |
| Reticle appears blurry or distorted. | Astigmatism (user's vision), dirty lens, or incorrect brightness setting. | Adjust brightness. Clean lenses. If issue persists, consult an optometrist as holographic sights can appear blurry to individuals with astigmatism. |
| Point of impact shifts. | Sight not securely mounted, or zeroing is off. | Check mounting bolts and re-tighten if necessary. Re-zero the sight. |
Specifications
Detailed technical specifications for the EOTECH 512.A65 Holographic Weapon Sight:
- Dimensions: 5.6" (L) x 2.0" (W) x 2.5" (H)
- Weight: 11.5 oz (309 Grams)
- Water Resistance: 10 ft (3m)
- Color: Black
- Mount: Fits both 1" Weaver and MIL-STD-1913 Rail
- Brightness Settings: 20
- Power Source: 2 x AA Batteries
- Battery Life: Up to 2500 continuous hours (lithium) or 2200 continuous hours (alkaline) at nominal setting 12
- Reticle: 68 MOA ring with 1 MOA dot
- Night Vision Compatible: No
- Material: Aluminum
- Magnification: 1x (Fixed)
- Field of View: 28 Meters

Figure 6: EOTECH Holographic Weapon Sight Model Comparison.
This table provides a comparative overview of key features across different EOTECH HWS models, including the 512, 518, 552, and 558, highlighting differences in night vision capability, button operation, weight, water resistance, and mounting options.
Warranty and Support
EOTECH stands behind its products with a comprehensive warranty.
- Warranty: The EOTECH 512.A65 comes with a 10-year limited warranty. For full details and terms, please refer to the official EOTECH website or the warranty information provided with your product.
- User Manual (PDF): A digital version of the user manual can be found here.
- Customer Support: For technical assistance, service, or warranty claims, please contact EOTECH customer support directly. Visit the official EOTECH website for contact information.