1. Introduction
This manual provides instructions for the installation, operation, and maintenance of the UpStart Components D7824706Q Refrigerator Ice Maker Replacement. This unit is designed to replace the original ice maker in compatible refrigerator models, including KitchenAid KBRS22KTSS11 and those using the W10190978 icemaker.
Important Safety Information:
- Always disconnect power to the refrigerator before attempting any installation or maintenance.
- Wear appropriate personal protective equipment, such as gloves, during installation.
- If you are unsure about any step, consult a qualified appliance technician.
2. Setup and Installation
Before beginning installation, ensure the refrigerator is unplugged from the power outlet. Gather necessary tools, which typically include a screwdriver (Phillips and/or flathead) and possibly a nut driver.
2.1. Component Overview
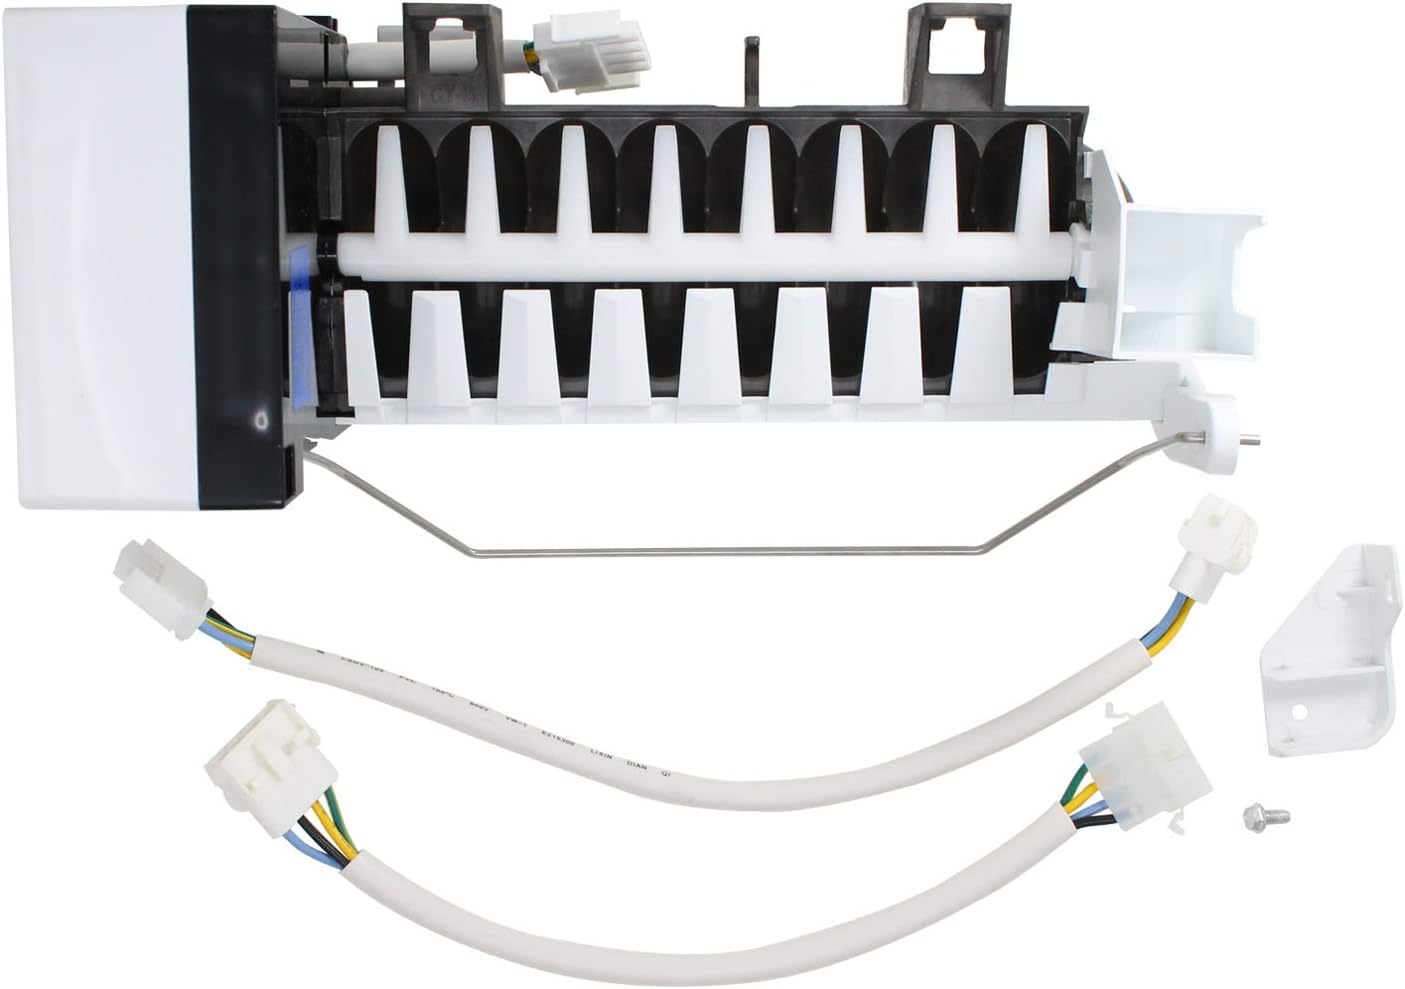
Figure 1: The UpStart Components D7824706Q Ice Maker Replacement, including the main ice maker unit, two wiring harnesses, a mounting bracket, and a screw.
2.2. Removing the Old Ice Maker
- Disconnect Power: Unplug the refrigerator from the wall outlet.
- Access Ice Maker: Open the freezer door and locate the existing ice maker.
- Remove Ice Bucket: Carefully remove the ice storage bucket.
- Disconnect Wiring: Locate and disconnect the electrical connector(s) attached to the old ice maker.
- Unscrew Mounting Screws: Remove the screws securing the old ice maker to the freezer wall. There are typically 2-3 screws.
- Remove Old Unit: Carefully slide out and remove the old ice maker unit.
2.3. Installing the New Ice Maker

Figure 2: Front view of the ice maker unit, showing the ice mold and bail arm.
- Prepare New Unit: If necessary, attach the provided mounting bracket to the new ice maker unit using the included screw.
- Position New Unit: Carefully slide the new ice maker into position in the freezer, aligning the mounting holes.
- Secure Mounting Screws: Re-insert and tighten the mounting screws to secure the new ice maker to the freezer wall. Do not overtighten.
- Connect Wiring: Connect the appropriate wiring harness(es) from the refrigerator to the new ice maker. Ensure a secure connection. The kit includes two different harnesses for compatibility with various models. Use the one that matches your refrigerator's existing connector.

Figure 3: Rear view of the ice maker, highlighting the electrical connection point.

Figure 4: The two included wiring harnesses and the mounting bracket, allowing for broad compatibility.
- Replace Ice Bucket: Place the ice storage bucket back into its position.
- Restore Power: Plug the refrigerator back into the wall outlet.
3. Operating Instructions
After installation and restoring power, the ice maker will begin its initial cycle. This process can take several hours to produce the first batch of ice.
- Initial Fill: The ice maker will automatically fill with water once the freezer reaches the correct temperature.
- First Ice Production: The first few batches of ice may be smaller or have an unusual taste. It is recommended to discard the first 2-3 batches of ice.
- Bail Arm: Ensure the metal bail arm is in the down position for ice production. Raising the bail arm will stop ice production.
- Water Supply: Verify that the refrigerator's water supply line is connected and the water shut-off valve is open.
4. Maintenance
Regular maintenance helps ensure optimal performance and longevity of your ice maker.
- Cleaning: Periodically clean the ice storage bucket with mild soap and water. Rinse thoroughly and dry completely before returning it to the freezer.
- Water Filter: If your refrigerator has a water filter, replace it according to the manufacturer's recommendations to ensure clean water for ice production.
- Inspection: Occasionally inspect the ice maker for any signs of wear, leaks, or unusual ice formation.
5. Troubleshooting
If your ice maker is not functioning as expected, refer to the following common issues and solutions:
| Problem | Possible Cause | Solution |
|---|---|---|
| No ice production |
|
|
| Small or hollow ice cubes |
|
|
| Ice tastes bad |
|
|
| Ice maker is noisy |
|
|
If these troubleshooting steps do not resolve the issue, it may indicate a more complex problem requiring professional service.
6. Specifications
- Model Number: AP-D7824706Q-DL2023
- Compatible Part Numbers: D7824706Q, W10190978, AP4135008, 68111-1, 68972-1, 68972-4, 8170937, 915772, 95091-1, 95098-1, 95109-1, AH2121513, D7767601, D7824701, D7824702, D7824703, D7824704, D7824705, D7824705Q, D7824706, D7824706QVP, EA2121513, PS2121513, R0154025, R0156629, R0161059, R0161061, R0183135, R0194462, R0194462A, R0194666, R0950064, W10122519, Y0056504, Y0056599, Y0056606, Y0312578, Y0312738, Y0312740, Y689724, YR0161061
- Manufacturer: UpStart Components
- Compatibility: Designed for various refrigerator models, including KitchenAid KBRS22KTSS11. Always verify compatibility with your original part.
7. Warranty and Support
This product is an UpStart Components Brand replacement part. Any warranties for this product are offered solely by UpStart Components. For specific warranty details or technical support, please refer to the documentation provided with your purchase or contact UpStart Components directly.


