Introduction
This manual provides essential instructions for the safe and effective use of your Stack-On QAS-1845-E Quick Access Personal Safe. This compact safe is designed for securing pistols, valuables, and documents, featuring an electronic lock for quick access and a backup key for emergencies. Please read this manual thoroughly before setup and operation to ensure proper functionality and security.
Important Safety Information
- Always keep backup keys in a secure location away from the safe and out of reach of unauthorized individuals. Do not store backup keys inside the safe.
- Ensure the safe is mounted securely to prevent unauthorized removal.
- Do not store loaded firearms in the safe unless specifically designed and rated for such storage and local laws permit.
- Keep the safe closed and locked at all times when not in use.
- This safe is not water resistant. Avoid exposure to water or high humidity.
Package Contents
Verify that all items are present in your package:
- Stack-On QAS-1845-E Quick Access Personal Safe
- Backup Keys (2)
- Mounting Hardware
- User Manual (this document)
Product Features
- Instant Access Design: Spring-loaded front door for rapid opening upon code entry.
- Electronic Lock: Backlit keypad accepts a personalized 3-8 digit code.
- Backup Key Access: Two backup keys are provided for emergency entry.
- Interior Protection: Soft foam-lined bottom protects contents from scratches.
- Secure Mounting: Pre-drilled holes and hardware included for securing the safe to furniture or floors.
- Compact Design: Slim profile allows for placement in drawers, on shelves, or under desks.
- Low Battery Alert: Integrated warning system indicates when battery replacement is needed.
Setup
1. Battery Installation
The electronic lock requires batteries to operate. Locate the battery compartment, typically on the inside of the safe door or on the back panel of the keypad. Insert the required number of fresh alkaline batteries, ensuring correct polarity.

Image: Close-up of the electronic keypad. The battery compartment is usually located near this unit.
2. Setting Your Personal Code
It is crucial to set your personal access code immediately after installing batteries. Refer to the specific instructions provided on a sticker inside the safe or a separate quick-start guide for the exact procedure, as steps can vary. Generally, this involves:
- With the safe door open, locate the reset button (often a small button on the inside of the door or near the battery compartment).
- Press the reset button. The keypad should emit a beep and/or an indicator light will illuminate.
- Enter your desired 3-8 digit code on the keypad.
- Press the "SET" or "LOCK" button (or similar, as indicated by your specific model's instructions) to confirm.
- Test the new code multiple times with the door open before closing it to ensure it functions correctly.
Important Note: Some users have reported discrepancies between the printed manual and actual safe behavior regarding code setting. If you encounter difficulties, try alternative button sequences or consult the manufacturer's website for updated instructions. Always test the code with the door open first.
3. Mounting the Safe
For enhanced security, it is recommended to mount the safe to a fixed surface such as a floor or furniture. The safe includes pre-drilled holes and mounting hardware.
- Choose a suitable location that is discreet and offers a solid mounting surface.
- Position the safe and mark the locations for drilling through the pre-drilled holes in the safe's base or back.
- Drill pilot holes into the mounting surface.
- Secure the safe using the provided mounting hardware. Ensure all fasteners are tightened securely.

Image: The safe positioned in a car trunk, demonstrating its compact size and potential for secure placement.
Operation
1. Opening the Safe with Your Code
- Enter your 3-8 digit personal code on the keypad.
- The keypad will typically beep and/or an indicator light will turn green.
- The spring-loaded door will open automatically.
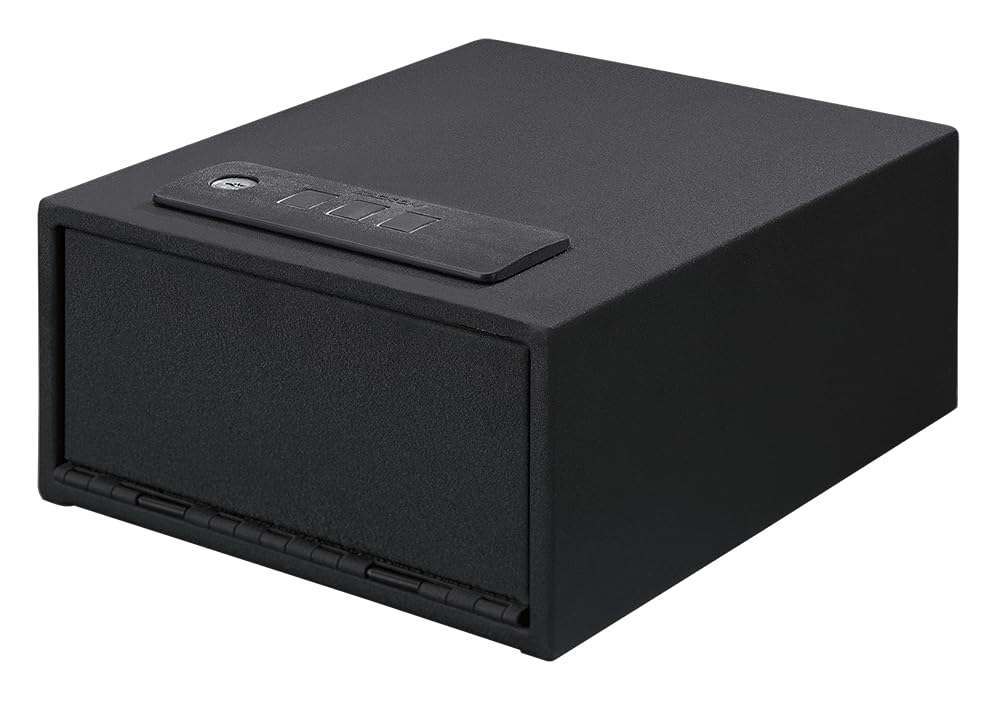
Image: The safe with its quick-access door open, showing the interior foam lining and capacity for a pistol.
2. Using the Backup Key
In case of battery failure, forgotten code, or electronic malfunction, the backup key can be used to open the safe.
- Locate the keyhole cover on the keypad panel.
- Remove the cover to expose the keyhole.
- Insert one of the backup keys and turn it to unlock the safe.
- The door will open.
Remember: Store backup keys in a secure location separate from the safe.
3. Low Battery Alert
The safe is equipped with a low battery warning system. When batteries are low, the keypad may flash a red light or emit a series of warning beeps after code entry. Replace batteries promptly to ensure continued operation.
Maintenance
1. Battery Replacement
Replace batteries annually or immediately when the low battery alert is activated. Use only new, high-quality alkaline batteries of the specified type (usually AA or AAA, check your safe's battery compartment for specifics).
- Open the safe door.
- Locate the battery compartment.
- Remove old batteries and dispose of them responsibly.
- Insert new batteries, observing correct polarity.
- Close the battery compartment.
2. Cleaning
Wipe the exterior of the safe with a soft, damp cloth. Do not use abrasive cleaners or solvents, as these can damage the finish or electronic components. Keep the keypad free of dust and debris.
Troubleshooting
Safe Does Not Open with Code
- Incorrect Code: Ensure you are entering the correct 3-8 digit code.
- Low Batteries: Replace the batteries with fresh ones. The electronic lock may not function correctly with depleted batteries.
- Keypad Malfunction: If the keypad is unresponsive, try using the backup key.
- Code Reset Issue: If you recently reset the code and it's not working, ensure the new code was saved correctly. Refer to the "Setting Your Personal Code" section.
Door Does Not Open Fully
- Obstruction: Check for any objects inside or around the door mechanism that might be preventing it from opening fully.
- Spring Mechanism: If the spring-loaded mechanism seems weak, ensure the safe is on a level surface and there are no internal obstructions.
LED Interior Light Stays On or is Too Bright
The safe is designed with an interior LED light that activates upon opening. This light typically remains on for a set duration (e.g., 30 seconds) after the door is opened or closed. This feature is integrated and generally cannot be disabled or adjusted by the user. If the light remains on indefinitely, check for door sensor issues or contact customer support.
Specifications
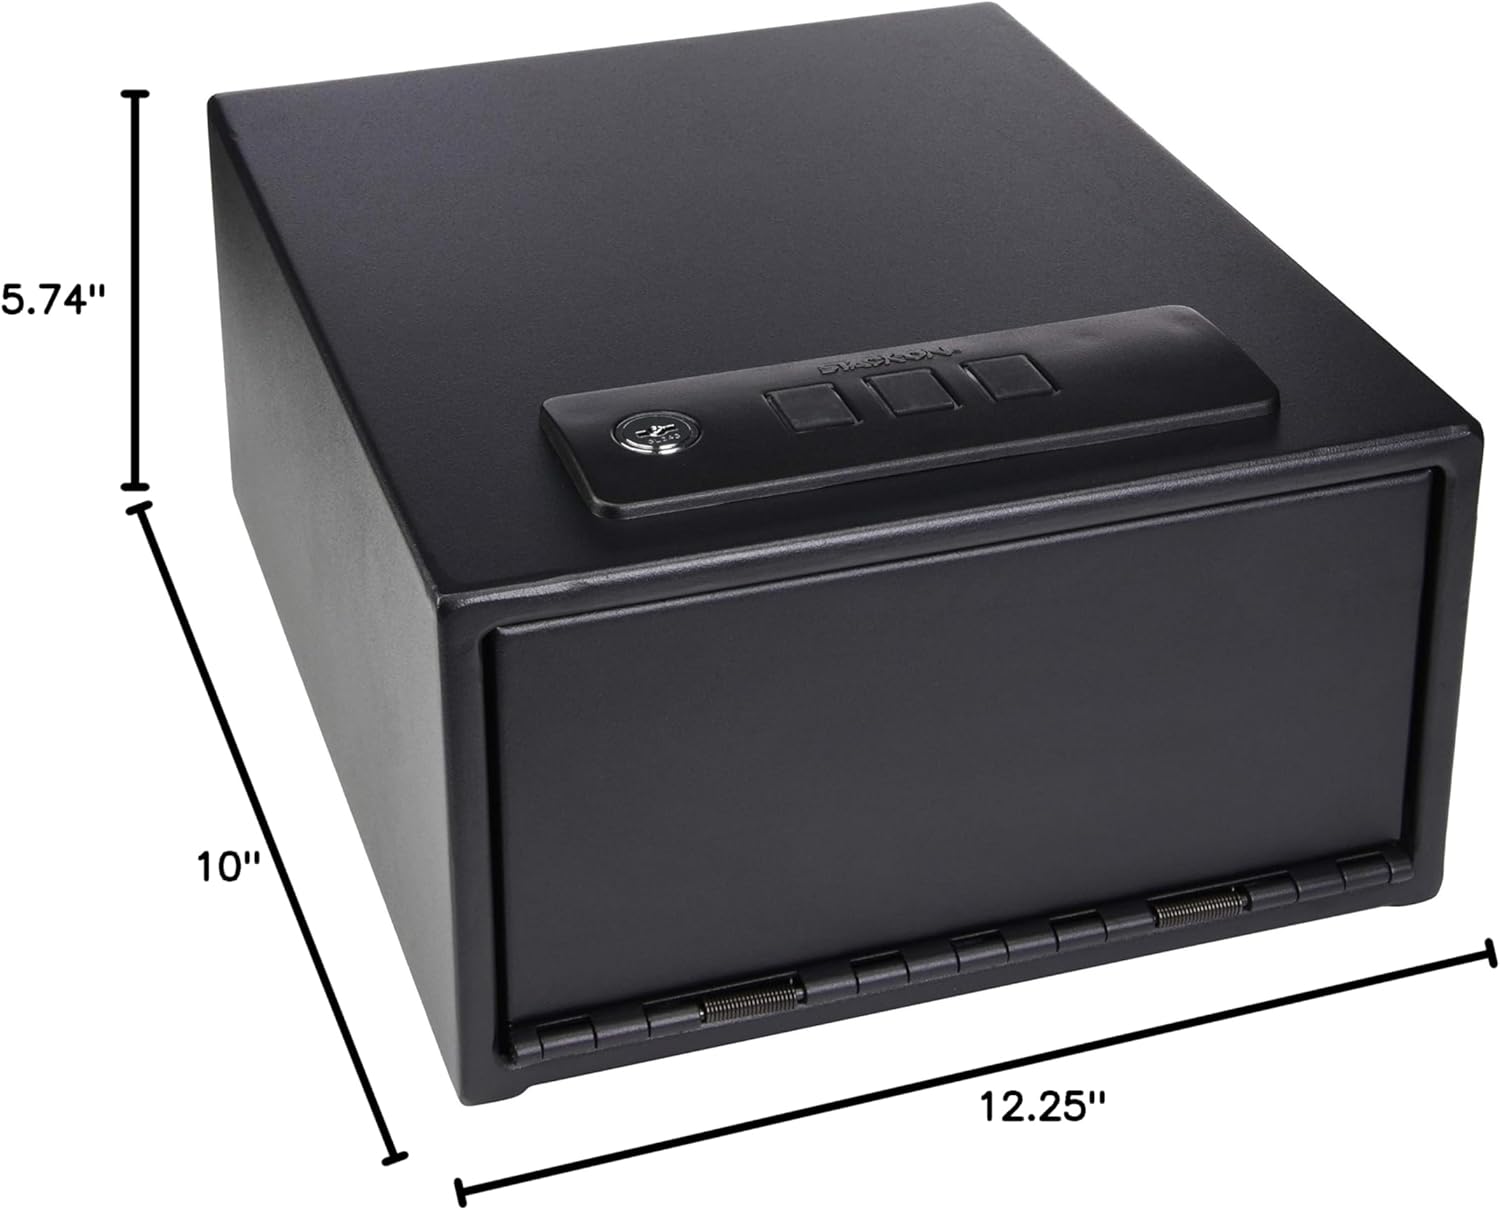
Image: Dimensional drawing of the Stack-On QAS-1845-E safe.
| Feature | Detail |
|---|---|
| Brand | Stack-On |
| Model Number | QAS-1845-E |
| Product Dimensions (D x W x H) | 12.25"D x 10"W x 5.74"H |
| Lock Type | Electronic with Backup Key |
| Color | Black |
| Capacity | 0.23 Cubic Feet |
| Material | Alloy Steel |
| Mounting Type | Freestanding (Mounting Hardware Included) |
| Item Weight | 14 Pounds |
| Water Resistance Level | Not Water Resistant |
Warranty and Support
Your Stack-On QAS-1845-E Quick Access Personal Safe is covered by a Manufacturer Warranty. Please refer to the warranty information included with your purchase or visit the official Stack-On website for full details regarding coverage and terms.
For technical assistance, troubleshooting not covered in this manual, or warranty claims, please contact Stack-On customer support. Contact information can typically be found on the manufacturer's website or on your product packaging.
Manufacturer: Alpha Guardian