1. Introduction
This manual provides comprehensive instructions for the setup, operation, and maintenance of your Acctim 16083 Vega LCD Weather Station. Please read this manual thoroughly before using the device to ensure proper function and longevity.
2. Safety Information
Please observe the following safety precautions:
- Do not expose the device to extreme temperatures, direct sunlight, or high humidity.
- Avoid dropping the device or subjecting it to strong impacts.
- Battery Safety: Use only the specified battery type (2 x AAA). Ensure correct polarity when inserting batteries. Do not mix old and new batteries, or different types of batteries. Remove depleted batteries promptly to prevent leakage. Dispose of batteries responsibly according to local regulations.
- Do not attempt to disassemble or repair the device yourself. Contact qualified service personnel for assistance.
3. Package Contents
Upon unpacking, please ensure all items are present:
- Acctim 16083 Vega LCD Weather Station
- User Manual (this document)
Note: 2 x AAA batteries are required but not included in the package.
4. Product Overview
The Acctim 16083 Vega is a compact LCD weather station featuring a clock, indoor temperature display, humidity display, weather forecast, and an alarm with snooze function. It has a super bright display for clear readability.
4.1 Front View
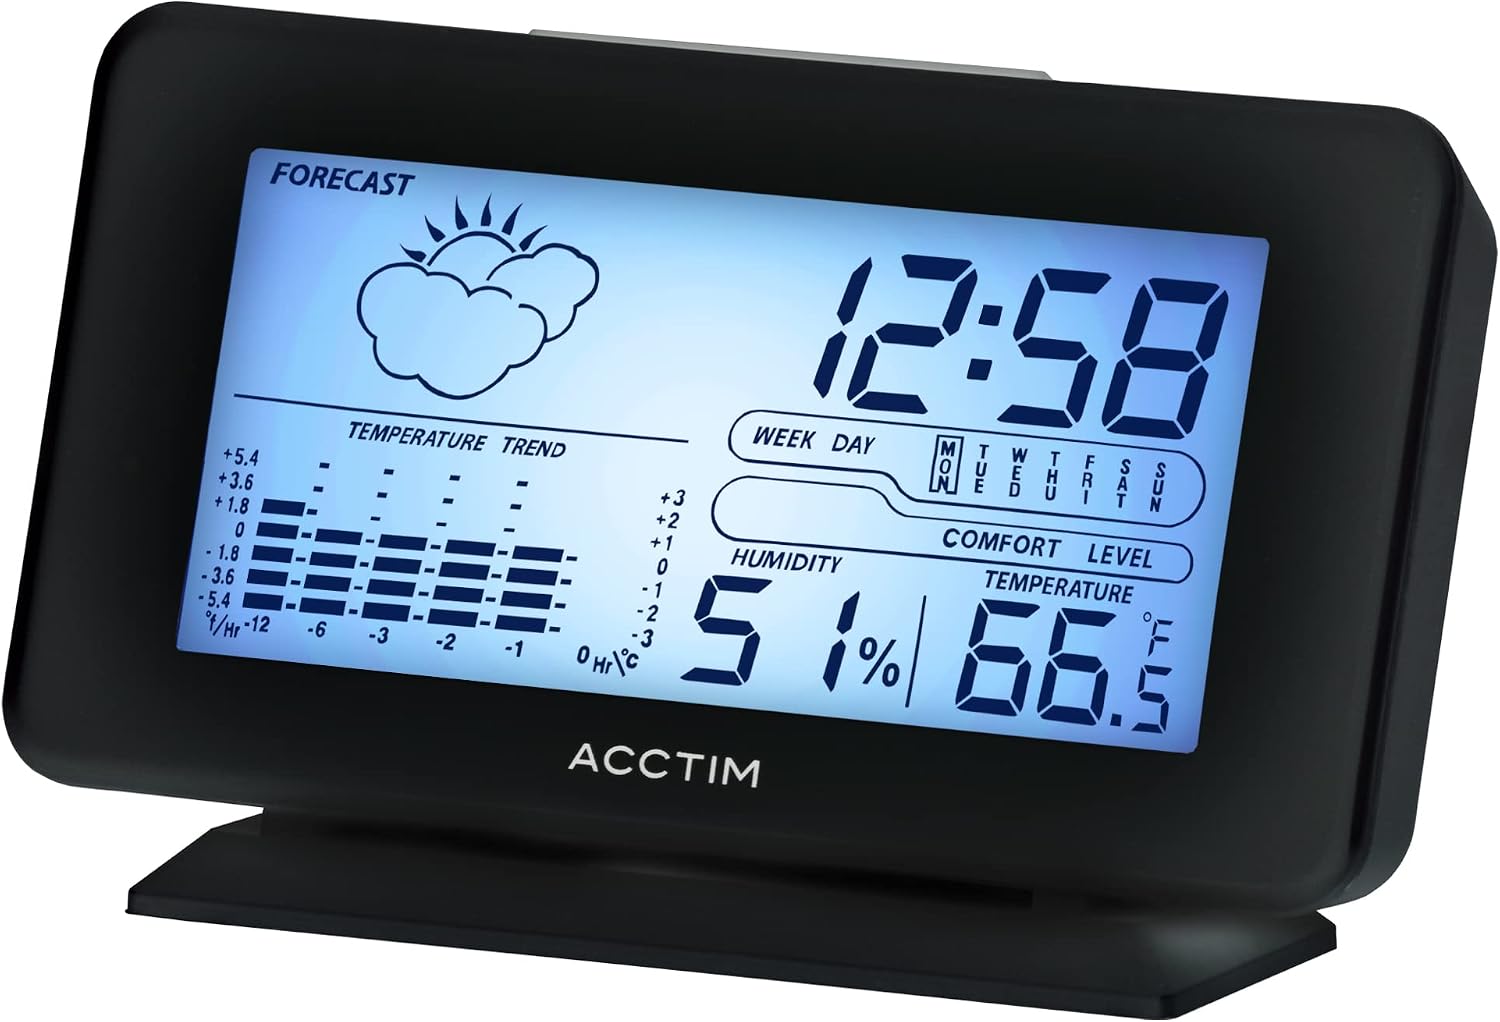
Figure 1: Front view of the Acctim 16083 Vega LCD Weather Station, displaying time, weather forecast icon, temperature trend, humidity, comfort level, and current temperature.
4.2 Rear View and Controls
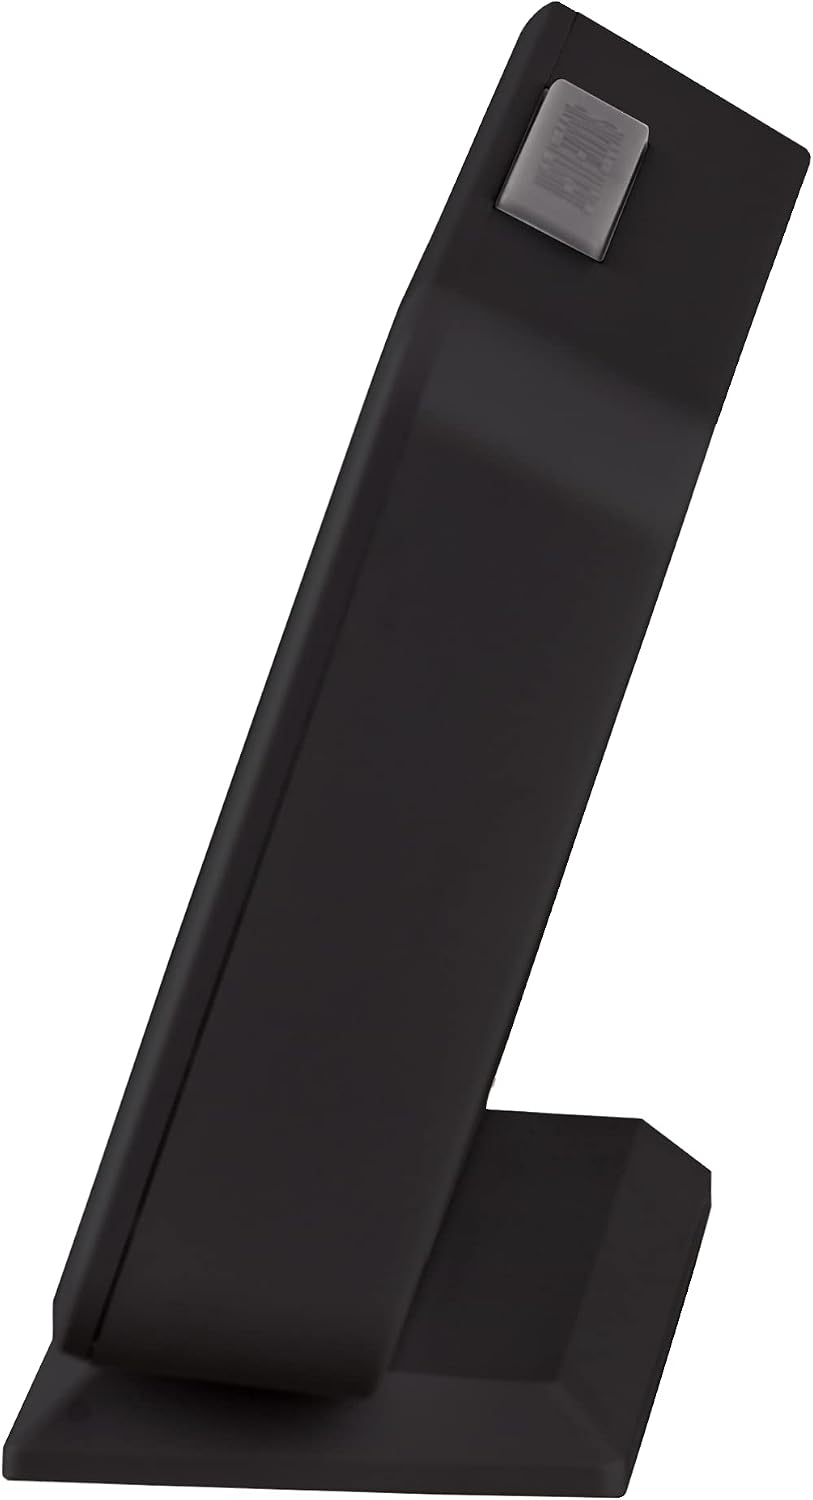
Figure 2: Rear view of the weather station, highlighting the control buttons (MODE, UP, DOWN, MIN/MAX, SNZ) and the battery compartment cover.
Control Buttons:
- MODE: Used to switch between display modes and confirm settings.
- UP: Used to increase values during setting or navigate options.
- DOWN: Used to decrease values during setting or navigate options.
- MIN/MAX: Displays minimum/maximum temperature and humidity records.
- SNZ (Snooze/Light): Located on top. Activates snooze function for the alarm or illuminates the display backlight.
5. Setup
5.1 Battery Installation
- Locate the battery compartment on the rear of the device (refer to Figure 2).
- Remove the battery compartment cover.
- Insert 2 x AAA batteries, ensuring correct polarity (+ and -) as indicated inside the compartment.
- Replace the battery compartment cover securely.
The device will power on automatically and display default settings.
6. Operating Instructions
6.1 Setting Time and Date
- In normal time display mode, press and hold the MODE button for approximately 3 seconds to enter time setting mode. The hour digit will flash.
- Use the UP or DOWN buttons to adjust the hour.
- Press MODE again to confirm the hour and move to minute setting. The minute digit will flash.
- Use the UP or DOWN buttons to adjust the minutes.
- Continue pressing MODE to cycle through and set the Year, Month, and Day using the UP or DOWN buttons for adjustment.
- After setting the Day, press MODE one last time to exit setting mode and save your changes.
6.2 Alarm Function
- From normal time display, press the MODE button repeatedly until the alarm time is displayed (usually indicated by an alarm icon).
- Press and hold the MODE button for 3 seconds. The alarm hour digit will flash.
- Use UP or DOWN to set the desired alarm hour.
- Press MODE to confirm and move to alarm minute setting.
- Use UP or DOWN to set the desired alarm minutes.
- Press MODE to exit alarm setting.
- To activate/deactivate the alarm, press the UP button while the alarm time is displayed. An alarm icon will appear/disappear on the screen.
6.3 Snooze and Backlight
When the alarm sounds, press the SNZ/LIGHT button (on top of the unit) to activate the snooze function. The alarm will temporarily stop and sound again after a few minutes (snooze duration is typically fixed). Pressing any other button will turn off the alarm until the next set time.
Press the SNZ/LIGHT button at any time to illuminate the display backlight for a few seconds.
6.4 Temperature and Humidity Display
The device continuously monitors and displays the indoor temperature and humidity. The comfort level indicator provides a general guide to environmental conditions.
6.5 Weather Forecast
The weather station provides an estimated weather forecast for the next 12-24 hours based on atmospheric pressure changes. The forecast is indicated by icons such as sunny, cloudy, rainy, etc. This is a prediction and may not always be 100% accurate.
6.6 Minimum/Maximum Records
Press the MIN/MAX button to view the recorded minimum and maximum temperature and humidity values since the last reset. Press MIN/MAX again to cycle through the records. To clear the records, press and hold the MIN/MAX button while viewing them.
7. Maintenance
7.1 Cleaning
To clean the device, use a soft, dry cloth. Do not use abrasive cleaners, solvents, or chemical agents, as these may damage the display or casing.
7.2 Battery Replacement
When the display becomes dim or the device stops functioning, it is time to replace the batteries. Follow the steps in Section 5.1 for battery installation. Always replace both AAA batteries simultaneously.
8. Troubleshooting
- No display or dim display: Check battery polarity. Replace batteries with fresh ones.
- Incorrect time/date: Follow instructions in Section 6.1 to reset the time and date.
- Alarm not sounding: Ensure the alarm is activated (alarm icon visible). Check alarm time settings.
- Inaccurate weather forecast: The weather forecast is a prediction based on atmospheric pressure and may not always match actual conditions. It is not a professional weather instrument.
If problems persist, please refer to the warranty and support information.
9. Specifications
| Feature | Specification |
|---|---|
| Brand | Acctim |
| Model | 16083 |
| Product Dimensions (L x W x H) | 13 cm x 3.8 cm x 7.8 cm |
| Weight | 140 g |
| Display Type | LCD |
| Power Source | Battery powered |
| Batteries Required | 2 x AAA (not included) |
| Specific Product Uses | Time, Date, Temperature, Humidity |

Figure 3: Dimensions of the Acctim 16083 Vega LCD Weather Station: 13cm width, 7.8cm height, 3.8cm depth.
10. Warranty and Support
Acctim products are manufactured to high-quality standards. For information regarding warranty coverage, technical support, or service, please refer to the warranty card included with your purchase or visit the official Acctim website. Keep your proof of purchase for warranty claims.


