1. Introduction
This manual provides essential information for the safe and effective operation, setup, and maintenance of your PARKSIDE PASSK 20-Li A1 Cordless Impact Wrench. Please read these instructions carefully before using the tool and keep them for future reference.
2. Safety Instructions
Always observe general power tool safety guidelines to prevent electric shock, fire, and serious injury. Keep your work area clean and well-lit. Do not operate power tools in explosive atmospheres, such as in the presence of flammable liquids, gases, or dust. Keep children and bystanders away while operating a power tool. Wear appropriate personal protective equipment, including eye protection, hearing protection, and gloves. Disconnect the battery pack from the power tool before making any adjustments, changing accessories, or storing power tools.
3. Product Overview
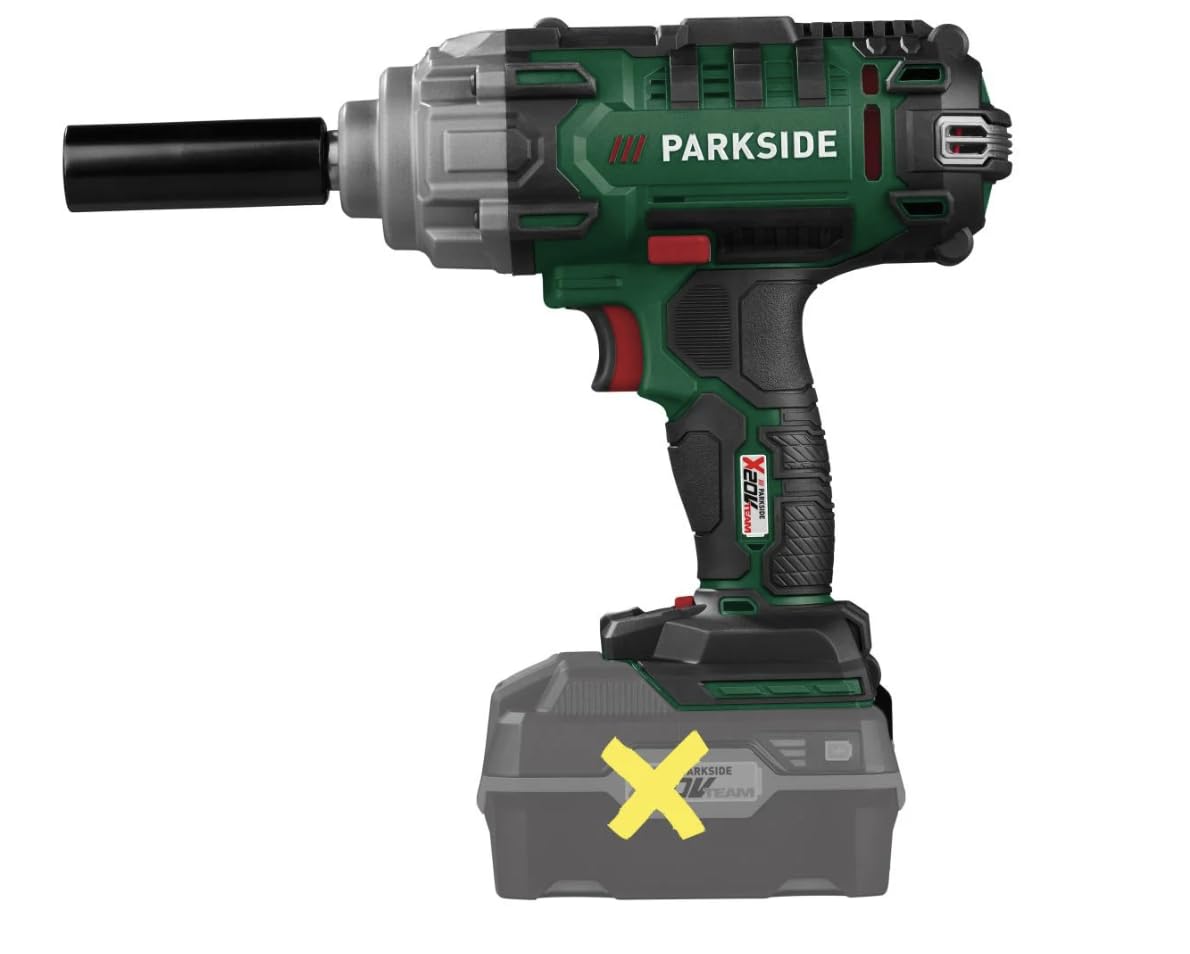
The PARKSIDE PASSK 20-Li A1 is a powerful cordless impact wrench designed for tasks such as vehicle wheel assembly. It features a robust design and user-friendly controls.
3.1 Components


3.2 Included Accessories
- 4 x Socket Wrenches (17 mm, 19 mm, 21 mm, 23 mm)

Note: The PARKSIDE X 20 V Team battery and charger are not included with this device and must be purchased separately.
4. Setup
4.1 Attaching/Removing the Battery
- To attach: Align the battery pack with the base of the tool and slide it in until it clicks securely into place.
- To remove: Press the battery release button (usually located on the battery pack) and slide the battery out.
4.2 Attaching/Removing Socket Wrenches
- To attach: Push the desired socket wrench onto the ½-inch square drive until it is firmly seated.
- To remove: Pull the socket wrench directly off the square drive.
5. Operating Instructions
5.1 Powering On/Off
The tool is activated by pressing the trigger switch. Releasing the trigger switch turns the tool off. The impact/speed is infinitely variable based on trigger pressure.
5.2 Selecting Torque Levels
The impact wrench offers 5 pre-selectable torque levels:
- 100 Nm
- 150 Nm
- 200 Nm
- 300 Nm
- 400 Nm (Maximum Torque)
Use the dedicated torque selection buttons (refer to Figure 3) to cycle through these settings. Choose the appropriate torque for your application to prevent overtightening or damage.
5.3 Forward/Reverse Rotation
A switch, typically located above the trigger (refer to Figure 3), controls the direction of rotation. Push the switch to the left for forward rotation (tightening) and to the right for reverse rotation (loosening). Ensure the tool has come to a complete stop before changing the direction of rotation.
5.4 LED Work Light
The integrated LED work light illuminates the work area, improving visibility in dimly lit conditions. It typically activates automatically when the trigger is pressed.
5.5 General Usage for Wheel Assembly
When assembling vehicle wheels, ensure the vehicle is securely supported. Select the correct socket size and torque setting. Apply the impact wrench to the lug nuts, tightening them in a star pattern to the manufacturer's specified torque. Always double-check the final torque with a calibrated torque wrench.
6. Maintenance
6.1 Cleaning
Regularly clean the tool's ventilation openings to prevent overheating. Use a soft, damp cloth to wipe down the housing. Do not use harsh chemicals or abrasive cleaners. Ensure the tool is dry before storage.
6.2 Storage
Store the impact wrench in a dry, secure location, out of reach of children. If storing for extended periods, remove the battery pack and store it separately in a cool, dry place.
6.3 Battery Care
Always use genuine PARKSIDE X 20 V Team batteries and chargers. Do not expose batteries to extreme temperatures or moisture. Follow the battery manufacturer's instructions for charging and disposal.
7. Troubleshooting
- Tool not turning on: Check if the battery is fully charged and properly inserted. Ensure the forward/reverse switch is not in the neutral (locked) position.
- Low power/performance: The battery may be low on charge. Recharge the battery. Ensure the correct torque setting is selected for the task.
- Excessive vibration or noise: Stop using the tool immediately. Check for loose parts or damage. If the issue persists, contact customer support.
8. Specifications
| Feature | Specification |
|---|---|
| Model | PASSK 20-Li A1 |
| Brand | Parkside |
| Voltage | 20 Volts |
| Max. Torque | 400 Nm |
| Torque Pre-selection | 5 levels (100/150/200/300/400 Nm) |
| Rated No-load Speed | 0–2300 rpm |
| Rated Impact Rate | 0–3000 bpm |
| Square Drive | ½ inch |
| Motor | 887 DC motor, copper winding |
| Housing Material | Polyamide 6 (PA6 + GF30) |
| Device Dimensions (approx.) | L 20.5 x H 22.3 x D 7.7 cm |
| Device Weight (approx.) | 1.96 kg |
9. Warranty and Support
For warranty information and customer support, please refer to the documentation provided with your purchase or contact your retailer. Keep your proof of purchase for any warranty claims. Information regarding spare parts availability is not provided in the product details.


