
1. Important Safety Information
Please read all instructions carefully before using the OSTBA APPLIANCE ABS05 Sandwich Maker. Retain this manual for future reference.
General Safety Precautions:
- This appliance is for household use only. Do not use outdoors.
- Do not touch hot surfaces. Use the cool-touch handle.
- To protect against electrical hazards, do not immerse the cord, plugs, or the appliance in water or other liquid.
- Close supervision is necessary when any appliance is used by or near children.
- Unplug from outlet when not in use and before cleaning. Allow to cool before putting on or taking off parts, and before cleaning the appliance.
- Do not operate any appliance with a damaged cord or plug, or after the appliance malfunctions or has been damaged in any manner.
- The use of accessory attachments not recommended by the appliance manufacturer may cause injuries.
- Do not let the power cord hang over the edge of a table or counter, or touch hot surfaces.
- Do not place on or near a hot gas or electric burner, or in a heated oven.
- Extreme caution must be used when moving an appliance containing hot oil or other hot liquids.
- Always attach plug to appliance first, then plug cord into the wall outlet. To disconnect, turn any control to 'off', then remove plug from wall outlet.
- Do not use the appliance for other than intended use.
2. Product Overview
The OSTBA APPLIANCE ABS05 is a compact and efficient sandwich maker designed for quick and easy preparation of hot sandwiches, omelets, and French toast. It features non-stick plates for easy food release and cleaning, indicator lights for operational status, and a cool-touch handle for safe use.
Components:
- Sandwich Maker Unit
- Non-Stick Cooking Plates (8.46 x 4.92 inches)
- Cool-Touch Locking Handle
- Power Indicator Light
- Preheat/Ready Indicator Light
- Power Cord
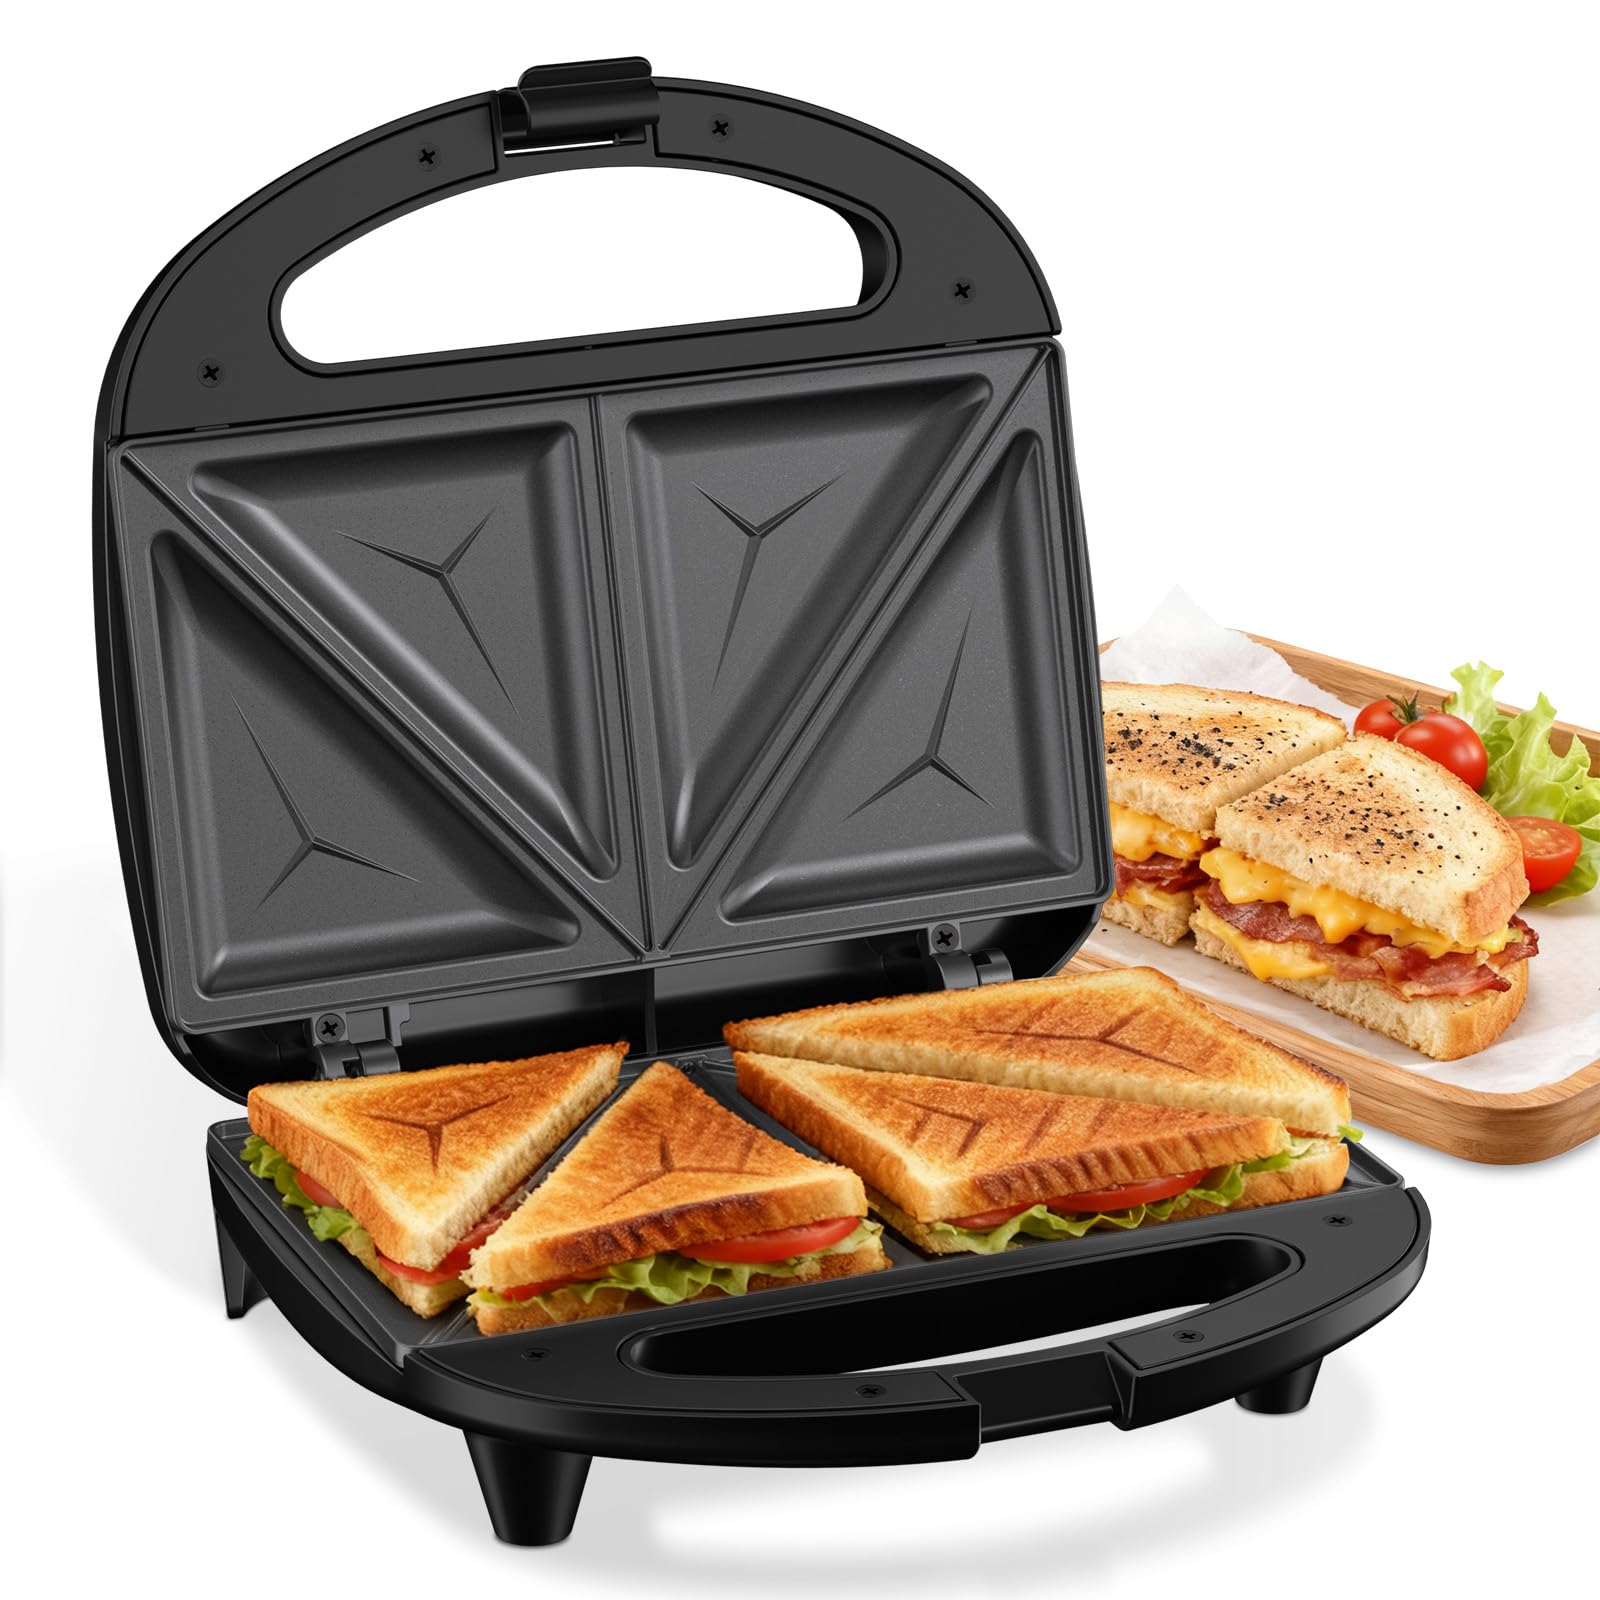
Image 2.1: The OSTBA APPLIANCE ABS05 Sandwich Maker in its closed position, showcasing its black exterior and cool-touch handle.
3. Setup
3.1 Before First Use:
- Carefully unpack the sandwich maker and remove all packaging materials.
- Wipe the non-stick cooking plates with a damp cloth or sponge to remove any dust or manufacturing residues. Dry thoroughly.
- Wipe the exterior of the appliance with a soft, damp cloth. Do not use abrasive cleaners.
- For the first use, it is recommended to operate the appliance empty for approximately 5-10 minutes to burn off any manufacturing oils. A slight odor or smoke may be present; this is normal and will dissipate. Ensure good ventilation.
3.2 Placement:
Place the sandwich maker on a stable, flat, heat-resistant surface, away from walls or cabinets to allow for adequate air circulation. Ensure it is out of reach of children.
3.3 Power Connection:
Ensure the appliance is unplugged before placing it. Plug the power cord into a standard 120-volt AC electrical outlet. The power indicator light will illuminate.
4. Operating Instructions
4.1 Basic Operation:
- Close the sandwich maker and plug it into a power outlet. The power indicator light will turn on.
- Allow the appliance to preheat. The preheat/ready indicator light will illuminate when the desired cooking temperature is reached. This typically takes 3-5 minutes.
- Once preheated, carefully open the sandwich maker using the cool-touch handle.
- Place your ingredients onto the bottom cooking plate. For sandwiches, ensure bread and fillings are centered.
- Gently close the lid and press down on the cool-touch handle to lock it. Do not force the lid shut if the contents are too thick.
- Cook for 3-8 minutes, or until your food is golden brown and cooked to your preference. Cooking time may vary based on ingredients and desired crispness.
- Carefully open the lid and remove the cooked food using a heat-resistant plastic or wooden utensil. Do not use metal utensils, as they can damage the non-stick coating.
- Unplug the appliance from the wall outlet after use and allow it to cool completely before cleaning.
4.2 Indicator Lights:
- Power Light: Illuminates when the appliance is plugged in and receiving power.
- Preheat/Ready Light: Illuminates when the cooking plates have reached the optimal temperature for cooking. This light may cycle on and off during cooking to maintain temperature.
5. Maintenance and Cleaning
Proper maintenance ensures the longevity and performance of your sandwich maker.
5.1 Cleaning the Non-Stick Plates:
- Always unplug the appliance and allow it to cool completely before cleaning.
- Wipe the non-stick cooking plates with a soft, damp cloth or sponge. For stubborn food residue, apply a small amount of cooking oil to the residue and let it sit for 5 minutes before wiping clean.
- Do not use abrasive cleaners, scouring pads, or metal utensils on the non-stick surfaces, as this will damage the coating.
- Do not immerse the appliance in water or any other liquid.
5.2 Exterior Cleaning:
Wipe the exterior surfaces with a soft, damp cloth. Dry thoroughly. Do not use harsh or abrasive cleaners.
5.3 Storage:
Once the appliance is clean and completely cool, you can store it upright to save space. Wrap the power cord neatly around the base if a cord wrap feature is present, or secure it with a tie. Store in a dry place.
6. Troubleshooting
If you encounter issues with your sandwich maker, please refer to the table below for common problems and solutions.
| Problem | Possible Cause | Solution |
|---|---|---|
| Appliance does not heat up. | Not plugged in; power outlet malfunction; appliance malfunction. | Ensure the power cord is securely plugged into a working outlet. Check the circuit breaker. If the issue persists, contact customer support. |
| Food sticks to the plates. | Plates not properly cleaned; plates not preheated; insufficient oil/butter (if desired). | Ensure plates are clean before use. Always preheat the appliance until the ready light illuminates. A light coating of cooking spray or butter can be applied for extra non-stick properties. |
| Food is not cooking evenly. | Ingredients unevenly distributed; appliance not fully preheated. | Ensure ingredients are spread evenly across the cooking surface. Allow the appliance to fully preheat before adding food. |
| Lid does not close completely. | Too much filling in the sandwich. | Reduce the amount of filling. Do not force the lid shut, as this can damage the appliance. |
7. Specifications
Technical details for the OSTBA APPLIANCE ABS05 Sandwich Maker.
| Feature | Detail |
|---|---|
| Model Number | ABS05 |
| Brand | OSTBA |
| Type | Sandwich Maker, Toaster, Electric Panini Press |
| Wattage | 750 Watts |
| Voltage | 120 Volts |
| Color | Black |
| Material | Appliance housing (material not specified, typically plastic/metal) |
| Special Features | Cool Touch Handle, Non-Stick Coating, LED Indicator Lights |
| Product Dimensions (D x W x H) | 22D x 8W x 21H centimetres |
| Item Weight | 499 g |
| UPC | 779283438625 |
8. Warranty and Support
8.1 Warranty Information:
The OSTBA APPLIANCE ABS05 Sandwich Maker comes with a standard manufacturer's warranty. Please refer to the warranty card included with your purchase for specific terms, conditions, and duration. Keep your proof of purchase for warranty claims.
8.2 Customer Support:
For any questions, technical assistance, or warranty claims, please contact OSTBA customer support. Contact details can typically be found on the product packaging, the official OSTBA website, or the warranty card.