Introduction
Thank you for choosing the EMB 12V Household Lithium Battery Cordless Drill Driver. This manual provides essential information for the safe and efficient operation, maintenance, and troubleshooting of your new power tool. Please read this manual thoroughly before first use and keep it for future reference.

Figure 1: The EMB 12V Cordless Drill Driver shown with an assortment of drill and driver bits, highlighting its versatility for various tasks.
Safety Instructions
Always follow basic safety precautions when using electric tools to reduce the risk of fire, electric shock, and personal injury.
- Work Area Safety: Keep your work area clean and well-lit. Cluttered or dark areas invite accidents. Do not operate power tools in explosive atmospheres, such as in the presence of flammable liquids, gases, or dust.
- Electrical Safety: Avoid body contact with earthed or grounded surfaces such as pipes, radiators, ranges, and refrigerators. Do not expose power tools to rain or wet conditions.
- Personal Safety: Always wear eye protection. Use safety glasses, goggles, or a face shield. Wear hearing protection when operating noisy tools. Dress properly; do not wear loose clothing or jewelry. Keep hair, clothing, and gloves away from moving parts.
- Tool Use and Care: Do not force the power tool. Use the correct power tool for your application. Disconnect the plug from the power source and/or remove the battery pack from the power tool before making any adjustments, changing accessories, or storing power tools.
- Battery Pack Use and Care: Recharge only with the charger specified by the manufacturer. Do not use battery packs with any other power tools. When battery pack is not in use, keep it away from other metal objects.
Package Contents
Carefully unpack your new EMB Cordless Drill Driver. Ensure all items listed below are present and in good condition. If any items are missing or damaged, please contact customer support.
- EMB 12V Cordless Drill Driver
- 12V Lithium-Ion Battery Pack (1300mA)
- Battery Charger (100-240V input)
- User Manual
Setup
1. Charging the Battery
The battery pack is not fully charged at the time of purchase. It is recommended to fully charge the battery before first use.
- Connect the charger to a standard 100-240V AC power outlet.
- Insert the battery pack into the charger. Ensure it clicks into place securely.
- The charging indicator light on the charger will illuminate (typically red for charging, green for fully charged).
- Allow the battery to charge completely. Charging time may vary.

Figure 2: The 12V Lithium-Ion battery pack and its dedicated charger, essential for powering the drill.
2. Installing and Removing the Battery Pack
- To Install: Align the battery pack with the base of the drill handle. Slide the battery pack into the handle until it clicks securely into place.
- To Remove: Press the battery release button (usually located on the side of the battery pack) and slide the battery pack out of the handle.
3. Installing and Removing Drill Bits (Keyless Chuck)
- To Install: Rotate the chuck counter-clockwise until the jaws are open wide enough to insert the drill bit. Insert the drill bit fully into the chuck. Rotate the chuck clockwise to tighten the jaws firmly around the bit. Ensure the bit is centered and secure.
- To Remove: Rotate the chuck counter-clockwise to loosen the jaws and remove the drill bit.
Operating Instructions
1. Powering On/Off and Variable Speed Control
- To turn the drill ON, press the trigger switch.
- To turn the drill OFF, release the trigger switch.
- The drill features a variable speed trigger. The further you press the trigger, the faster the drill bit will rotate (0-1300 RPM). This allows for precise control depending on the material and task.
2. Forward/Reverse Rotation
A rotational switch (forward/reverse lever) is located above the trigger. This switch controls the direction of rotation.
- Push the lever to the left for forward (clockwise) rotation, used for drilling and driving screws.
- Push the lever to the right for reverse (counter-clockwise) rotation, used for removing screws or backing out drill bits.
- When the lever is in the center position, the trigger is locked, preventing accidental starting. Always set the lever to the center position when not in use or when changing bits.
3. Clutch Settings (Torque Adjustment)
The clutch ring, located behind the chuck, allows you to adjust the torque (twisting power) of the drill. This drill features 17+1 clutch positions.
- Rotate the clutch ring to select the desired torque setting. Lower numbers are for driving small screws or working with soft materials to prevent over-tightening or stripping.
- Higher numbers provide more torque for driving larger screws or drilling into harder materials.
- The drill icon setting (often the highest number or a dedicated drill symbol) bypasses the clutch for maximum torque, ideal for drilling applications.
4. Built-in LED Front Light
The drill is equipped with a built-in LED light that illuminates the work area. This light automatically activates when the trigger is pressed, providing improved visibility in dark or confined spaces.
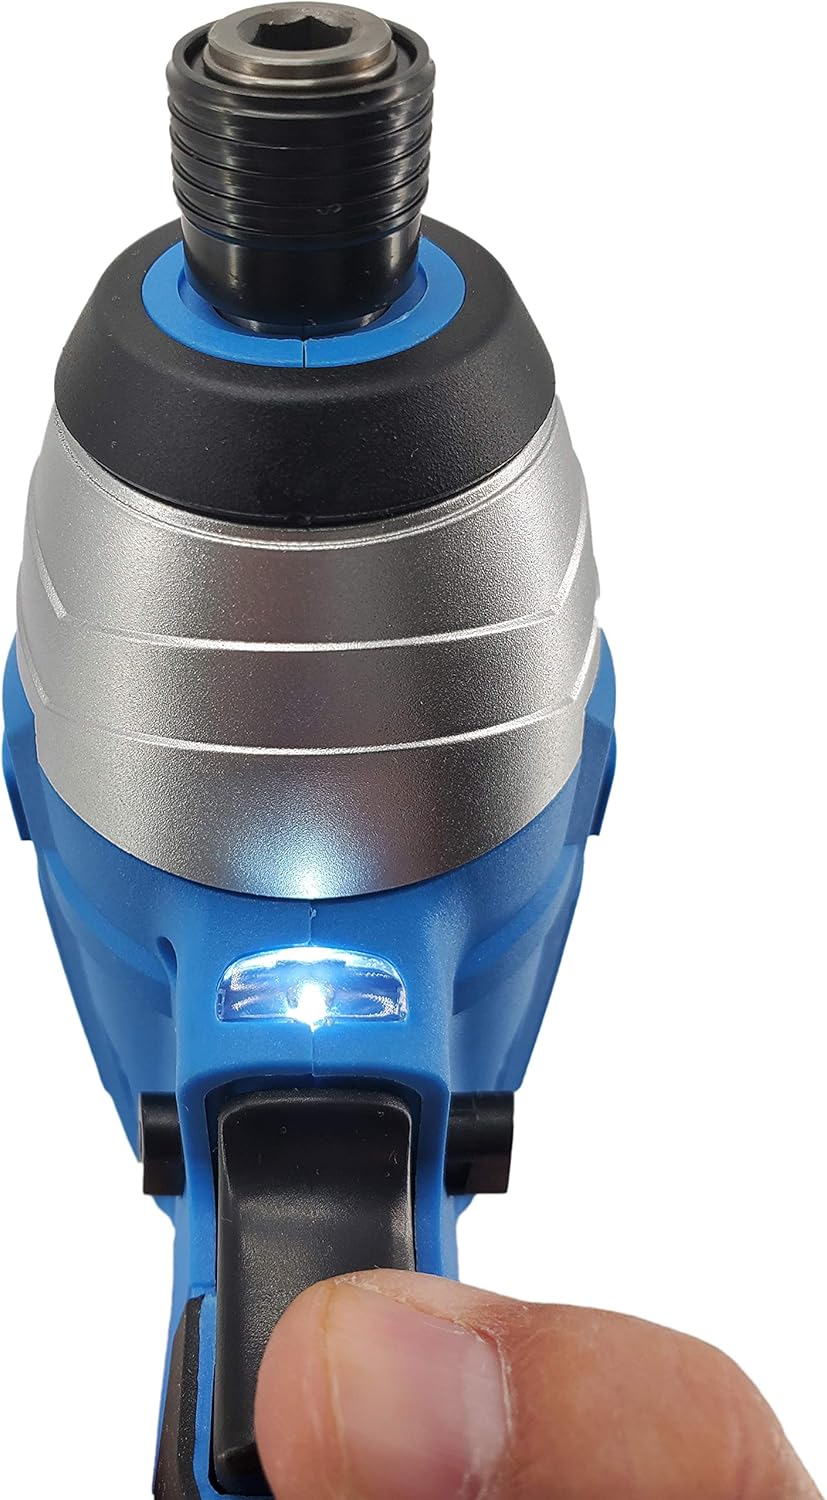
Figure 3: A close-up view of the drill's integrated LED light, which illuminates the work surface for better visibility.
Maintenance
Regular maintenance ensures the longevity and optimal performance of your drill.
- Cleaning: After each use, wipe down the drill with a clean, damp cloth. Do not use harsh chemicals or abrasive cleaners. Keep ventilation openings free of dust and debris.
- Battery Care: Store battery packs in a cool, dry place away from direct sunlight and extreme temperatures. Do not store fully discharged batteries for extended periods.
- Chuck Maintenance: Periodically clean the chuck jaws to ensure proper gripping of bits.
- Storage: Store the drill and accessories in a dry, secure location out of reach of children.
Troubleshooting
If you encounter issues with your drill, refer to the following common problems and solutions:
| Problem | Possible Cause | Solution |
|---|---|---|
| Drill does not start. | Battery not charged; Battery not properly inserted; Forward/Reverse switch in center (locked) position. | Charge the battery; Re-insert battery securely; Move the F/R switch to forward or reverse position. |
| Loss of power during operation. | Battery charge is low. | Recharge the battery pack. |
| Bit slips in chuck. | Chuck not tightened sufficiently; Bit shank is dirty or damaged. | Tighten chuck firmly; Clean or replace the drill bit. |
| Drill stops unexpectedly. | Overload protection activated; Battery overheated. | Reduce pressure on the drill; Allow battery to cool down before resuming use. |
Specifications
Technical specifications for the EMB 12V Cordless Drill Driver:
- Model: ET-06
- Brand: EMB
- Power Source: Battery Powered
- Working Voltage: 12 V
- Related Voltage (Charger Input): 100-240 V
- Battery Capacity: 1300 mA (Lithium Ion)
- Chuck Size: 3/8 Inch Keyless Chuck
- Clutch Positions: 17+1
- No-Load Speed (RPM): 0-350 / 0-1300 RPM (Variable Speed)
- Max Torque: 24 N.m
- Special Features: Built-in LED Front Light, Variable Speed, Lightweight, Compact, Motor Reverse
- Item Dimensions: 7.4"L x 2"W x 9.5"H (approx.)
- Item Weight: 2.85 pounds (approx.)
- Material: Metal, Rubber
- UPC: 613464940654
Warranty and Support
EMB products are manufactured to high-quality standards. For information regarding warranty coverage, technical support, or service, please refer to the warranty card included with your purchase or contact your retailer. You may also visit the official EMB website for further assistance.
For customer service inquiries, please have your model number (ET-06) and purchase date available.


