
DALLUX WC02
DALLUX Digital Wireless Backup Camera System User Manual
Model: WC02
Introduction
Thank you for choosing the DALLUX Digital Wireless Backup Camera System. This system is designed to provide a clear and stable rearview image for various heavy vehicles, including 5th wheel pickups, trucks, trailers, buses, vans, RV campers, and agricultural vehicles. Featuring a 7-inch DVR monitor and a 1080P IP69K waterproof camera, it offers enhanced safety and convenience for reversing and monitoring.
Please read this manual thoroughly before installation and operation to ensure proper use and longevity of your device.
Package Contents
Verify that all items listed below are included in your package:
- 7-inch IPS Digital Wireless Monitor
- 1080P Digital Wireless Backup Camera
- Power Cord for Monitor
- Power Cord for Camera
- U-Pattern Bracket
- Butterfly-Pattern Bracket
- Car Charger
- Remote Control
- Antennas (4 total, 2 for monitor, 2 for camera)
- Mounting Hardware (screws, nuts, wrench)
- User Manual (this document)

Figure 1: Package Contents Overview
Setup and Installation
Follow these steps for proper installation of your DALLUX backup camera system.
1. Choose Mounting Location
Select a suitable location for both the monitor and the camera. The monitor can be mounted on the dashboard using either the U-Pattern or Butterfly-Pattern bracket. The camera should be mounted at the rear of your vehicle, ensuring a clear view.

Figure 2: Monitor Mounting Options
2. Power Connection
The system supports 10V-32V wide voltage input. Connect the monitor and camera to a stable power source.
- Monitor Power:
- Method 1 (Car Charger): Plug the car charger into your vehicle's cigarette lighter socket and connect it to the monitor's power input.
- Method 2 (ACC Power): For a more permanent installation, connect the monitor's power cable directly to your vehicle's ACC (Accessory) power source.
- Camera Power: Connect the camera's power cable to a suitable power source at the rear of your vehicle. This can often be the taillight or reverse light circuit for automatic activation when reversing. Ensure proper grounding.

Figure 3: Installation Diagram and Power Connections
3. Pairing the Camera and Monitor
The monitor and camera are typically pre-paired from the factory. If no image is displayed or you are adding an additional camera, follow these steps to pair them:
- Connect power to the monitor first.
- Press the "MENU" button on the monitor, then press the "SEL" button. The screen will display a 20-second countdown.
- Within these 20 seconds, connect the camera's power cable for power supply.
- The screen should display the image. If not, press the "MENU" button, then "SEL" button again, and simultaneously press the white button on the camera's power cable.
Video 1: Pairing Instructions for DALLUX Wireless Backup Camera System. This video demonstrates the step-by-step process of connecting the monitor and camera, and how to pair them if the image does not appear automatically.
Operating Instructions
Monitor Functions
The 7-inch IPS panel digital monitor provides a clear image from any viewing angle. It includes built-in DVR functionality.

Figure 4: 7-inch HD LCD Color Monitor with Dimensions
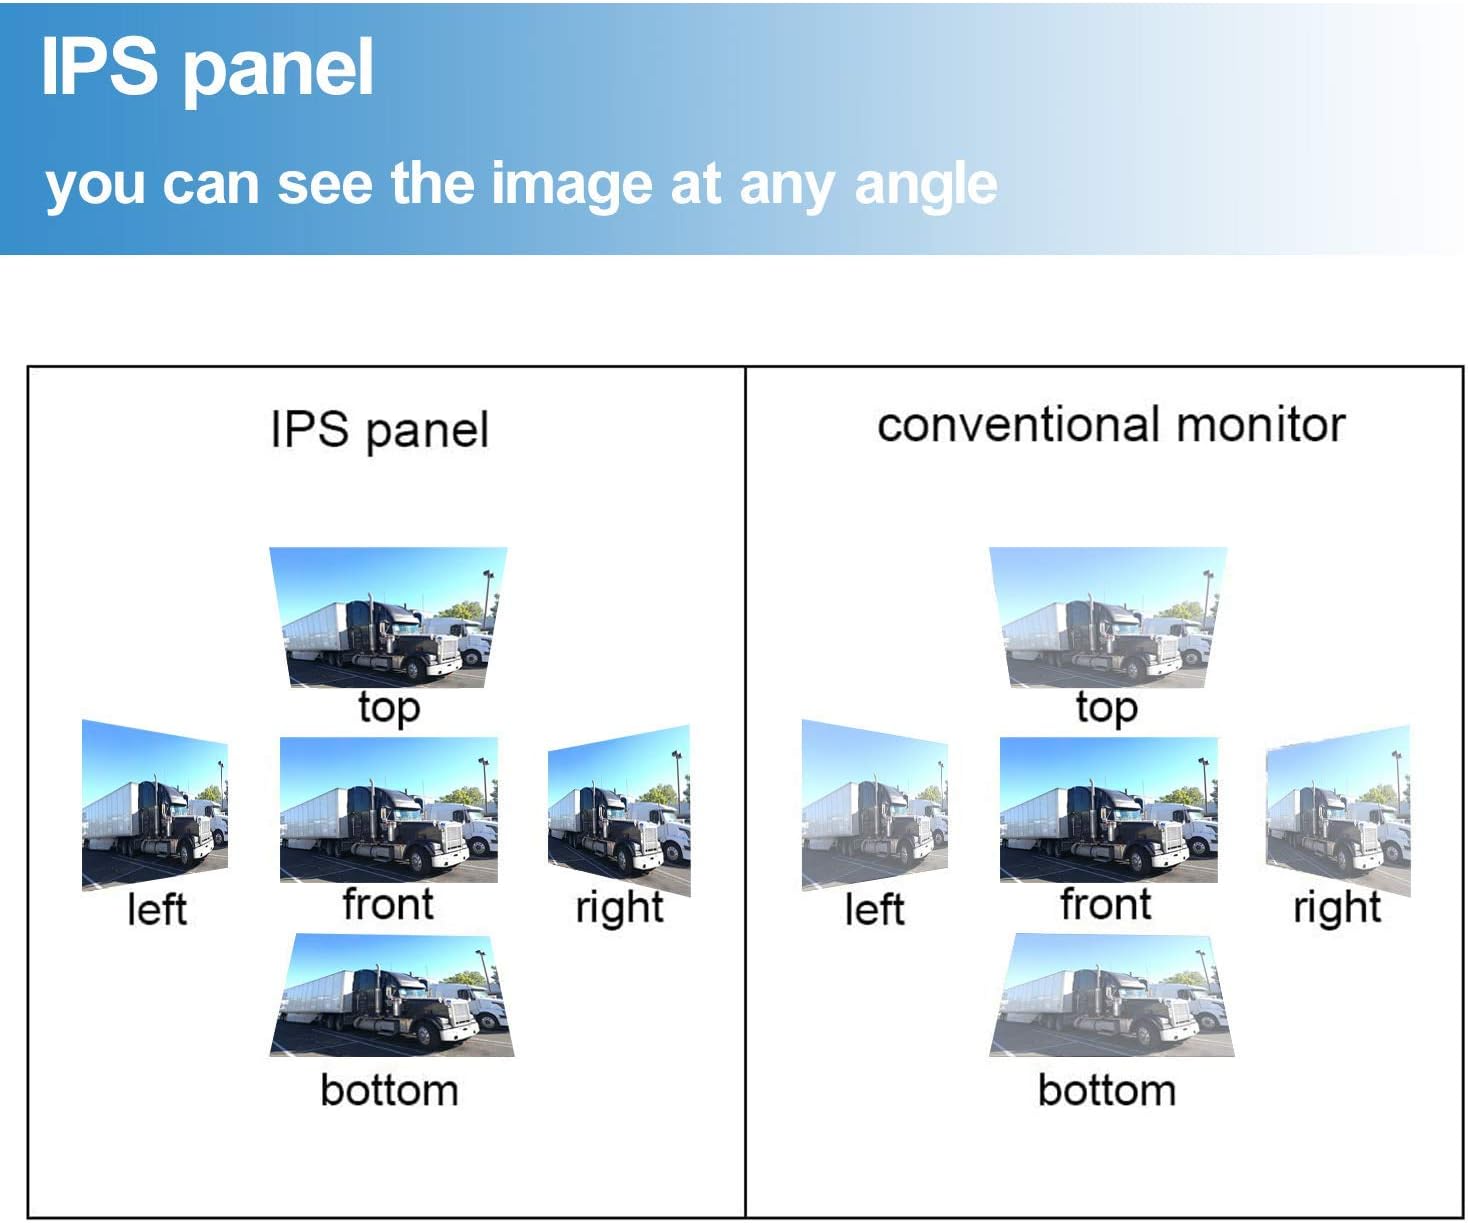
Figure 5: IPS Panel Viewing Angle Advantage
- Power Button: Turns the monitor on/off.
- MENU Button: Accesses the main menu for settings adjustments.
- +/- Buttons: Navigate menu options or adjust values.
- CH Button: Switches between connected cameras (supports 1/2/4 wireless camera input).
- SEL Button: Confirms selections in the menu.
- MODE Button: Changes display modes (e.g., single camera view, split screen).
DVR Functionality
The monitor has a built-in recorder that supports real-time recording and video playback. It supports a maximum storage of 128GB via an SD card (not included).

Figure 6: Monitor with Built-in DVR and SD Card Slot
To use the DVR function, insert a compatible SD card into the designated slot on the monitor. Refer to the on-screen menu for recording and playback options.
Camera Features
The HD 1080P digital wireless backup camera features a 130° wide viewing angle and a built-in smart IR-CUT filter for realistic image color. It is designed for robust performance.

Figure 7: Digital Wireless Backup Camera
The camera has an IP69K waterproof rating and a vibration rating of 20G, ensuring reliable operation in various weather conditions.

Figure 8: Enhanced Digital Signal and Wide Application
The system allows for easy switching between full screen and split screen views, supporting multiple camera inputs.

Figure 9: Mirror or Normal Image Options
Maintenance
- Cleaning: Use a soft, damp cloth to clean the monitor screen and camera lens. Avoid abrasive cleaners or solvents.
- Cable Inspection: Periodically check all cables and connections for wear, damage, or loose fittings.
- Camera Lens: Ensure the camera lens is free from dirt, mud, snow, or ice for optimal image clarity.
- Antennas: Ensure antennas are securely attached and not obstructed for best wireless signal.
Troubleshooting
| Problem | Possible Cause | Solution |
|---|---|---|
| No image on monitor |
|
|
| Flickering or distorted image |
|
|
| DVR not recording |
|
|
Specifications
| Feature | Detail |
|---|---|
| Brand | DALLUX |
| Model | WC02 |
| Screen Size | 7 Inches |
| Display Technology | LCD (IPS Panel) |
| Video Capture Resolution | 1080p |
| Voltage Input | 10V-32V |
| Camera Viewing Angle | 130° |
| Waterproof Rating | IP69K |
| Vibration Rating | 20G |
| Wireless Range | Up to 984 feet (line of sight) |
| DVR Storage | Max 128GB (SD card not included) |
| Item Weight | 3 pounds |
| Package Dimensions | 11.5 x 7.91 x 4.45 inches |
Warranty
The DALLUX Digital Wireless Backup Camera System comes with a 1-year manufacturer's warranty. This warranty covers defects in materials and workmanship under normal use. Please retain your proof of purchase for warranty claims.
Extended protection plans may be available for purchase:
- 2-Year Protection Plan
- 3-Year Protection Plan
- Complete Protect Plan (monthly billing)
For details on protection plans, please refer to the product listing or contact your retailer.
Support
For technical support, troubleshooting assistance, or warranty inquiries, please contact DALLUX customer service. Refer to the contact information provided on the product packaging or the official DALLUX website.
You can also visit the DALLUX Store on Amazon for more product information and support resources: DALLUX Store
Ask a question about this manual
Ask about setup, troubleshooting, compatibility, parts, safety, or missing instructions. Manuals+ will review the question and use this page’s manual context to help answer it.