1. Introduction
The Dwyer Series 475 Mark III Handheld Digital Manometer, model 475-3-FM-BK, is a versatile instrument designed for measuring positive, negative, or differential pressures of air and compatible combustible gases. This device is ideal for field calibration, monitoring, or troubleshooting HVAC systems, clean rooms, and various low-pressure pneumatic systems. It offers dual range capabilities, providing measurements in both inches of water column (WC) and kilopascals (KPA).
2. Safety Information
- Read this manual thoroughly before operating the device.
- Ensure the manometer is used only with air and compatible combustible gases as specified.
- Do not exceed the specified pressure ranges of the instrument.
- The Series 475-FM is approved as intrinsically safe for hazardous locations: Class 1, Div. 1, Group A, B, C, D, T4. Always adhere to safety protocols for such environments.
- Replace batteries only in non-hazardous areas.
- Keep the device away from extreme temperatures, moisture, and strong vibrations.
3. Product Overview
The Dwyer 475-3-FM-BK manometer features a rugged extruded aluminum case, ensuring durability. It includes a large, easy-to-read digital display and intuitive push-button controls for operation.
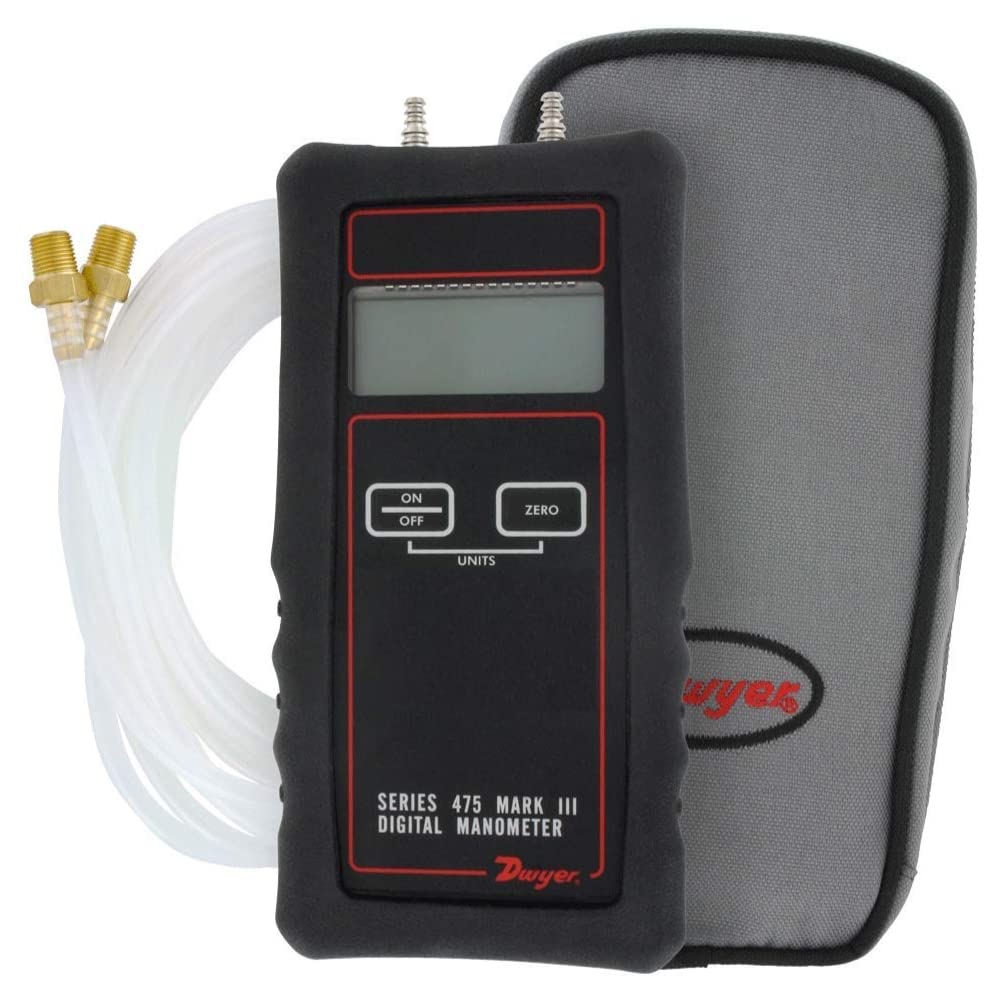
Image 1: Dwyer 475-3-FM-BK Handheld Digital Manometer. The image displays the black manometer unit encased in a protective boot, with a digital display and three control buttons labeled 'ON OFF', 'ZERO', and 'UNITS'. To the left, clear vinyl tubing and brass hose barb adapters are visible. A gray carrying case is partially visible on the right.
Key Components:
- Digital Display: Shows pressure readings and selected units.
- ON/OFF Button: Powers the device on and off.
- ZERO Button: Used to zero the display before taking measurements.
- UNITS Button: Cycles through available pressure units.
- Pressure Ports: Located at the top for connecting tubing.
- Protective Boot: Provides additional protection against impact.
- Hose Barb Adapters & Tubing: For connecting to pressure sources.
- Carrying Case: For safe transport and storage.
4. Setup
4.1 Battery Installation
- Ensure the manometer is powered off.
- Locate the battery compartment cover on the rear of the unit.
- Remove the cover and insert a standard 9-volt battery, observing correct polarity.
- Replace the battery compartment cover securely. A fresh 9V battery provides up to 100 hours of operation.
4.2 Connecting Tubing
- Attach the clear vinyl tubing to the hose barb adapters.
- Connect the adapters to the pressure ports on top of the manometer. For differential pressure, connect one tube to each port. For positive or negative pressure, connect to one port and leave the other open to atmosphere.
5. Operating Instructions
5.1 Powering On/Off
- To power on the manometer, press the ON/OFF button.
- To power off the manometer, press the ON/OFF button again.
5.2 Zeroing the Device
- Before taking any measurements, ensure both pressure ports are open to the atmosphere (not connected to any pressure source).
- Press the ZERO button. The display should read 0.00. This calibrates the device for accurate readings.
5.3 Selecting Units
- Press the UNITS button to cycle through the available pressure units (e.g., inches of water column, kilopascals). Select the desired unit for your measurement.
5.4 Taking Measurements
- After zeroing and selecting units, connect the tubing from the pressure source to the appropriate pressure port(s).
- The digital display will show the pressure reading.
- For air velocity measurements, the Series 475 Mark III can be used in conjunction with a Dwyer Pitot tube. Air velocity calculations will need to be performed separately based on the differential pressure reading.
6. Maintenance
6.1 Battery Replacement
When the battery indicator appears on the display, replace the 9V battery as described in the Setup section (4.1 Battery Installation).
6.2 Cleaning
Clean the exterior of the manometer with a soft, damp cloth. Do not use abrasive cleaners or solvents. Ensure no moisture enters the pressure ports or internal components.
6.3 Storage
When not in use, store the manometer in its protective carrying case in a clean, dry environment, away from extreme temperatures.
7. Troubleshooting
- No Display: Check battery installation and ensure the battery has sufficient charge. Replace if necessary.
- Inaccurate Readings: Ensure the device was properly zeroed before measurement. Check for any leaks in the tubing connections. Verify the correct pressure unit is selected.
- Erratic Readings: Ensure the measurement environment is stable and free from sudden pressure fluctuations. Check for loose connections or damaged tubing.
- Device Not Responding: Try removing and reinserting the battery. If the issue persists, contact customer support.
8. Specifications
| Specification | Value |
|---|---|
| Product Dimensions | 6 x 3.5 x 0.75 inches |
| Item Weight | 1.5 pounds |
| Manufacturer | Dwyer Instruments, Inc. |
| Material | Aluminum |
| Power Source | 9V Battery (up to 100 hours operation) |
| Pressure Ranges | 0-199.9" WC & 0-49.7 KPA (Dual Range) |
| Service | Air and Compatible Combustible Gases |
| Hazardous Location Approval | Class 1, Div. 1, Group A, B, C, D, T4 (for 475-FM model) |
9. Warranty and Support
Warranty information for the Dwyer 475-3-FM-BK Handheld Digital Manometer is typically provided with the product at the time of purchase or can be obtained directly from the manufacturer. For technical support, service, or inquiries regarding warranty claims, please contact Dwyer Instruments, Inc. through their official website or customer service channels.


