
Knog KN477.BLK.SKU
Knog Blinder Rear Skull Light User Manual
Model: KN477.BLK.SKU
Introduction
Thank you for choosing the Knog Blinder Rear Skull Light. This manual provides essential information for the proper setup, operation, and maintenance of your new bicycle taillight. Please read this manual thoroughly before use to ensure optimal performance and safety.
The Knog Blinder Rear Skull Light is a high-visibility rear bicycle light designed to enhance rider safety with its powerful 100-lumen output and unique skull-patterned LED array. It features USB charging, multiple light modes, and tool-free installation.
Product Overview
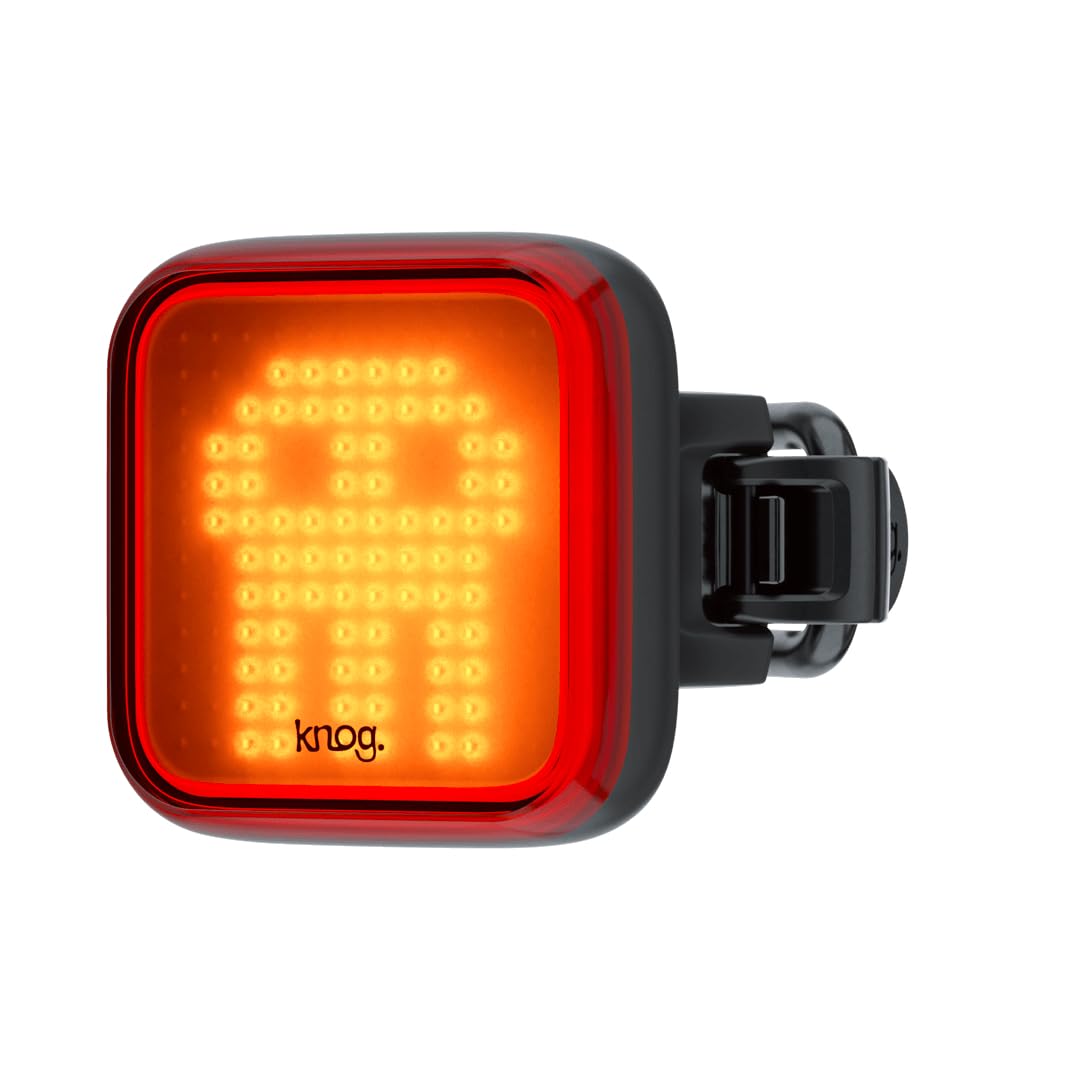
Figure 1: Front view of the Knog Blinder Rear Skull Light, showcasing its distinctive skull-shaped LED pattern when illuminated. This design enhances visibility and adds a unique aesthetic.
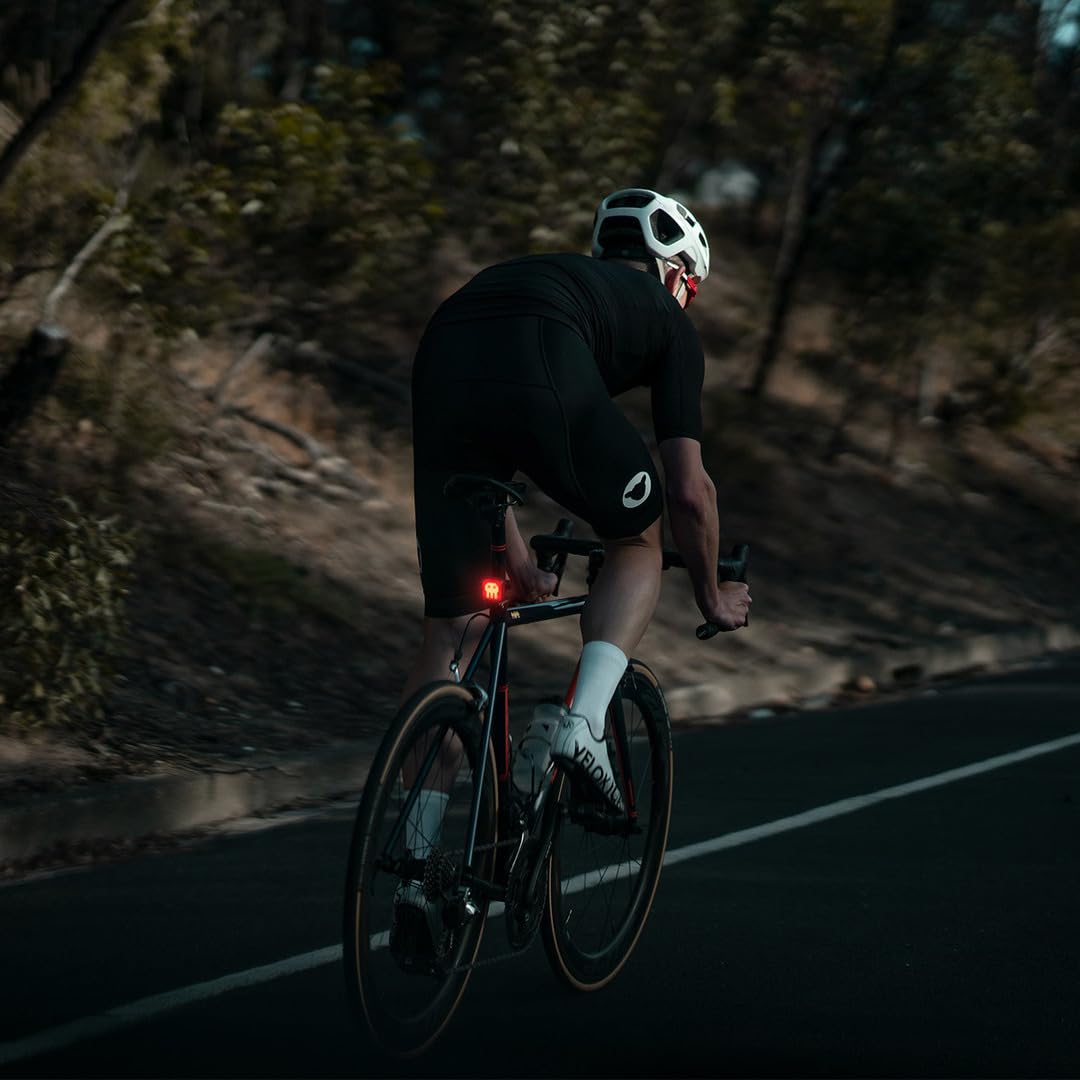
Figure 2: The Knog Blinder Rear Skull Light with its full LED grid illuminated, demonstrating the powerful and uniform light output for maximum visibility.
Key Features:
- High Brightness: 100 lumens for excellent rear visibility.
- Multiple Light Modes: 8 distinct settings to suit various riding conditions and preferences.
- Integrated USB Charging: Convenient cable-free charging via a built-in USB connector.
- Tool-Free Mounting: Elastic straps allow for quick and easy attachment to standard and aero seat posts.
- Low Battery Indicator: Alerts the user when the battery level is low, prompting a recharge.
- Waterproof Design: Ensures reliable performance in various weather conditions.
Setup
Package Contents:
- Knog Blinder Rear Skull Light (1)
- Integrated Silicone Straps (Pre-attached)
Mounting Instructions:
- Identify a suitable mounting location on your bicycle's seat post. The light is designed for rear mounting.
- Select the appropriate silicone strap length for your seat post diameter. The light comes with integrated elastic straps that are compatible with standard and aero seat posts.
- Wrap the silicone strap around the seat post and hook it onto the clasp on the opposite side of the light. Ensure the light is securely fastened and facing directly rearward.
- Verify that the light is stable and does not obstruct any moving parts of the bicycle or the rider's movement.
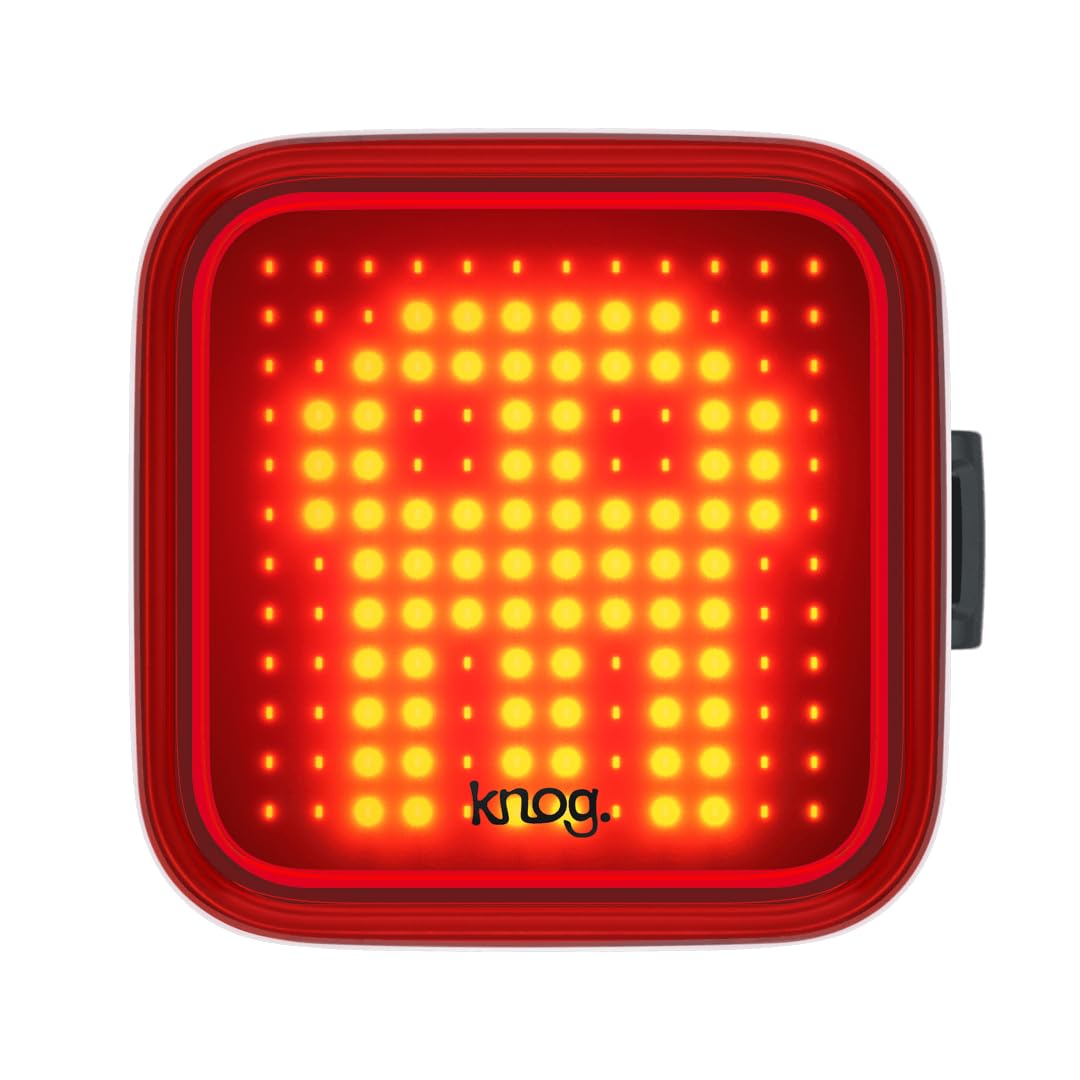
Figure 3: The Knog Blinder Rear Skull Light securely mounted on a bicycle's seat post, demonstrating proper rearward orientation for optimal visibility.
Initial Charging:
Before first use, fully charge the Knog Blinder Rear Skull Light. The light features an integrated USB-A connector.
- Locate the integrated USB connector on the side of the light.
- Plug the USB connector directly into any standard USB-A port (e.g., computer, wall adapter, power bank).
- The charging indicator light will illuminate during charging and change color or turn off when fully charged. Refer to the Operating section for specific indicator behavior.
- A full charge typically takes approximately 4 hours.
Operating Instructions
Power On/Off:
- To turn the light ON, press and hold the power button located on the side of the light for approximately 1 second.
- To turn the light OFF, press and hold the power button for approximately 1 second.
Changing Light Modes:
The Knog Blinder Rear Skull Light features 8 different light modes, including steady and various flash patterns.
- While the light is ON, short press the power button to cycle through the available light modes.
- The light will remember the last used mode when turned off and on again.
Battery Indicator:
The integrated low battery indicator provides a visual cue for remaining battery life.
- Green LED: Battery is charged (50-100%).
- Amber LED: Battery is low (25-49%).
- Red LED: Battery is critically low (below 25%). Recharge immediately.
Charging the Light:
Recharge the light when the low battery indicator shows amber or red.
- Unmount the light from your bicycle if necessary.
- Plug the integrated USB connector into a powered USB-A port.
- During charging, the indicator LED will typically show a specific color (e.g., red) and change to another color (e.g., green) or turn off when fully charged. Consult the product packaging or Knog website for exact charging indicator behavior if not specified here.
- Do not leave the light charging unattended for extended periods after it is fully charged.
Maintenance
Cleaning:
- Wipe the light body and lens with a soft, damp cloth.
- Do not use abrasive cleaners, solvents, or harsh chemicals, as these can damage the light's finish or internal components.
- Ensure the USB port is clean and dry before charging.
Storage:
- Store the light in a cool, dry place away from direct sunlight and extreme temperatures.
- If storing for an extended period, charge the battery to approximately 50% every 3-6 months to maintain battery health.
Battery Care:
- The light uses a built-in Lithium-Ion battery. Do not attempt to replace the battery yourself.
- Avoid fully discharging the battery frequently, as this can reduce its lifespan.
- Charge the light regularly, even if not used frequently.
Troubleshooting
| Problem | Possible Cause | Solution |
|---|---|---|
| Light does not turn on. | Battery is fully discharged. | Charge the light using a USB-A port. |
| Light does not turn on. | Power button not pressed correctly. | Press and hold the power button for approximately 1 second. |
| Light does not charge. | USB port or cable issue. | Try a different USB port or power source. Ensure the USB connector is clean and fully inserted. |
| Light output is dim. | Low battery. | Recharge the light. |
| Light output is dim. | Lens is dirty. | Clean the lens with a soft, damp cloth. |
Specifications
| Feature | Detail |
|---|---|
| Model Number | KN477.BLK.SKU |
| Brightness | 100 Lumens |
| Dimensions (L x W x H) | 4.3 x 4.3 x 4.6 cm |
| Weight | 34 g |
| Battery Type | 1 Lithium Ion (included) |
| Power Source | Battery Powered (USB Rechargeable) |
| Number of Settings | 8 Light Modes |
| Mounting Type | Seatpost Mount (Elastic Straps) |
| Water Resistance | Waterproof |
| Color | Black |
| Material | Other (as per manufacturer) |
Warranty and Support
For warranty information and customer support, please visit the official Knog website or contact their customer service directly. Keep your proof of purchase for warranty claims.
Knog Official Website: www.knog.com
Note: Warranty terms and conditions may vary by region.
Related documentsKN477.BLK.SKU


Ask a question about this manual
Ask about setup, troubleshooting, compatibility, parts, safety, or missing instructions. Manuals+ will review the question and use this page’s manual context to help answer it.