1. Introduction
This manual provides detailed instructions for the installation, operation, and maintenance of your Commax Audio Doorphones and Doorbell Set (Model: DP-LA01M/DP-LA01S/DR-201D). This kit includes two audio handsets (one master, one slave) and one outdoor doorbell unit, designed to provide convenient audio communication and door release functionality for your home or office.
Please read this manual thoroughly before installation and operation to ensure proper use and to prevent damage to the unit.
2. Package Contents
- 1 x Master Audio Doorphone (DP-LA01M)
- 1 x Slave Audio Doorphone (DP-LA01S)
- 1 x Outdoor Doorbell Unit (DR-201D)
- Mounting Screws and Anchors
- User Manual (this document)
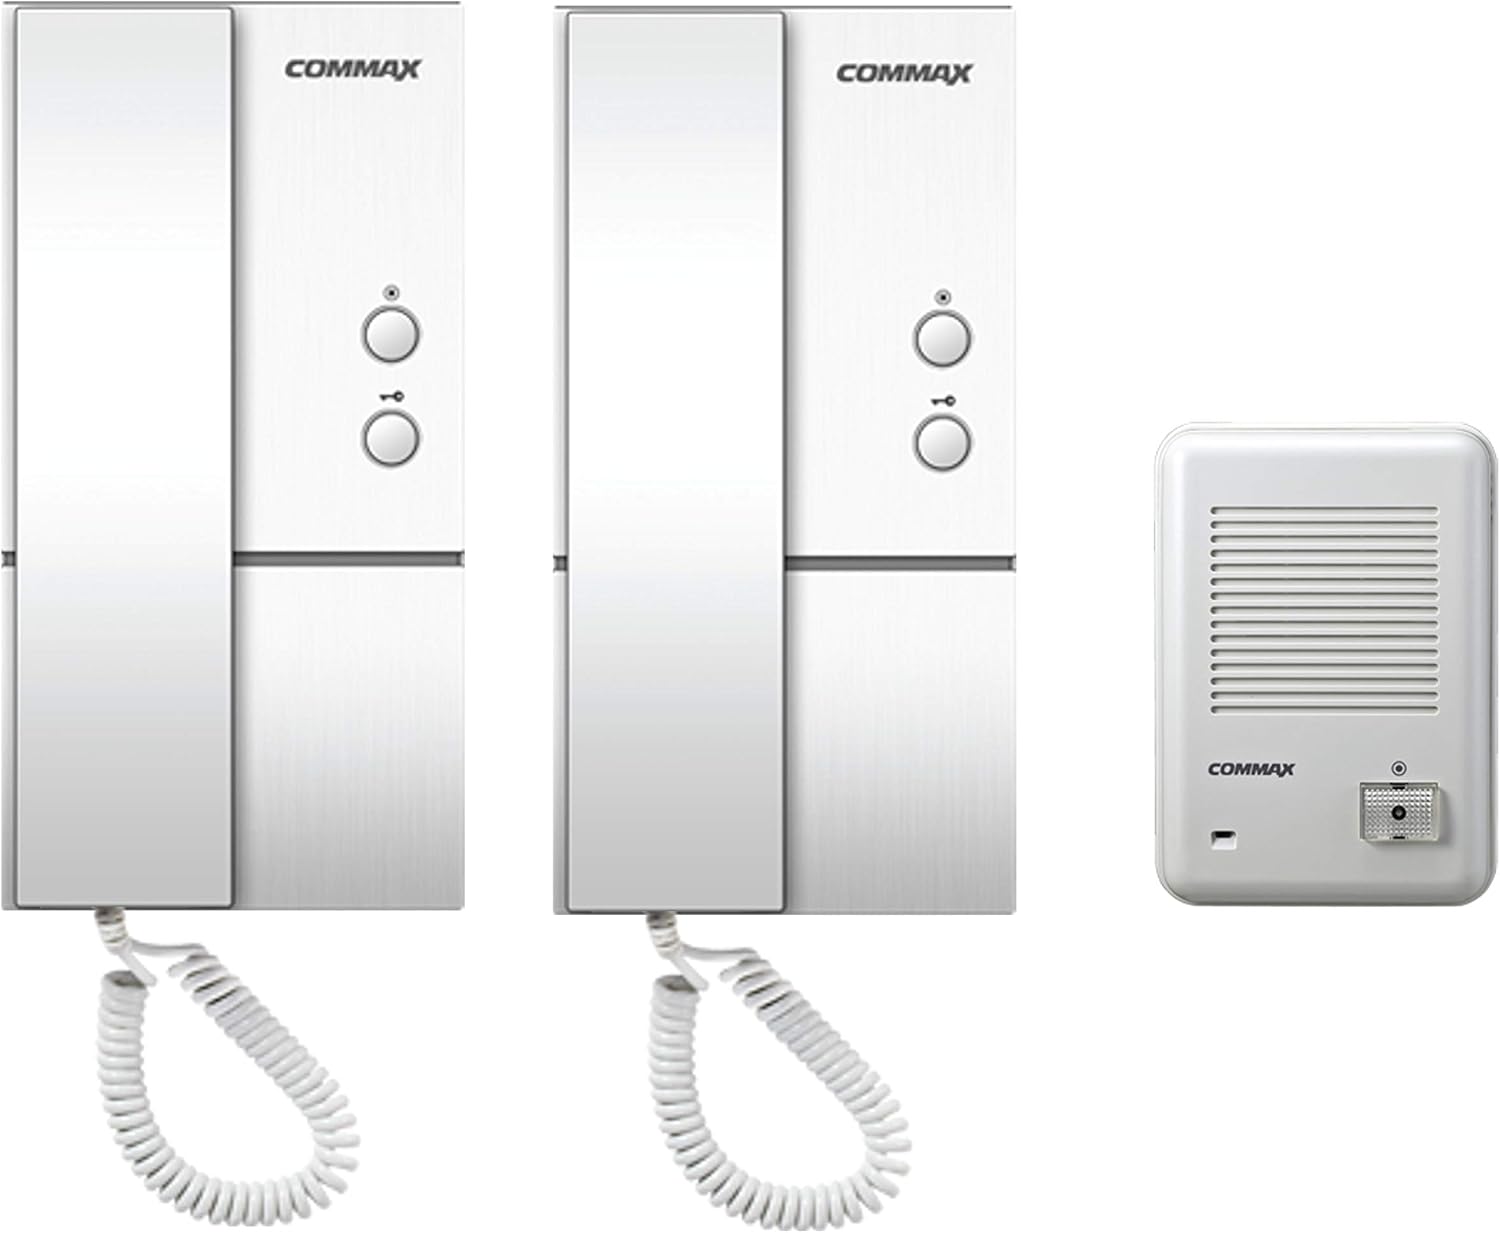
Figure 2.1: Overview of the Commax Audio Doorphones and Doorbell Set, showing the two indoor handsets and the outdoor doorbell unit.
3. Key Features
- Two audio doorphones and one outdoor door unit for comprehensive communication.
- Integrated door release button on handsets, supporting distances up to 50 meters (164 ft) from the room unit to the door.
- Intercom functionality allowing communication between the master and slave room units, effective up to 30 meters (98 ft).
- Simple 2-wire connection from the master handset to the door unit.
- 5-wire connection between the master and slave handsets for internal communication.
- Compatible with 2-wire door strikes (door strike not included).
4. Specifications
| Feature | Description |
|---|---|
| Model Numbers | DP-LA01M (Master Handset), DP-LA01S (Slave Handset), DR-201D (Doorbell Unit) |
| Power Source (DP-LA01) | AC 110V, 60Hz |
| Power Source (DR-201D) | 9V from handset |
| DP-LA01 Dimensions (W x H x D) | 98mm x 208mm x 60mm (3.86" x 8.19" x 2.36") |
| DR-201D Dimensions (W x H x D) | 96mm x 140mm x 42mm (3.78" x 5.51" x 1.65") |
| DR-201D Mount Type | Surface-mounted type |
| Operation Temperature | -10℃ to +40℃ (14℉ to 104℉) |
| Wiring (Door Unit to Master Handset) | 2 wires |
| Wiring (Master to Slave Handset) | 5 wires |
| Manufacturer | Commax |
| Country of Origin | China |
5. Safety Information
Please observe the following safety precautions to ensure safe operation and to prevent damage to the product or injury to yourself.
- Electrical Safety: Ensure the power source matches the specified voltage (AC 110V, 60Hz). Disconnect power before performing any installation or maintenance.
- Installation: Installation should be performed by a qualified professional if you are unsure about electrical wiring. Follow all local electrical codes.
- Environment: The outdoor doorbell unit (DR-201D) is not waterproof. Install it in a sheltered location, protected from direct rain and excessive moisture.
- Temperature: Operate the device within the specified temperature range (-10℃ to +40℃).
- Cleaning: Do not use liquid or aerosol cleaners. Use a soft, dry cloth for cleaning.
- Modifications: Do not attempt to modify or repair the unit yourself. Refer all servicing to qualified service personnel.
6. Setup and Installation
6.1 Wiring Diagram
Proper wiring is crucial for the correct operation of your audio doorphone system. Refer to the diagram below for connections between the door station, master room station, sub room station, and electric door release (if applicable).
- Connect 2 wires from the Door Station to the Master Room Station (terminals 5 and 6).
- Connect 5 wires between the Master Room Station and the Sub Room Station (terminals 1, 2, 3, 4, 5).
- If using an electric door release (not included), connect 2 wires from the Master Room Station (terminals S1 and S2) to the electric door release.
- The Master Room Station requires AC 110V power.
- The Door Station (DR-201D) is powered by 9V from the handset.

Figure 6.1: Detailed wiring diagram showing connections between the door station, master room station, sub room station, and electric door release.

Figure 6.2: Rear view of the DR-201D doorbell unit, illustrating the terminal block for wiring connections.
6.2 Mounting Instructions
The DR-201D doorbell unit is designed for surface mounting. The DP-LA01 handsets are typically wall-mounted.
- Choose Location: Select a suitable location for the doorbell unit, ensuring it is protected from direct weather exposure as it is not waterproof. For handsets, choose a convenient indoor wall location.
- Mark Drilling Points: Use the mounting bracket or the unit itself as a template to mark the drilling points on the wall.
- Drill Holes: Drill holes at the marked points. Insert wall anchors if necessary.
- Secure Mounting Bracket/Unit: Attach the mounting bracket (for handsets) or the doorbell unit directly to the wall using the provided screws.
- Connect Wiring: Before securing the unit completely, connect all necessary wires as per the wiring diagram (Section 6.1).
- Attach Unit: Secure the handset or doorbell unit onto its mounting bracket or directly to the wall.

Figure 6.3: Exploded view illustrating the installation process for the doorbell unit, including approximate dimensions (in mm) for mounting.
7. Operation
7.1 Answering a Call from the Doorbell Unit
- When a visitor presses the call button on the outdoor doorbell unit, the indoor handsets will ring.
- Pick up the handset of either the master or slave unit.
- You can now communicate with the visitor at the door.
7.2 Door Release Function
To unlock the door (requires a compatible electric door strike, not included):
- While on a call with the visitor, or at any time if the system is active, press the door release button on the handset.
- The electric door strike will momentarily activate, allowing the door to be opened.
7.3 Intercom Function (Between Handsets)
The master and slave handsets can be used for internal communication:
- Pick up the handset of either the master or slave unit.
- Press the intercom button (if available, or simply pick up the handset if it automatically connects).
- You can now speak with the person at the other handset.
8. Maintenance
- Cleaning: Use a soft, dry, lint-free cloth to clean the surfaces of the handsets and doorbell unit. Do not use abrasive cleaners, solvents, or chemical sprays.
- Environmental Protection: Ensure the outdoor doorbell unit remains protected from direct rain and excessive moisture. Regularly check its housing for any signs of damage or water ingress.
- Wiring Check: Periodically inspect all wiring connections to ensure they are secure and free from corrosion or damage.
- Functionality Test: Test the system periodically (e.g., once a month) to ensure all functions (calling, talking, door release, intercom) are working correctly.
9. Troubleshooting
| Problem | Possible Cause | Solution |
|---|---|---|
| No power to handsets. | Power cable disconnected; no power from outlet; faulty power supply. | Check power connection to master handset. Verify outlet has power. Contact support if power supply is suspected faulty. |
| Doorbell unit does not ring handsets. | Wiring issue between doorbell unit and master handset; faulty doorbell unit button. | Check 2-wire connection (terminals 5 and 6) between doorbell unit and master handset. Ensure wires are secure. |
| No audio during call. | Loose wiring; faulty microphone/speaker. | Verify all wiring connections are secure. Test both handsets. |
| Door release not working. | Wiring issue to electric door strike; faulty door strike; faulty handset button. | Check 2-wire connection (terminals S1 and S2) to the electric door strike. Ensure the door strike is powered and functional. |
| Intercom between handsets not working. | 5-wire connection issue between master and slave handsets. | Inspect the 5-wire connection between the master and slave handsets (terminals 1, 2, 3, 4, 5). |
If the problem persists after attempting these solutions, please contact Commax customer support or your local distributor for assistance.
10. Warranty and Support
Commax products are manufactured to high-quality standards. For specific warranty terms and conditions, please refer to the warranty card included with your product or visit the official Commax website. Warranty coverage typically includes defects in materials and workmanship under normal use.
For technical support, troubleshooting assistance, or service inquiries, please contact your authorized Commax dealer or the Commax customer service department. When contacting support, please have your product model number (DP-LA01M/DP-LA01S/DR-201D) and purchase information readily available.
Manufacturer: Commax