Introduction
This instruction manual provides detailed guidance for assembling your Robotime Simon's Coffee Miniature House 3D Puzzle (Model DG109). This DIY kit allows you to construct a charming miniature coffee shop scene with intricate details and functional elements. Please read all instructions carefully before beginning assembly to ensure a smooth and enjoyable building experience.
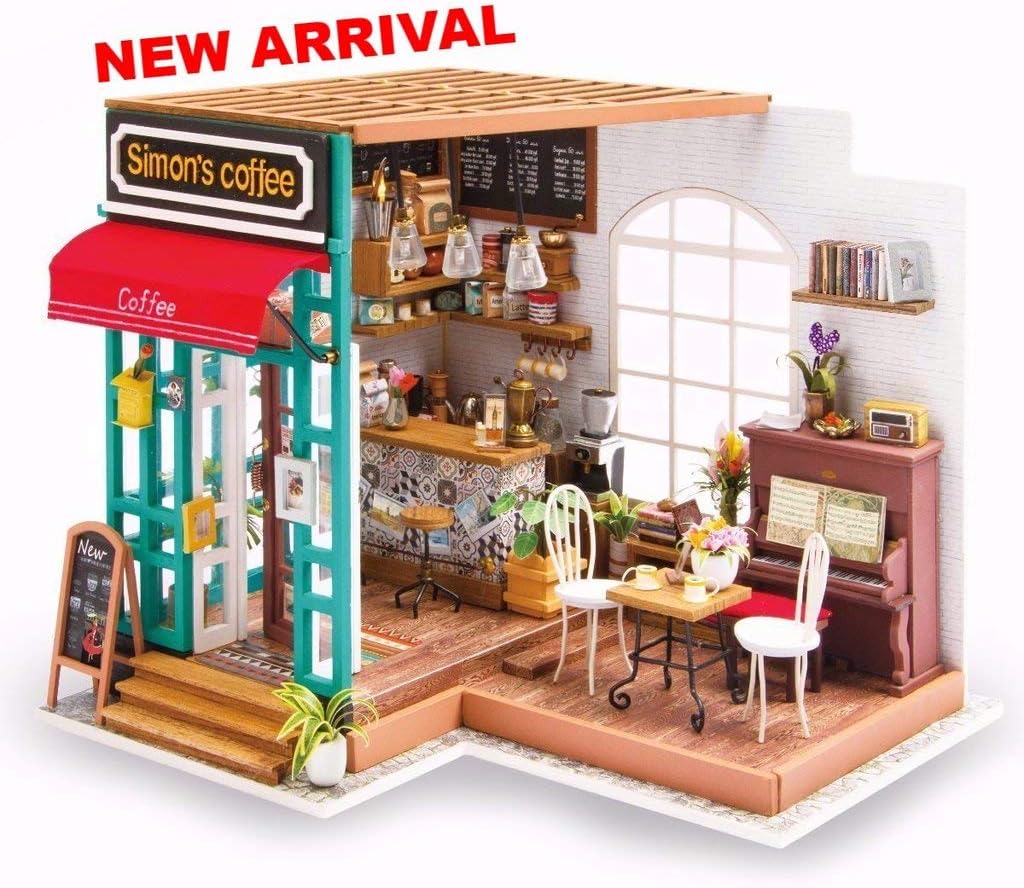
A complete view of the assembled Simon's Coffee miniature house, showcasing its intricate details and cozy atmosphere.
Setup and Assembly
1. Unboxing and Inventory
Carefully open the package and lay out all components. Verify that all parts listed in the kit's inventory sheet are present. Familiarize yourself with the different types of materials, such as wood pieces, paper cutouts, fabric, and small accessories.

The product packaging alongside the various raw materials and pre-cut pieces included in the kit, ready for assembly.
2. Tools Required
While some basic tools may be included, it is recommended to have the following additional tools for optimal assembly:
- Precision scissors or craft knife
- Ruler
- Tweezers (for small parts)
- Wood glue or quick-drying craft glue (ensure it dries clear)
- Small paintbrushes (for details or glue application)
- Sandpaper (fine-grit, for smoothing edges)
3. Preparation
Before starting, ensure you have a clean, well-lit, and spacious workspace. Organize your parts by type or step as indicated in the included diagram. Read through the entire assembly guide once to understand the overall process.
4. Assembly Overview
The assembly process typically involves:
- Cutting and Punching: Carefully cut out paper and fabric pieces, and punch out wooden components from their sheets.
- Folding and Shaping: Fold paper components along designated lines to create 3D shapes.
- Gluing: Apply glue sparingly and precisely to join parts. Allow sufficient drying time for each glued section before proceeding.
- Wiring (if applicable): Follow specific instructions for connecting LED lights. Ensure correct polarity if batteries are involved.
- Detailing: Add small accessories, paint details, and arrange furniture as per the design.

Illustrations showing specific assembly tasks, including painting small components, assembling miniature paper items like music sheets, and crafting miniature plants.
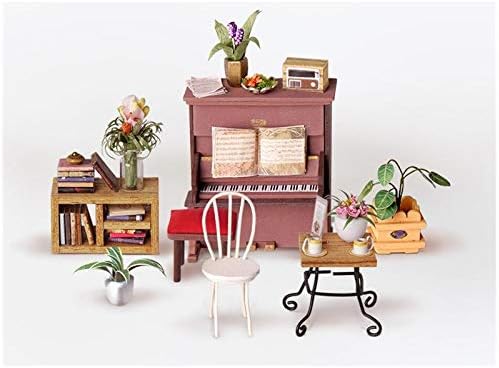
This image displays various miniature furniture items such as a piano, chairs, tables, and plants, which are part of the assembly kit.
Operating Instructions
Lighting System
The Simon's Coffee Miniature House features an integrated LED lighting system to enhance its ambiance. To activate the lights, locate the battery box (if included) or power connection point, typically at the back or base of the model. Insert the required batteries (not included, refer to specifications for type) or connect to a suitable power source. Use the switch to turn the lights on or off.

A visual comparison demonstrating the miniature house's appearance during daytime (without lights) and nighttime (with internal LED lighting activated).

A detailed shot of the miniature house, highlighting the warm glow of its internal lighting system, enhancing the realistic cafe ambiance.
Maintenance
Cleaning
To maintain the appearance of your miniature house, gently dust it regularly using a soft brush or a can of compressed air. Avoid using wet cloths or harsh cleaning agents, as these can damage the delicate materials and paintwork.
Storage
When not on display, store the miniature house in a dry, cool place away from direct sunlight and extreme temperatures. Consider covering it with a clear dust cover to protect it from environmental elements.
Troubleshooting
| Problem | Possible Cause | Solution |
|---|---|---|
| Parts do not fit together | Excess glue, misaligned parts, or slight manufacturing variations. | Gently sand edges if too tight. Ensure correct orientation before applying glue. Apply minimal glue. |
| Lights are not working | Incorrect battery insertion, dead batteries, loose wiring, or faulty LED. | Check battery polarity and replace batteries. Inspect wire connections. Ensure switch is in 'ON' position. |
| Missing or damaged pieces | Packaging error or damage during transit. | Contact the retailer or manufacturer with your proof of purchase and a description of the missing/damaged parts. |
Specifications
- Model Number: DG109
- Brand: ROBOTIME
- Assembled Dimensions (Approximate): 226mm (Width) x 194mm (Depth) x 190mm (Height)
- Assembly Required: Yes
- Batteries Required: No (for the kit itself, but may be needed for LED lights, type not specified in input, usually 2xAAA or button cells)
- Educational Objectives: Spatial awareness
- Recommended Age: 14 years and older (Note: The original product data states "14 months and more", which is likely a clerical error given the complexity and small parts of this type of DIY kit. Adult supervision is highly recommended for younger users.)

This image illustrates the overall dimensions of the assembled miniature house: 226mm width, 194mm depth, and 190mm height.
Warranty and Support
For specific warranty information regarding your Robotime Simon's Coffee Miniature House 3D Puzzle, please refer to the documentation provided with your purchase or contact the retailer from whom you purchased the product. Warranty terms and conditions may vary by region and seller.
If you encounter any issues not covered in this manual or require further assistance, please reach out to the manufacturer's customer support or the seller's support channel. Keep your proof of purchase handy when contacting support.
For general inquiries about Robotime products, you may visit the official Robotime website: www.robotimeonline.com


