
1. Introduction and Overview
This manual provides essential information for the safe and efficient operation, installation, and maintenance of your Truper PRE-1/6 1/6 HP Pressurizing Pump. Please read it thoroughly before use and retain it for future reference.
The Truper PRE-1/6 is designed to increase and maintain constant water pressure in your system by automatically detecting water flow. It features a compact design, quiet operation, low power consumption, and an integrated flow sensor for reliable performance.

Figure 1: Main product view of the Truper PRE-1/6 pressurizing pump.
2. Safety Information
WARNING: Failure to follow these safety instructions may result in electric shock, fire, or serious injury.
- Always disconnect the pump from the power supply before performing any installation, maintenance, or repair work.
- Ensure the electrical supply matches the voltage and frequency specified on the pump's label (127 V / 60 Hz).
- Do not operate the pump with damaged electrical cords or plugs.
- Keep the pump away from flammable materials and ensure adequate ventilation to prevent overheating.
- Never immerse the pump in water or operate it in standing water.
- This pump is designed for water only. Do not use it for other liquids.
- Ensure all plumbing connections are secure and leak-free to prevent water damage or electrical hazards.
- The pump must be installed in a covered, dry, and well-ventilated area, with ambient temperatures not exceeding 40°C.
- Securely fasten the pump to a flat, stable surface using screws to prevent movement or vibration during operation.
3. Package Contents
Your Truper PRE-1/6 Pressurizing Pump package should contain the following:
- Truper PRE-1/6 Pressurizing Pump unit.
- Instruction Manual (this document).
- Additional components as indicated on the product packaging.

Figure 2: Packaging of the Truper PRE-1/6 water pressure booster pump, highlighting key features.
4. Specifications
| Feature | Specification |
|---|---|
| Model | PRE-1/6 |
| Power | 1/6 HP (124 W) |
| Consumption | 1.1 A |
| Voltage / Frequency | 127 V / 60 Hz |
| Speed | 3600 r/min |
| Maximum Flow | 25 L/min |
| Maximum Height | 9 m |
| Maximum Pressure | 13 PSI |
| Minimum Inlet Pressure | 0.72 PSI |
| Inlet / Outlet Diameter | 1/2" NPT |
| Duty Cycle | 50 minutes work / 20 minutes rest (Max. 6 hours daily) |
| Dimensions (Base x Height x Depth) | 14 x 23 x 11 cm (5.5 x 9.1 x 4.3 inches) |
| Weight | 6.5 pounds (2.95 kg) |
| Material | Plastic (housing), Aluminum (motor housing) |
| Protection Rating | IP44 |
| Maximum Water Temperature | 80°C |
| Motor Winding | Copper |

Figure 3: Truper PRE-1/6 pump highlighting key performance specifications.

Figure 4: Dimensional diagram of the Truper PRE-1/6 pump.
5. Setup and Installation
Proper installation is crucial for the pump's performance and longevity. Refer to the following guidelines:
- Location: Install the pump in a covered, dry, and well-ventilated area. The ambient temperature should not exceed 40°C (104°F).
- Mounting: Place the pump in a vertical position on a flat, stable surface. Securely fasten it using appropriate screws to prevent any movement or vibration during operation.
- Plumbing Connections: The pump features 1/2" NPT inlet and outlet connections. Ensure all plumbing is correctly sized and sealed to prevent leaks. Use thread sealant tape or compound for a watertight seal.
- Electrical Connection: Connect the pump to a grounded 127 V / 60 Hz power outlet. Ensure the circuit is protected by a suitable circuit breaker or fuse.
- Integrated Flow Sensor: The pump is equipped with an integrated flow sensor for automatic operation. Ensure the water flow direction matches the arrows on the pump body.

Figure 5: Detailed view of the Truper PRE-1/6 pump, showing water inlet/outlet and flow sensor.
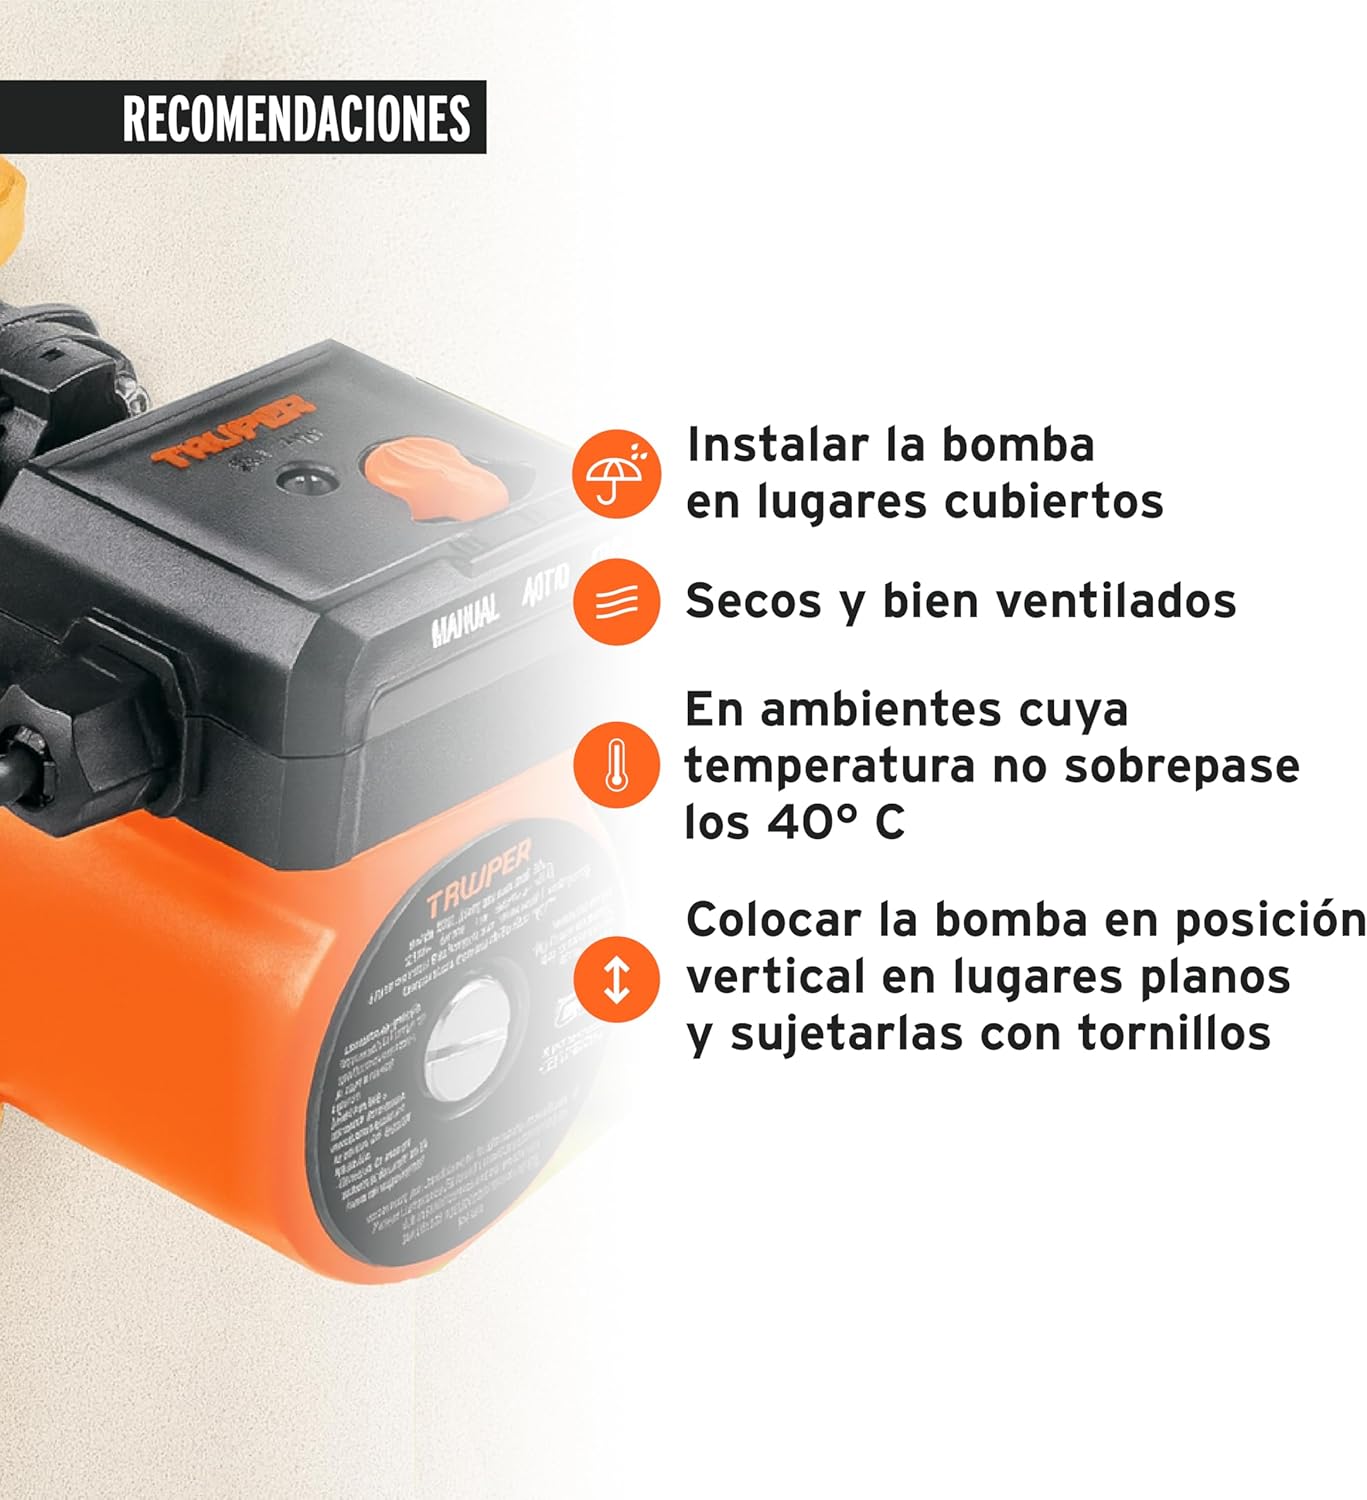
Figure 6: Installation recommendations for the Truper PRE-1/6 pump.
6. Operating Instructions
The Truper PRE-1/6 pump is designed for user-friendly operation.
- Power On: Once installed and connected to the power supply, ensure the pump's switch is in the 'AUTO' position for automatic operation.
- Automatic Operation: The integrated flow sensor will detect water flow when a faucet or appliance is opened, automatically starting the pump to boost pressure. When water flow stops, the pump will turn off.
- Manual Mode: The pump may have a 'MANUAL' setting for continuous operation, typically used for priming or specific tasks. Refer to the switch on the unit.
- Off Position: Use the 'OFF' position to completely shut down the pump, for example, during maintenance or extended periods of non-use.
- Recommended Use: This pump is ideal for boosting pressure for a single service point.
- Duty Cycle: To ensure optimal performance and longevity, adhere to the recommended duty cycle of 50 minutes of continuous operation followed by 20 minutes of rest. The maximum daily operation should not exceed 6 hours.

Figure 7: Illustration demonstrating how the Truper PRE-1/6 pump increases and maintains constant water pressure.

Figure 8: Recommended uses for the Truper PRE-1/6 pump, including domestic and business applications.
7. Maintenance
Regular maintenance helps ensure the long-term reliability of your pump.
- Cleaning: Keep the exterior of the pump clean and free from dust and debris. Use a dry cloth for cleaning.
- Connections: Periodically inspect all plumbing connections for any signs of leaks. Tighten connections as needed.
- Ventilation: Ensure the pump's ventilation openings are not obstructed to allow for proper heat dissipation.
- Storage: If the pump will not be used for an extended period, disconnect it from power, drain any water, and store it in a dry, protected area.
- Professional Service: For any internal repairs or complex issues, contact qualified service personnel. Do not attempt to disassemble the pump yourself.
8. Troubleshooting
If you encounter issues with your Truper PRE-1/6 pump, refer to the following table:
| Problem | Possible Cause | Solution |
|---|---|---|
| Pump does not start | No power supply Switch in 'OFF' position No water flow detected | Check power connection and circuit breaker Move switch to 'AUTO' or 'MANUAL' Ensure water supply is open and flowing |
| Low water pressure | Insufficient water supply Partial blockage in plumbing Pump not operating correctly | Verify adequate water source pressure Inspect plumbing for obstructions Contact service if pump runs but pressure is low |
| Pump runs continuously | Leak in the system Faulty flow sensor | Check all plumbing for leaks Contact service for sensor inspection |
| Unusual noise or vibration | Loose mounting Air in the system Internal component issue | Ensure pump is securely fastened Bleed air from the system if possible Contact service for inspection |
9. Warranty and Support
The Truper PRE-1/6 Pressurizing Pump comes with a 2-year warranty from the date of purchase. The Truper Group warranty covers accessories and parts, with minimal or no labor cost.
To make a warranty claim or for technical support, you do not need to present the original purchase note. Truper has 177 service centers in Mexico and 15 Latin American countries. For specific service center locations or further assistance, please visit the official Truper website or contact their customer support.
For more information, please visit the official Truper website: www.truper.com