1. Introduction
This manual provides detailed instructions for the assembly, operation, and maintenance of your Motocaddy M1 Electric Golf Caddy. Please read this manual thoroughly before using your caddy to ensure proper function and to maximize its lifespan. The Motocaddy M1 is designed to assist golfers by carrying their golf bag effortlessly across the course, featuring a compact design, powerful motor, and user-friendly controls.
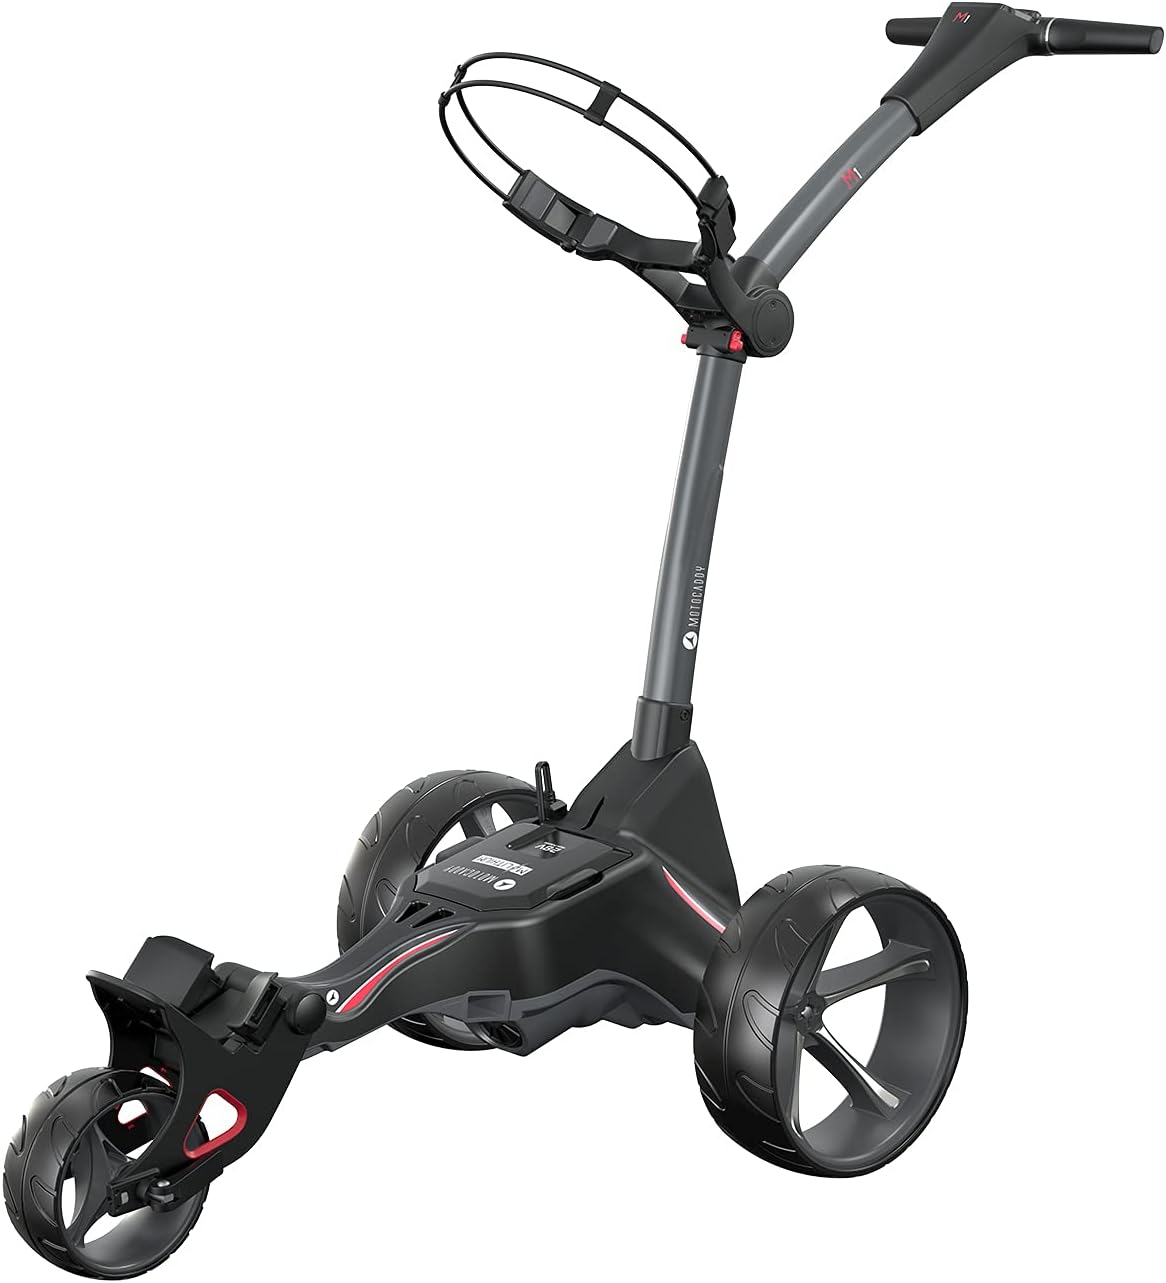
Figure 1: The Motocaddy M1 Electric Golf Caddy, fully assembled.
2. Safety Guidelines
Always observe the following safety precautions to prevent injury or damage to the caddy:
- Do not operate the caddy on public roads or in areas with heavy pedestrian traffic.
- Ensure the caddy is fully unfolded and locked into position before use.
- Keep hands and feet clear of moving parts, especially during folding/unfolding and operation.
- Do not overload the caddy beyond its recommended weight capacity.
- Always turn off the caddy and disconnect the battery when not in use, or before performing any maintenance.
- Charge the battery only with the provided charger in a well-ventilated area.
- Avoid exposing the caddy or battery to extreme temperatures or moisture.
3. Package Contents
Verify that all items are present in the package:
- Motocaddy M1 Electric Golf Caddy Frame
- Lithium-Ion Battery
- Battery Charger
- Rear Wheels (x2)
- USB Charging Cable
- GPS / Cell Phone Device Cradle
- Drink Holder
- Scorecard Holder
- Umbrella Holder
- Instruction Manual (this document)
4. Assembly and Setup
4.1 Unfolding the Caddy
- Place the folded caddy on a flat surface.
- Release the main frame latch, typically located near the central hinge.
- Gently lift the handle section until the frame fully extends and locks into its operating position. Ensure all locking mechanisms are securely engaged.

Figure 2: The Motocaddy M1 in its folded position for storage or transport.
4.2 Wheel Attachment
- Identify the left and right wheels (they may be marked).
- Align the wheel axle with the corresponding hub on the caddy frame.
- Push the wheel onto the axle until it clicks securely into place. Pull gently on the wheel to confirm it is locked.
4.3 Battery Installation & Charging
- Locate the battery tray on the caddy frame.
- Insert the lithium-ion battery into the tray, ensuring it is seated correctly.
- Connect the battery cable to the caddy's power port.
- For initial use, fully charge the battery using the provided charger. Connect the charger to the battery and then to a standard wall outlet. The charger indicator light will change when charging is complete.
4.4 Handle Height Adjustment
- Locate the handle adjustment mechanism, typically a quick-release lever or knob on the main shaft.
- Release the mechanism and adjust the handle to a comfortable height.
- Securely lock the mechanism to fix the handle in position.
4.5 Bag Support Adjustment
- Adjust the upper and lower bag supports to securely hold your golf bag.
- Use the elastic straps or bungee cords to fasten the bag firmly to the caddy.
5. Operation
5.1 Powering On/Off
To power on the caddy, press and hold the main power button on the handle until the LCD screen illuminates. To power off, press and hold the same button until the screen turns off.
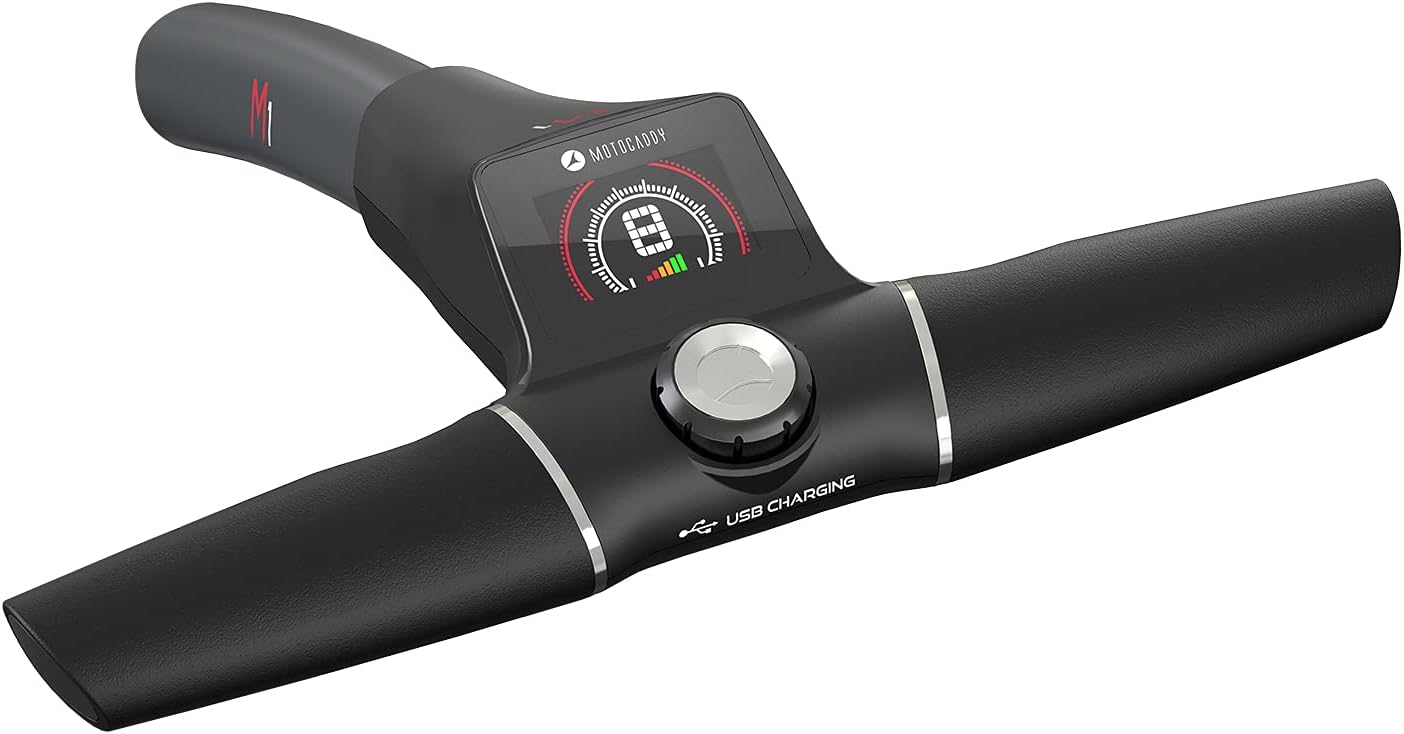
Figure 3: Control panel on the Motocaddy M1 handle.
5.2 Speed Control
The M1 features a rotary dial on the handle to adjust the speed. Rotate the dial clockwise to increase speed and counter-clockwise to decrease speed. The current speed setting will be displayed on the LCD screen.
5.3 Distance Control Function (ADF)
The M1 includes an Adjustable Distance Function (ADF) allowing the caddy to travel a set distance before stopping. To activate:
- With the caddy stationary, press the main control button once.
- Rotate the dial to select the desired distance (e.g., 15, 30, 45 yards/meters).
- Press the button again to start the caddy. It will stop automatically after covering the selected distance.
5.4 Using the LCD Display
The high-resolution LCD screen displays important operational information, including:
- Current Speed Setting
- Battery Level Indicator
- Distance Covered (resettable)
- ADF Setting
5.5 USB Charging Port
A USB charging port is integrated into the handle for convenient charging of your mobile devices or GPS units during your round. Connect your device using a standard USB cable.
5.6 Accessory Use
The M1 comes with several accessories to enhance your golfing experience:
- GPS / Cell Phone Device Cradle: Attaches to the handle to securely hold your smartphone or GPS device.
- Drink Holder: Provides a convenient place for your beverage.
- Umbrella Holder: Keeps your umbrella accessible and upright.
- Scorecard Holder: A dedicated slot to keep your scorecard and pencil.
Attach these accessories to the designated ports on the caddy's handle or frame as per their individual instructions.
6. Care and Maintenance
6.1 Cleaning
Regularly clean your caddy to ensure optimal performance and appearance. Use a damp cloth to wipe down the frame and wheels. Avoid using abrasive cleaners or high-pressure washers, which can damage electronic components.
6.2 Battery Care
- Always fully charge the battery after each use, even if only used for a short period.
- Do not leave the battery fully discharged for extended periods.
- Store the battery in a cool, dry place, ideally at room temperature.
- If storing for an extended period (e.g., off-season), charge the battery to approximately 50-70% and recharge every 1-2 months.
6.3 Storage
When not in use, fold the caddy into its compact form for storage. Ensure the battery is disconnected and stored separately. Store the caddy in a dry, protected area away from direct sunlight and extreme temperatures.

Figure 4: The Motocaddy M1 in its compact folded state, ideal for storage.
7. Troubleshooting
| Problem | Possible Cause | Solution |
|---|---|---|
| Caddy does not power on. | Battery not connected or discharged. | Ensure battery is fully connected and charged. |
| Caddy stops unexpectedly. | Low battery or motor overload. | Check battery level; reduce load if possible. |
| Wheels are not turning smoothly. | Debris in axle or loose wheel. | Clean wheels and axles; ensure wheels are securely attached. |
| LCD screen is blank or flickering. | Loose connection or electronic issue. | Power cycle the caddy. If issue persists, contact support. |
8. Technical Specifications
| Feature | Specification |
|---|---|
| Model Number | TRL002M1DHCUL |
| Motor Power | 230W (approx.) |
| Battery Type | Lithium-Ion |
| Battery Life | Up to 36 holes on a single charge |
| Item Package Dimensions (L x W x H) | 30.25 x 17.8 x 17 inches |
| Package Weight | 18.53 Kilograms |
| Display | High-resolution LCD |
| Connectivity | USB Charging Port |
9. Warranty and Support
Your Motocaddy M1 Electric Golf Caddy is covered by a manufacturer's warranty against defects in materials and workmanship. Please refer to the warranty card included with your purchase for specific terms and conditions, including the warranty period and registration process.
For technical assistance, troubleshooting not covered in this manual, or warranty claims, please contact Motocaddy Customer Support. Contact information can typically be found on the Motocaddy official website or on your product registration materials.
Please have your model number (TRL002M1DHCUL) and proof of purchase ready when contacting support.


