
1. Introduction
This manual provides essential information for the safe and efficient operation, setup, and maintenance of your Motocaddy M7 Remote Electric Golf Caddy. Please read this manual thoroughly before using the product to ensure proper function and longevity.
The Motocaddy M7 Remote Electric Golf Caddy is designed to provide hands-free control of your golf bag, allowing you to focus on your game. It features remote operation, all-terrain capabilities, automatic downhill control (DHC), and a long-lasting lithium battery.
2. Safety Information
Always observe the following safety precautions to prevent injury or damage to the product:
- Keep hands and feet clear of moving parts, especially wheels and folding mechanisms.
- Do not operate the caddy on excessively steep slopes or unstable terrain where it may tip over.
- Ensure the battery is fully charged and properly secured before each use.
- Do not expose the caddy or battery to extreme temperatures or moisture.
- Always use the remote control responsibly and be aware of your surroundings.
- When not in use, engage the parking brake and store the caddy in a secure location.
3. Setup
3.1 Unboxing and Initial Assembly
Carefully remove all components from the packaging. The M7 Remote Caddy comes largely pre-assembled. You will need to attach the wheels and ensure the frame is fully extended.

Figure 3.1: The Motocaddy M7 Remote Electric Golf Caddy ready for use.
3.2 Battery Charging and Installation
Before first use, fully charge the lithium battery using the provided charger. The battery delivers up to 27 holes of golf on a single charge.
- Connect the charger to the battery and a power outlet.
- Once fully charged, disconnect the charger.
- Insert the battery into its designated compartment on the caddy, ensuring it clicks securely into place.
3.3 Remote Control Pairing
The remote control should be pre-paired with your caddy. If re-pairing is necessary, refer to the specific instructions provided with your remote control unit. The remote allows for hands-free control from up to 150+ feet.

Figure 3.3: The remote control for the M7 Caddy.
4. Operating Instructions
4.1 Basic Controls
The M7 Remote Caddy is operated primarily via its remote control. The remote features intuitive buttons for movement and speed adjustment.
- Forward: Press the forward arrow button to move the caddy forward.
- Reverse: Press the reverse arrow button to move the caddy backward.
- Left/Right: Use the left and right arrow buttons to steer the caddy.
- Pause/Resume: The central button typically functions as a pause/resume control.
- Speed Adjustment: Use the '+' and '-' buttons to increase or decrease the caddy's speed. The caddy offers 9 speed settings.
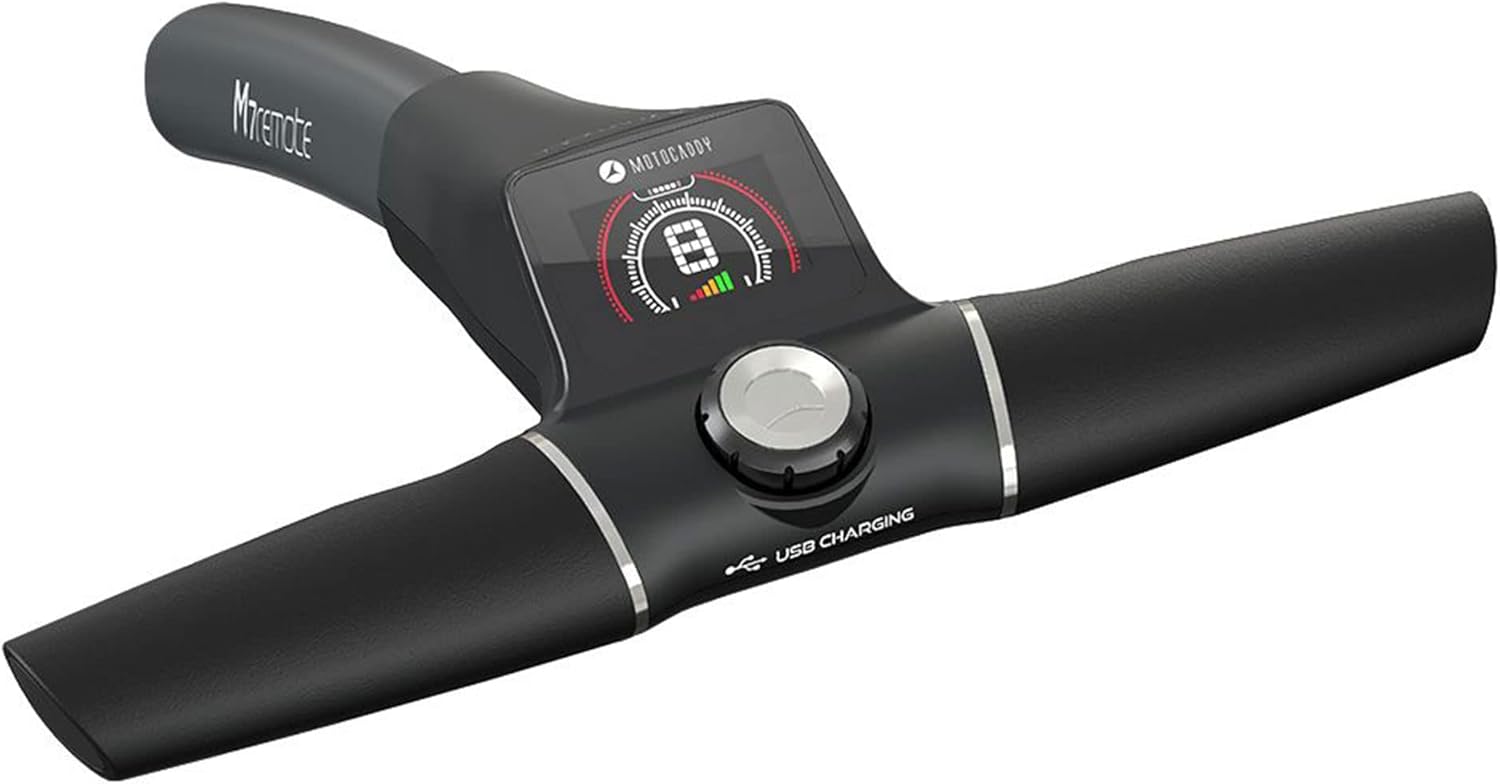
Figure 4.1: The M7 Caddy's handle display and control knob.
4.2 Automatic Downhill Control (DHC)
The M7 Caddy is equipped with Automatic Downhill Control (DHC), which automatically adjusts the caddy's speed when descending a slope, maintaining a consistent pace and preventing it from running away.
4.3 Folding and Storage
The M7 Caddy features a simple folding mechanism for compact storage and transportation.
- Ensure the caddy is powered off and the battery is removed.
- Follow the folding instructions specific to your model, typically involving releasing latches on the frame.
- Once folded, the caddy becomes a compact package for easy transport in a vehicle or storage space.
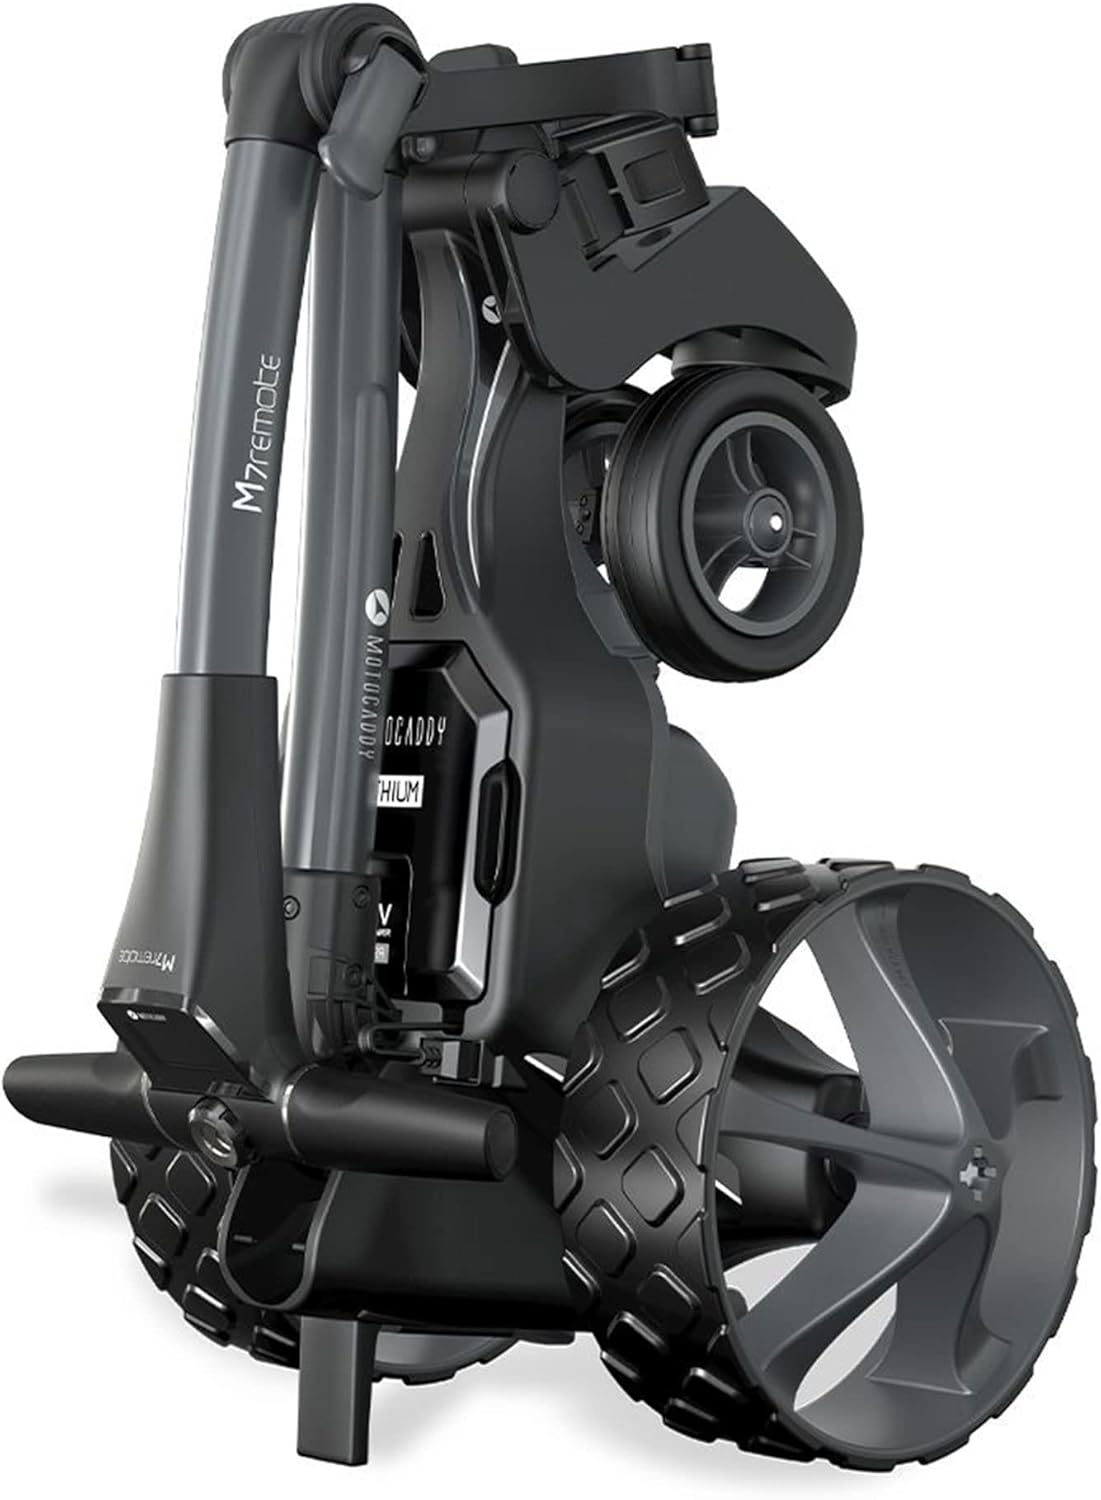
Figure 4.3: The M7 Caddy in its folded configuration.
5. Maintenance
5.1 Cleaning
Regular cleaning will help maintain the appearance and function of your caddy.
- Wipe down the frame and wheels with a damp cloth after each use to remove dirt and debris.
- Avoid using abrasive cleaners or solvents that could damage the finish.
- Ensure all electrical connections are dry before re-inserting the battery or charging.
5.2 Battery Care
Proper battery care is crucial for maximizing its lifespan.
- Always charge the battery fully after each round, even if not completely depleted.
- If storing the battery for an extended period (e.g., over winter), ensure it is fully charged and stored in a cool, dry place. Periodically top up the charge if storing for several months.
- Do not leave the battery connected to the caddy when not in use for prolonged periods.
6. Troubleshooting
This section addresses common issues you might encounter with your Motocaddy M7 Remote Electric Golf Caddy.
| Problem | Possible Cause | Solution |
|---|---|---|
| Caddy does not move. | Battery not connected, low battery, power switch off, remote not paired. | Check battery connection and charge. Ensure caddy is powered on. Re-pair remote if necessary. |
| Caddy goes in circles or veers. | Wheels not fully engaged, uneven terrain, steering alignment issue. | Ensure wheels are securely attached. Adjust steering alignment if your model allows. Operate on more even ground. |
| Remote control unresponsive. | Remote battery low, out of range, interference. | Replace remote battery. Move closer to the caddy. Avoid areas with strong electromagnetic interference. |
| Battery life is shorter than expected. | Battery not fully charged, old battery, extreme temperatures. | Ensure full charge before use. Battery performance can degrade over time; consider replacement if significantly reduced. Avoid using in very cold conditions. |
If you encounter issues not listed here or if solutions do not resolve the problem, please contact Motocaddy customer support for further assistance.
7. Specifications
| Feature | Detail |
|---|---|
| Model Number | TRL008M7UL |
| Item Package Dimensions (L x W x H) | 30.3 x 20.1 x 17.5 inches |
| Package Weight | 21.41 Kilograms |
| Battery Type | Compact Lithium (up to 27 holes) |
| Speed Settings | 9 speeds |
| Control | Remote Control (up to 150+ feet range) |
| Features | Automatic Downhill Control (DHC), All-Terrain Ready, Anti-tip rear wheels, Foldable design |
| Included Accessories | Cell phone device cradle, drink holder, umbrella holder, scorecard holder, USB charging cable, charger |
8. Warranty and Support
Motocaddy products are manufactured to the highest standards. For information regarding warranty coverage and to access customer support, please refer to the warranty card included with your product or visit the official Motocaddy website. Keep your proof of purchase for warranty claims.


