1. Introduction
Thank you for purchasing the NEDIS PASH120BKA4 Paper Shredder. This device is designed to securely dispose of sensitive documents, such as letters, files, invoices, and bank cards, by shredding them into small, unreadable particles. Its compact design allows for convenient placement on or under your desk, making it an ideal solution for home or small office use. This manual provides essential information for safe operation, setup, maintenance, and troubleshooting to ensure optimal performance and longevity of your shredder.
The PASH120BKA4 features a DIN P-4 security level, producing 4x38 mm cross-cut strips, which makes reconstruction of shredded documents extremely difficult. It also includes a reverse function to help clear paper jams.
2. Important Safety Instructions
Please read these safety instructions carefully before using the appliance. Keep this manual for future reference.
- Keep out of reach of children and pets: This shredder contains sharp blades and moving parts.
- Avoid loose clothing, jewelry, and long hair: Keep these away from the paper entry slot to prevent entanglement.
- Keep hands and fingers away: Never place hands or fingers near the paper entry slot.
- Unplug when not in use: Always unplug the shredder before moving, cleaning, or emptying the waste bin.
- Do not shred metal objects: Staples and small paper clips are generally acceptable, but avoid large paper clips, binder clips, or other metal objects as they can damage the blades.
- Do not shred adhesive materials: Avoid shredding labels, envelopes with adhesive strips, or other sticky materials as they can gum up the blades.
- Do not exceed sheet capacity: Refer to the specifications for the maximum number of sheets that can be shredded at once (6 sheets for this model). Overloading can cause jams and damage the motor.
- Use only indoors: This appliance is designed for indoor use only.
- Do not expose to water or moisture: Keep the shredder away from water and humid environments.
- Do not open the shredder head: There are no user-serviceable parts inside. Refer servicing to qualified personnel.
- Position correctly: Ensure the shredder head is securely seated on the waste bin before operation.
3. Product Overview and Components
Familiarize yourself with the main parts of your NEDIS PASH120BKA4 Paper Shredder.

Image 3.1: Top view of the shredder head, showing the control switch (AUTO, OFF, REV), paper entry slot, and power cord. The power cord is visible on the right side, coiled. The brand name "nedis" is printed on the top right.

Image 3.2: The shredder head is separated from the waste bin, illustrating the two main components. The waste bin is black with a clear window, and the shredder head is also black with the control panel visible.
- Shredder Head: Contains the motor, cutting blades, and control panel.
- Paper Entry Slot: Where paper and cards are inserted for shredding.
- Control Switch: Used to select operating modes (AUTO, OFF, REV).
- Waste Bin: Collects shredded material. Features a clear window to monitor fill level.
- Power Cord: Connects the shredder to an electrical outlet.
4. Setup Instructions
Follow these steps to set up your paper shredder for first use.
- Unpack the Shredder: Carefully remove all components from the packaging. Retain packaging for future storage or transport.
- Position the Waste Bin: Place the waste bin on a flat, stable surface.
- Attach the Shredder Head: Carefully place the shredder head onto the waste bin, ensuring it is securely seated. The shredder will not operate if the head is not correctly positioned.
- Connect Power: Plug the power cord into a standard electrical outlet.
- Select Operating Mode: Move the control switch to the "AUTO" position. The shredder is now ready for use.

Image 4.1: The shredder fully assembled with a sheet of paper inserted into the entry slot, demonstrating its operational readiness.
5. Operating Instructions
This section details how to use your shredder for various materials.
5.1. Shredding Paper
- Ensure the shredder is plugged in and the control switch is set to "AUTO".
- Insert up to 6 sheets of A4 paper (or equivalent) into the paper entry slot. The shredder will automatically start and shred the paper.
- Once the paper has passed through, the shredder will stop automatically.
- For continuous shredding, allow a brief pause between batches to prevent overheating.

Image 5.1: Front view of the shredder showing paper being fed into the top slot for shredding.
5.2. Shredding Bank Cards
- Ensure the shredder is plugged in and the control switch is set to "AUTO".
- Insert one bank card at a time into the designated card entry slot (if separate, otherwise use the main paper slot).
- The shredder will process the card and stop automatically.
5.3. Using the Reverse Function (REV)
The reverse function is useful for clearing paper jams or retrieving accidentally inserted items.
- If a paper jam occurs, immediately move the control switch to "REV". This will reverse the shredding mechanism, pushing the paper back out.
- Once the paper is clear, move the switch back to "OFF" or "AUTO".
- If the jam persists, unplug the shredder and carefully remove the paper manually (refer to Troubleshooting).
5.4. Turning Off the Shredder
When you are finished shredding or need to empty the waste bin, move the control switch to the "OFF" position. For extended periods of non-use, it is recommended to unplug the shredder from the power outlet.
6. Maintenance
Regular maintenance ensures the longevity and efficient operation of your shredder.
6.1. Emptying the Waste Bin
- Before emptying, ensure the shredder is turned "OFF" and unplugged from the power outlet.
- Carefully lift the shredder head off the waste bin.
- Dispose of the shredded paper.
- Place the shredder head back onto the waste bin, ensuring it is securely seated.
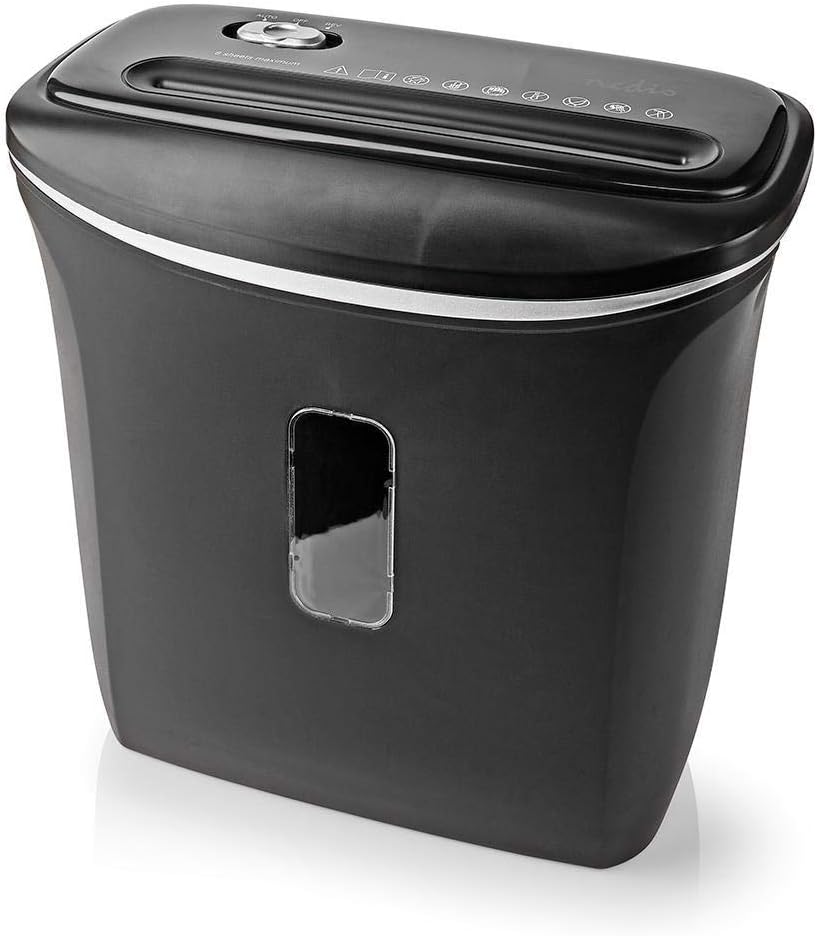
Image 6.1: Angled view of the shredder, highlighting the waste bin's capacity and the clear window for monitoring shredded material.
6.2. Cleaning the Shredder
- Always unplug the shredder before cleaning.
- Wipe the exterior of the shredder with a soft, dry cloth. Do not use abrasive cleaners or solvents.
- To clean the cutting blades, you may use specialized shredder oil sheets or apply a small amount of shredder oil to a sheet of paper and run it through the shredder. This helps lubricate the blades and remove paper dust.
- Never spray cleaning liquids directly into the paper entry slot.
7. Troubleshooting
If you encounter issues with your shredder, refer to the following common problems and solutions.
| Problem | Possible Cause | Solution |
|---|---|---|
| Shredder does not turn on. |
|
|
| Paper jam. |
|
|
| Shredder runs continuously. |
|
|
8. Specifications
Technical details for the NEDIS PASH120BKA4 Paper Shredder.
| Feature | Detail |
|---|---|
| Brand | NEDIS |
| Model Number | PASH120BKA4 |
| Color | Black |
| Shred Type | Cross-cut |
| Shred Size | 4 x 38 mm |
| Security Level | DIN P-4 |
| Sheet Capacity | Up to 6 sheets (A4, 70gsm) |
| Waste Bin Capacity | 12 Liters |
| Shreds | Paper, Bank Cards |
| Power Source | Electric Cable |
| Item Weight | 2.8 Kilograms |
| ASIN | B0847M1RW9 |
| EAN/UPC | 05412810329472 |
9. Warranty and Support
For warranty information or technical support, please refer to the documentation provided with your purchase or contact NEDIS customer service directly. Keep your proof of purchase for warranty claims.
You can typically find support contact details on the official NEDIS website or on the product packaging.