1. Introduction
This manual provides essential information for the safe and efficient operation, setup, and maintenance of your PRAMAC WX6200 Single-Phase 5300W Generator. Please read this manual thoroughly before operating the generator to ensure proper use and to prevent injury or damage.
2. Safety Information
Operating a generator can be hazardous if safety precautions are not followed. Always prioritize safety to prevent serious injury or death.
- Carbon Monoxide Hazard: Generators produce carbon monoxide, an odorless, colorless, and poisonous gas. Operate the generator outdoors in a well-ventilated area, far from windows, doors, and vents. Never operate indoors or in partially enclosed spaces.
- Electrical Shock Hazard: Never operate the generator in wet conditions. Ensure all electrical connections are secure and properly grounded. Do not connect the generator directly to a building's electrical system without a transfer switch installed by a qualified electrician.
- Fire Hazard: Fuel is highly flammable. Refuel in a well-ventilated area with the engine off and cool. Do not smoke or allow open flames near the generator. Store fuel in approved containers away from heat sources.
- Hot Surfaces: The generator engine and muffler become very hot during operation and remain hot for some time after shutdown. Avoid contact to prevent burns.
- Moving Parts: Keep hands, feet, hair, and clothing away from moving parts to prevent entanglement and injury.
3. Product Overview
The PRAMAC WX6200 is a robust single-phase generator designed to provide reliable power. It features a durable frame, a user-friendly control panel, and an integrated wheel kit for enhanced portability.
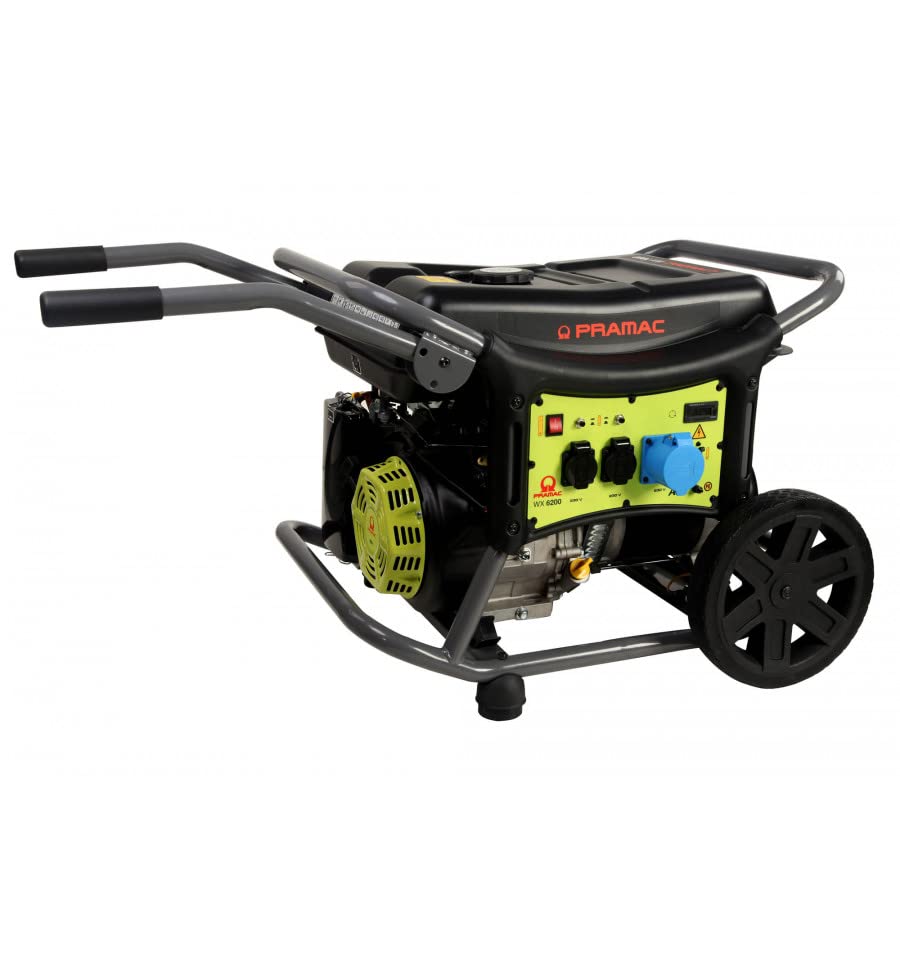
This image displays the PRAMAC WX6200 generator, featuring a black and lime green body, a control panel with various outlets and switches, and a grey frame with integrated wheels and handles for portability.
4. Setup
4.1 Unpacking and Assembly
- Carefully remove the generator and all components from the packaging.
- Inspect for any shipping damage. Contact your dealer if damage is found.
- Attach the wheel kit and handles as per the instructions provided in the separate assembly guide (if applicable). Ensure all bolts are securely tightened.
4.2 Adding Engine Oil
The generator is shipped without engine oil. Operating without oil will cause severe engine damage.
- Place the generator on a level surface.
- Remove the oil filler cap/dipstick.
- Add the recommended engine oil (refer to the engine manual for specific type and capacity) until it reaches the upper mark on the dipstick. Do not overfill.
- Securely replace the oil filler cap/dipstick.
4.3 Adding Fuel
Use fresh, unleaded gasoline with an octane rating of 87 or higher. Do not use E85 fuel.
- Ensure the generator is off and cool.
- Open the fuel tank cap.
- Carefully pour fuel into the tank, avoiding overfilling. Leave space for fuel expansion.
- Securely close the fuel tank cap. Wipe up any spilled fuel immediately.
5. Operating Instructions
5.1 Starting the Generator
- Ensure the generator is on a level surface and in a well-ventilated outdoor area.
- Turn the fuel valve to the 'ON' position.
- If the engine is cold, move the choke lever to the 'CHOKE' position.
- Turn the engine switch to the 'ON' position.
- Pull the recoil starter handle firmly and smoothly until the engine starts.
- Once the engine starts, gradually move the choke lever to the 'RUN' position.
5.2 Connecting Electrical Loads
Allow the generator to run for a few minutes to stabilize before connecting any electrical devices.
- Ensure the total wattage of connected devices does not exceed the generator's rated output (5300W).
- Plug appliances directly into the generator's outlets or use heavy-duty, outdoor-rated extension cords.
- The Automatic Voltage Regulation (AVR) system helps maintain stable voltage output, protecting sensitive electronics.
5.3 Stopping the Generator
- Disconnect all electrical loads from the generator.
- Allow the generator to run for a few minutes without load to cool down.
- Turn the engine switch to the 'OFF' position.
- Turn the fuel valve to the 'OFF' position.
6. Maintenance
Regular maintenance is crucial for the longevity and reliable performance of your generator.
- Engine Oil: Check oil level before each use. Change oil after the first 20 hours of operation, then every 50-100 hours or annually.
- Air Filter: Inspect the air filter before each use. Clean or replace if dirty.
- Spark Plug: Inspect and clean the spark plug every 100 hours or annually. Replace if worn.
- Fuel Filter: Inspect and clean or replace the fuel filter as needed.
- General Cleaning: Keep the generator clean and free of debris.
6.1 Storage
For extended storage, prepare the generator as follows:
- Drain the fuel tank and carburetor, or add a fuel stabilizer.
- Change the engine oil.
- Remove the spark plug and pour a small amount of engine oil into the cylinder. Pull the recoil starter a few times to distribute the oil, then reinstall the spark plug.
- Clean the generator thoroughly.
- Store in a clean, dry, well-ventilated area.
7. Troubleshooting
This section addresses common issues you might encounter with your generator.
| Problem | Possible Cause | Solution |
|---|---|---|
| Engine will not start | No fuel Engine switch OFF Choke not set correctly Low oil level Spark plug issue | Add fuel Turn engine switch ON Adjust choke Add oil to correct level Inspect/clean/replace spark plug |
| No power output | Circuit breaker tripped Overload Faulty connection | Reset circuit breaker Reduce connected load Check all connections |
If you encounter problems not listed here or if solutions do not resolve the issue, contact PRAMAC customer support or a qualified service technician.
8. Specifications
Key technical specifications for the PRAMAC WX6200 Generator:
- Model: WX6200
- Brand: PRAMAC
- Power Output: 5300 Watts
- Voltage: 230 Volts
- Dimensions (L x W x H): 20.32 x 34.29 x 68.58 cm (8 x 13.5 x 27 inches)
- Weight: 78 Kilograms (171.96 lbs)
- Special Features: Integrated Wheels for portability, Automatic Voltage Regulation (AVR)
- Included Components: User Manual, Box
- Reference Number: PR532SXIZ00
9. Warranty and Support
For information regarding warranty coverage, technical support, or spare parts, please refer to the warranty card included with your product or visit the official PRAMAC website. Keep your purchase receipt as proof of purchase for warranty claims.
For direct assistance, contact PRAMAC customer service through their official channels.


