1. Important Safety Instructions
Always read and understand all safety warnings and instructions before operating the lawn mower. Failure to follow the warnings and instructions may result in electric shock, fire, and/or serious injury. Keep this manual for future reference.
- General Safety: Keep the work area clean and well-lit. Do not operate power tools in explosive atmospheres, such as in the presence of flammable liquids, gases or dust.
- Electrical Safety: Avoid body contact with earthed or grounded surfaces. Do not expose power tools to rain or wet conditions.
- Personal Safety: Stay alert, watch what you are doing and use common sense when operating a power tool. Always wear appropriate personal protective equipment, including eye protection, hearing protection, and sturdy footwear.
- Mower Specific Safety: Keep hands and feet away from the cutting blade. Do not operate the mower without the grass collection box or guard in place. Always remove the battery pack when cleaning, adjusting, or performing maintenance.
2. Product Overview
The BLACK+DECKER BCMW3318L2 is an 18V cordless lawn mower designed for small to medium-sized lawns up to 300 m². It features a 33cm cutting width and is powered by two 18V lithium-ion batteries, providing 36V equivalent power. The mower is lightweight, compact, and includes a 35L grass collection box.

Figure 2.1: Overview of the BLACK+DECKER BCMW3318L2 Cordless Lawn Mower.

Figure 2.2: The 18V PowerConnect battery system, compatible with other BLACK+DECKER 18V tools.
3. Setup and Assembly
3.1 Unpacking
Carefully remove all components from the packaging. Ensure all parts listed in the packing list are present. Dispose of packaging materials responsibly.
3.2 Handle Assembly
Attach the upper handle to the lower handle sections, ensuring the cables are not pinched. Secure with the provided fasteners. Adjust the handle height to a comfortable operating position using the quick-release levers.

Figure 3.1: Illustration of attaching the handle sections during assembly.
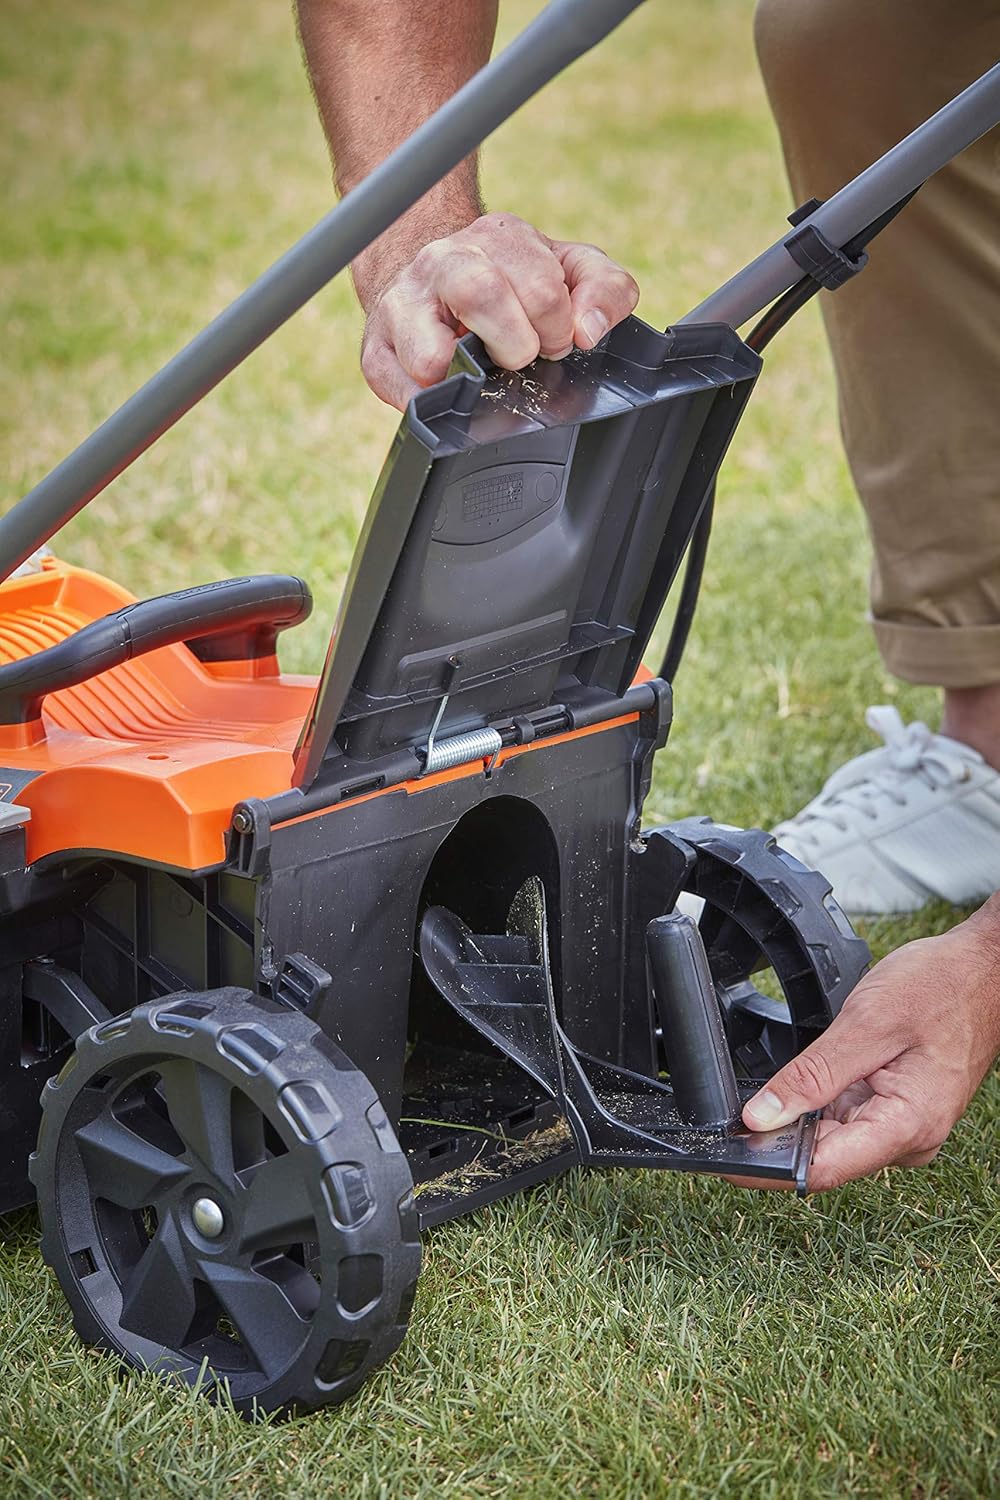
Figure 3.2: Adjusting the handle height for ergonomic operation.
3.3 Grass Collection Box Assembly
Assemble the two halves of the grass collection box. Ensure the clips are securely fastened. Attach the assembled grass box to the rear of the mower, ensuring it clicks firmly into place.

Figure 3.3: The grass collection box ready for attachment to the mower.
3.4 Battery Installation
Open the battery compartment cover. Insert both 18V lithium-ion batteries into their respective slots until they click into place. Close the battery compartment cover securely.

Figure 3.4: Correct insertion of the 18V batteries into the mower's battery compartment.
4. Operating Instructions
4.1 Charging the Batteries
Before first use, fully charge both 18V lithium-ion batteries using the supplied charger. A full charge typically takes approximately 2.5 hours per battery. Ensure the charger is connected to a suitable power outlet and the battery is correctly inserted into the charger.
4.2 Starting and Stopping the Mower
To start the mower, press and hold the safety button, then pull the bail lever towards the handle. Release the safety button. To stop the mower, release the bail lever.

Figure 4.1: The operating handle showing the safety button and bail lever for starting and stopping.
4.3 Adjusting Cutting Height
The mower offers 5 cutting height positions, ranging from 25mm to 65mm. To adjust the height, use the single lever located on the wheel axle. Lift the lever and move it to the desired position, then release to lock it in place.

Figure 4.2: The lever for adjusting the cutting height of the mower.
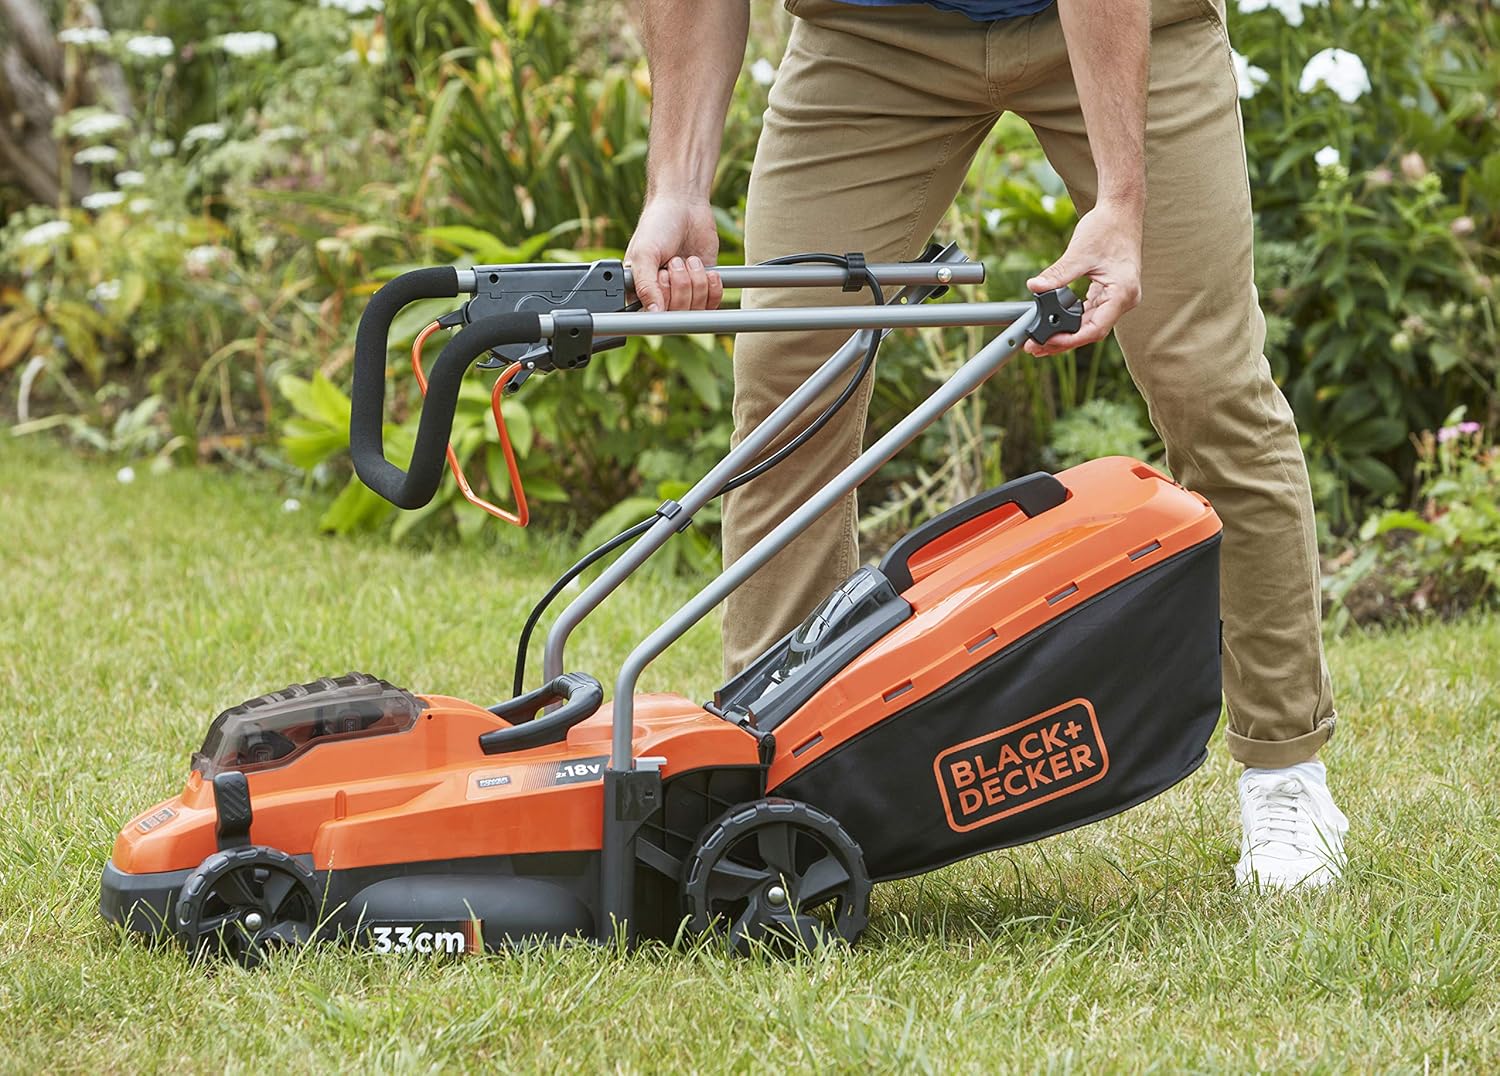
Figure 4.3: Detail of the cutting height adjustment showing the different settings.
4.4 Mowing Tips
For best results, mow dry grass. Overlap cutting swaths slightly to ensure an even cut. Mow in straight lines for a uniform appearance. Avoid cutting more than one-third of the grass blade length at a time.

Figure 4.4: Operating the mower on a lawn.

Figure 4.5: The mower's design allows for close cutting along edges.

Figure 4.6: Demonstrating the clean cutting path of the mower.
4.5 Emptying the Grass Box
When the grass collection box is full, the mower's performance may decrease. Stop the mower, remove the grass box, and empty its contents into a compost pile or suitable receptacle. Reattach the grass box securely before resuming operation.

Figure 4.7: Emptying the 35L grass collection box.
5. Maintenance
Regular maintenance ensures optimal performance and extends the life of your lawn mower. Always remove the battery pack before performing any maintenance.
5.1 Cleaning the Mower
After each use, clean the mower deck and grass collection box. Use a brush or damp cloth to remove grass clippings and debris. Do not use water jets or high-pressure cleaners directly on the mower.

Figure 5.1: Cleaning grass clippings from the underside of the mower deck.
5.2 Blade Care
Periodically inspect the cutting blade for sharpness and damage. A dull or damaged blade can lead to poor cutting performance and excessive battery drain. If necessary, have the blade sharpened or replaced by a qualified service technician. Always wear heavy-duty gloves when handling the blade.

Figure 5.2: The steel cutting blade of the lawn mower.
5.3 Battery Storage
Store batteries in a cool, dry place away from direct sunlight and extreme temperatures. For long-term storage, charge batteries to approximately 50% capacity. Do not store fully discharged batteries.

Figure 5.3: The mower's handle can be folded for compact storage, making it easier to store in small spaces.
6. Troubleshooting
This section provides solutions to common issues you might encounter with your lawn mower.
| Problem | Possible Cause | Solution |
|---|---|---|
| Mower does not start | Batteries not inserted correctly or discharged. Safety button/bail lever not engaged. | Ensure batteries are fully charged and properly seated. Fully engage safety button and pull bail lever. |
| Poor cutting performance | Dull or damaged blade. Cutting height too low for grass condition. Grass box full. | Inspect and sharpen/replace blade. Increase cutting height. Empty grass box. |
| Mower stops unexpectedly | Overload protection activated. Batteries discharged. | Reduce load (raise cutting height, mow less grass). Recharge batteries. Allow mower to cool down. |
| Excessive vibration | Damaged or unbalanced blade. Loose components. | Inspect blade for damage; replace if necessary. Check all fasteners for tightness. |
7. Technical Specifications
| Feature | Specification |
|---|---|
| Model Number | BCMW3318L2-QW |
| Brand | BLACK+DECKER |
| Power Source | Battery Powered (2x 18V Lithium-ion) |
| Battery Capacity | 2.5 Ah (each battery) |
| Cutting Width | 33 cm |
| Cutting Height Positions | 5 (25mm - 65mm) |
| Grass Box Capacity | 35 Litres |
| Weight | 10 Kilograms |
| Dimensions (L x W x H) | 76 x 46 x 43.8 cm |
| Material | Metal |
8. Warranty and Support
BLACK+DECKER products are manufactured to high quality standards and are guaranteed for complete peace of mind. For specific warranty terms and conditions, please refer to the warranty card included with your product or visit the official BLACK+DECKER website.
For technical assistance, spare parts, or service, please contact BLACK+DECKER customer support. Have your model number (BCMW3318L2-QW) and purchase date ready when contacting support.
Online Support: Visit the official BLACK+DECKER website for FAQs, product registration, and service center locations.
Customer Service: Refer to your regional BLACK+DECKER contact information for phone support.


