1. Introduction
The Weston Food Dehydrator Machine Model 75-0450-W is designed for efficient food preservation, allowing you to dry a variety of foods such as jerky, fruits, vegetables, and herbs. This appliance features a digital control panel for precise temperature and time settings, ensuring optimal drying results. With its six stackable trays, it offers ample drying space for your food preservation needs.

Figure 1: Weston Food Dehydrator Machine Model 75-0450-W
2. Important Safety Information
- Read all instructions before using the appliance.
- Do not immerse the main unit, cord, or plug in water or other liquids.
- Close supervision is necessary when any appliance is used by or near children.
- Unplug from outlet when not in use and before cleaning. Allow to cool before putting on or taking off parts.
- Do not operate any appliance with a damaged cord or plug, or after the appliance malfunctions or has been damaged in any manner.
- Use only attachments recommended or sold by the manufacturer.
- Do not use outdoors.
- Do not let cord hang over edge of table or counter, or touch hot surfaces.
- Do not place on or near a hot gas or electric burner, or in a heated oven.
- Always attach plug to appliance first, then plug cord into the wall outlet. To disconnect, turn any control to 'off', then remove plug from wall outlet.
- Do not use appliance for other than intended household use.
3. Product Components
The Weston Food Dehydrator Machine includes the following components:
- Dehydrator Base with Digital Control Panel
- 6 Stackable Drying Trays
- 1 Solid Sheet (for fruit roll-ups)
- 1 Mesh Sheet (for drying herbs)
- Clear Lid

Figure 2: Dehydrator components including trays, solid sheet, and mesh sheet
4. Setup
- Unpack: Carefully remove all components from the packaging. Retain packaging for future storage or transport.
- Clean: Before first use, wash the drying trays, solid sheet, mesh sheet, and lid in warm, soapy water. Rinse thoroughly and dry. Wipe the dehydrator base with a damp cloth. Do not immerse the base in water.
- Placement: Place the dehydrator on a stable, level, and heat-resistant surface. Ensure there is adequate air circulation around the unit.
- Assemble: Stack the desired number of drying trays onto the dehydrator base. Place the clear lid on top.
5. Operating Instructions
5.1 Control Panel Overview
The digital control panel allows for precise adjustment of drying temperature and time.

Figure 3: Digital Control Panel
- TIME/TEMP Button: Press to toggle between setting the drying time and temperature. Hold for 2 seconds to switch between Fahrenheit and Celsius.
- +/- Buttons: Use these buttons to increase or decrease the selected time or temperature.
- START/PAUSE Button: Press to start or pause the drying process. Hold for 2 seconds to reset or stop the current operation.
5.2 Preparing Food for Dehydration
Proper food preparation is essential for successful dehydration.
- Clean and Trim: Wash all fruits and vegetables thoroughly. Remove any bruised or spoiled parts. Trim fat from meat for jerky.
- Slice Uniformly: Cut food into uniform slices (approximately 1/4 inch thick) to ensure even drying.
- Pre-treatment (Optional): Some foods benefit from pre-treatment to prevent discoloration or improve texture. For example, fruits can be dipped in lemon juice or a sulfite solution.

Figure 4: Examples of various dehydrated foods
5.3 Loading Trays
Arrange food in a single layer on the drying trays. Avoid overlapping or overcrowding to allow for proper airflow.
5.4 Setting Temperature and Time
- Plug the dehydrator into a standard electrical outlet.
- Press the TIME/TEMP button to select either time or temperature.
- Use the +/- buttons to adjust the desired temperature (range: 100-160°F / 38-71°C) and drying time (up to 48 hours).
- Press the START/PAUSE button to begin the dehydration process. The unit will automatically shut off when the set time expires.
5.5 Specific Applications
Making Fruit Roll-Ups
Use the provided solid sheet for making fruit roll-ups. Spread pureed fruit evenly onto the solid sheet.

Figure 5: Solid tray for making fruit roll-ups
Drying Herbs
The mesh sheet is ideal for drying delicate items like herbs. Place herbs in a single layer on the mesh sheet.
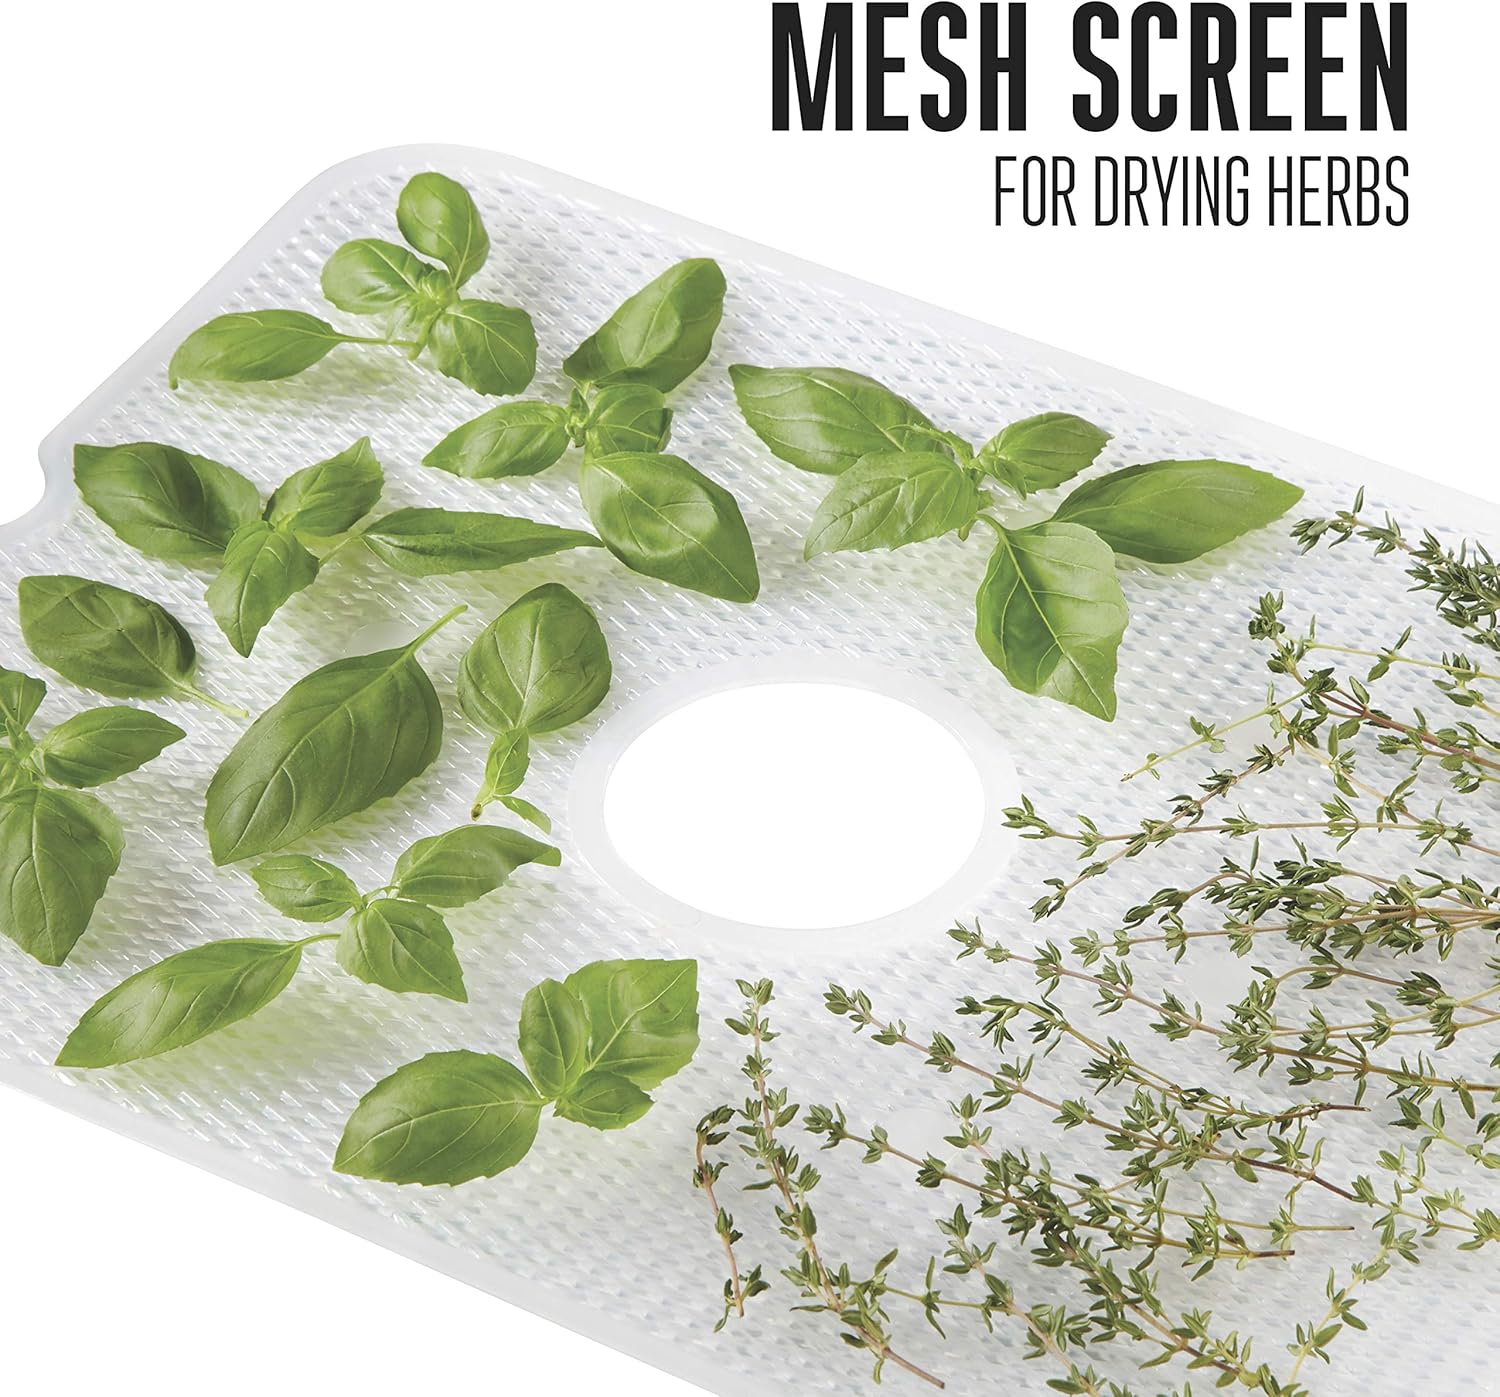
Figure 6: Mesh screen for drying herbs
5.6 Checking for Dryness and Storage
Food is properly dehydrated when it is pliable but not sticky, or brittle and breaks easily (depending on the food type). Allow dehydrated food to cool completely before storing it in airtight containers in a cool, dark place.
6. Maintenance and Cleaning
- Unplug: Always unplug the dehydrator from the power outlet before cleaning.
- Clean Trays and Lid: The drying trays, solid sheet, mesh sheet, and clear lid are dishwasher safe. Alternatively, wash them in warm, soapy water, rinse, and dry thoroughly.
- Clean Base: Wipe the dehydrator base with a damp cloth. Do not immerse the base in water or any other liquid. Ensure the base is completely dry before plugging it back in or storing.

Figure 7: Trays and lid are dishwasher safe for easy cleaning
7. Troubleshooting
| Problem | Possible Cause | Solution |
|---|---|---|
| Dehydrator does not turn on. | Not plugged in; power outlet malfunction; unit malfunction. | Ensure the unit is securely plugged into a working outlet. Check household circuit breaker. If problem persists, contact customer support. |
| Food is not drying evenly. | Overcrowded trays; uneven slicing; incorrect temperature. | Ensure food is in a single layer with space for airflow. Slice food uniformly. Verify correct temperature setting for the food type. Rotate trays periodically for best results. |
| Drying process takes too long. | Temperature too low; food too thick; high humidity. | Increase temperature within recommended range. Slice food thinner. Consider drying in a less humid environment. |
8. Specifications
- Brand: Weston
- Model: 75-0450-W
- Power: 800 Watts
- Number of Trays: 6 Stackable Trays
- Drying Space: 7.4 sq ft
- Temperature Range: 100-160°F (38-71°C)
- Timer: Up to 48 hours with auto shutoff
- Product Dimensions: 12.6 x 16.1 x 13 inches (L x W x H)
- Item Weight: 10.02 pounds
- Material: Food-grade Plastic
- Dishwasher Safe: Trays, solid sheet, mesh sheet, and lid are dishwasher safe. The main dehydrator base is NOT dishwasher safe.

Figure 8: Product Dimensions
9. Warranty and Support
This Weston Food Dehydrator Machine Model 75-0450-W comes with a one-year limited warranty from the date of purchase. This warranty covers defects in materials and workmanship under normal household use.
For warranty claims, technical assistance, or general inquiries, please contact Weston customer support. Refer to the official Weston website or your purchase documentation for the most current contact information.


