1. Introduction
This manual provides detailed instructions for the setup, operation, and maintenance of your mooas Qi Wireless Charging Slim Mirror Desk Clock. This compact digital alarm clock features wireless charging capabilities, a USB port for wired charging, dual alarms with snooze, time memorizing function, and a reflective mirror display.
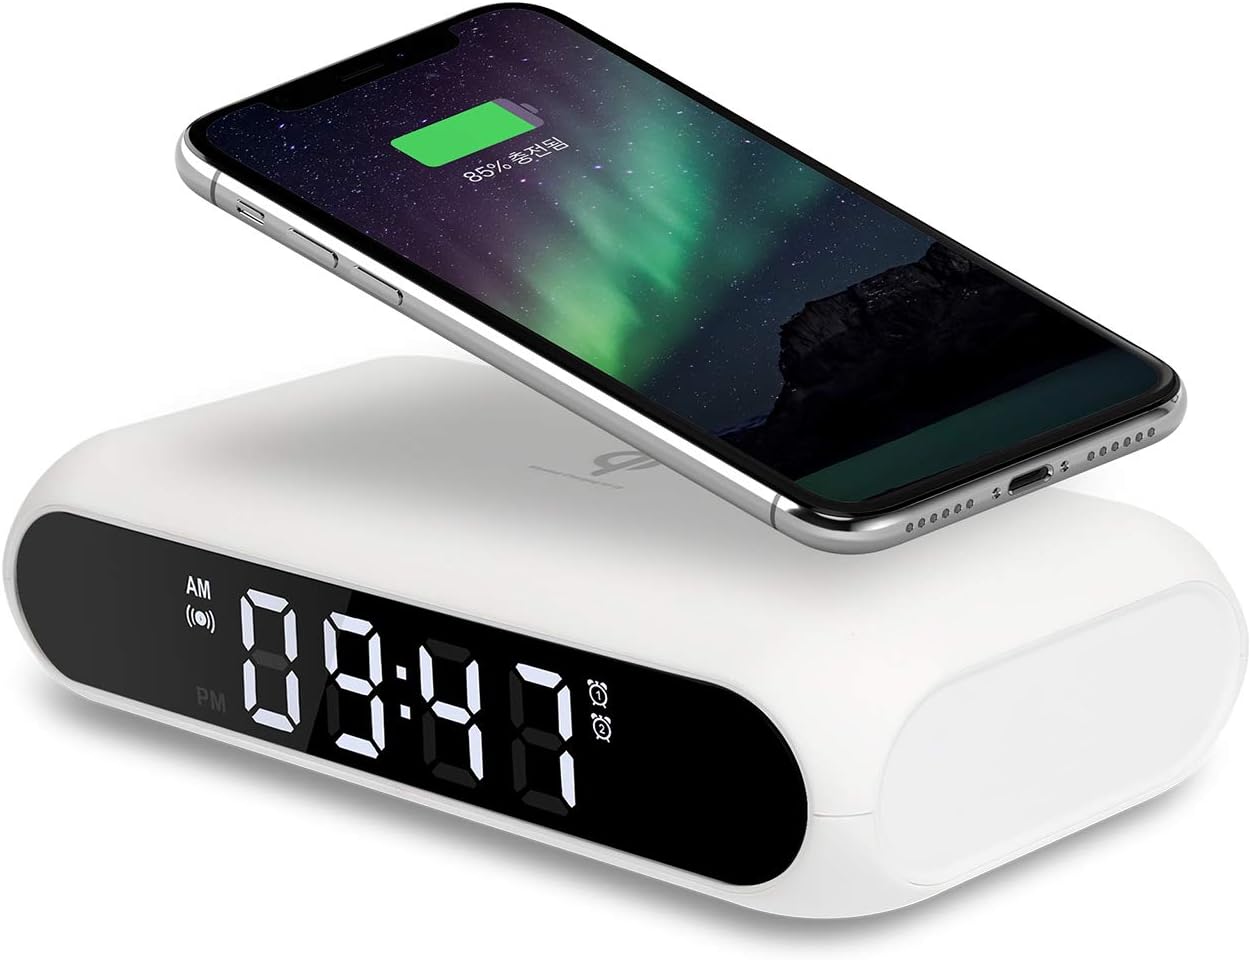
Image 1: The mooas Qi Wireless Charging Slim Mirror Desk Clock in white, with a smartphone wirelessly charging on its surface.
2. Product Features
- Wireless Charging: Place your Qi-compatible phone on top for automatic charging.
- Wired/Simultaneous Charging: Utilize the integrated USB port for wired charging. Both wireless and wired charging can occur simultaneously with a 5V 2A adapter.
- Dual Alarm/Snooze: Set up to two independent alarms. Press the SNOOZE button for a five-minute delay.
- Time Memorizing: An internal coin battery retains existing time and alarm settings even if the power adapter is disconnected.
- Mirror Clock Display: The front surface functions as a reflective mirror, blending seamlessly with your environment.
3. Setup
- Power Connection: Connect the provided USB cable to the Micro 5pin port on the back of the clock and plug the other end into a 5V 2A power adapter (not always included, check packaging).
- Initial Power On: The display will illuminate, and the clock will be ready for time and alarm settings.
4. Operating Instructions
4.1 Button Functions
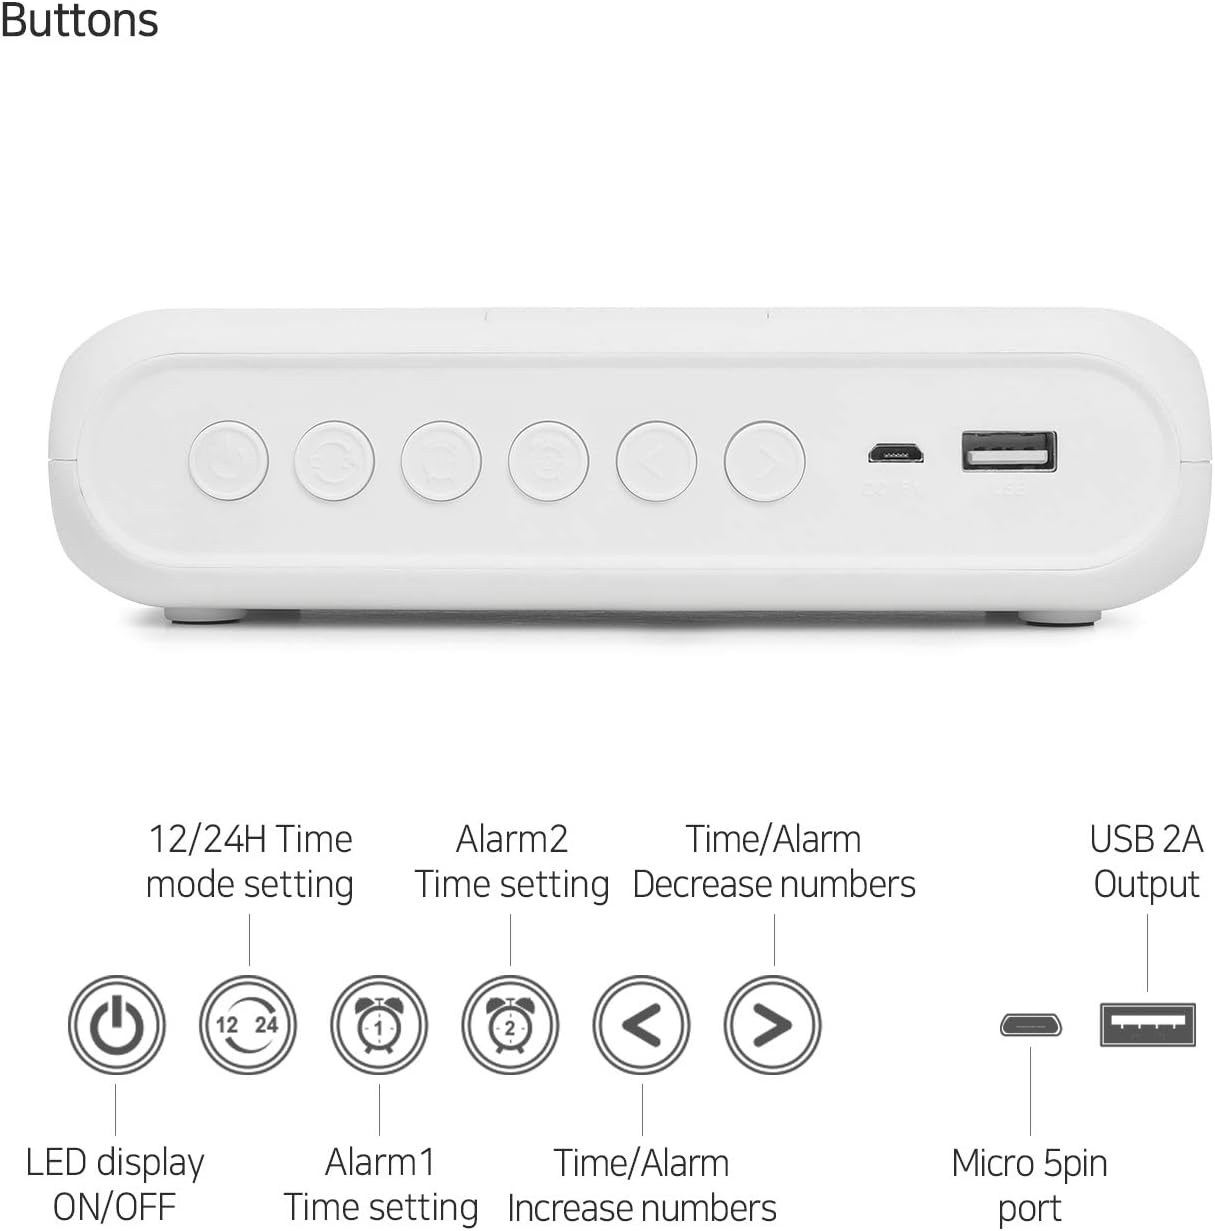
Image 2: Rear panel of the clock illustrating the function of each button and port.
- LED Display ON/OFF: Toggles the main display.
- 12/24H Time Mode Setting: Switches between 12-hour and 24-hour time formats.
- Alarm 1 Time Setting: Configures the first alarm.
- Alarm 2 Time Setting: Configures the second alarm.
- Time/Alarm Decrease Numbers (<): Adjusts time or alarm values downwards.
- Time/Alarm Increase Numbers (>): Adjusts time or alarm values upwards.
- Micro 5pin port: Power input for the clock.
- USB 2A Output: Port for wired charging of external devices.
4.2 Setting the Time
- Press the '12/24H Time mode setting' button to enter time setting mode. The hour digits will flash.
- Use the '<' or '>' buttons to adjust the hour.
- Press the '12/24H Time mode setting' button again to set the minutes. The minute digits will flash.
- Use the '<' or '>' buttons to adjust the minutes.
- Press the '12/24H Time mode setting' button one more time to confirm and exit time setting mode.
4.3 Setting Alarms

Image 3: Close-up of the clock display highlighting the dual alarm icons and the snooze area.
- Press the 'Alarm 1 Time Setting' button to set the first alarm. The hour digits will flash.
- Use the '<' or '>' buttons to adjust the alarm hour.
- Press the 'Alarm 1 Time Setting' button again to set the alarm minutes. The minute digits will flash.
- Use the '<' or '>' buttons to adjust the alarm minutes.
- Press the 'Alarm 1 Time Setting' button one more time to confirm and activate Alarm 1. An alarm icon will appear on the display.
- Repeat steps 1-5 for 'Alarm 2 Time Setting' to configure the second alarm.
- Snooze Function: When an alarm sounds, touch the 'SNOOZE' area on the top of the clock to activate snooze for 5 minutes.
4.4 Wireless Charging

Image 4: Demonstrating the wireless charging feature by placing a phone on the clock's top surface.
- Ensure the clock is powered on.
- Place your Qi-compatible smartphone directly onto the top surface of the clock.
- Charging will begin automatically. A charging indicator may appear on your phone's screen.
- Important: Remove any metal objects or overly thick phone cases before charging to ensure proper function. Wireless charging compatibility may vary by phone model.
4.5 Wired Charging

Image 5: The clock simultaneously charging two devices, one wirelessly and one via USB.
- Connect your device's USB charging cable to the USB 2A Output port on the back of the clock.
- Charging will commence. This port can be used simultaneously with wireless charging.
4.6 Display Features

Image 6: The clock's mirror display showing the time and its reflective quality.
- The clock displays time, date, and temperature.
- The front surface acts as a mirror.
- Press the 'LED Display ON/OFF' button to adjust the display brightness or turn it off completely.
5. Maintenance
- Clean the clock surface with a soft, dry cloth.
- Avoid using abrasive cleaners or solvents.
- Keep the device away from water and excessive moisture.
6. Troubleshooting
| Problem | Possible Cause | Solution |
|---|---|---|
| Device not charging wirelessly | Phone not Qi-compatible; phone case too thick/metal; foreign objects on charging pad. | Verify phone compatibility; remove phone case or metal objects; ensure proper placement. |
| Clock display is off | LED display turned off; power disconnected. | Press 'LED Display ON/OFF' button; check power connection. |
| Time/settings lost after power outage | Internal battery depleted or not present. | The clock has a time-memorizing battery; if settings are lost, ensure the internal battery is functional or replace if necessary (LR44 battery). |
7. Specifications
- Brand: mooas
- Model: Qi Wireless Charging Slim Mirror Desk Clock
- Color: White
- Display Type: Digital
- Product Dimensions: 7"W x 2"H
- Power Source: Corded Electric (Battery backup for time memorizing)
- Material: Acrylonitrile Butadiene Styrene
- Item Weight: 6.4 ounces
- Batteries: 1 LR44 battery required (included for time memorizing)
- Connectivity Technology: USB
8. Official Product Video
Video 1: Official product overview of the mooas Qi Wireless Charging Slim Mirror Desk Clock, demonstrating its features and design.
9. Support
For further assistance, warranty information, or customer service, please refer to the manufacturer's official website or contact their customer support directly.


