1. Introduction
Thank you for purchasing the Teesa TSA8047 Air Fryer. This appliance is designed to cook, roast, and bake a variety of foods using rapid hot air circulation, offering a healthier alternative to traditional deep frying. Please read this manual carefully before using the appliance to ensure safe and efficient operation. Keep this manual for future reference.
Important Safety Instructions
- Always place the appliance on a stable, heat-resistant surface.
- Do not immerse the appliance body, cord, or plug in water or any other liquid.
- Ensure the voltage indicated on the appliance matches your local mains voltage.
- Keep the appliance and its cord out of reach of children.
- Do not block the air inlet and outlet openings during operation.
- Never fill the pan with oil or any other liquid.
- Do not touch hot surfaces. Use handles and knobs.
- Unplug the appliance from the outlet when not in use and before cleaning.
- This appliance is equipped with overheating protection.
2. Product Overview
Familiarize yourself with the components of your Teesa TSA8047 Air Fryer.

Image 1: Teesa TSA8047 Air Fryer with the cooking basket partially removed, showing cooked fries inside. The appliance is white with a silver and black control panel on top.
Components and Controls
- Temperature Control Knob: Used to set the desired cooking temperature.
- Timer Knob: Used to set the cooking time.
- Power Indicator Light: Illuminates when the appliance is powered on.
- Heating Indicator Light: Illuminates when the heating element is active.
- Air Inlet: Located on the top of the appliance.
- Air Outlet: Located at the rear of the appliance.
- Frying Basket: Removable basket for holding food.
- Pan/Drawer: Holds the frying basket.
- Handle: Heat-insulated handle for safe removal of the pan and basket.
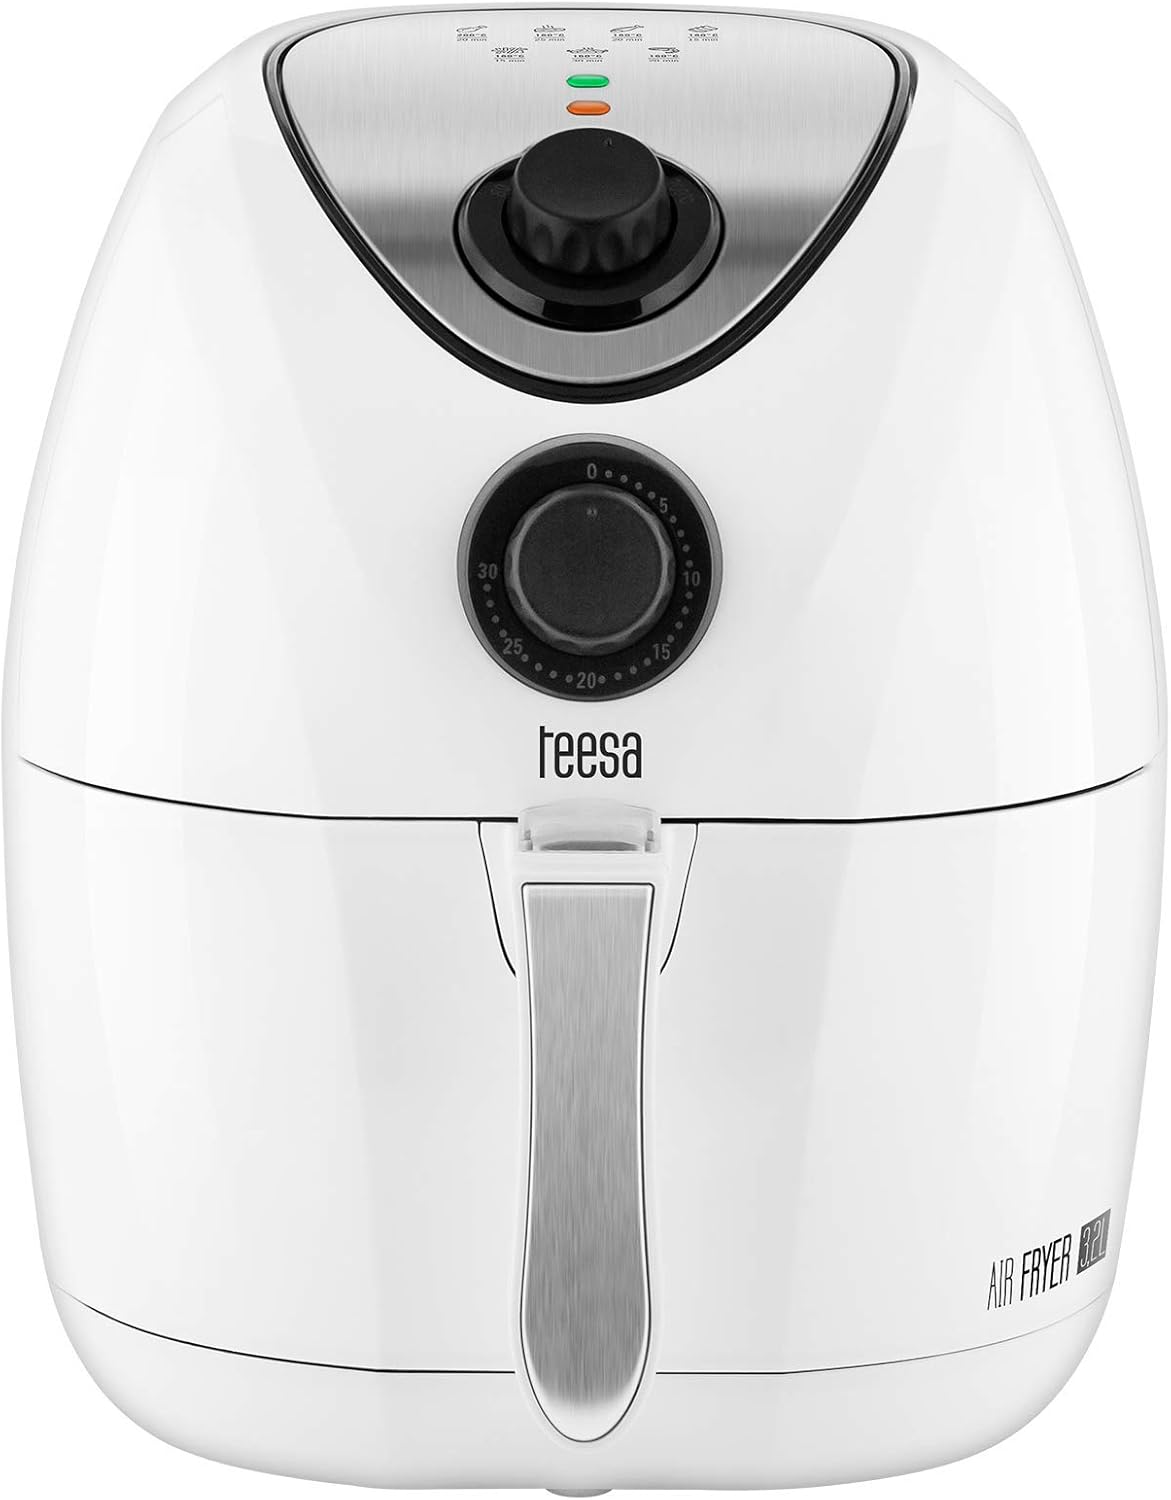
Image 2: Top view of the Teesa TSA8047 Air Fryer, highlighting the temperature control knob (top) and the timer knob (bottom) on the silver control panel.
3. Initial Setup
Before first use, follow these steps:
- Remove all packaging materials and stickers.
- Clean the frying basket and pan thoroughly with hot water, dish soap, and a non-abrasive sponge.
- Wipe the inside and outside of the appliance with a damp cloth.
- Ensure all parts are completely dry before use.
- Place the air fryer on a stable, level, and heat-resistant surface, away from walls or other appliances to allow for proper air circulation.
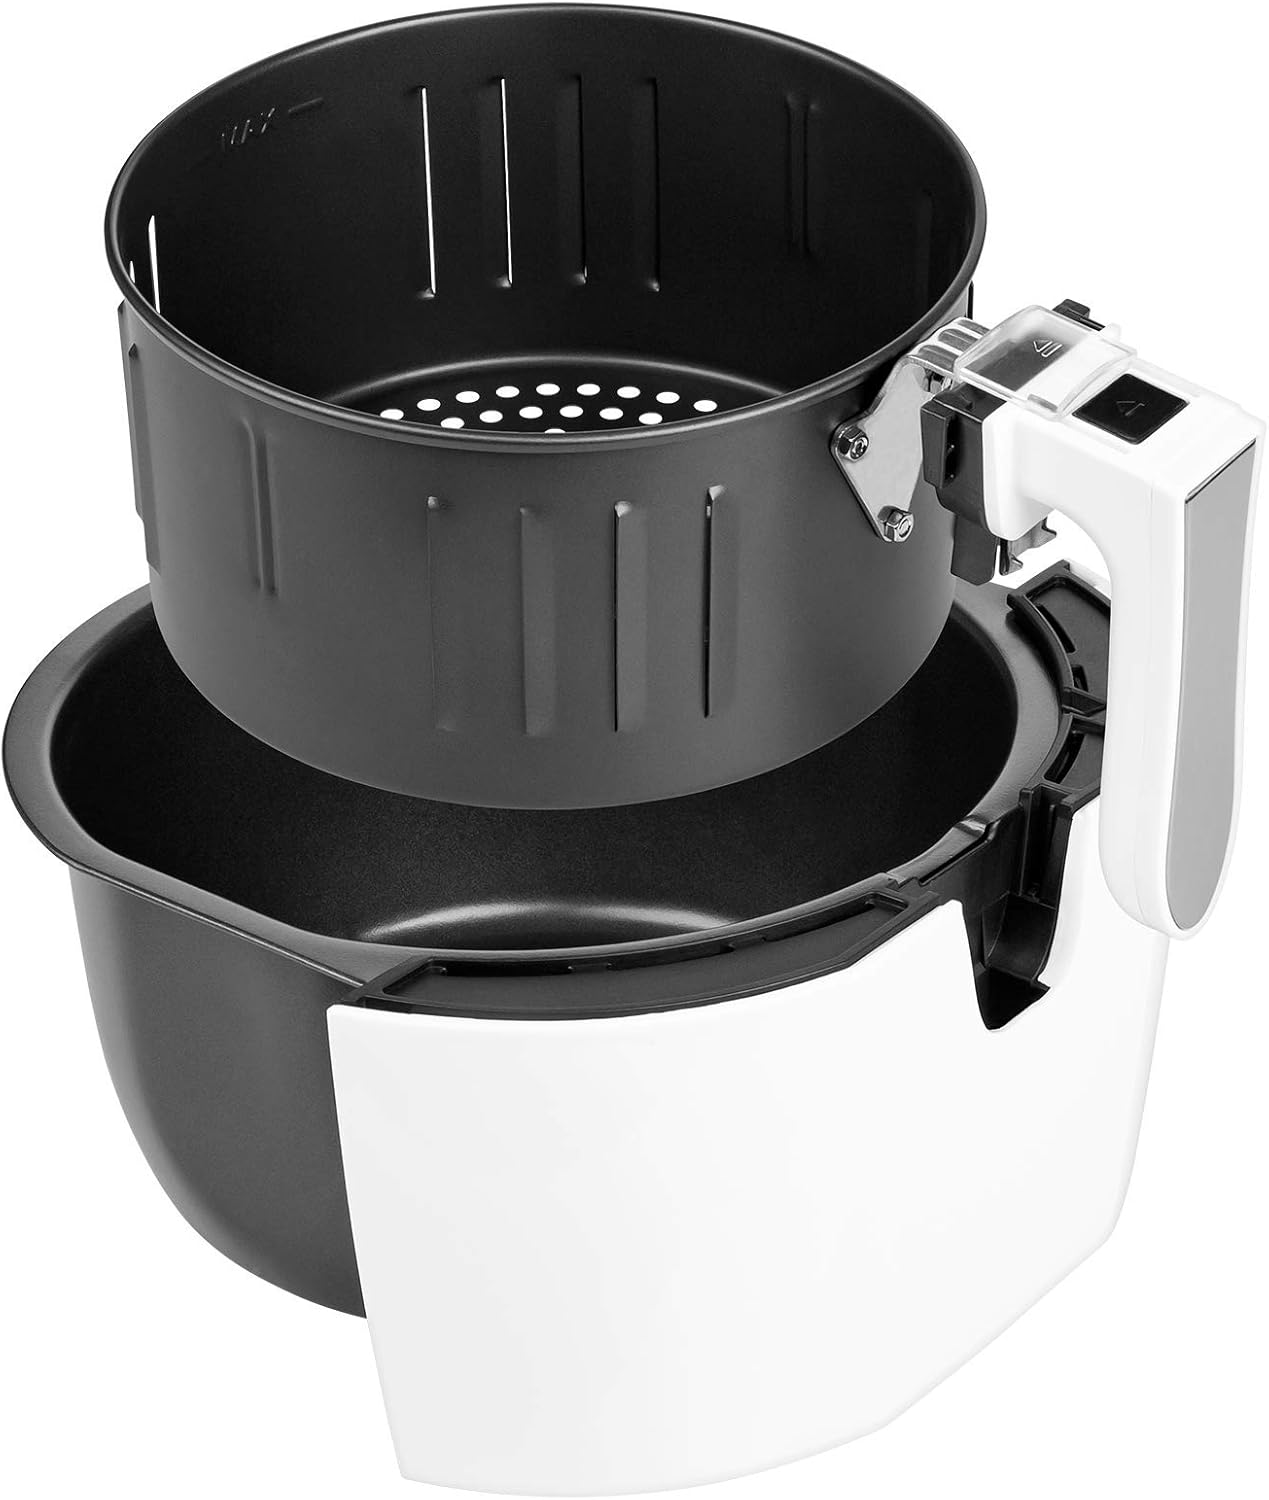
Image 3: The frying basket of the Teesa TSA8047 Air Fryer is shown lifted out of its pan, demonstrating how the two components separate for cleaning or loading food.
4. Operating Instructions
General Operation
- Plug the power cord into a grounded wall socket.
- Carefully pull the pan out of the air fryer.
- Place the ingredients into the frying basket. Do not exceed the MAX fill line.
- Slide the pan back into the air fryer. Ensure it is fully closed.
- Turn the temperature control knob to the desired temperature.
- Turn the timer knob to the desired cooking time. The appliance will start heating.
- The power indicator and heating indicator lights will illuminate. The heating light will cycle on and off as the appliance maintains the set temperature.
- Some ingredients may require shaking halfway through the cooking time. To do this, pull out the pan by the handle, shake it, and then slide it back in.
- When the timer reaches zero, a bell sound will indicate that the cooking process is complete.
- Carefully pull out the pan and place it on a heat-resistant surface.
- Remove the cooked food from the basket. Use tongs for larger items.
- Unplug the appliance after use.
Cooking Tips
- Smaller ingredients usually require a shorter cooking time than larger ingredients.
- A larger amount of ingredients only requires a slightly longer cooking time.
- Shaking smaller ingredients halfway through the cooking time optimizes the end result and can help prevent unevenly fried ingredients.
- For crispy results, add a little oil to fresh potatoes before frying.
- The air fryer can also be used to reheat food. Set the temperature to 150°C for up to 10 minutes.
5. Cleaning and Maintenance
Clean the appliance after every use.
- Unplug the air fryer and allow it to cool down completely before cleaning.
- Wipe the outside of the appliance with a damp cloth.
- Clean the pan and frying basket with hot water, dish soap, and a non-abrasive sponge. The pan and basket are dishwasher-safe.
- For stubborn food residues, soak the pan and basket in hot water with some dish soap for about 10 minutes.
- Clean the inside of the appliance with hot water and a non-abrasive sponge.
- Clean the heating element with a cleaning brush to remove any food residues.
- Ensure all parts are completely dry before storing or next use.
6. Troubleshooting
| Problem | Possible Cause | Solution |
|---|---|---|
| The air fryer does not work. | The appliance is not plugged in. | Plug the main plug into a grounded wall socket. |
| The timer has not been set. | Turn the timer knob to the desired cooking time. | |
| Ingredients are not cooked evenly. | The amount of ingredients in the basket is too large. | Put smaller batches of ingredients in the basket. |
| Some ingredients need to be shaken during cooking. | Shake the ingredients halfway through the cooking time. | |
| Fried snacks are not crispy. | You used a type of snack meant for a traditional deep fryer. | Use oven snacks or lightly brush with oil for crispier results. |
| White smoke comes out of the appliance. | Fat residues from previous use are burning. | Clean the pan and basket thoroughly after each use. |
| The pan contains too much oil. | Ensure the pan is dry and free of excess oil before cooking. |
7. Technical Specifications
| Feature | Specification |
|---|---|
| Model Number | TSA8047 |
| Brand | Teesa |
| Capacity | 3.2 Liters |
| Power | 1400 Watts |
| Voltage | 220 V |
| Material | Aluminium (basket/pan), Non-stick coating |
| Dimensions (L x W x H) | 34 x 34 x 29 cm |
| Weight | 4 Kilograms |
| Noise Level | 44 Decibels |
| Color | White |
8. Warranty and Support
For warranty information and customer support, please refer to the warranty card included with your product or visit the official Teesa website. This manual does not contain specific warranty details or contact information.
For further assistance, please contact Teesa customer service through their official channels.


