1. Introduction
This user manual provides essential information for the safe and efficient use of your Samsung 55-inch 4K UHD Monitor, model QH55R. Please read this manual thoroughly before operating the device and retain it for future reference.
2. Safety Information
Observe the following safety precautions to prevent damage to the monitor and ensure user safety:
- Do not expose the monitor to rain, moisture, or extreme temperatures.
- Ensure proper ventilation around the monitor to prevent overheating.
- Use only the power cord and adapter supplied with the monitor.
- Avoid placing heavy objects on the power cord or the monitor itself.
- Do not attempt to open or service the monitor yourself. Refer all servicing to qualified personnel.
- Keep the monitor away from direct sunlight and heat sources.
3. Package Contents
Verify that all items are present in the package:
- Samsung 55-inch 4K UHD Monitor (QH55R)
- Power Cable
- HDMI Cable
- Remote Control with Batteries
- Stand Components (Base and Neck)
- User Manual (this document)
4. Setup
4.1. Stand Installation or Wall Mounting
Carefully place the monitor face down on a soft, clean surface. Attach the stand neck to the monitor, then secure the stand base to the neck using the provided screws. Alternatively, if wall mounting, follow the instructions provided with your VESA-compatible wall mount (sold separately).
4.2. Connecting Cables
Connect the necessary cables to the monitor's input ports. Ensure all connections are secure before powering on the device.
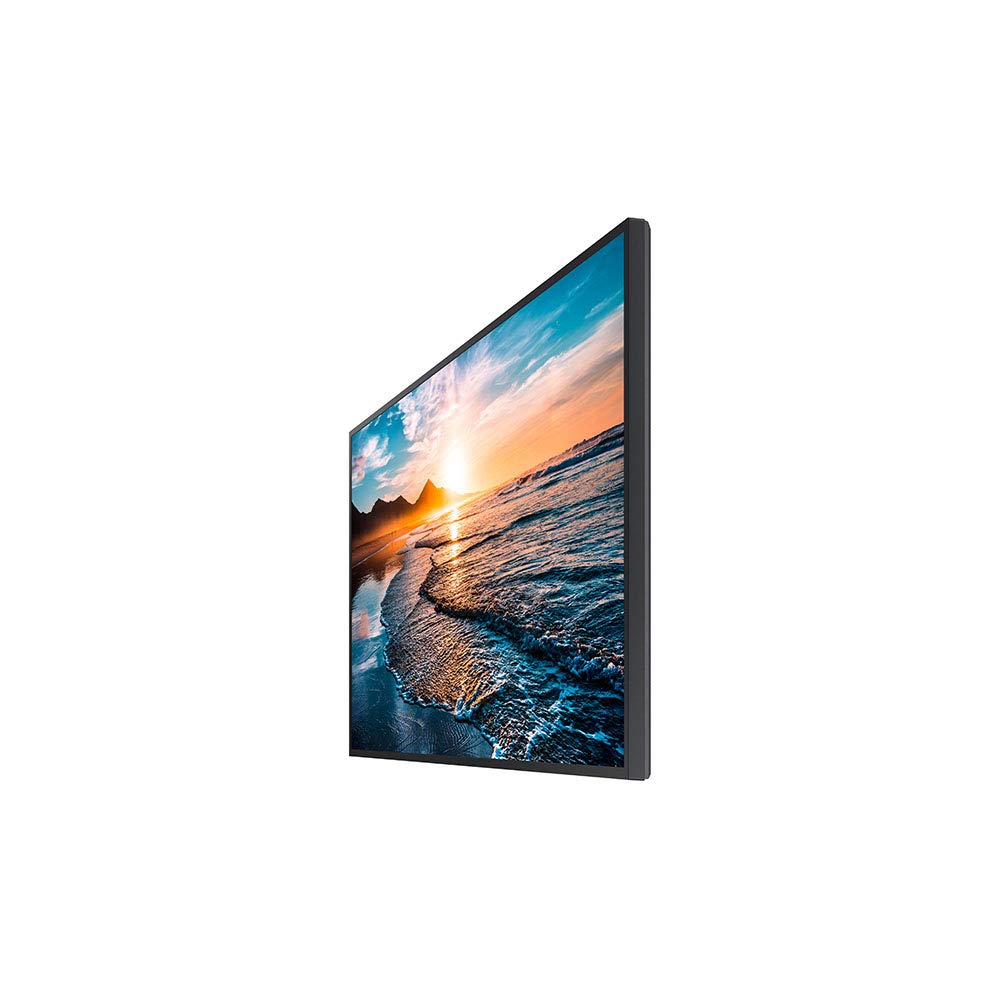
Image: Side view of the Samsung QH55R monitor, illustrating the location of various input ports including HDMI and power connections.
- Power Cable: Connect the power cable to the monitor's power input and then to a wall outlet.
- HDMI/DisplayPort: Connect an HDMI or DisplayPort cable from your computer or video source to the corresponding input on the monitor.
- USB (if applicable): Connect USB devices to the available USB ports.
4.3. Powering On
Press the power button located on the monitor or use the remote control to turn on the monitor. The power indicator light will illuminate.
5. Operating Instructions
5.1. Basic Controls
The monitor features several buttons for basic operation, typically located on the rear or bottom right side, or accessible via the remote control:
- Power Button: Turns the monitor on or off.
- Menu Button: Accesses the On-Screen Display (OSD) menu.
- Source Button: Switches between available input sources (HDMI1, HDMI2, DisplayPort, etc.).
- Navigation Buttons: Used to navigate through menu options and adjust settings.
5.2. Menu Navigation
Press the Menu button to open the OSD. Use the navigation buttons to move through categories such as Picture, Sound, System, and Support. Press the Enter button to select an option and the Back button to return to the previous menu or exit the OSD.
5.3. Input Source Selection
Press the Source button to cycle through the available input sources. Select the input that corresponds to your connected device (e.g., HDMI 1 for your computer).
5.4. Picture Settings
Within the OSD menu, navigate to the 'Picture' section to adjust display settings:
- Brightness: Adjusts the overall luminance of the screen.
- Contrast: Controls the difference between light and dark areas.
- Sharpness: Enhances the clarity of image edges.
- Color: Adjusts the color saturation and tone.
- Aspect Ratio: Selects the display ratio (e.g., 16:9, 4:3).
6. Maintenance
6.1. Cleaning the Screen
To clean the screen, gently wipe it with a soft, lint-free cloth. For stubborn marks, lightly dampen the cloth with water or a specialized screen cleaner. Avoid using harsh chemicals, abrasive materials, or spraying liquid directly onto the screen.
6.2. General Care
Keep the monitor in a clean, dust-free environment. Avoid placing objects on top of the monitor or blocking its ventilation openings. Disconnect the power cable during electrical storms or when the monitor will be unused for extended periods.
7. Troubleshooting
If you encounter issues with your monitor, refer to the following table for common problems and solutions:
| Problem | Possible Solution |
|---|---|
| No power | Ensure the power cable is securely connected to both the monitor and a working power outlet. Check if the power indicator light is on. |
| No signal | Verify that the video cable (HDMI/DisplayPort) is correctly connected to both the monitor and the source device. Press the Source button on the monitor or remote to select the correct input. Ensure the source device is powered on. |
| Poor picture quality | Adjust picture settings (brightness, contrast, sharpness) in the OSD menu. Ensure the display resolution on your source device matches the monitor's native resolution (3840x2160). Check for damaged video cables. |
| Remote control not working | Check and replace the batteries in the remote control. Ensure there are no obstructions between the remote and the monitor's IR receiver. |
8. Specifications
Key technical specifications for the Samsung QH55R Monitor:
| Feature | Specification |
|---|---|
| Brand | Samsung |
| Model Number | QH55R |
| Screen Size | 55 Inches |
| Max Screen Resolution | 3840 x 2160 (4K UHD) |
| Image Contrast Ratio | 4000:1 |
| Item Weight | 31.9 pounds |
| Product Dimensions (LxWxH) | 56.3 x 32.1 x 13.2 inches |
| ASIN | B083SS5B1M |
| UPC | 8806090093098 |
9. Warranty and Support
Your Samsung QH55R Monitor is covered by a limited warranty. For specific warranty terms and conditions, please refer to the warranty card included with your product or visit the official Samsung website. For technical support, service inquiries, or to download the latest drivers and software, please visit the Samsung support website or contact their customer service.
Samsung Support Website: www.samsung.com/us/support/