Introduction
This manual provides detailed instructions for the safe installation, operation, and maintenance of your Quoizel Coda 39" Wide Matte Black 16-Light Island Chandelier. Please read all instructions carefully before beginning installation and retain this manual for future reference. This modern farmhouse-style chandelier features a matte black finish over steel construction with a linear design and painted weathered wood accent, designed to illuminate your space effectively.

Figure 1: Front view of the Quoizel Coda 16-Light Island Chandelier.
Safety Information
WARNING: Risk of electric shock. Disconnect power at the fuse box or circuit breaker before installation or servicing. Consult a qualified electrician if you are unsure about the installation process.
- All wiring must be in accordance with national and local electrical codes.
- Ensure the fixture is properly grounded.
- Do not exceed the maximum wattage specified for the bulbs.
- Handle glass components with care to prevent breakage.
- Keep flammable materials away from the light bulbs.
- This product contains chemicals known to the State of California to cause cancer and birth defects or other reproductive harm (Proposition 65 warning).
Package Contents
Carefully unpack your fixture and check that all parts are included. If any parts are missing or damaged, contact customer service before proceeding with assembly.
- Chandelier body with light sockets
- Mounting canopy
- Mounting hardware (crossbar, screws, wire nuts)
- Downrods (four 6" and four 12" sections)
- Chain links
- Instruction manual
Tools Required for Installation
- Phillips head screwdriver
- Flathead screwdriver
- Wire strippers
- Pliers
- Electrical tape
- Ladder
Setup and Installation
Follow these steps to properly install your chandelier. It is recommended to have two people for installation due to the size and weight of the fixture.
- Turn off Power: Before starting, ensure the power to the junction box is turned off at the circuit breaker or fuse box.
- Prepare Mounting Plate: Attach the mounting crossbar to the junction box using the provided screws. Ensure it is securely fastened.
- Determine Hanging Height: Assemble the desired length of downrods by screwing them together. The fixture comes with four 6-inch and four 12-inch downrods, allowing for adjustable hanging height. Feed the fixture wires through the downrods and canopy.
- Connect Wires: Carefully connect the fixture's electrical wires to the corresponding wires in the junction box. Connect the black (live) wire from the fixture to the black (live) wire from the junction box, the white (neutral) wire from the fixture to the white (neutral) wire from the junction box, and the bare copper or green (ground) wire from the fixture to the bare copper or green (ground) wire from the junction box. Secure connections with wire nuts and wrap with electrical tape for added safety.
- Mount Canopy: Carefully push the wired connections into the junction box. Position the canopy against the ceiling, aligning the mounting holes with the screws on the crossbar. Secure the canopy with the decorative nuts or screws provided.
- Install Bulbs: Screw sixteen B10 candelabra base bulbs (not included) into the sockets. Do not exceed the maximum wattage of 40 watts per bulb.
- Restore Power: Once installation is complete, turn the power back on at the circuit breaker or fuse box.
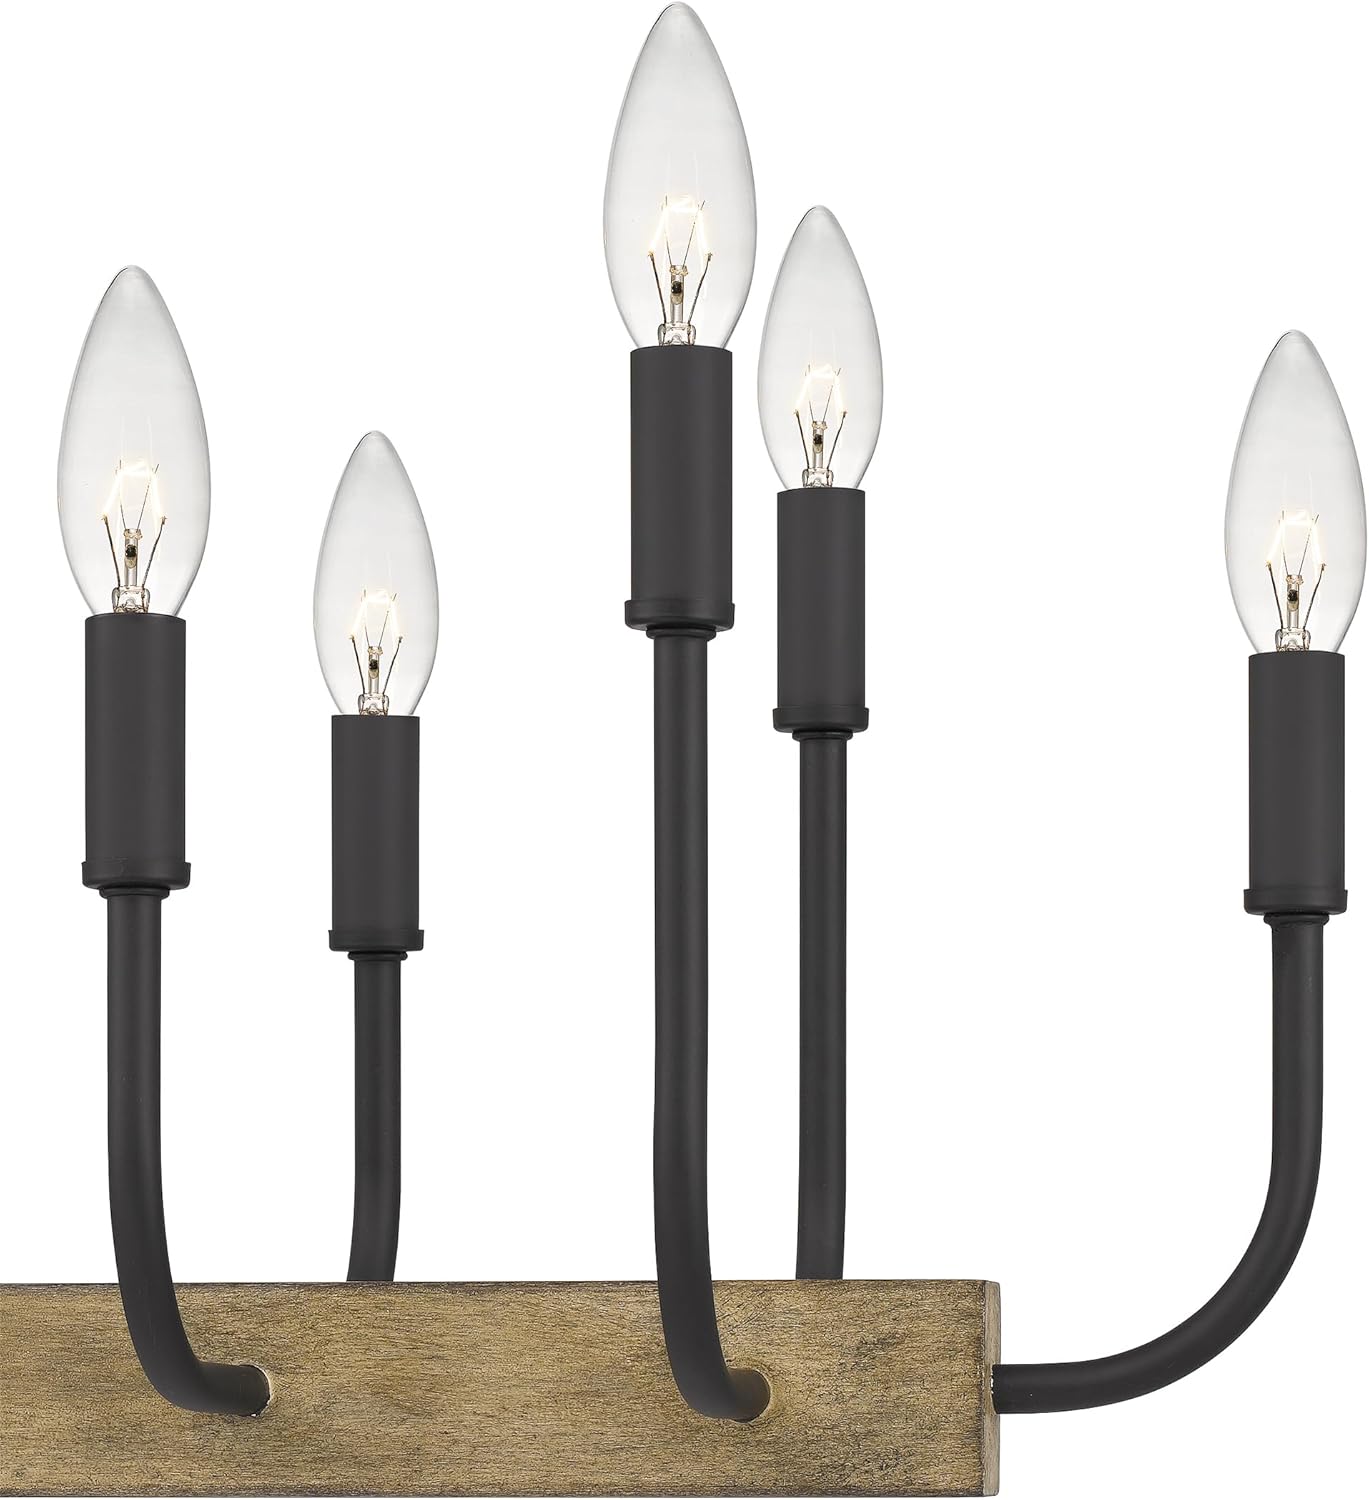
Figure 2: Detail of the mounting canopy and adjustable chain.

Figure 3: Close-up of the candelabra base light sockets.
Operating Instructions
This chandelier operates with a standard wall switch. For optimal light control, this fixture is compatible with most dimmer switches. Ensure that any dimmer switch used is rated for the total wattage of the installed bulbs.
- Bulb Type: Uses sixteen candelabra base B10 bulbs.
- Maximum Wattage: 40 watts per bulb.
- Dimmer Compatibility: Compatible with standard incandescent or LED dimmer switches, depending on the bulb type used.
Maintenance
Regular maintenance will help preserve the appearance and functionality of your chandelier.
- Cleaning: To clean, wipe the fixture with a soft, dry cloth. Do not use abrasive cleaners, polishes, or solvents as they may damage the finish.
- Bulb Replacement: Always turn off the power to the fixture at the circuit breaker before replacing bulbs. Allow bulbs to cool completely before touching them.
- Inspection: Periodically check all connections and mounting hardware to ensure they remain secure.
Troubleshooting
If your chandelier is not functioning correctly, refer to the following common issues and solutions:
| Problem | Possible Cause | Solution |
|---|---|---|
| Light does not turn on | 1. Power is off 2. Loose wiring connection 3. Faulty bulb | 1. Check circuit breaker/fuse 2. Check wiring connections (ensure power is off) 3. Replace bulb(s) |
| Lights flicker | 1. Loose bulb 2. Incompatible dimmer switch 3. Loose wiring | 1. Tighten bulb(s) 2. Ensure dimmer is compatible with bulb type 3. Check wiring connections (ensure power is off) |
| Humming sound | Incompatible dimmer switch or bulb type | Replace dimmer switch with a compatible one or use different bulb type |
Specifications
| Brand | Quoizel |
| Model Number | COD139MBK |
| Dimensions (L x W x H) | 39"L x 10.5"W x 13"H |
| Weight | 11 lbs |
| Finish | Matte Black |
| Material | Alloy Steel |
| Number of Lights | 16 |
| Bulb Type | Candelabra Base (B10) |
| Max Wattage per Bulb | 40 Watts |
| Total Wattage | 640 Watts (16 x 40W) |
| Downrods Included | Four 6" and Four 12" |
| Sloped Ceiling Adaptable | Yes |
| Room Type | Kitchen, Dining Room |
Placement Guidelines
Consider these general guidelines for optimal placement of your island chandelier:

Figure 4: Linear pendant placement over an island. The fixture should be approximately 2/3 the length of the island.

Figure 5: Multiple pendant placement over an island. Maintain 30-inch minimum spacing between fixtures and 30-36 inches above the surface.
Warranty
This Quoizel product comes with a 1-Year Warranty on Electronics and a 2-Year Warranty on Finish from the date of purchase. Please retain your proof of purchase for warranty claims. This warranty covers defects in materials and workmanship under normal use.
Support
For further assistance, technical support, or to inquire about replacement parts, please contact Quoizel customer service. You can find more information and contact details on the official Quoizel website or through your retailer.
Visit the Quoizel Store on Amazon for additional products and information.


