Introduction
This manual provides detailed instructions for assembling the iCubeSmart Transparent Acrylic Case. This case is designed to protect and enhance the appearance of your iCubeSmart 3D LED Cube. Please read all instructions carefully before beginning assembly.
This acrylic case is specifically designed for iCubeSmart 3D8 LED CUBE models, including 3D8S-BLUE, 3D8P-BLUE, 3D8S-MUTIL, 3D8P-MULTI, and 3D8RGB-KIT. It is not compatible with other brands or models, such as 3D16MINI. Please verify your LED Cube model before proceeding.
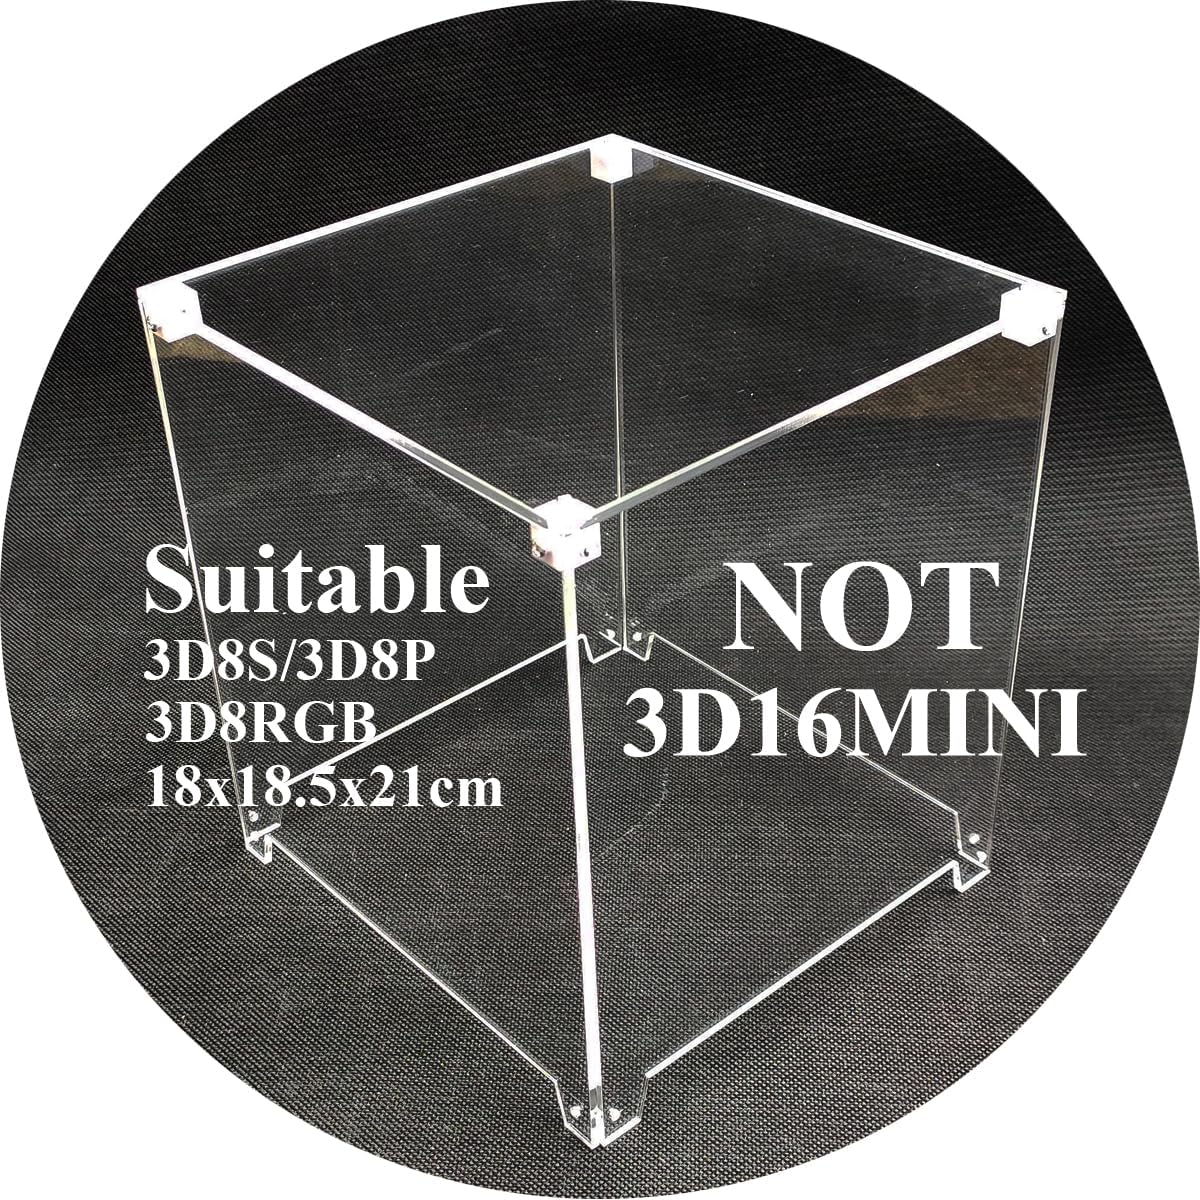
Image 1: The iCubeSmart Transparent Acrylic Case, indicating compatibility with 3D8S/3D8P/3D8RGB models and incompatibility with 3D16MINI. The approximate finished size is 18x18.5x21 cm.
Package Contents
Please ensure all the following components are present in your package:
- Acrylic Boards: 5 pieces (for top, front, back, left, and right sides)
- Screwdriver: 1 piece
- Screws: 24 pieces (various sizes for different connections)
- White Plastic Pellets for Fixing: 8 pieces

Image 2: All components included in the kit: five acrylic panels, a screwdriver, screws, and eight white plastic pellets.
Specifications
- Material: Acrylic, Paper
- Acrylic Thickness: 2.5mm
- Finished Product Size: 18 cm (Length) x 18.5 cm (Width) x 21 cm (Height)
- Item Weight: Approximately 0.59 Kilograms (1.3 pounds)
- Model Number: 3D8-ACRYLIC
- UPC: 779207172017
Assembly Instructions
Follow these steps to assemble your iCubeSmart Transparent Acrylic Case. It is recommended to work on a clean, flat surface.
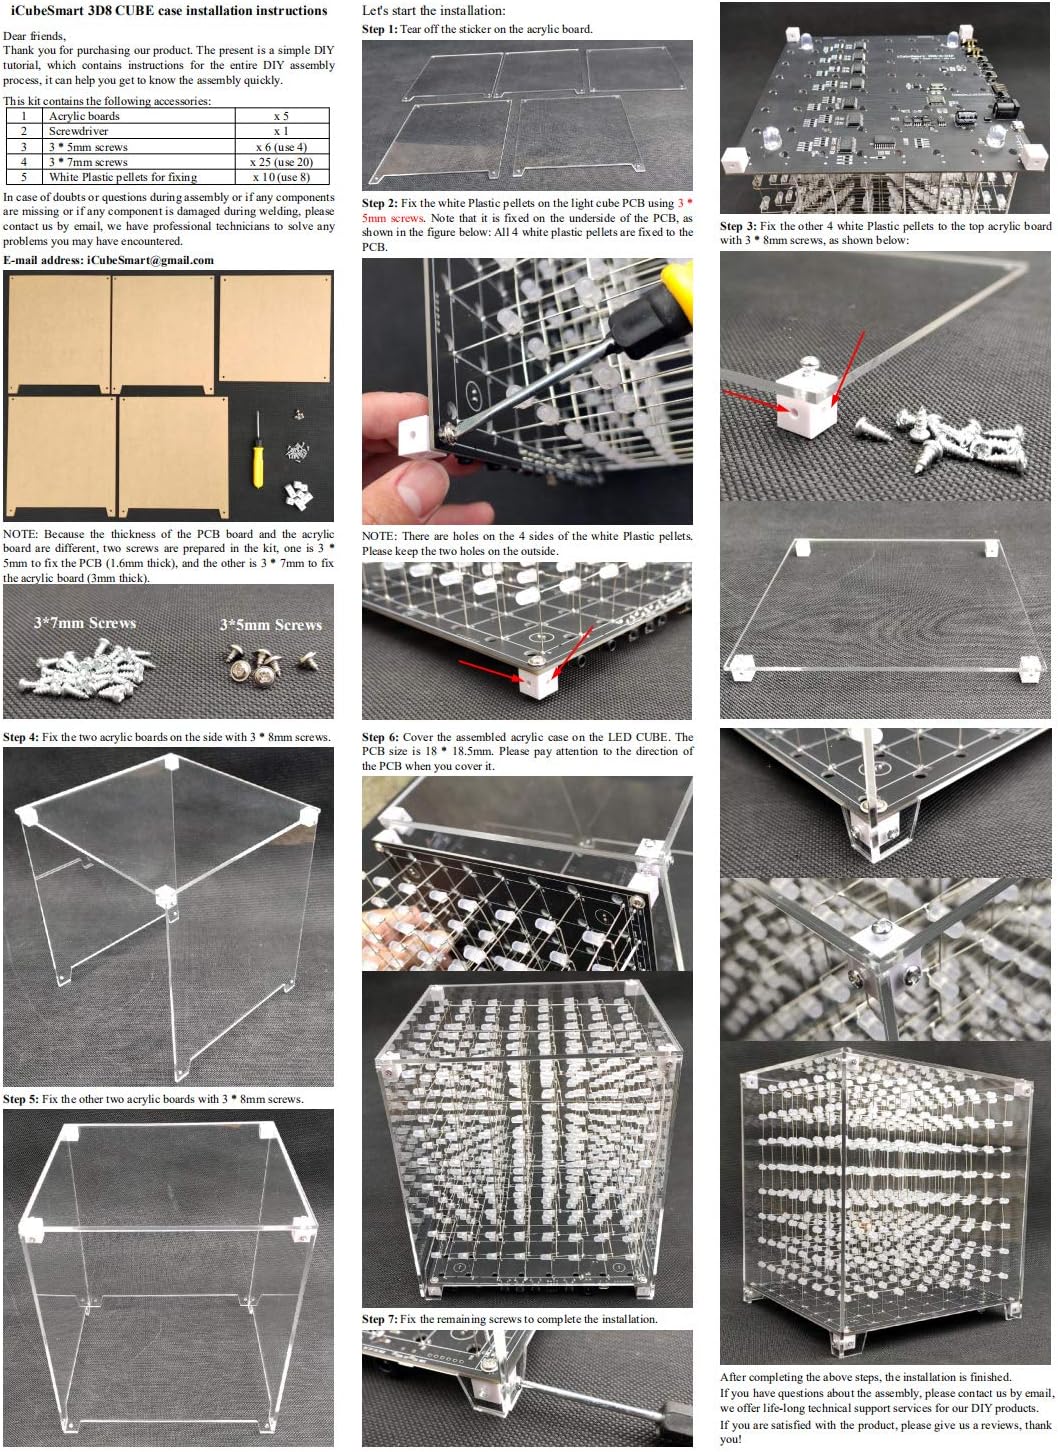
Image 3: A comprehensive visual guide detailing the step-by-step assembly process for the acrylic case.
- Step 1: Remove Protective Film
Carefully peel off the protective film from both sides of all five acrylic boards. This film prevents scratches during shipping.
- Step 2: Attach White Plastic Pellets to LED Cube PCB
Locate the four corners of your iCubeSmart 3D LED Cube's Printed Circuit Board (PCB). Attach four of the white plastic pellets to the underside of the PCB using the provided 3*7mm screws. Ensure the pellets are securely fastened. Note that there are holes on all four sides of the plastic pellets; keep two holes on the outside for later steps.
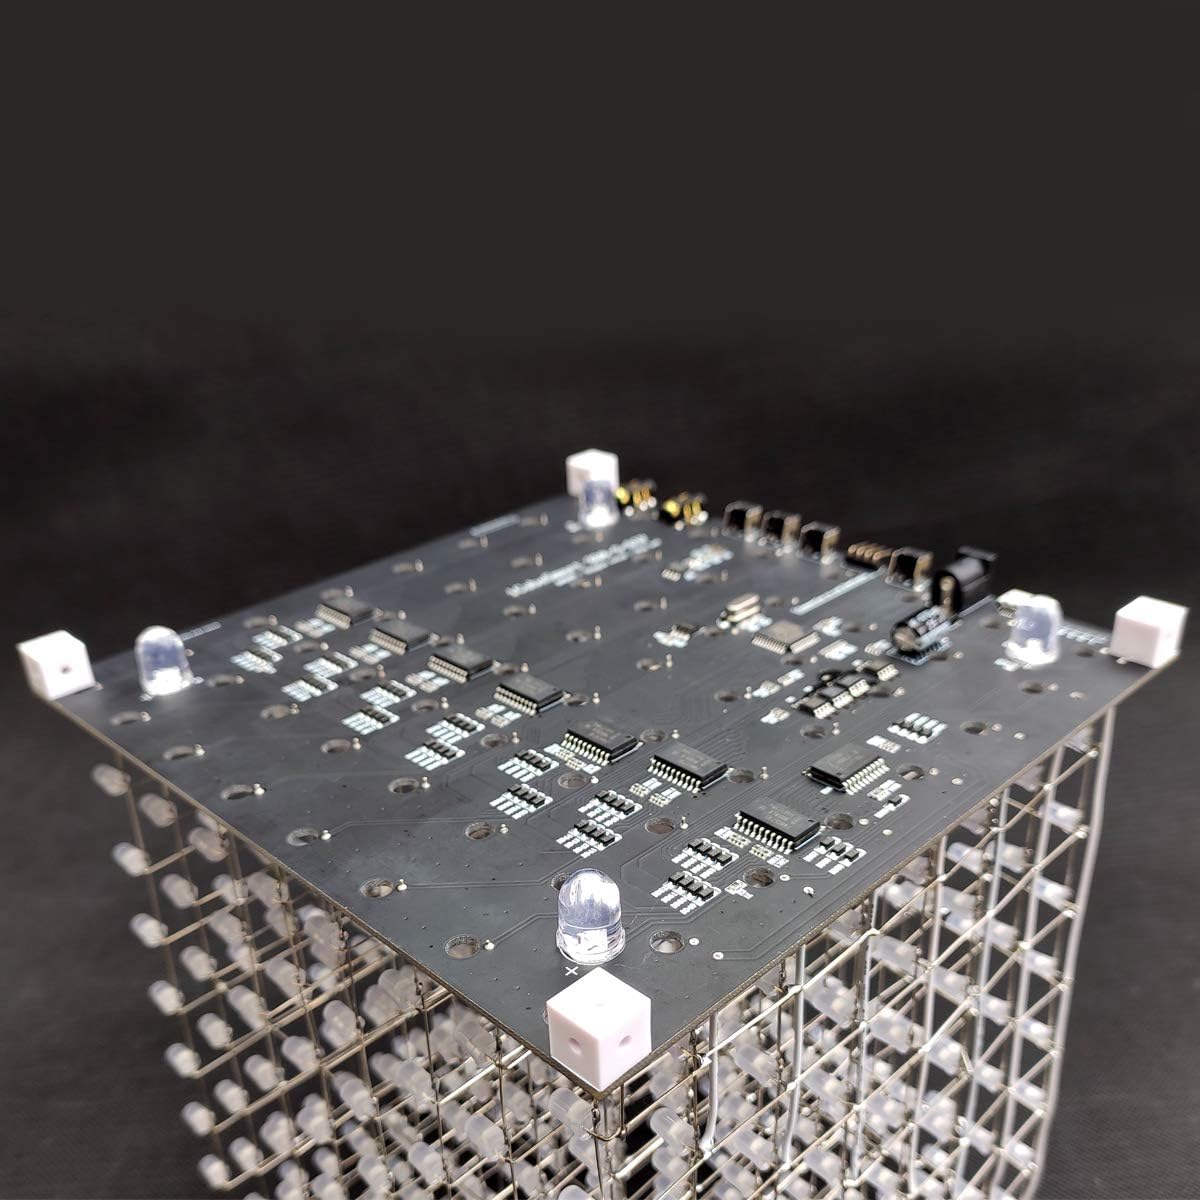
Image 4: Top view of the LED Cube PCB with white plastic pellets attached at the corners, secured by screws.
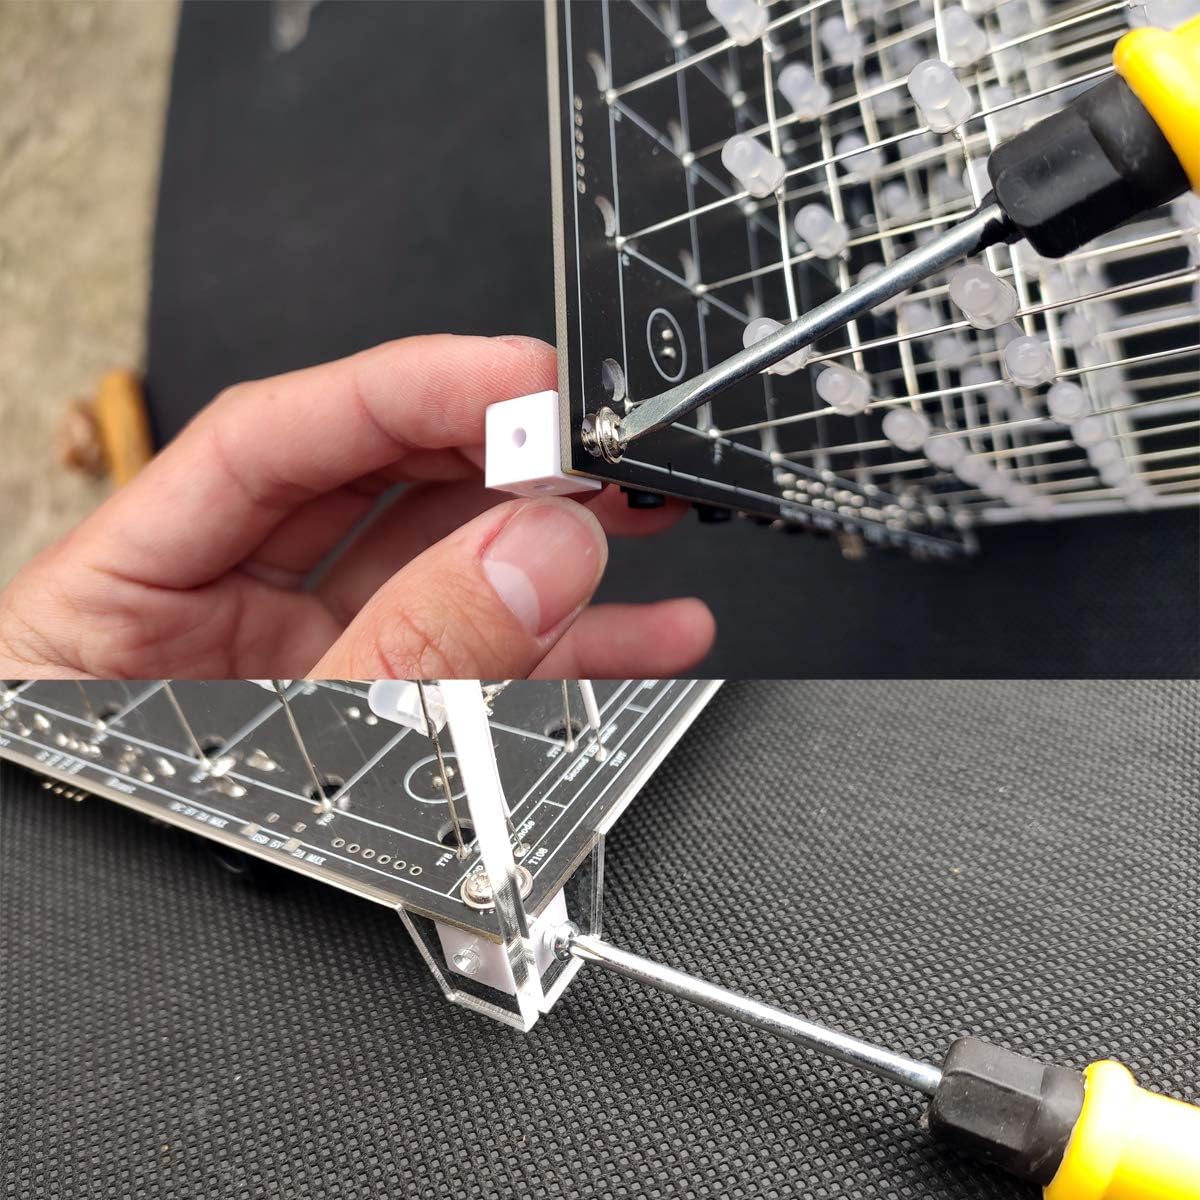
Image 5: Close-up demonstrating the attachment of a white plastic pellet to the PCB using a screw and screwdriver.
- Step 3: Attach Remaining White Plastic Pellets to Top Acrylic Board
Take one of the acrylic boards (this will be the top panel). Attach the remaining four white plastic pellets to the corners of this top acrylic board using 3*8mm screws. These pellets will serve as connection points for the side panels.

Image 6: A white plastic pellet being secured to an acrylic panel, forming a corner connection point.
- Step 4: Assemble Side Panels to the Top Panel
Take two of the remaining acrylic boards (side panels). Align them with two adjacent sides of the top acrylic board (from Step 3). Secure these two side panels to the plastic pellets on the top board using 3*8mm screws. Repeat this for the other two side panels, forming a complete five-sided acrylic enclosure (top and four sides).
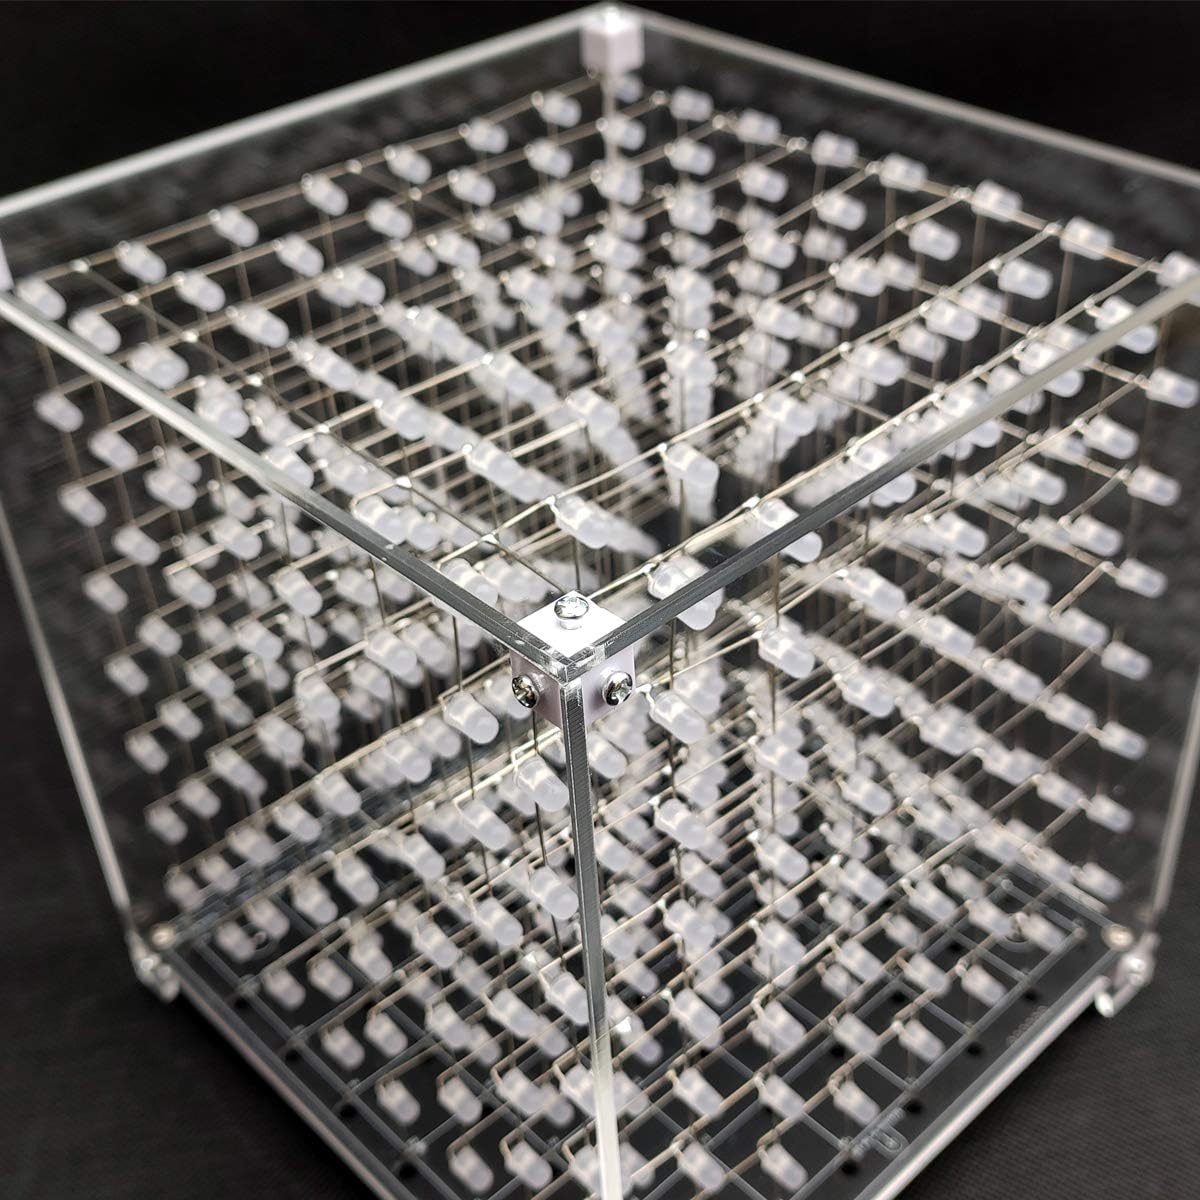
Image 7: A detailed view of a corner of the partially assembled acrylic case, showing two panels joined by screws.
- Step 5: Place Assembled Case over LED Cube
Carefully lower the pre-assembled acrylic case (top and four sides) over your iCubeSmart 3D LED Cube. Align the bottom edges of the side panels with the white plastic pellets attached to the PCB (from Step 2). The bottom of the case is not needed as the PCB forms the base.
- Step 6: Secure the Case to the PCB
Once the case is properly aligned, secure the bottom edges of the side panels to the white plastic pellets on the PCB using the remaining 3*8mm screws. Gently tighten all screws to ensure the case is stable and secure. Avoid over-tightening to prevent cracking the acrylic.

Image 8: The iCubeSmart 3D LED Cube fully enclosed within the transparent acrylic case, showcasing the finished product.
Upon completion of these steps, your iCubeSmart 3D LED Cube will be safely enclosed within the transparent acrylic case.
Maintenance
To keep your acrylic case clear and clean:
- Wipe the acrylic surfaces gently with a soft, lint-free cloth.
- For smudges or fingerprints, use a small amount of mild soap and water, or a specialized acrylic cleaner. Avoid harsh chemicals or abrasive materials, as these can scratch or damage the acrylic.
- Ensure the case remains dry to prevent water spots.
Troubleshooting
Assembly Issues:
- Difficulty aligning panels: Ensure all protective films are removed. Double-check that the white plastic pellets are oriented correctly with the outer holes.
- Screws not fitting: Verify you are using the correct screw size for each step (3*7mm for pellets to PCB, 3*8mm for acrylic panels). Do not force screws.
- Case feels unstable: Ensure all screws are tightened securely, but do not over-tighten. Check that all panels are seated properly in their grooves or against the pellets.
Missing or Damaged Components:
If you find any components missing or damaged upon arrival, please contact customer support immediately for assistance.
Support and Warranty
iCubeSmart offers professional after-sales technical support for all its DIY products. If you encounter any issues during assembly, have questions, or find that components are missing, please do not hesitate to contact us.
Contact Information:
- Email: iCubeSmart@gmail.com
We provide lifelong technical support services for our DIY products to ensure your satisfaction.