1. Introduction
This manual provides essential instructions for the safe and efficient operation, setup, and maintenance of your Usha Janome Marvella Automatic Zig-Zag Electric Sewing Machine. Please read this manual thoroughly before using the machine to ensure proper function and to prevent damage or injury.
The Usha Janome Marvella is a compact, free-arm zig-zag sewing machine designed for various sewing tasks. It features 13 built-in stitches and 14 stitch functions, including a buttonhole stitch, and is suitable for applications such as lace fixing, quilting, smocking, and rolled hemming.
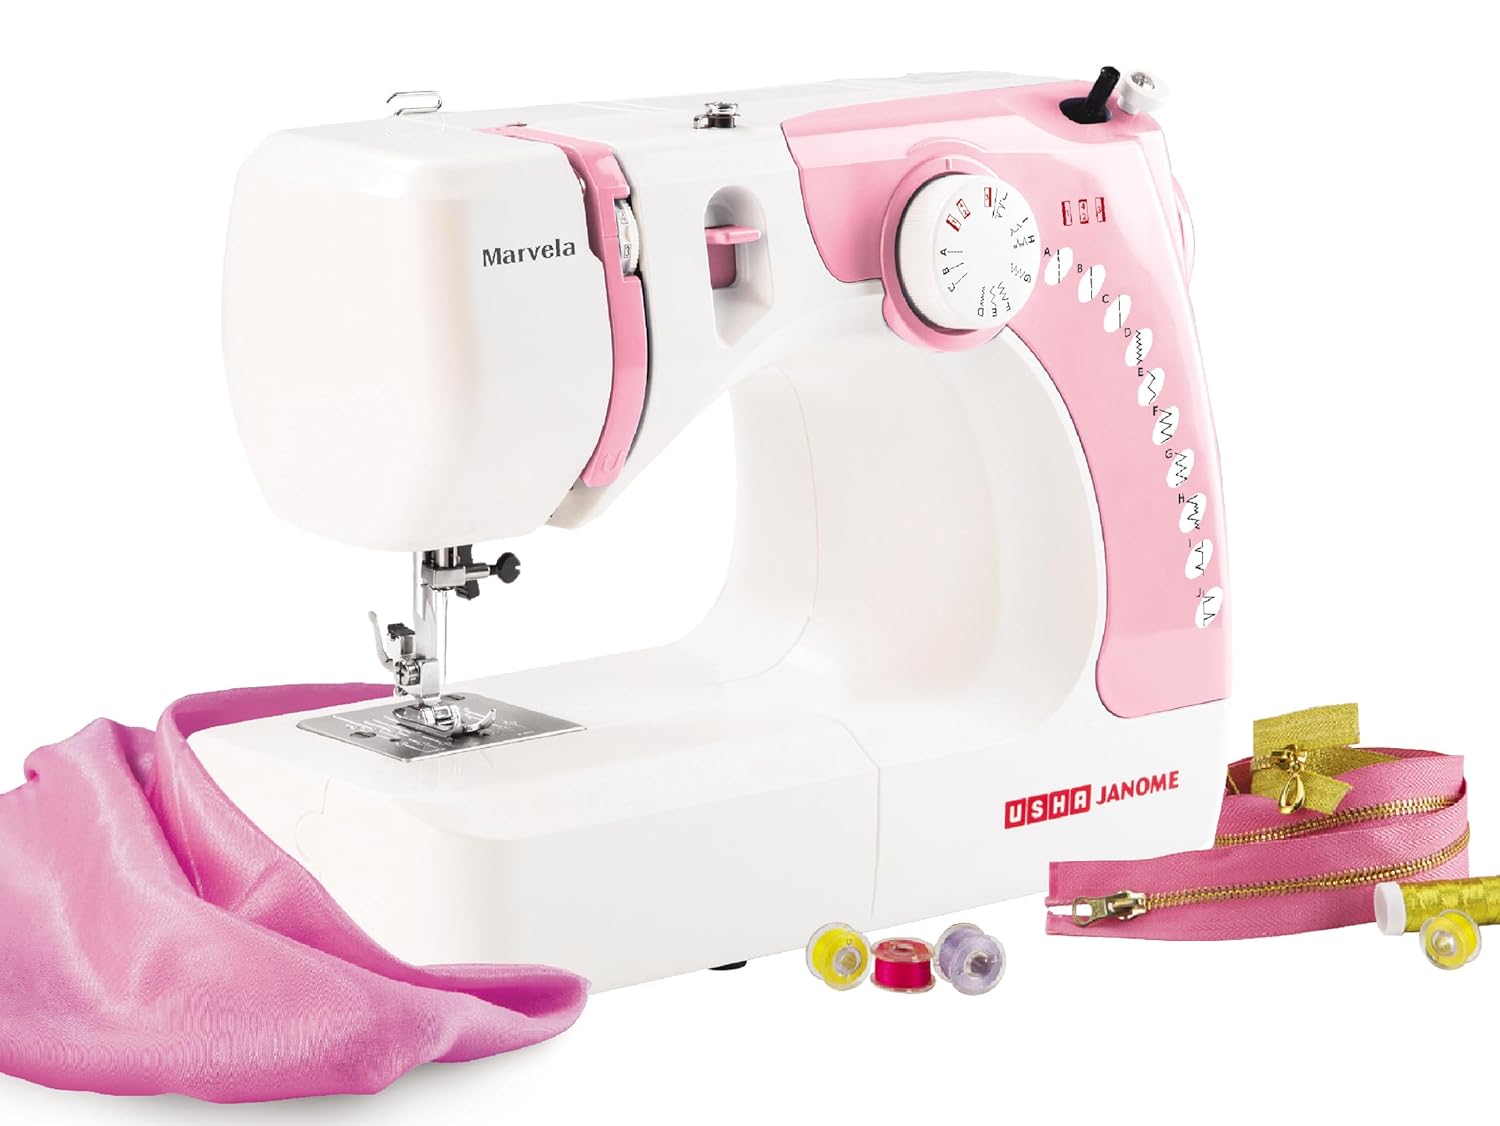
Image 1.1: The Usha Janome Marvella Automatic Zig-Zag Electric Sewing Machine, showcasing its compact design and pink and white color scheme. A piece of pink fabric, spools of thread, and a zipper are visible next to the machine.
2. Safety Instructions
- Always disconnect the sewing machine from the electrical outlet immediately after use, before cleaning, or when making any adjustments.
- Do not operate the machine with a damaged cord or plug. If the machine is not working properly, has been dropped, damaged, or dropped into water, contact authorized service personnel.
- Keep fingers away from all moving parts. Special care is required around the sewing machine needle.
- Use the correct needle plate. The wrong plate can cause the needle to break.
- Do not pull or push fabric while stitching. This may deflect the needle, causing it to break.
- Always use genuine Usha Janome parts and accessories to ensure optimal performance and safety.
3. Package Contents
Upon unpacking, please verify that all the following items are included in your package:
- Usha Janome Marvella Sewing Machine
- Power Cord and Foot Controller
- Standard Presser Foot
- Zipper Foot
- Buttonhole Foot
- Bobbins (2-3 units)
- Needle Set
- Seam Ripper
- Needle Plate
- Usha Scissor (as specified)
- Instruction Manual

Image 3.1: A collection of standard sewing machine accessories. This includes various presser feet (standard, zipper, buttonhole), clear bobbins, a set of needles, a seam ripper, and a needle plate, which are typically included with the machine.
4. Product Overview
Familiarize yourself with the main components of your sewing machine:
- Spool Pin: Holds the thread spool.
- Thread Guide: Guides the thread during winding and sewing.
- Tension Dial: Adjusts the upper thread tension.
- Stitch Selector Dial: Used to choose desired stitch patterns.
- Needle Clamp: Holds the needle in place.
- Presser Foot: Holds the fabric against the feed dogs.
- Needle Plate: Metal plate under the needle with seam guidelines.
- Feed Dogs: Moves the fabric under the presser foot.
- Free Arm: Removable part for sewing cylindrical items like sleeves and cuffs.
- Handwheel: Manually raises and lowers the needle.
- Power Switch: Turns the machine on/off.
- Foot Controller Jack: Connects the foot controller.
5. Setup
5.1 Unpacking and Placement
- Carefully remove the machine from its packaging.
- Place the machine on a stable, flat surface.
- Ensure there is adequate lighting and space for comfortable operation.
5.2 Power Connection
- Insert the foot controller plug into the machine's foot controller jack.
- Insert the power cord plug into a suitable electrical outlet.
- Turn on the power switch, usually located on the side or back of the machine.
5.3 Bobbin Winding
- Place a spool of thread on the spool pin.
- Guide the thread through the bobbin winding thread guide.
- Place an empty bobbin onto the bobbin winder spindle.
- Wrap the thread around the bobbin a few times, then push the spindle to the right.
- Press the foot controller gently to start winding. Stop when the bobbin is full.
- Cut the thread and remove the wound bobbin.
5.4 Inserting the Bobbin
- Open the bobbin cover plate.
- Insert the wound bobbin into the bobbin case, ensuring the thread unwinds in the correct direction (refer to the markings on the bobbin case).
- Pull the thread through the tension spring and out through the small opening.
- Close the bobbin cover plate.
5.5 Upper Threading
- Raise the presser foot lever.
- Place a spool of thread on the spool pin.
- Guide the thread through the upper thread guides, following the numbered path indicated on the machine.
- Ensure the thread passes through the tension discs and the take-up lever.
- Thread the needle from front to back.
- Pull the upper thread under the presser foot and towards the back.
6. Operating Instructions
6.1 Stitch Selection
Turn the stitch selector dial to choose one of the 13 built-in stitch patterns. The dial clearly indicates the available stitches, including straight stitch, zig-zag, and buttonhole.
6.2 Basic Sewing
- Place the fabric under the presser foot.
- Lower the presser foot lever.
- Gently press the foot controller to start sewing.
- Guide the fabric with both hands, but do not push or pull forcefully.
- To stop, release the foot controller. Raise the needle to its highest position using the handwheel.
- Raise the presser foot and pull the fabric away, cutting the threads.

Image 6.1: A close-up view of the sewing machine needle and presser foot in action, demonstrating a decorative stitch being applied to a piece of fabric with fringe. This illustrates the machine's capability for various stitch patterns.
6.3 Free Arm Sewing
The free arm feature is useful for sewing tubular items such as sleeves, pant hems, and cuffs. To use the free arm, simply slide off the accessory box from the front of the machine.

Image 6.2: The Usha Janome Marvella sewing machine demonstrating its free arm capability by stitching the hem of a green pant leg. The accessory box has been removed, allowing the fabric to fit around the narrow arm for easier sewing of cylindrical items.
6.4 Special Functions
The Marvella machine supports 14 stitch functions, including specific applications like lace fixing, quilting, smocking, and rolled hemming. Refer to the detailed instructions in the full manual for specific settings and techniques for each function.
7. Maintenance
7.1 Cleaning
- Regularly clean lint and dust from the bobbin area and feed dogs using a small brush.
- Wipe the exterior of the machine with a soft, dry cloth. Do not use harsh chemicals.
7.2 Needle Replacement
- Always turn off the machine and disconnect power before changing the needle.
- Loosen the needle clamp screw and remove the old needle.
- Insert a new needle with the flat side facing the back, pushing it up as far as it will go.
- Tighten the needle clamp screw securely.
8. Troubleshooting
This section addresses common issues you might encounter. For more complex problems, contact customer support.
| Problem | Possible Cause | Solution |
|---|---|---|
| Skipped Stitches | Incorrect needle, bent needle, improper threading. | Replace needle with correct type/size, re-thread machine correctly. |
| Thread Breakage | Incorrect tension, poor quality thread, bent needle, improper threading. | Adjust tension, use good quality thread, replace needle, re-thread. |
| Machine Jamming | Thread tangled in bobbin area, fabric pulled forcefully. | Turn off machine, remove bobbin case, clear tangled threads. Do not force fabric. |
| Uneven Stitches | Incorrect tension, worn needle, inconsistent fabric feeding. | Adjust tension, replace needle, ensure even fabric guidance. |
9. Specifications
- Model: Marvella
- Brand: USHA Janome
- Type: Automatic Zig-Zag Electric Sewing Machine
- Built-in Stitches: 13
- Stitch Functions: 14
- Applications: Lace fixing, Quilting, Smocking, Rolled Hemming, Buttonhole, etc.
- Material: Aluminium
- Color: Pink and White
- Item Weight: 5.9 Kilograms
- Product Dimensions (LxWxH): 37.4 x 19.7 x 28 Centimeters
- Power Source: Corded Electric
- Capacity: 550 stitches per minute (smp)
- Country of Origin: India
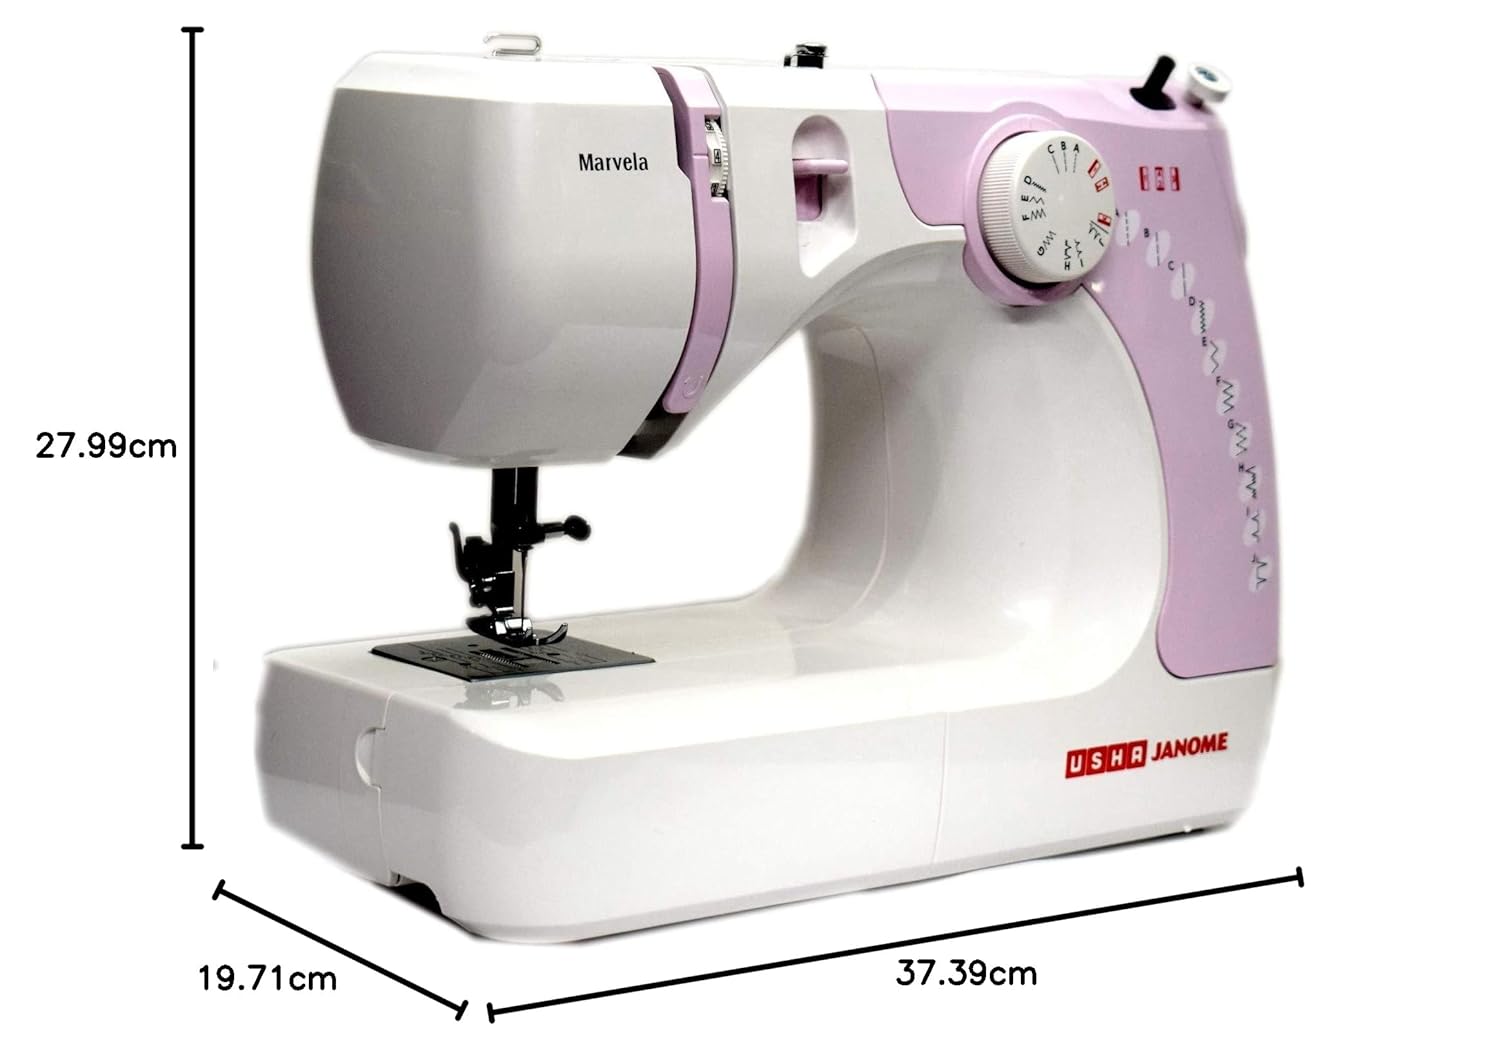
Image 9.1: A visual representation of the Usha Janome Marvella sewing machine with its key dimensions labeled: 37.39 cm in width, 19.71 cm in depth, and 27.99 cm in height. This provides a clear understanding of the machine's physical size.
10. Warranty and Support
Your Usha Janome Marvella Automatic Zig-Zag Electric Sewing Machine is covered by a manufacturer's warranty. Please retain your purchase receipt for warranty claims.
For technical assistance, service, or warranty inquiries, please contact:
USHA International LTD.
Plot No. 15, Institutional Area, Sector 32, Gurugram 122 001, Haryana, India
Registered Office: Surya Kiran Building 19, Kasturba Gandhi Marg, New Delhi 110 006, India
Telephone: +91-124-4583100
Toll Free No.: 1800 1033 111


