
Aigostar 202163
Contents
Aigostar Smart LED Ceiling Light User Manual
Model: 202163
1. Introduction
Thank you for choosing the Aigostar Smart LED Ceiling Light. This manual provides essential information for the safe installation, setup, operation, and maintenance of your new smart lighting product. Please read this manual thoroughly before installation and keep it for future reference.

Image: The Aigostar Smart LED Ceiling Light, showcasing its compatibility with smart home systems and app control.
2. Safety Information
To ensure safe operation and prevent damage, please observe the following safety precautions:
- Always disconnect power before installation, maintenance, or cleaning.
- Installation should be performed by a qualified electrician in accordance with local wiring regulations.
- Do not use this product in environments with high humidity or extreme temperatures.
- Ensure the mounting surface is strong enough to support the weight of the fixture.
- Do not attempt to disassemble or modify the light fixture. This will void the warranty.
- Keep out of reach of children.
3. Package Contents
Please check the package for the following items:
- Aigostar Smart LED Ceiling Light (1 unit)
- Mounting Screws and Wall Plugs
- User Manual (this document)
4. Specifications
| Parameter | Value |
|---|---|
| Brand | Aigostar |
| Model Number | 202163 |
| Power Consumption | 18 Watts |
| Equivalent Incandescent Bulb | 75 Watts |
| Input Voltage | 220-240V AC (Standard Household Voltage) |
| Luminous Flux | 1300 lm |
| Color Temperature (CCT) | 3000K - 6500K (Warm to White) |
| Dimensions (Diameter x Height) | 34 cm x 8 cm |
| Weight | 920 g |
| Compatibility | Aigostar App, Amazon Alexa, Google Home |


Image: Energy efficiency label and dimensional diagram of the ceiling light.
For detailed product information, refer to the official EU EPREL database: https://eprel.ec.europa.eu/qr/1475970
5. Installation
Follow these steps for safe and proper installation:
- Preparation: Ensure the power supply to the installation area is turned off at the main circuit breaker.
- Mounting Base: Detach the mounting base from the light fixture. Position the mounting base on the ceiling at the desired location and mark the drilling points.
- Drilling: Drill holes at the marked points and insert the wall plugs.
- Wiring: Connect the household wiring (Live, Neutral) to the corresponding terminals on the light fixture's wiring block. Ensure connections are secure.
- Attach Fixture: Secure the light fixture to the mounting base using the provided screws. Ensure it is firmly attached to the ceiling.
- Final Check: Once installed, restore power to the circuit.
Image: Step-by-step visual guide for installing the ceiling light.
6. Setup (App & Smart Home Integration)
To unlock the full smart features of your Aigostar LED Ceiling Light, download the Aigostar Smart APP and connect it to your home Wi-Fi network.
6.1. Aigostar Smart APP Setup
- Download App: Search for "Aigostar Smart" in your mobile app store (Google Play Store for Android or Apple App Store for iOS) and download the application.
- Register/Login: Open the app and register a new account or log in if you already have one.
- Add Device: Follow the in-app instructions to add a new device. Ensure your phone is connected to a 2.4GHz Wi-Fi network (5GHz networks are not supported for initial setup).
- Pairing Mode: Turn the light fixture ON-OFF-ON-OFF-ON rapidly (usually 3-5 times) until the light starts blinking, indicating it's in pairing mode.
- Connect: Confirm the light is blinking in the app and proceed with the connection. Once connected, you can rename the device.

Image: The intuitive Aigostar Smart APP interface for controlling the light.
6.2. Voice Assistant Integration (Alexa/Google Home)
After successfully connecting your light to the Aigostar Smart APP, you can link it with Amazon Alexa or Google Home for voice control.
- Open Voice Assistant App: Open the Amazon Alexa app or Google Home app on your smartphone.
- Enable Skill/Action:
- For Alexa: Go to "Skills & Games" and search for "Aigostar Smart". Enable the skill and link your Aigostar account.
- For Google Home: Go to "Works with Google" and search for "Aigostar Smart". Link your Aigostar account.
- Discover Devices: Once linked, ask your voice assistant to "Discover devices" or manually discover them through the app.
- Voice Control: You can now control your light using voice commands, e.g., "Alexa, turn on the living room light" or "Hey Google, set the bedroom light to warm white."

Image: The ceiling light is compatible with popular voice assistants for convenient control.
7. Operation
Your Aigostar Smart LED Ceiling Light offers various ways to control its lighting features.
7.1. App Control
Use the Aigostar Smart APP for comprehensive control:
- Brightness Adjustment: Adjust the light intensity from 0% to 100%.
- Color Temperature (CCT) Adjustment: Change the color temperature from warm white (3000K) to cool white (6500K).
- Scene Modes: Select from pre-set scenes or create custom DIY scenes to match your mood or activity.
- Timer Setting: Schedule the light to turn on or off at specific times.
- Group Control: If you have multiple Aigostar smart lights, group them together for simultaneous control.
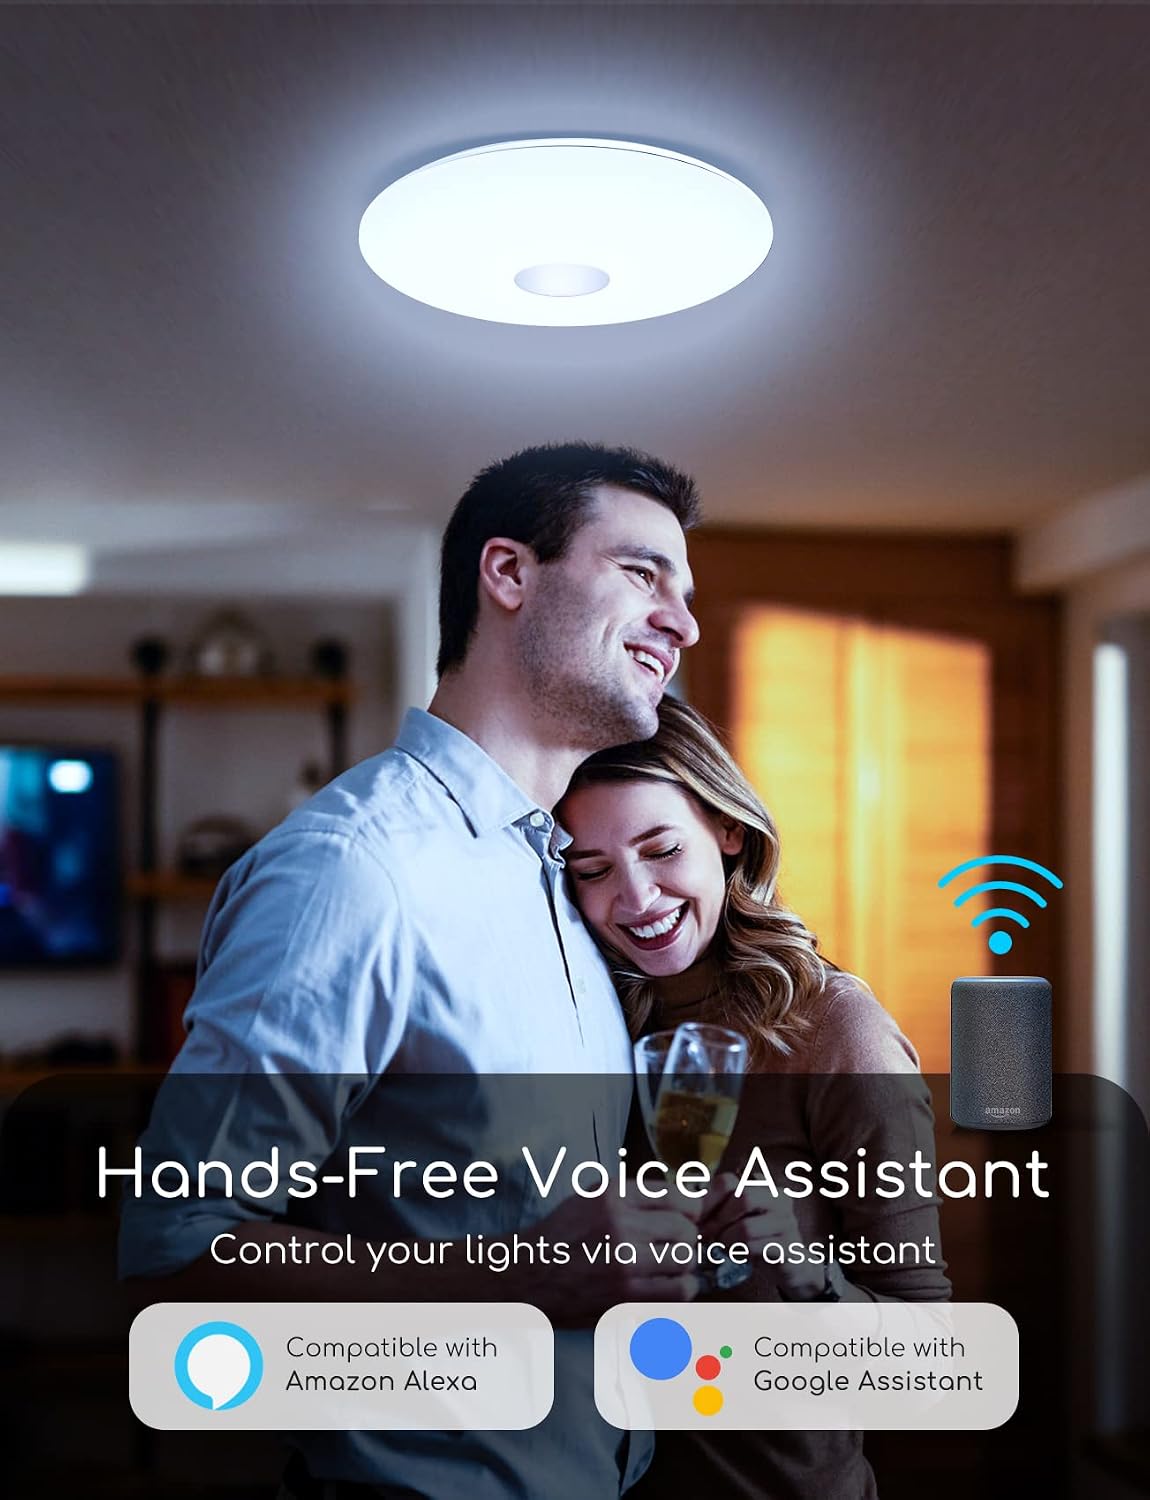
Image: Visual representation of brightness and color temperature adjustments.

Image: Setting timers for automatic light operation via the app.

Image: Managing multiple lights with the group control feature in the app.
7.2. Voice Control
Once integrated with Alexa or Google Home, use simple voice commands:
- "Alexa, turn on [Light Name]."
- "Hey Google, turn off [Light Name]."
- "Alexa, set [Light Name] to 50% brightness."
- "Hey Google, change [Light Name] to warm white."
8. Maintenance
To maintain the performance and appearance of your ceiling light:
- Cleaning: Ensure the power is off before cleaning. Wipe the surface with a soft, dry cloth. Do not use abrasive cleaners or solvents.
- Bulb Replacement: This LED fixture contains integrated LED components that are not user-replaceable. Do not attempt to replace individual LEDs.
- Storage: If storing the light for an extended period, keep it in a dry, cool place away from direct sunlight.
9. Troubleshooting
If you encounter issues with your Aigostar Smart LED Ceiling Light, refer to the following common problems and solutions:
| Problem | Possible Cause | Solution |
|---|---|---|
| Light does not turn on. | No power supply; Loose wiring; Faulty switch. | Check circuit breaker; Verify wiring connections; Test switch. |
| Cannot connect to Wi-Fi/App. | Incorrect Wi-Fi band (5GHz); Incorrect pairing mode; Weak Wi-Fi signal. | Ensure 2.4GHz Wi-Fi; Re-enter pairing mode (ON-OFF-ON-OFF-ON); Move router closer or use Wi-Fi extender. |
| Light blinks or flickers. | Unstable power supply; Loose connection; Interference. | Check power source stability; Secure all wiring; Reduce interference from other devices. |
| Voice control not working. | Skill/Action not enabled; Account not linked; Incorrect commands. | Verify Aigostar Smart skill/action is enabled and linked; Use correct voice commands; Re-discover devices. |
If the problem persists after trying these solutions, please contact Aigostar customer support.
10. Warranty and Support
Aigostar products are designed and manufactured to the highest quality standards. This product is covered by a limited warranty from the date of purchase. Please refer to the warranty card included with your product or visit the official Aigostar website for detailed warranty terms and conditions.
For technical support, troubleshooting assistance, or warranty claims, please contact Aigostar customer service through their official website or the contact information provided in your product packaging.
Ask a question about this manual
Ask about setup, troubleshooting, compatibility, parts, safety, or missing instructions. Manuals+ will review the question and use this page’s manual context to help answer it.