1. Introduction
Thank you for choosing the Acer Vero CB272P6bmiprx Full-HD Office Monitor. This manual provides essential information for the safe and efficient use of your new monitor. Please read these instructions carefully before installation and operation, and retain them for future reference.
2. Safety Information
- Always place the monitor on a stable, level surface to prevent it from falling.
- Ensure proper ventilation around the monitor. Do not block ventilation openings.
- Use only the power adapter and cables supplied with the monitor.
- Do not expose the monitor to rain or moisture to avoid electric shock.
- Avoid placing the monitor near heat sources or in direct sunlight.
- Disconnect the power cable from the outlet before cleaning or if the monitor will be unused for an extended period.
3. Package Contents
Verify that all items are present in your package:
- Acer Vero CB272P6bmiprx Monitor
- Monitor Stand (Base and Neck)
- Power Cable
- HDMI Cable
- DisplayPort Cable
- USB Upstream Cable
- Quick Start Guide
4. Setup
4.1 Assembling the Monitor Stand
- Carefully remove the monitor from its packaging, keeping it protected.
- Attach the stand neck to the monitor panel. Ensure it clicks securely into place or is fastened with screws if provided.
- Attach the stand base to the stand neck. Tighten the thumb screw or screws from the bottom of the base.
- Place the assembled monitor on a stable desk or surface.

Image 1: Front view of the Acer Vero CB272P6bmiprx monitor on its stand.
4.2 Connecting Cables
- Power Connection: Connect the power cable to the monitor's power input, then plug the other end into a power outlet.
- Video Connection: Connect one end of your preferred video cable (HDMI, DisplayPort, or VGA) to the corresponding port on the monitor and the other end to your computer's graphics card. For optimal performance, DisplayPort or HDMI is recommended.
- USB Connection: If you wish to use the monitor's USB ports, connect the USB upstream cable from the monitor to an available USB port on your computer.
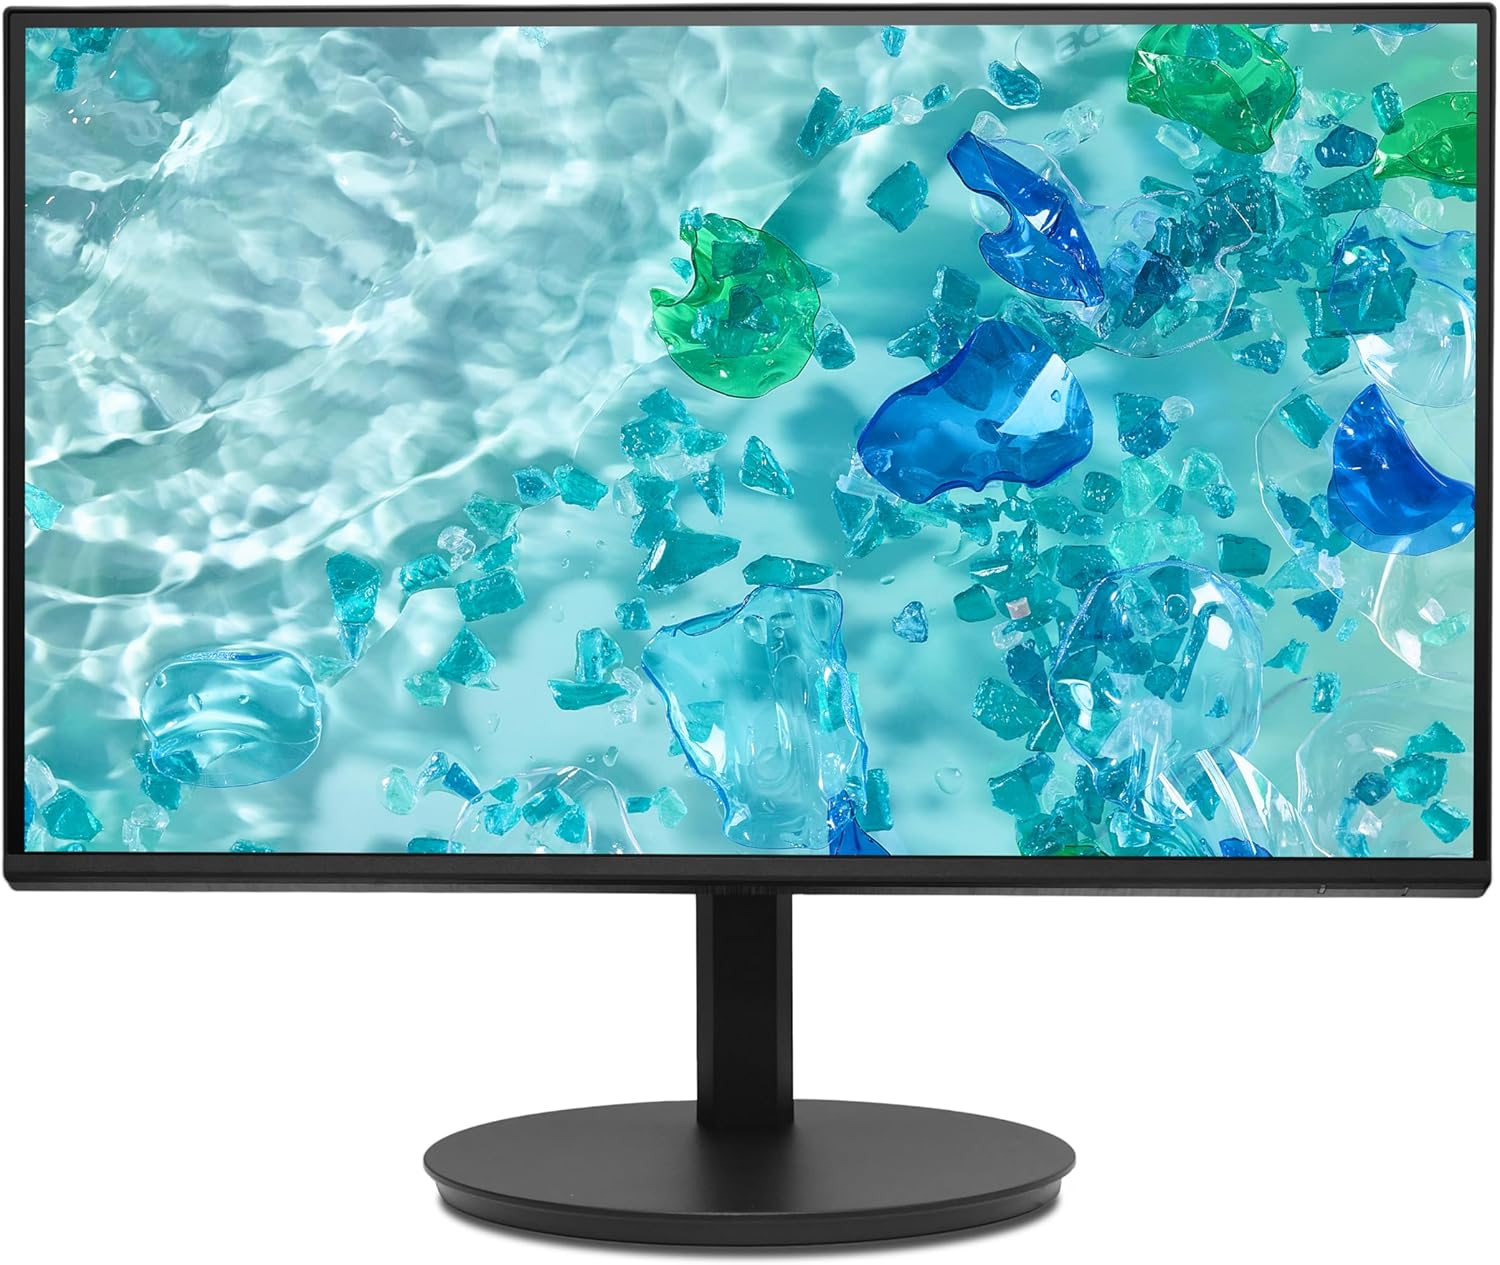
Image 2: Rear view of the Acer Vero CB272P6bmiprx monitor, highlighting the input ports for power, video, and USB.
5. Operating
5.1 Power On/Off
Press the power button, usually located on the back or bottom right side of the monitor, to turn the monitor on or off. The power indicator light will illuminate when the monitor is on.
5.2 On-Screen Display (OSD) Menu
The OSD menu allows you to adjust various monitor settings. Use the control buttons (joystick or individual buttons) typically located on the back or bottom of the monitor to navigate the menu.
- Input: Select the active video input source (HDMI, DisplayPort, VGA).
- Picture: Adjust brightness, contrast, sharpness, and color temperature.
- Color: Fine-tune color settings, including gamma and sRGB mode.
- Audio: Adjust speaker volume or mute.
- OSD: Change OSD language, transparency, and timeout.
5.3 Using the Integrated Speakers
The monitor features integrated speakers. Adjust the volume through the OSD menu or your computer's audio settings. Ensure your computer's audio output is directed to the monitor if using HDMI or DisplayPort for audio transmission.
6. Maintenance
6.1 Cleaning the Monitor
- Screen: Gently wipe the screen with a soft, lint-free cloth. For stubborn marks, slightly dampen the cloth with water or a non-abrasive screen cleaner. Never spray liquid directly onto the screen.
- Casing: Use a soft, dry cloth to clean the monitor casing. Avoid using strong detergents or solvents.
6.2 Storage
If storing the monitor for an extended period, disconnect all cables, pack it in its original packaging if possible, and store it in a cool, dry place away from direct sunlight and extreme temperatures.
7. Troubleshooting
If you encounter issues with your monitor, refer to the following common problems and solutions:
| Problem | Possible Solution |
|---|---|
| No power | Check if the power cable is securely connected to both the monitor and the power outlet. Ensure the power outlet is functional. |
| No signal | Verify that the video cable is correctly connected to both the monitor and the computer. Select the correct input source using the OSD menu. Ensure the computer is powered on and not in sleep mode. |
| Image is distorted or blurry | Check the video cable connection. Adjust resolution and refresh rate settings on your computer to match the monitor's native resolution (1920x1080) and refresh rate (144Hz). |
| No sound from speakers | Ensure the audio cable (if separate) is connected, or if using HDMI/DP, check your computer's audio output settings. Adjust the monitor's volume via the OSD menu. |
8. Specifications
Key technical specifications for the Acer Vero CB272P6bmiprx monitor:
| Feature | Specification |
|---|---|
| Brand | Acer |
| Model Number | Vero CB272P6bmiprx |
| Screen Size | 27 Inches (68.6 cm) |
| Resolution | Full-HD (1920 x 1080) |
| Panel Type | IPS |
| Refresh Rate | 144 Hz |
| Color Gamut | 99% sRGB |
| Response Time | 1 Millisecond (VRB) |
| Aspect Ratio | 16:9 |
| Video Inputs | 1x HDMI (1.4), 1x DisplayPort (1.2), 1x VGA |
| USB Ports | 4 (USB 3.0) |
| Speakers | Integrated |
| Voltage | 230 Volts |
| Item Weight | 5.61 Kilograms |
9. Warranty and Support
Your Acer Vero CB272P6bmiprx monitor comes with a standard manufacturer's warranty. For detailed warranty terms, conditions, and registration, please refer to the warranty card included in your package or visit the official Acer support website.
For technical assistance, driver downloads, or further support, please visit the Acer support website at www.acer.com/support.