
Snailfly SnailflyTXZ02000YC00TB00
Snailfly Running Boards Instruction Manual
Model: SnailflyTXZ02000YC00TB00
1. Introduction
Thank you for choosing Snailfly Running Boards. These side steps are designed to provide enhanced accessibility and protection for your vehicle. Crafted from durable aluminum, they offer a secure and convenient step for passengers and help shield your vehicle from road debris. This manual provides detailed instructions for installation, usage, and maintenance to ensure optimal performance and longevity of your running boards.

Image: Snailfly Running Boards on a Ford Explorer, showcasing the product's appearance and components.
2. Compatibility
These Snailfly Running Boards are specifically designed to fit the following Ford Explorer models:
- Ford Explorer: 2020, 2021, 2022, 2023, 2024, 2025 (Base, ST, XLT, Limited, Platinum, ST-Line, Timberline)
Important: These running boards are not compatible with Ford Explorer models from 2011-2019.

Image: Visual guide illustrating the compatible Ford Explorer model years (2020 and newer) and incompatible older models.
3. Safety Information
Please read and understand all instructions before installation and use. Failure to follow these instructions may result in personal injury or damage to the product or vehicle.
- Always wear appropriate personal protective equipment, such as gloves and eye protection, during installation.
- Ensure the vehicle is parked on a level surface and the parking brake is engaged before beginning installation.
- Do not exceed the maximum weight limit of 350 pounds on the running boards.
- Regularly inspect all mounting hardware for tightness and signs of wear or damage. Tighten as necessary.
- Keep children and pets away from the work area during installation.
4. Package Contents
Verify that all components listed below are present and undamaged before proceeding with installation.
| Item | Quantity | Description |
|---|---|---|
| Running Boards | 2 | Left and Right side steps |
| Mud Flaps | 2 | For front wheel wells |
| Mounting Brackets | 6 | Vehicle-specific attachment points |
| Mounting Hardware | 1 set | Bolts, nuts, washers, mending plates |
| Installation Instruction | 1 | Printed guide (refer to this manual for detailed steps) |
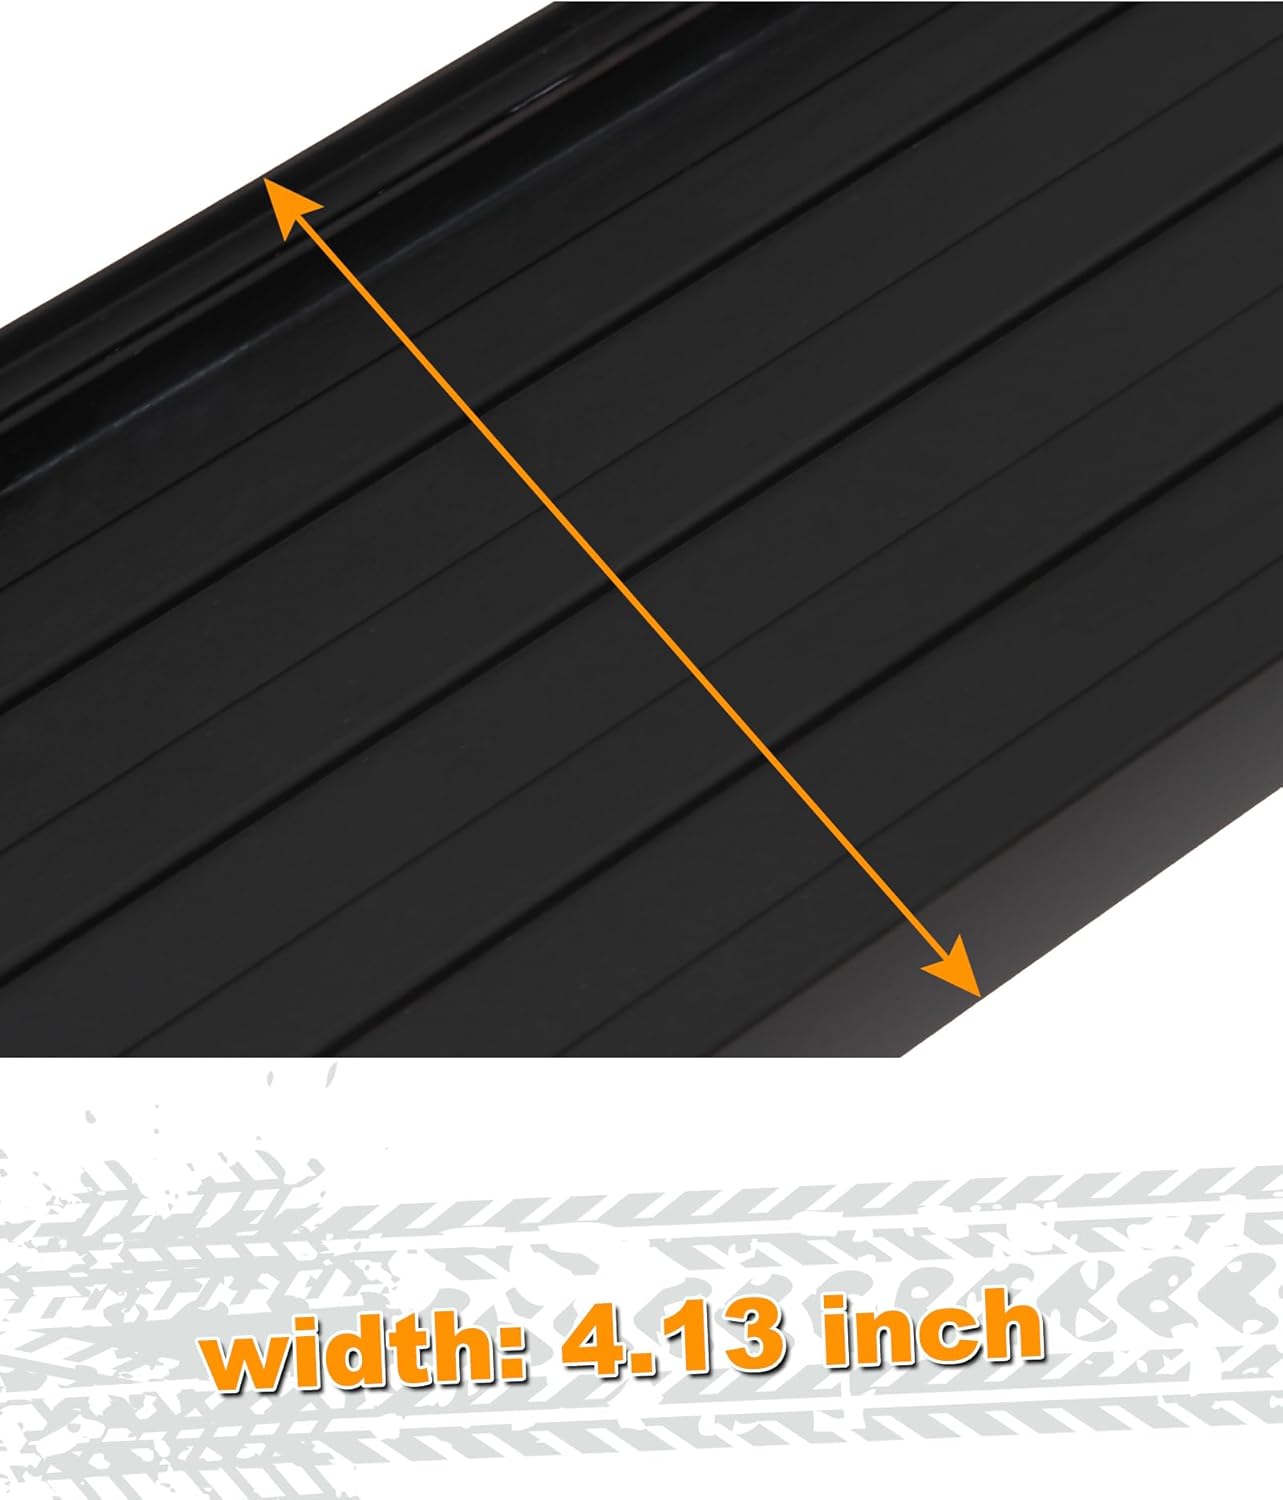
Image: Overview of all components included in the Snailfly Running Boards package.
5. Installation Guide
The Snailfly Running Boards are designed for easy bolt-on installation, utilizing existing factory mounting points. No drilling or cutting is required. It is recommended to have a second person assist with the installation of the running boards themselves.
Tools Required:
- 12mm Socket Wrench (deep well socket or short extension recommended)
- Small Pocket Mirror (optional, but highly recommended for locating mounting points)
- Flashlight or Headlamp
- Gloves and Eye Protection
Installation Steps:
- Prepare Components: Unpack all components and lay them out. Identify the short flange nuts, long flange nuts, steel long semi-flat straight mending plates, and steel flat mending plates. Organize them by the three bracket positions for each side of the vehicle (front, middle, rear).
- Locate Mounting Points:
- Along the underside edge of the vehicle's kick panel face, you will find three extended tabs (one near the front door, one near the rear of the front door, and one about two-thirds down the rear door).
- Behind each tab, there are three corresponding holes in the metal edge lip of the floor pan. These holes match the three holes in the mounting bracket. This is where the small flat brackets will be placed, sandwiched between the plastic kick panel and the metal lip, with holes aligned.
- A few inches inboard from each location, you will see a pair of square and circular cut-outs in the floorboard. This is where the mounting bracket with the long flexible extension tab will go.
Tip: A small pocket mirror can be very useful for finding and aligning these mounting locations.
- Pre-Thread Bolts: Before installing, test fit all bolts into their respective mounting threads. This helps clear any burrs and ensures smooth installation.
- Install Brackets (One Side at a Time):
- For each of the three mounting points on one side of the vehicle:
- Insert the long flexible extension tab of the mounting bracket into the square hole in the floorboard, bending it as needed so the threaded portion lays flat and centered in the round opening. Taping the tab in place can be helpful.
- Install the mounting bracket using a long bolt into the long tab bracket in the floorpan first. Leave it loose enough to adjust alignment.
- Slide the small flat bracket into place between the plastic kick panel and the metal lip, aligning its three holes with the vehicle's body lip. There should be enough friction to hold it in place.
- Insert the short nuts (flange nuts) into the aligned holes for the flat bracket.
- Once all three bolts are started, alternately tighten the flat bracket bolts to pull the mounting bracket firmly against the lip, while also snugging the floor pan bolt. Do not overtighten.
- For each of the three mounting points on one side of the vehicle:
- Attach Running Boards:
- With all three mounting brackets securely installed on one side, position the running board. The running boards have six captured bolts on their underside (two per bracket).
- Align these captured bolts with the corresponding slots in the installed mounting brackets.
- Gently lower the running board onto the brackets.
- Adjust the running board's position as needed for optimal fit and appearance.
- Tighten the two nuts for each bracket to secure the running board.
- Repeat for Other Side: Follow steps 4 and 5 for the opposite side of the vehicle.
- Final Check: Visually inspect all connections and test the sturdiness of both running boards. Ensure all bolts are securely tightened.

Image: Detailed view of the running board's features, highlighting the anti-slip texture and bolt-on installation points.

Image: Mud flap in place, illustrating the product's durability with aluminum alloy construction, 350 lbs weight capacity, and weather resistance.

Image: Views of the running boards from the front and rear, demonstrating their integrated appearance on the vehicle.
Installation Video Guide
Video: An official Snailfly video demonstrating the installation process and showcasing the running boards on a Ford Explorer 2020+ model.
6. Operating Instructions
Snailfly Running Boards are designed to enhance the functionality and convenience of your Ford Explorer.
- Easy Access: The anti-slip surface provides reliable traction, making it easier and safer for all passengers, including children and the elderly, to enter and exit the vehicle.
- Cargo Loading: The sturdy platform facilitates easier access to the roof of your vehicle for loading or unloading cargo, such as luggage or sports equipment.
- Vehicle Protection: The running boards, along with the included mud flaps, help protect the lower body of your vehicle from road debris, rocks, and mud, minimizing potential damage and keeping your vehicle cleaner.
- Weight Capacity: Each running board can safely support up to 350 pounds. Ensure this limit is not exceeded.

Image: Demonstrating how the running boards provide an easier step into the Ford Explorer.

Image: Illustrating various benefits, including enhanced safety for elderly and children, easier roof cargo access, and vehicle protection from debris.
7. Maintenance
To ensure the longevity and appearance of your Snailfly Running Boards, follow these simple maintenance guidelines:
- Regular Cleaning: Clean the running boards regularly with mild soap and water. Avoid abrasive cleaners or harsh chemicals that could damage the finish.
- Inspect Hardware: Periodically check all mounting bolts and brackets for tightness. Vibrations from driving can sometimes loosen fasteners over time. Re-tighten any loose hardware to prevent rattling or instability.
- Check for Damage: Inspect the running boards and mud flaps for any signs of damage, such as cracks, bends, or excessive wear. Address any issues promptly to maintain safety and performance.
- Weather Resistance: The aluminum construction is rust-free and designed to withstand various weather conditions. However, regular cleaning helps prevent accumulation of dirt, salt, or other corrosive substances, especially in harsh environments.
8. Troubleshooting
If you encounter any issues with your Snailfly Running Boards, refer to the following common solutions:
| Problem | Possible Cause | Solution |
|---|---|---|
| Running board feels loose or wobbly. | Loose mounting hardware. | Inspect all bolts and nuts. Re-tighten them securely using a 12mm socket wrench. |
| Difficulty aligning mounting brackets during installation. | Incorrect positioning of mending plates or bolts. | Ensure mending plates are correctly inserted into the vehicle's frame holes. Use a small mirror to verify alignment. Loosen bolts slightly to adjust, then re-tighten. |
| Running board does not sit flush against the vehicle. | Improper bracket alignment or vehicle body interference. | Re-check bracket alignment. Ensure no existing vehicle components are obstructing the fit. Adjust bracket positions as needed before final tightening. |
9. Specifications
| Attribute | Detail |
|---|---|
| Brand | Snailfly |
| Model Number | SnailflyTXZ02000YC00TB00 |
| Color | Black |
| Material | Aluminum |
| Exterior Finish | Painted |
| Vehicle Service Type | Fit for Ford Explorer 2020+ |
| Weight Limit | 350 Pounds |
| Item Weight | 29.9 pounds |
| Package Dimensions | 83 x 10 x 7.5 inches |

Image: Snailfly Running Boards seamlessly integrated onto a Ford Explorer, highlighting their aesthetic and functional design.
10. Warranty and Support
Snailfly is committed to providing high-quality products and excellent customer service. While specific warranty details are not provided in this manual, Snailfly generally stands behind its products.
For any questions, concerns, or assistance with your Snailfly Running Boards, please contact Snailfly customer service through the platform where you purchased the product. Be prepared to provide your order details and product model number (SnailflyTXZ02000YC00TB00) for faster service.
You can also visit the official Snailfly store for more information and support: Snailfly Store on Amazon
Related documentsSnailflyTXZ02000YC00TB00


Ask a question about this manual
Ask about setup, troubleshooting, compatibility, parts, safety, or missing instructions. Manuals+ will review the question and use this page’s manual context to help answer it.