Introduction
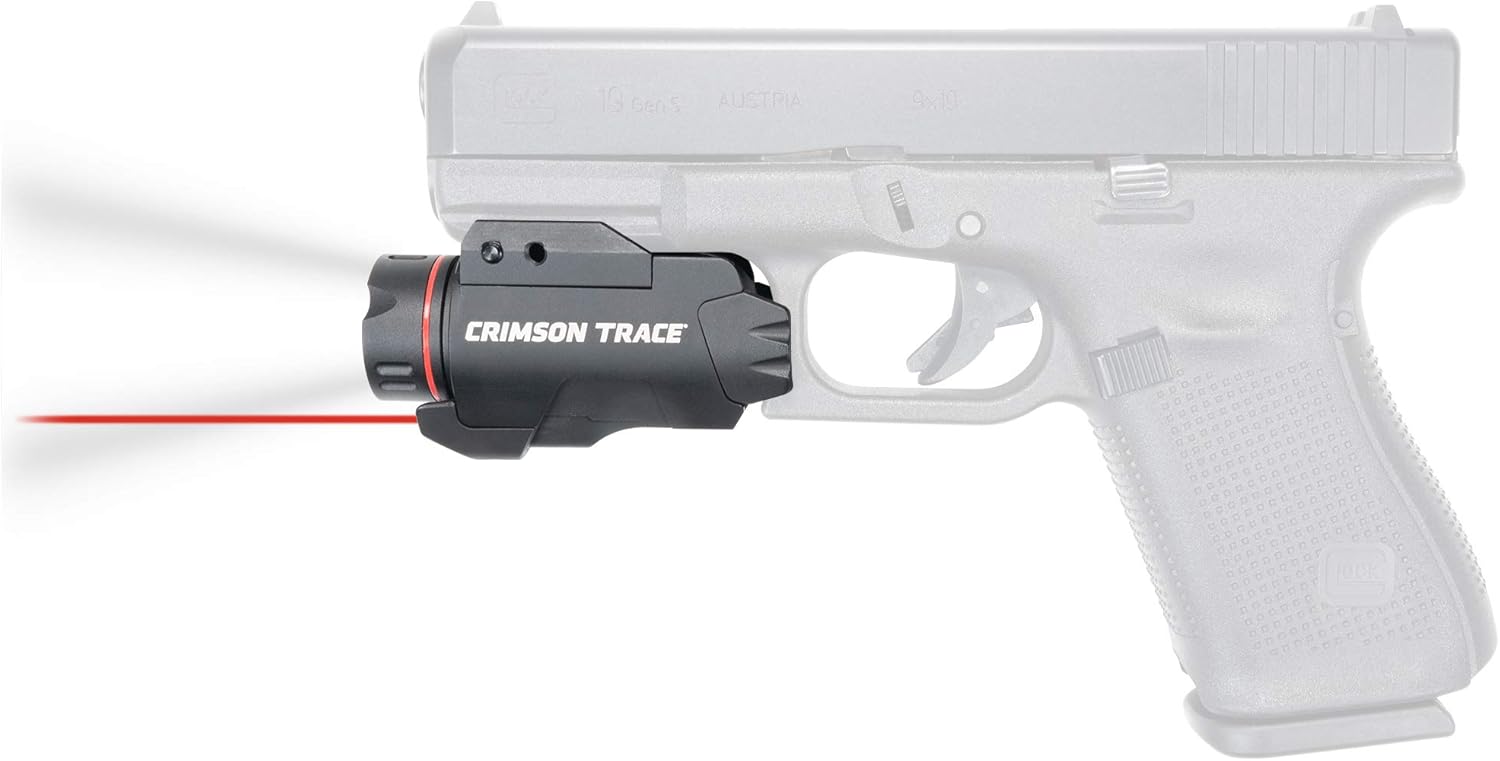
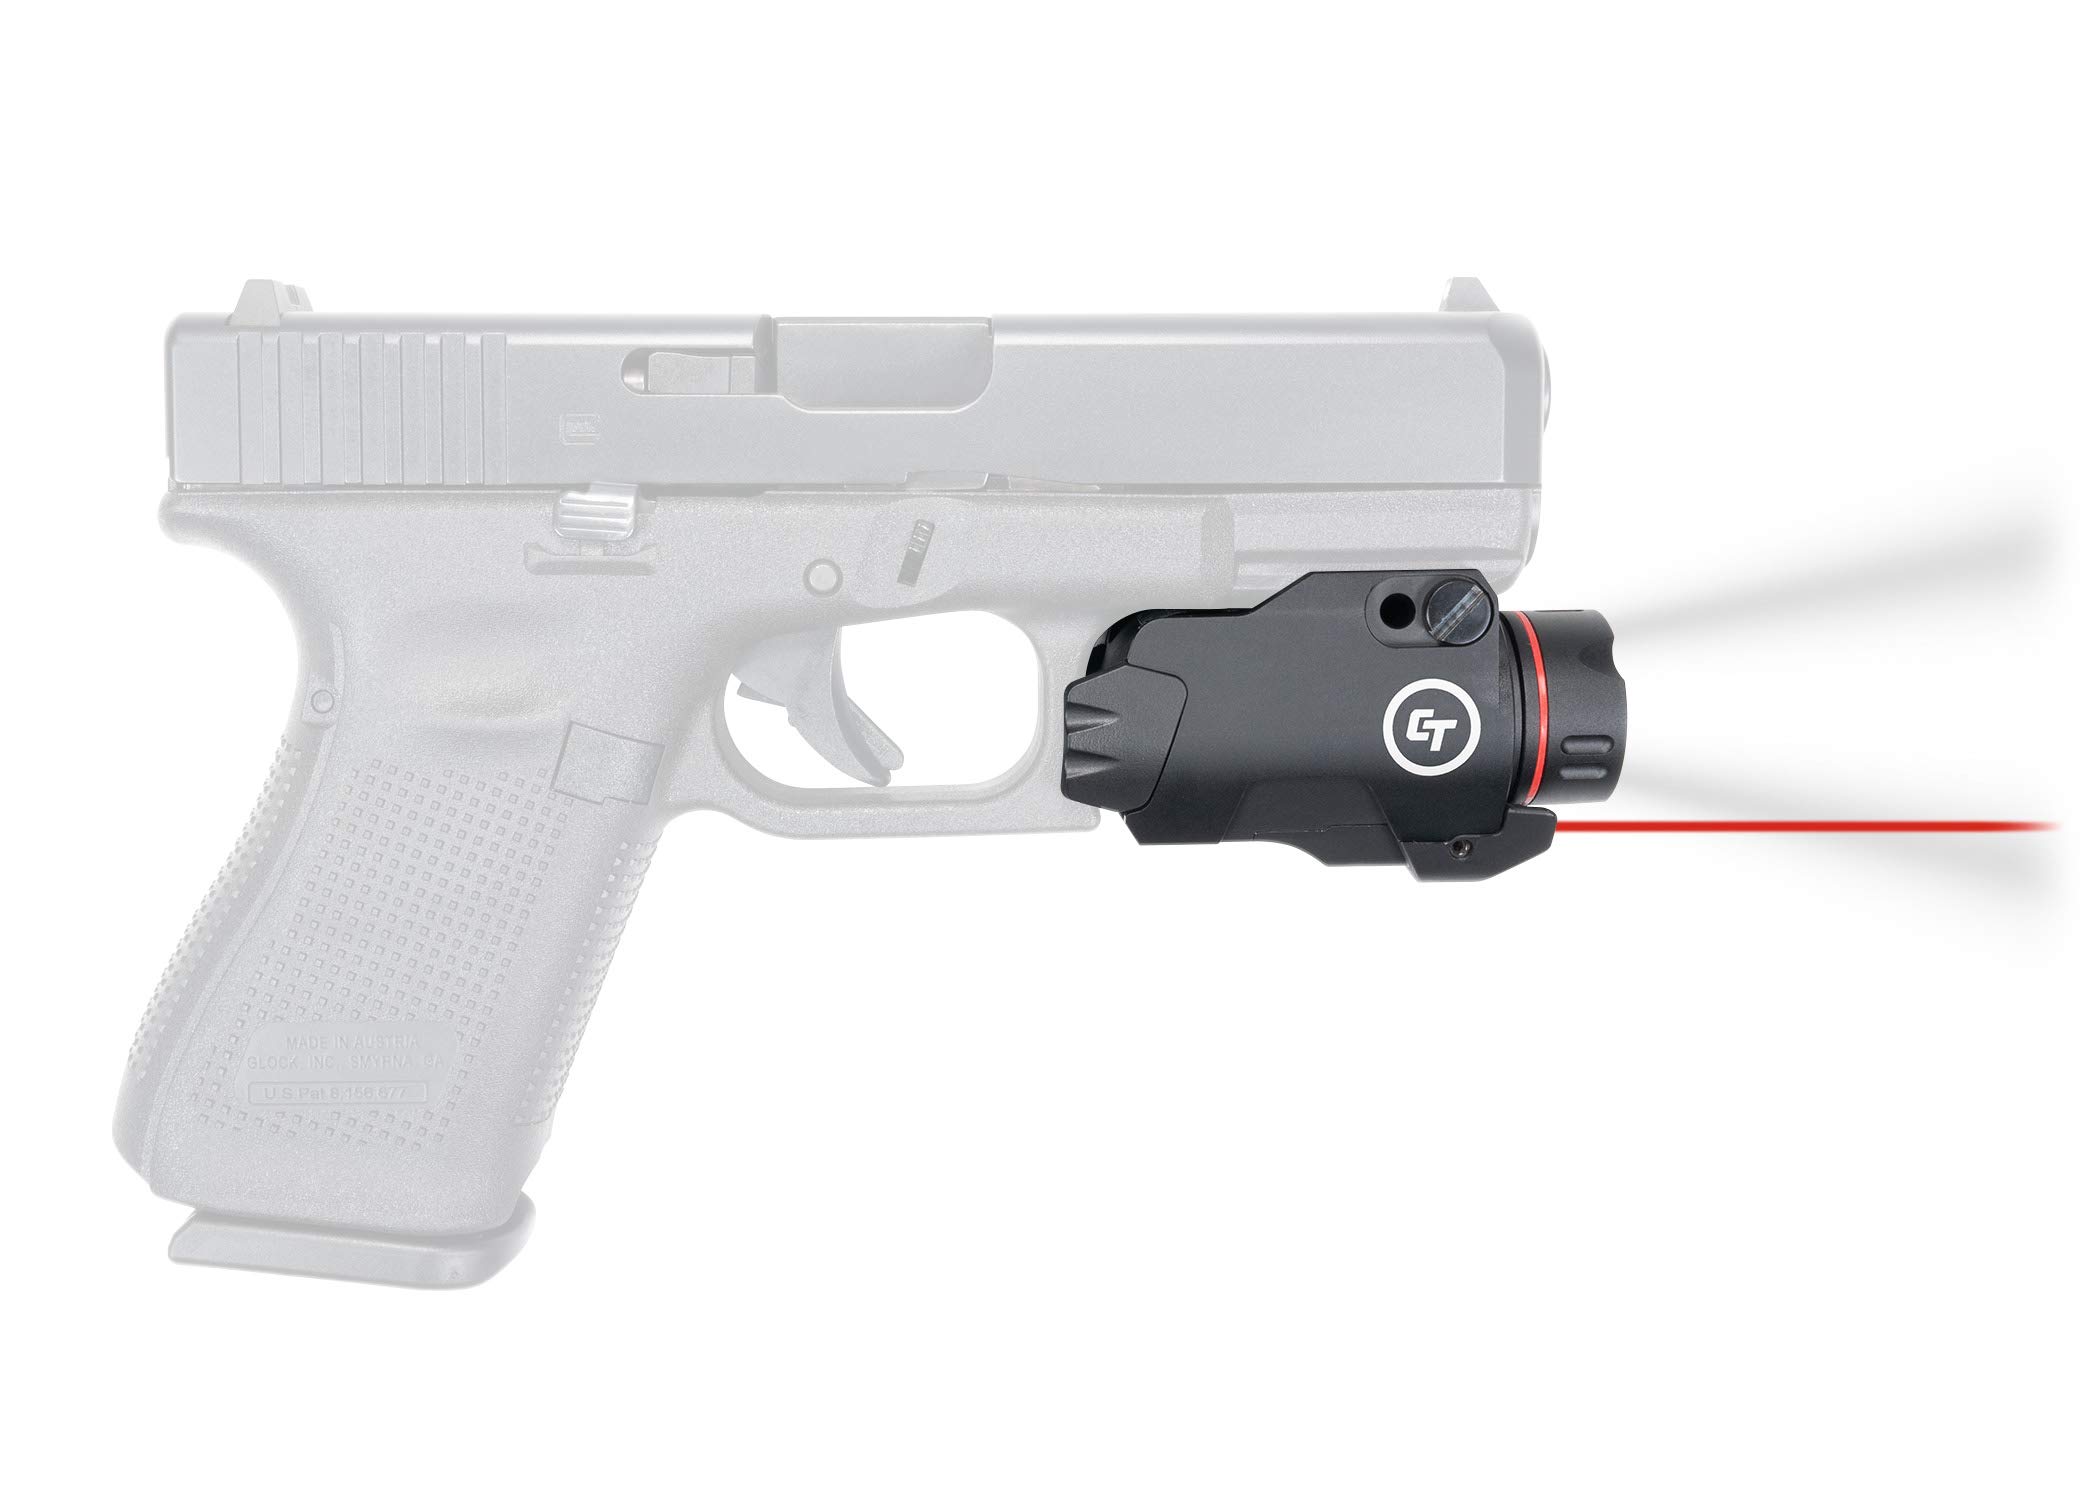
The Crimson Trace CMR-207 Rail Master Pro is a compact and powerful accessory designed for firearms equipped with M1913 Picatinny or Weaver-style accessory rails. It integrates a 400 Lumen LED flashlight with a Class 3R visible red laser, offering enhanced targeting and illumination capabilities. This unit features instant activation and memory retention for user convenience.
This manual provides essential information for the safe and effective use of your CMR-207. Please read it thoroughly before installation and operation.
Safety Information
- Always follow all firearm safety rules.
- Ensure the firearm is unloaded and safe before installing or adjusting the CMR-207.
- Never look directly into the laser beam or flashlight.
- Treat the laser as you would a loaded firearm; never point it at anything you do not intend to shoot.
- Keep out of reach of children.
Setup and Installation
Battery Installation
- Unscrew the front cap of the unit, which houses the flashlight lens.
- Insert one (1) CR123A Lithium Manganese Dioxide battery with the positive (+) terminal facing forward (towards the flashlight lens).
- Carefully screw the front cap back on, ensuring it is tightened securely to establish proper electrical contact. Overtightening is not necessary, but a firm fit is crucial for reliable operation.
Mounting the Unit
The CMR-207 is designed for M1913 Picatinny and Weaver-style accessory rails found on most pistols, shotguns, and rifles.
- Ensure the firearm is unloaded and pointed in a safe direction.
- Loosen the mounting screw on the side of the CMR-207.
- Align the unit with an available rail slot on your firearm.
- Slide the unit onto the rail until the cross-bolt engages with a rail slot.
- Tighten the mounting screw firmly. Ensure the unit is stable and does not wobble. A secure mount is essential for maintaining zero.
Operating Instructions
Activation and Mode Selection
The CMR-207 features ambidextrous activation paddles located on both sides of the unit. It offers three operating modes: Laser only, Flashlight only, and Laser with Flashlight.
- To Select a Mode: Press and hold either activation paddle for approximately 3 seconds. The unit will cycle through the modes (Laser only, Flashlight only, Laser with Flashlight). Release the paddle when the desired mode is active. The unit will remember this setting (memory retention) for future activations.
- To Turn On/Off: Once a mode is selected, a quick press and release of either activation paddle will turn the unit on or off in the last selected mode.
Laser Adjustment
The laser can be adjusted for windage and elevation to align with your firearm's point of impact. Adjustment screws are typically located on the side and bottom of the laser housing.
- Use a small hex wrench (often included) to make adjustments.
- Windage Adjustment: Turn the side screw to move the laser left or right.
- Elevation Adjustment: Turn the bottom screw to move the laser up or down.
- Make small adjustments and test the alignment at your desired range.
Maintenance
Cleaning
- Ensure the unit is off and removed from the firearm before cleaning.
- Use a soft, clean cloth to wipe down the exterior of the unit.
- For the flashlight lens and laser aperture, use a lens cleaning cloth and solution designed for optics to avoid scratching.
- Do not use harsh chemicals or abrasive materials.
Battery Replacement
Replace the CR123A battery when the flashlight dims significantly or the laser becomes weak or intermittent. Follow the battery installation steps outlined in the Setup section.
Storage
Store the CMR-207 in a cool, dry place. If storing for extended periods, it is recommended to remove the battery to prevent potential leakage and damage to the unit.
Troubleshooting
- Flashlight or Laser Not Activating:
a. Ensure the battery is correctly installed with the positive (+) terminal facing forward.
b. Verify the front cap (battery cover) is screwed on tightly. A loose cap can prevent electrical contact.
c. Replace the battery with a fresh CR123A battery. - Unit Fails to Maintain Zero:
a. Check that the mounting screw is securely tightened to the firearm's rail. A loose mount is the primary cause of zero shift.
b. Ensure the unit's cross-bolt is properly seated within a rail slot. - Laser Dims When Flashlight is Active:
a. This can occur due to the power draw required for both functions. While designed for optimal performance, simultaneous high power usage may result in a slight reduction in laser intensity.
b. Ensure the battery is fully charged and not nearing the end of its life. - Accidental Activation in Holster:
a. The activation paddles are designed for quick access. When holstering, ensure your holster provides adequate protection to prevent unintended pressure on the paddles.
b. Consider a holster specifically designed for firearms with weapon-mounted lights/lasers. - Difficulty Switching Modes:
a. Ensure you are pressing and holding an activation paddle for approximately 3 seconds to cycle through modes. A quick press will only turn the unit on/off in the last selected mode.
Specifications
| Feature | Specification |
|---|---|
| Model | CMR-207 |
| Laser Type | Class 3R Red Laser |
| Laser Wavelength | 620-670nm |
| Laser Output | 5mW peak (conforms to 21 CFR 1040.10) |
| Flashlight Brightness | 400 Lumens |
| Light Source Type | LED |
| Power Source | 1 x CR123A Battery (included) |
| Runtime | 1.5 hours |
| Material | Anodized Aluminum with Polymer Paddles |
| Water Resistance Level | Water Resistant |
| Mounting Type | Weaver Mount (M1913 Picatinny compatible) |
| Item Weight | 4.16 ounces |
| Item Dimensions (LxWxH) | 2 x 1.25 x 1.25 inches |
Warranty and Support
Warranty Information
This Crimson Trace product is covered by a 1-year limited warranty. For detailed information regarding the warranty terms and conditions, please visit the official Crimson Trace website at crimsontrace.com/support/warranty.
Customer Support
For any questions, concerns, or technical assistance, please refer to the support resources available on the Crimson Trace website or contact their customer service directly. You can also visit the official Crimson Trace Store on Amazon for additional product information and support: Crimson Trace Store.


