Introduction
This manual provides detailed instructions for the installation, operation, and maintenance of your Orion Cobalt Series CBA1500.2 2-Channel Class A/B Car Audio Amplifier. To ensure optimal performance and longevity of your amplifier, please read this manual thoroughly before installation and use. Keep this manual for future reference.
Safety Information
WARNING: This product contains chemicals known to the State of California to cause cancer and birth defects or other reproductive harm.
- Always disconnect the vehicle's battery negative terminal before beginning any installation.
- Ensure all wiring is properly routed and secured to prevent damage or short circuits.
- Use appropriate gauge wiring for power and ground connections to handle the amplifier's current draw.
- Install the amplifier in a location that allows for adequate ventilation to prevent overheating.
- Avoid mounting the amplifier in areas exposed to moisture or excessive vibration.
- If you are unsure about any part of the installation process, seek professional assistance.
Product Overview
The Orion Cobalt Series CBA1500.2 is a high-efficiency 2-channel Class A/B amplifier designed for car audio systems, delivering up to 1500 Watts of output power. It features adjustable low/high pass filters, bass boost, and a MOSFET power supply for reliable performance.
Amplifier Components
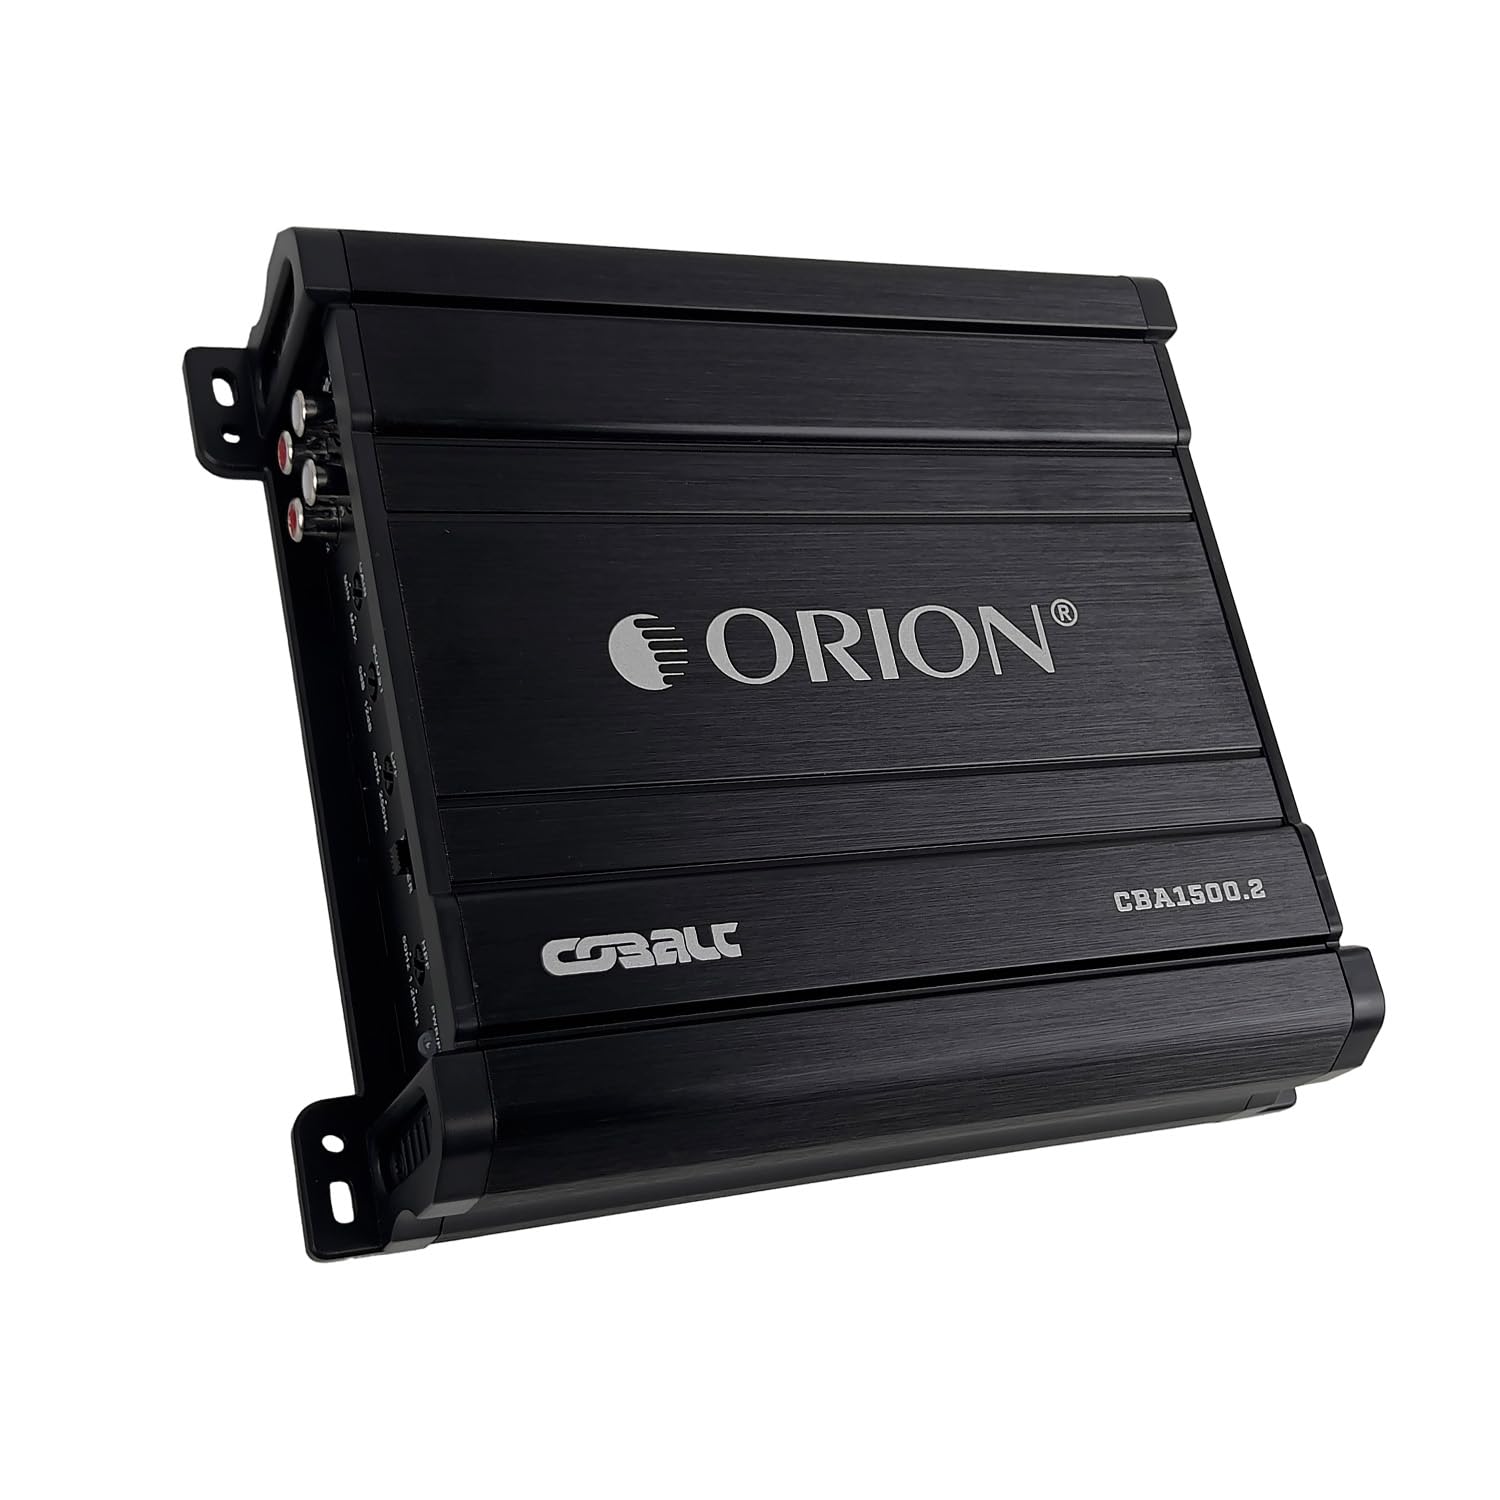
Figure 1: Top view of the Orion Cobalt Series CBA1500.2 amplifier, showcasing the brand logo and model number.

Figure 2: Rear view of the amplifier, showing the power, ground, remote, and speaker output terminals, along with the fuse.
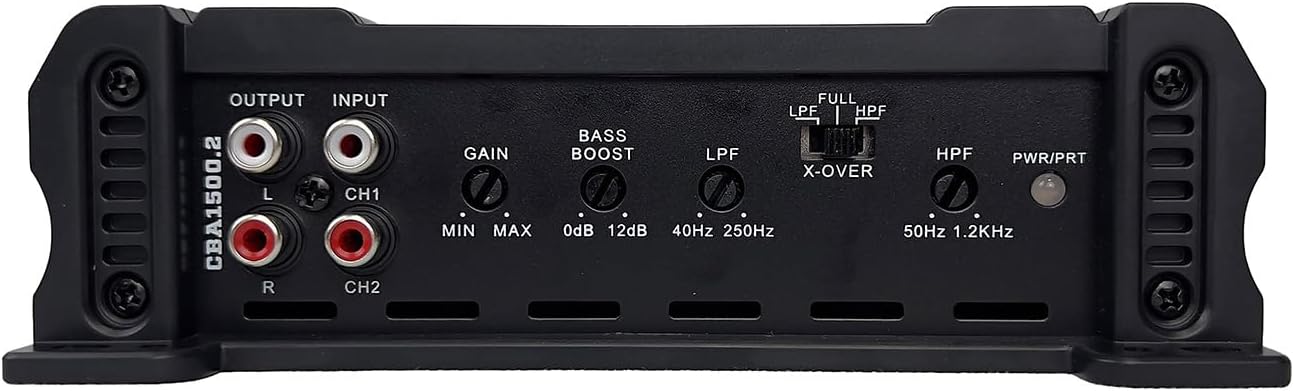
Figure 3: Front view of the amplifier's control panel, featuring RCA inputs/outputs, gain, bass boost, LPF, X-OVER, HPF, and power/protection indicators.
Internal Circuitry
Video 1: An official video from ORION CAR AUDIO demonstrating the internal components and features of the Orion Cobalt CBA1500.2 amplifier, highlighting its MOSFET power supply and precision engineering.
Setup & Installation
Proper installation is crucial for the performance and safety of your amplifier. Follow these steps carefully.
- Mounting Location: Choose a dry, well-ventilated location for the amplifier. Ensure it is securely mounted to prevent movement during vehicle operation. Avoid mounting directly on carpet or in enclosed spaces without airflow.
- Power Wiring: Run a power cable (minimum 8-gauge, preferably 4-gauge for optimal performance) directly from the positive terminal of the vehicle's battery to the amplifier's +12V terminal. Install an in-line fuse holder within 18 inches of the battery.
- Ground Wiring: Connect a ground cable (same gauge as the power cable) from the amplifier's GND terminal to a clean, unpainted metal surface on the vehicle's chassis. Ensure a solid electrical connection.
- Remote Turn-On: Connect a remote turn-on wire (18-gauge) from your head unit's remote output to the amplifier's REM terminal. This wire signals the amplifier to turn on and off with your head unit.
- Audio Input (RCA): Connect RCA cables from your head unit's RCA outputs to the amplifier's INPUT (CH1 and CH2) terminals.
- Speaker Connections: Connect your speakers to the amplifier's speaker output terminals (CH1 and CH2). Ensure correct polarity (+ to + and - to -). This amplifier is 2 Ohm stable. For bridged operation, refer to the markings on the amplifier's speaker terminal block.
- Initial Settings: Before powering on, set the GAIN control to minimum, BASS BOOST to 0dB, and the X-OVER switch to the desired setting (LPF, HPF, or FULL).
- Reconnect Battery: Once all connections are secure and verified, reconnect the vehicle's battery negative terminal.
Operating Instructions
After successful installation, follow these steps to configure and operate your amplifier.
- Power On: Turn on your vehicle's ignition and head unit. The amplifier's power indicator (PWR) should illuminate. If the protection indicator (PRT) illuminates, refer to the troubleshooting section.
- Gain Control: Slowly increase the GAIN control on the amplifier while playing music at a moderate volume from your head unit. Adjust the gain until you hear clear, undistorted sound. Avoid setting the gain too high, as this can lead to distortion and speaker damage.
- Bass Boost: The BASS BOOST control allows you to enhance low frequencies. Start at 0dB and gradually increase to achieve desired bass response. Excessive bass boost can cause distortion.
- Crossover Settings:
- LPF (Low Pass Filter): Use this setting for subwoofers. It allows only frequencies below the set point (40Hz-250Hz) to pass through.
- HPF (High Pass Filter): Use this setting for full-range speakers or tweeters. It allows only frequencies above the set point (50Hz-1.2KHz) to pass through.
- FULL (Full Range): This setting allows all frequencies to pass through the amplifier.
Maintenance
Regular maintenance ensures your amplifier continues to perform reliably.
- Cleaning: Periodically clean the exterior of the amplifier with a soft, dry cloth. Do not use harsh chemicals or abrasive cleaners. Ensure ventilation openings are free from dust and debris.
- Connection Check: Annually, inspect all power, ground, remote, RCA, and speaker connections. Ensure they are tight and free from corrosion.
- Fuse Replacement: If the amplifier does not power on, check the fuse located on the amplifier's rear panel (Figure 2). Replace with a fuse of the exact same type and rating.
Troubleshooting
If you encounter issues with your amplifier, consult the table below for common problems and solutions.
| Problem | Possible Cause | Solution |
|---|---|---|
| Amplifier does not turn on (PWR LED off) | No power, ground, or remote signal; blown fuse. | Check all power, ground, and remote connections. Verify the in-line fuse near the battery and the fuse on the amplifier. |
| Amplifier turns on but no sound | RCA cables disconnected/damaged; speaker wires disconnected/shorted; gain too low. | Check RCA connections from head unit. Inspect speaker wiring for shorts or disconnections. Increase gain slowly. |
| Distorted sound | Gain set too high; bass boost too high; improper crossover settings; damaged speakers. | Reduce gain and/or bass boost. Adjust crossover settings. Test with different speakers if possible. |
| Amplifier overheats (PRT LED on) | Insufficient ventilation; impedance too low; prolonged high-volume use. | Ensure adequate airflow around the amplifier. Verify speaker impedance is within the amplifier's stable range (2 Ohm minimum). Reduce volume or allow amplifier to cool. |
| Noise/Hissing sound | Poor grounding; RCA cable interference; engine noise. | Ensure ground connection is clean and secure. Reroute RCA cables away from power wires. Consider an RCA filter if noise persists. |
Specifications
Technical specifications for the Orion Cobalt Series CBA1500.2 amplifier.
| Feature | Specification |
|---|---|
| Model Number | COBALT CBT-1500.2 |
| Number of Channels | 2 |
| Output Power (Max) | 1500 Watts |
| RMS Power @ 2 Ohms | 125W x 2 |
| RMS Power @ 4 Ohms | 60W x 2 |
| Frequency Response | 10Hz - 30KHz |
| Bass Boost | 0dB - 12dB |
| Low Pass Filter (LPF) | 40Hz - 250Hz |
| High Pass Filter (HPF) | 50Hz - 1.2KHz |
| Minimum Supply Voltage | 9 Volts |
| Maximum Supply Voltage | 16 Volts (DC) |
| Dimensions (L x W x H) | 10 x 8 x 3 inches |
| Item Weight | 3.21 pounds |
| Material | Aluminum or Steel |
| Power Supply Type | MOSFET |
Warranty & Support
For warranty information, technical support, or service inquiries regarding your Orion Cobalt Series CBA1500.2 amplifier, please contact ORION CAR AUDIO directly. Refer to the official ORION website or your purchase documentation for the most current contact details and warranty terms.
Manufacturer: ORION
Seller: ORION CAR AUDIO